Car window transmissions are designed to roll up and down without the effort of rotating a window crank. If your car has an electric back window, then it has an electric motor and a controller called a transmission.
This is utilized as a part of all electric windows, despite the fact that your power rear glass setup is similar but not the same as what on the driver or front passenger setups. The way the two types of electric window transmissions work are comparable.
As you press the button to activate the rear window motors, you will hear the motors produce a noise as it is rotating. The transmission then opens and closes like a pair of tongs. When the transmission opens, it spreads out wide pushing the window glass in an upward position. When the transmission closes, it collapses together to a narrow area allowing the glass to move in a downward position.
There are three types of rear window glass: standard glass, black tinted glass, and shatter resistant glass. The standard glass has a specific weight that allows the motor on the transmission to withstand gravity pull. This makes the motor last a long time, as long as the switch is not actively forcing the window up while it is stationary.
Black tinted glass places more threshold upon the gears within the motor and transmission. The weight is much greater and gravity pull has more effect on the gear train. This type of window makes the motor and transmission wear out faster.
Shatter resistant glass, which does not shatter on impact, is designed with the most weight. This type of glass should have a motor and transmission that can push against the gravity pull that it permits. When installing a shatter proof glass into the rear doors and leaving the standard rear window transmission in the door, the gears on the motor will strip out within a short period of time or the motor will fail due to excessive stress overload.
If the transmission were to fail, the window would not move up or down. This causes problems with the driver if all of the windows are up but the one that is stuck. If one window is stuck down, fumes from the vehicle's exhaust system, rain, hail, or debris can enter the vehicle and cause problems.
Usually there is not any engine light or diagnostic codes related to the rear window transmission. However, there is a window or door light that will light up in the event that the rear window transmission has failed. The window may jerk, squeak, or not move at all if the transmission is failing.
- Note: Carbon monoxide is an odorless gas that consumes all of the oxygen in the surrounding areas. People get sick from carbon monoxide poisoning due to lack of oxygen to the brain.
Part 1 of 3: Verifying the rear window transmission
Step 1: Operate the window. Go to the door with the failed rear window transmission.
Operate the switch up and down positions to see if the motor is working. You may need to turn the window lock off if it is in the on position in the driver door cluster.
Step 2: Check for a burned fuse. If the motor is not working, you may need to check the fuse box for any blown fuses.
If the fuse for the motor has blown, change it and retest the switch. Fuses burn when the resistance is greater than what the fuse can handle.
- Note: Since you are working on the rear doors of a four door sedan, keep in mind the child safety locks. If the child safety lock is on, the door will not open when operating the inside handle.
Part 2 of 3: Replacing the rear window transmission
Materials Needed
- Allen wrench set
- Boxed end wrenches
- Cross tip screwdriver
- Electrical cleaner
- Needle-nose plyers
- Nine volt battery saver
- Nine volt battery
- Protective gloves
- Ratchet w/metric and standard sockets
- Razor blade
- Small hammer
- Test leads
- Torque bit set
- Wheel chocks
Step 1: Park your vehicle on a flat, hard surface. Make sure that the transmission is in park (for automatics) or in 1st gear (for manuals).
Step 2: Place wheel chocks around the tires. In this case, the wheel chocks go around the front tires since the rear of the vehicle will be lifted up.
Engage the parking brake to the lock the rear tires from moving.
Step 3: Install a nine volt battery saver into your cigarette lighter. This keeps your computer live and your setting current in the vehicle.
If you do not have a nine volt battery saver, that is okay.
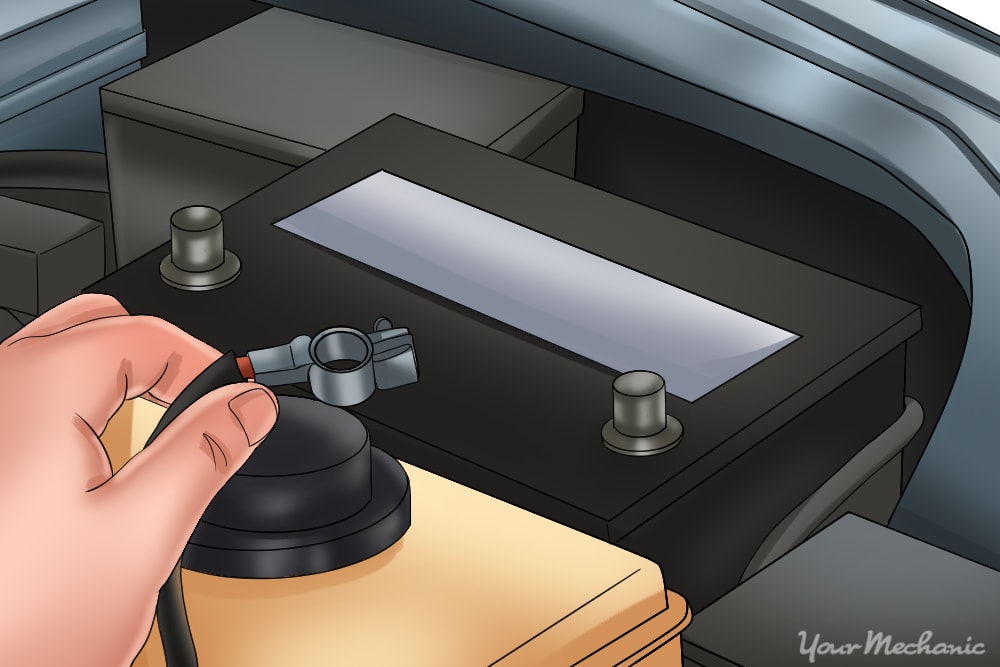
Step 4: Open the vehicle’s hood to disconnect your battery. Take the ground cable off of the battery’s negative post disabling the power to the vehicle.
- Warning: It is important to protect your hands. Make sure to put on protective gloves prior to removing any battery terminals.
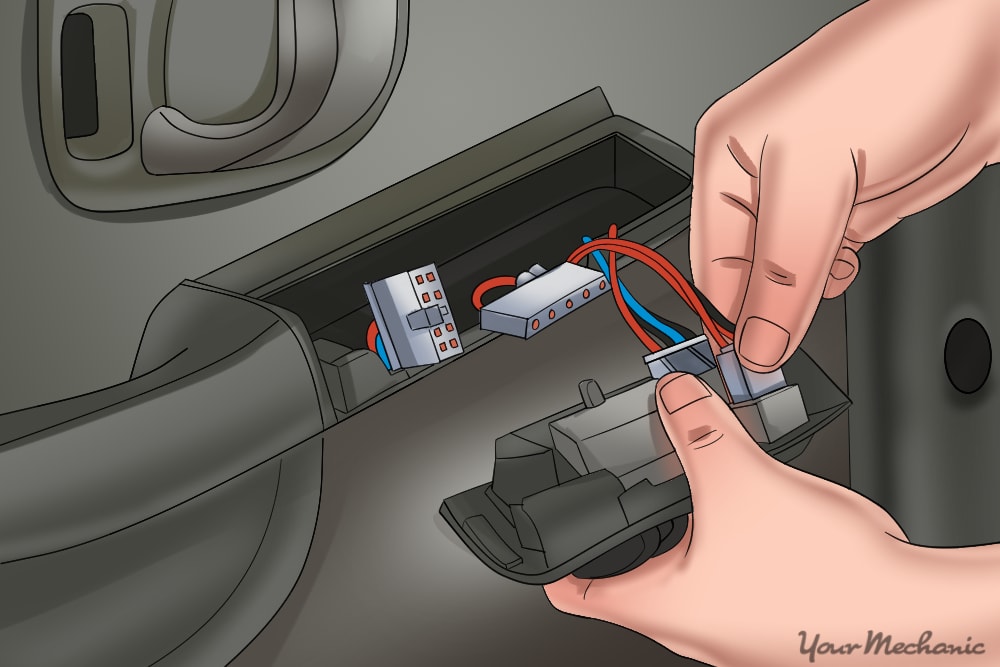
Step 5: Remove screws attaching window switch to door panel. Before removing the door panel, remove the screws attaching the window switch to the door panel.
If the window switch is unable to be detached, you may be able to disconnect the harness connectors under the door panel as you pull it off.
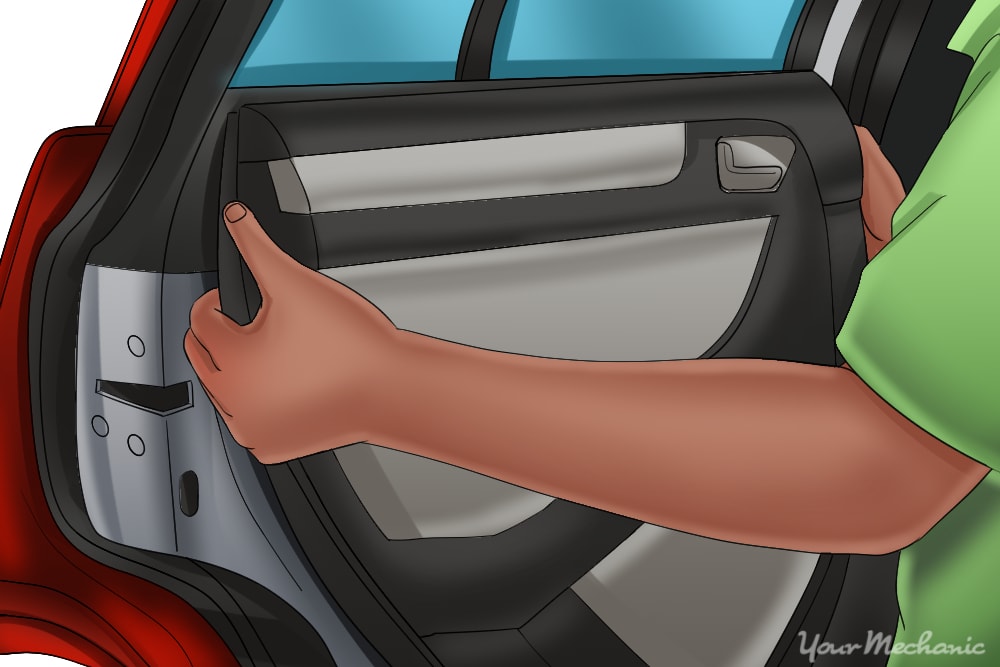
Step 6: Remove door panel associated with the faulty window transmission. Remove the clear plastic cover that’s behind the door panel.
You will need a razor blade to assist in removing the plastic cover.
Note: The plastic is essential in forming a water barrier on the outside of the inner door panel. While you are at it, check that the two drain holes in the bottom of the door are clear, and that there is no buildup of debris in the bottom of the door.
Note: You may have to remove the rear door speaker to gain access to the mounting bolts on the window transmission assembly.
Step 7: Look inside the door up where the window transmission is. Remove the five mounting bolts that secure the window transmission assembly to the door shell.
Step 8: Hold up the window from falling. If the window transmission still works, hook up the switch to the window transmission and raise the window all the way up.
- Note: If the transmission does not work, use a pry bar to extend the gear assembly apart and raise the window up.

Step 9: Prevent the window from falling. Get blue masking tape and secure the window to the door to prevent the window from falling.
Step 10: Remove the window transmission bolts. After the window is all the way up and secure, the mounting bolts to the window transmission should be visible.
Step 11: Pull out the window transmission assembly from the door. You will need to feed the wire harness attached to the window motor through the door.
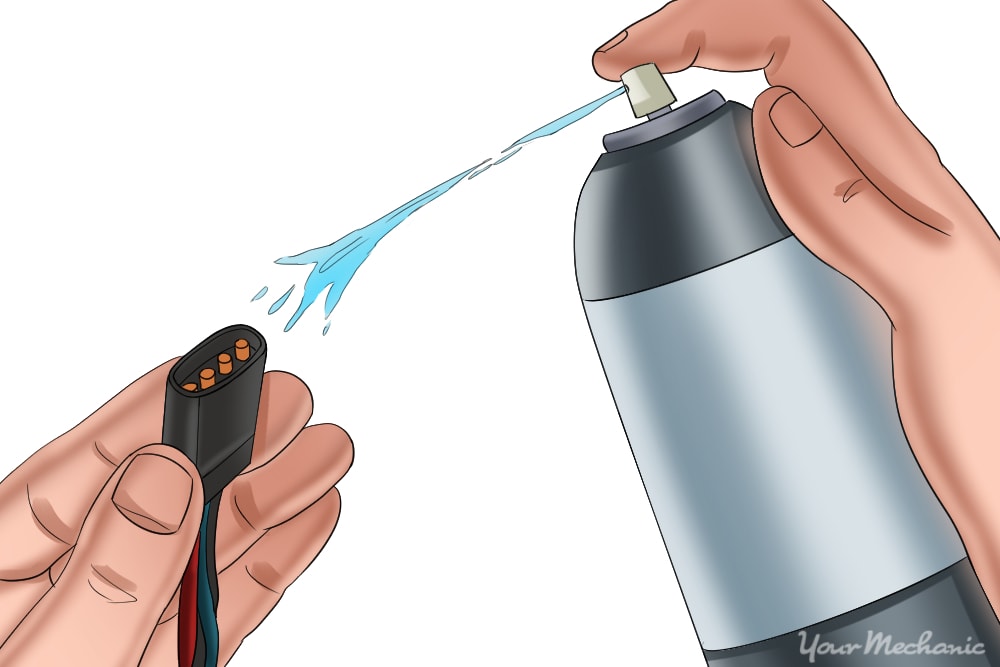
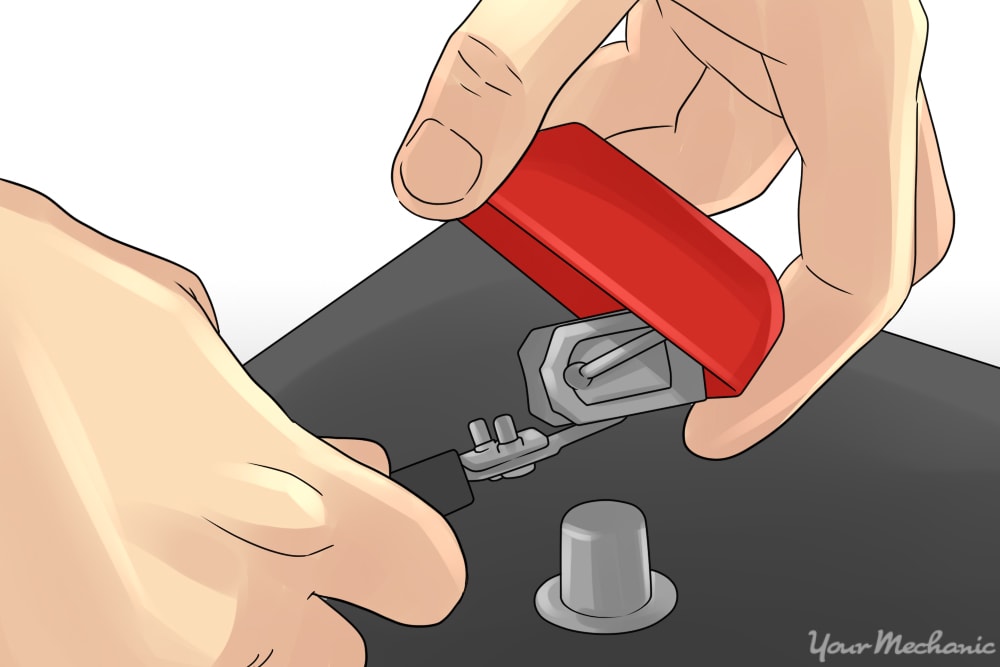
Step 12: Clean the harness out with electrical cleaner. Remove all moisture and debris from the connector for a strong connection.
Step 13: Install the new window transmission assembly into the door. Feed the harness through the door.
Install the mounting bolts to secure the window transmission to the window.
Step 14: Remove the masking tape from the window. Slowly lower the window and window transmission assembly.
Line up the mounting hole to the window transmission and the door shell.
Step 15: Install the five mounting bolts. This secures the window transmission assembly to the door shell.
- Note: If you had to remove the speaker in the door, make sure that you install the speaker and hook up any wires or harnesses to the speaker.
Step 16: Install the plastic covering back onto the door. If the plastic cover will not seal back onto the door, you can apply a small coat of clear silicone to the plastic.
This holds the plastic in place and keep out the moisture.
Step 17: Install the door panel back onto the door. Snap all of the door panel plastic tabs back into place.
Replace any plastic tabs if they were broken off.
Step 18: Hook up the harness to the window switch. Install the window switch back onto the door panel.
Install the screws into the switch to secure it to the door panel.
- Note: If the switch could not be removed from the door panel, you will need to hook up the harness to the switch as you install the door panel to the door.
Part 3 of 3: Check the operation of the new rear window transmission
Step 1: Reconnect the ground cable back onto the battery’s negative post. Remove the nine volt battery saver from the cigarette lighter.
Tighten the battery clamp up tight to ensure that the connection is good.
- Note: If you did not have a nine volt battery saver, reset all of the settings in your vehicle like your radio, electric seats, and electric mirrors.
Step 2: Turn on the key to accessory or run position. Operate the switch to the door window, making sure that the window goes up and down correctly.
If your window will not go up or down after replacing the rear window transmission, then there may be further diagnosis of the rear window transmission needed or a possible electrical issue within the rear window transmission. If the problem persists, then you should seek out help from one of YourMechanic’s certified mechanics who can inspect the rear window transmission and diagnosis the problem.
