Our cars are our second homes most of the time, and as a result we tend to leave some pretty important things in there. Unfortunately, this means that people could try to break in and steal these items.
Coming back to your car surrounded by shattered glass is not an enjoyable experience. Thankfully, replacing the glass by yourself isn’t too much of a hassle. There are usually just a few pieces to unscrew and pry off, and then you can remove the old glass and replace it.
Part 1 of 3: Removing the door panel
Materials Needed
- Flathead screwdriver
- New glass for window, per your vehicle’s specifications
- Phillips head screwdriver
- Ratchet
- Safety glasses
- Socket
- Thick work gloves
- Torx screwdriver
Note: Trim tool sets are specially designed prying tools meant to help with getting the door panel off. They are not always necessary, as usually a flathead screwdriver is enough to disconnect all of the tabs. If you do need one, make sure to buy the correct type for your model vehicle as they are not interchangeable.
Note: The size of the socket can vary between make and model but are typically around 9 or 10 mm. Your vehicle also may not use torx head screws, so just a phillips and flathead may be enough.

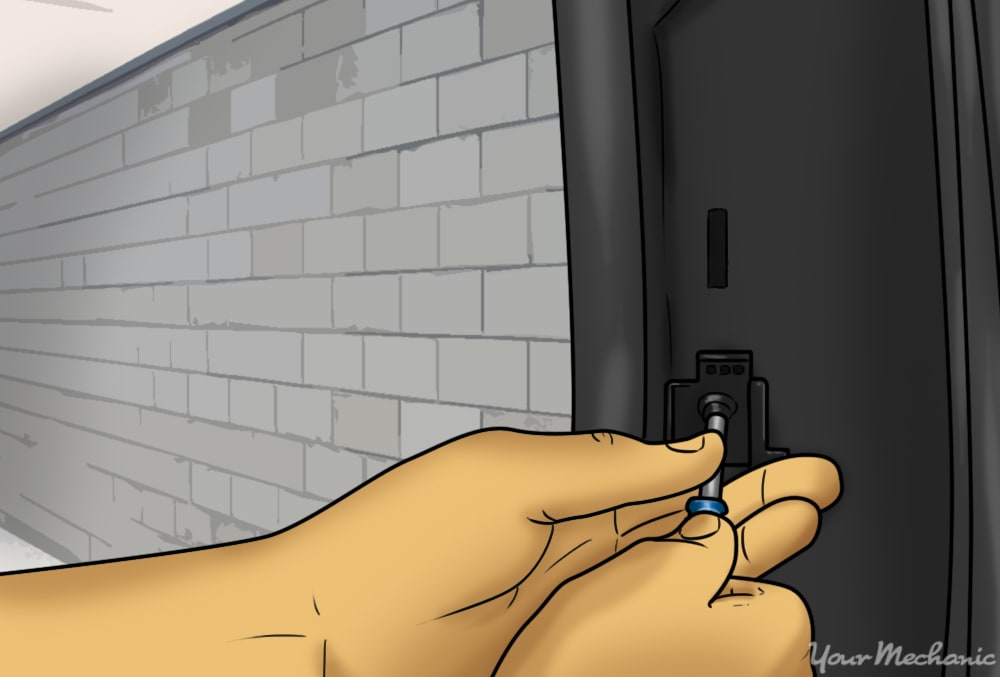
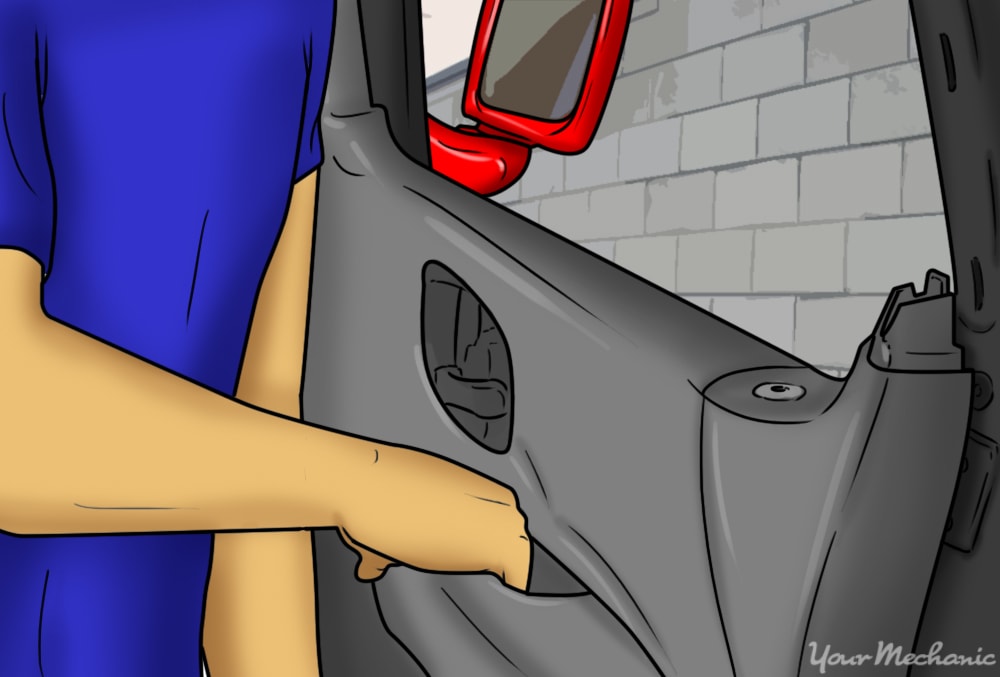
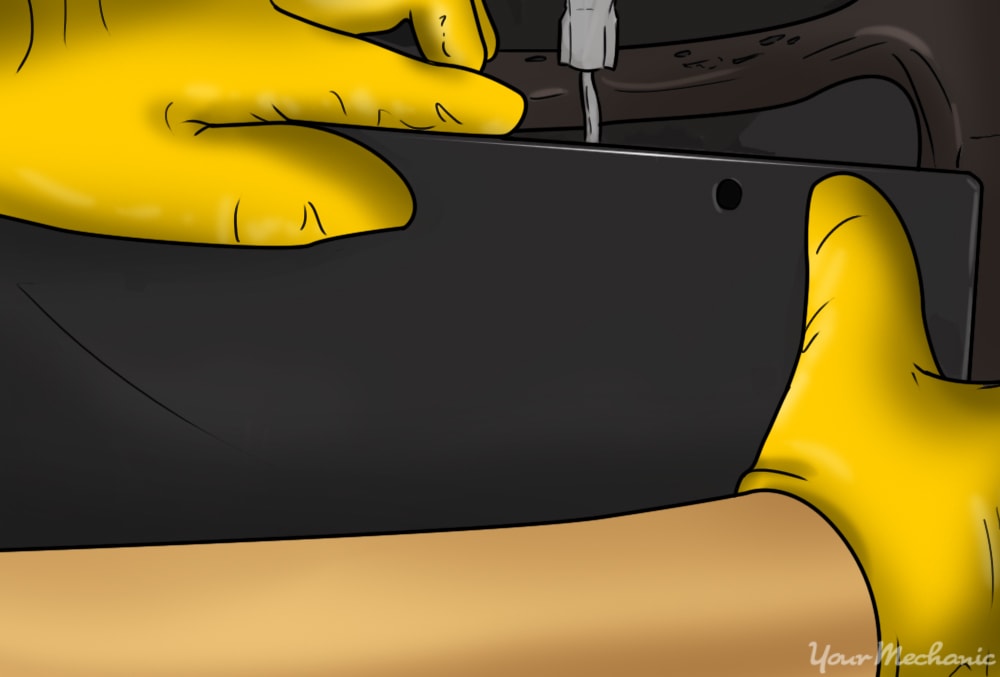
Step 1: Pry off any plastic panels. Use a flathead screwdriver and pry off any plastic panels.
Typically there will be one on the top corners of the door panel.
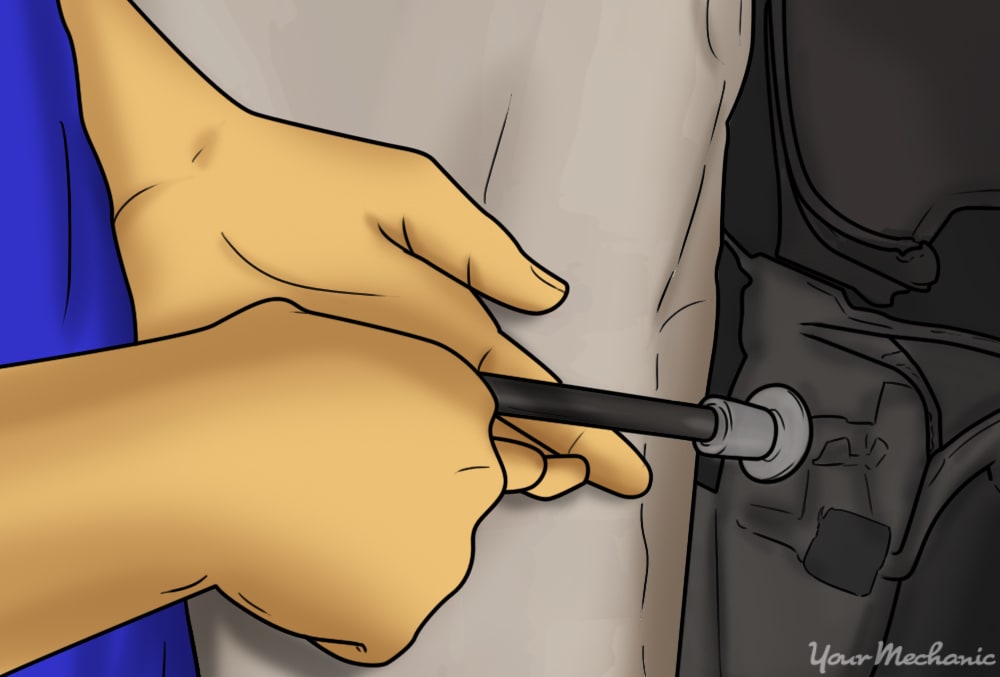
Step 2: Unscrew everything that holds the panel on. Removing the plastic panels will reveal screws that need to be removed to take the door panel off.
Be sure to look around the sides and bottom of the door for any hard-to-spot screws. There may be small plastic covers over the screws that can be pried off with a flathead.
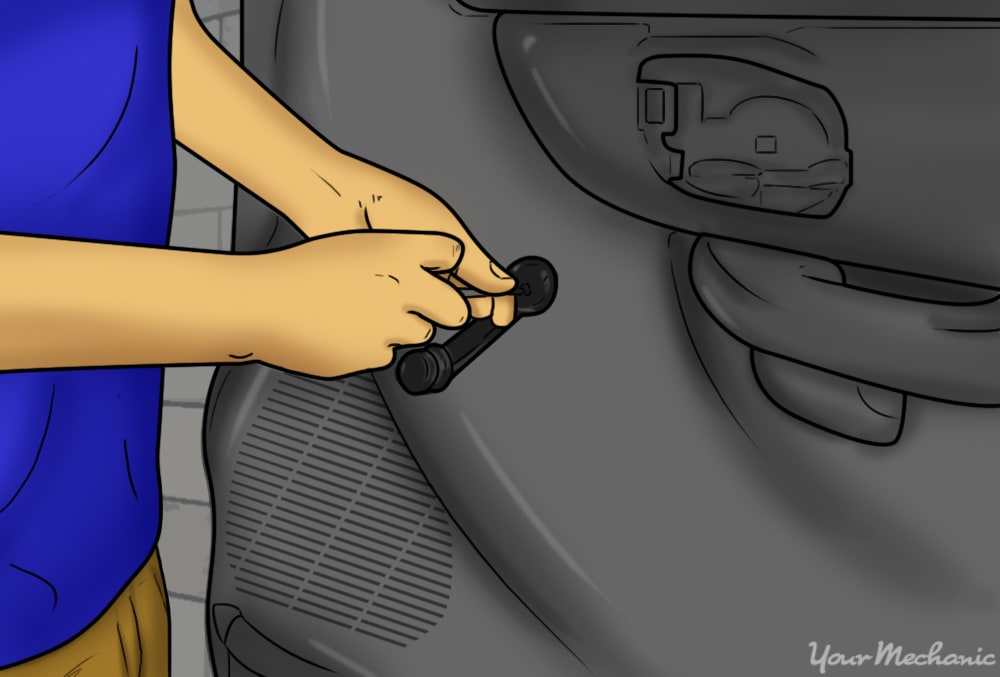
Step 3: Unscrew the window crank or switch. If you have manual windows, there should be one screw that holds the crank in place.
If you have power windows, unscrew the switch and unplug the connector.
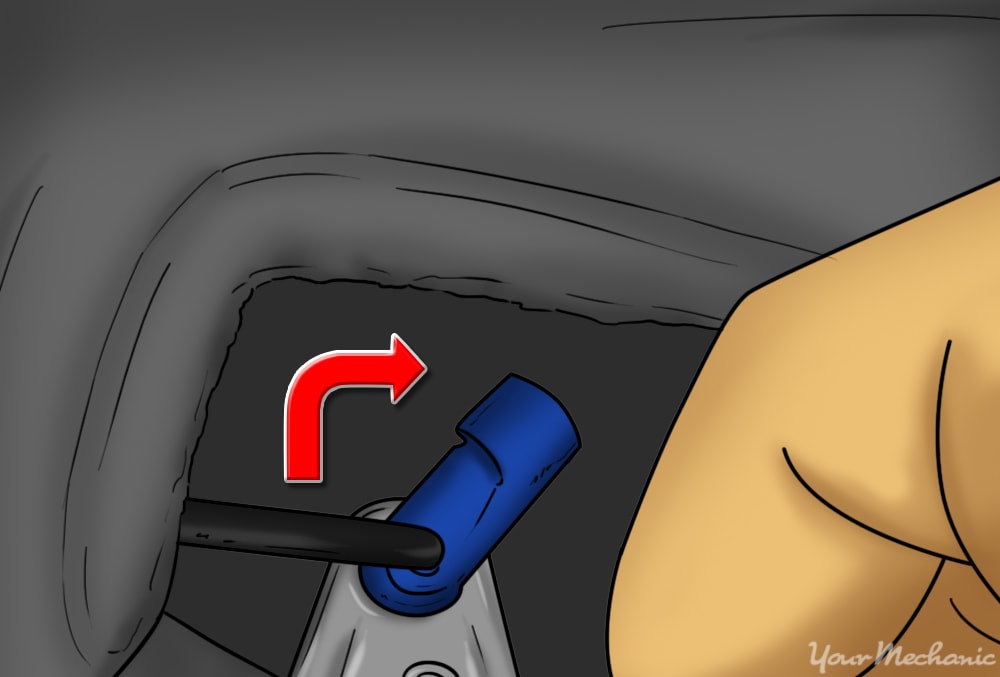
Step 4: Remove the door handle if needed. Once you unscrew the door handle, undo the plastic clip that holds the linkage to the handle mechanism. This is not necessary on all models.
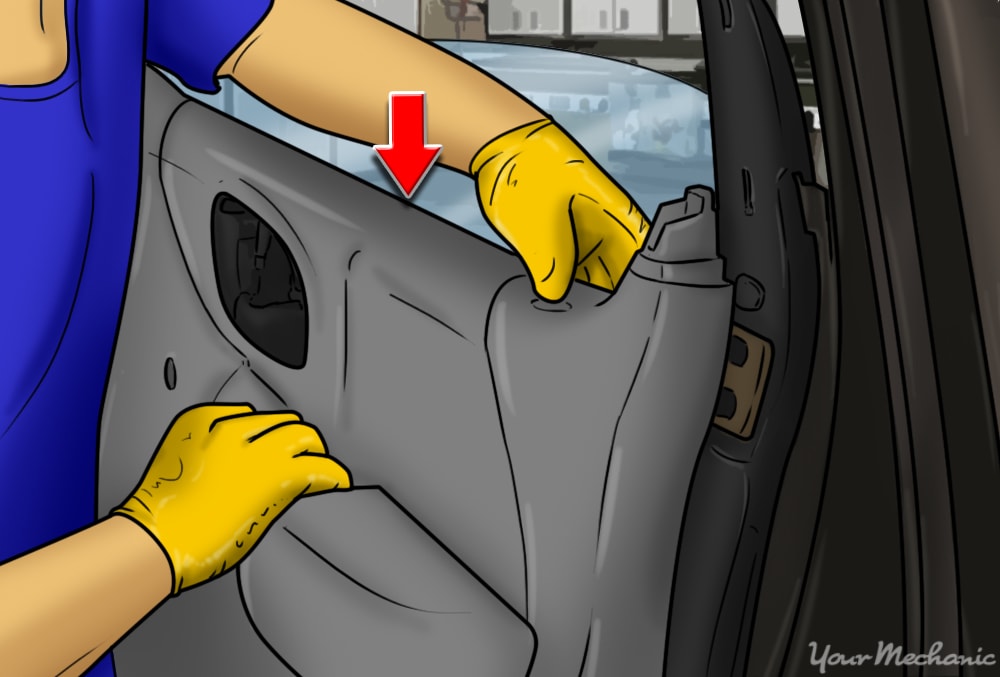
Step 5: Remove the door panel. With all the screws undone and everything out of the way, we can remove the door panel itself to get inside.
On most models, you should be able to just pull up and away from the door and the panel will slide off.
- Note: This is where a trim tool set will come in handy with getting the door panel off. Some models will have plastic tabs to hold the door panel on, and too much force can break them. If you are having issues with a flathead, you should use a trim tool set to assist you.
Part 2 of 3: Removing the old glass

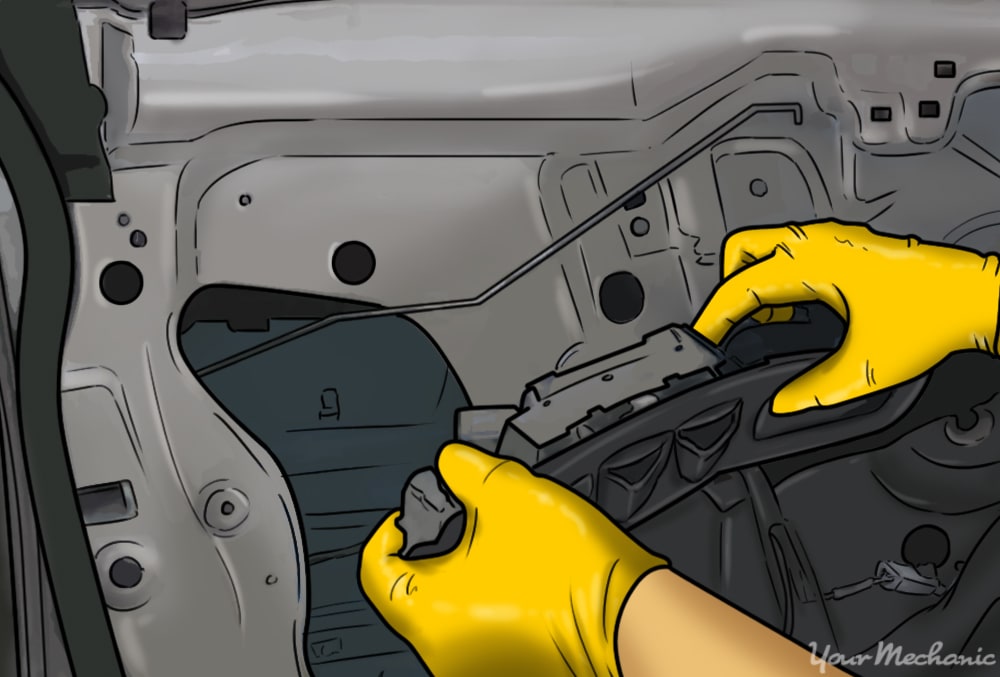
Step 1: Remove the air barrier. The air barrier is a piece of lining that acts as insulation to keep outside air from seeping into the car through cracks in the window.
Peel it back out of the way to access the inside of the door.

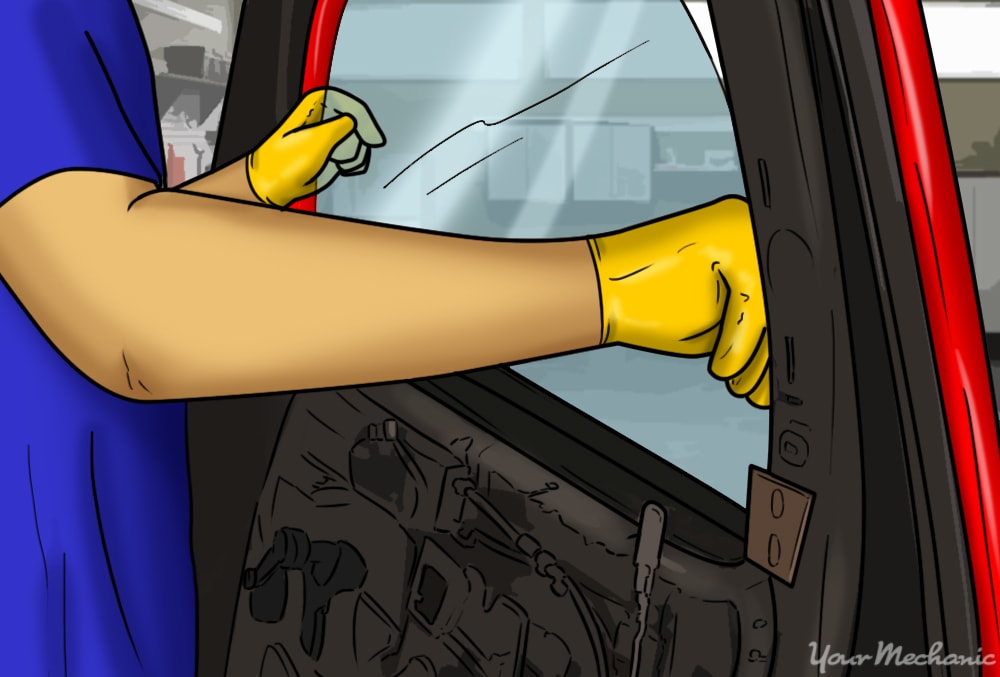
Step 2: Lower the window and remove the nuts. In order to access the nuts, you will need to lower the window.
You can plug the switch back in or reattach the hand crank to lower the window regulator.
Once you have access to the nuts, unscrew them.

Step 3: Remove the old glass. If the glass was shattered, there will only be one or two small pieces to pull off of the window regulator.
You’ll have to vacuum up any pieces inside the door. Wear your thick work gloves so as not to cut yourself on any glass shards.
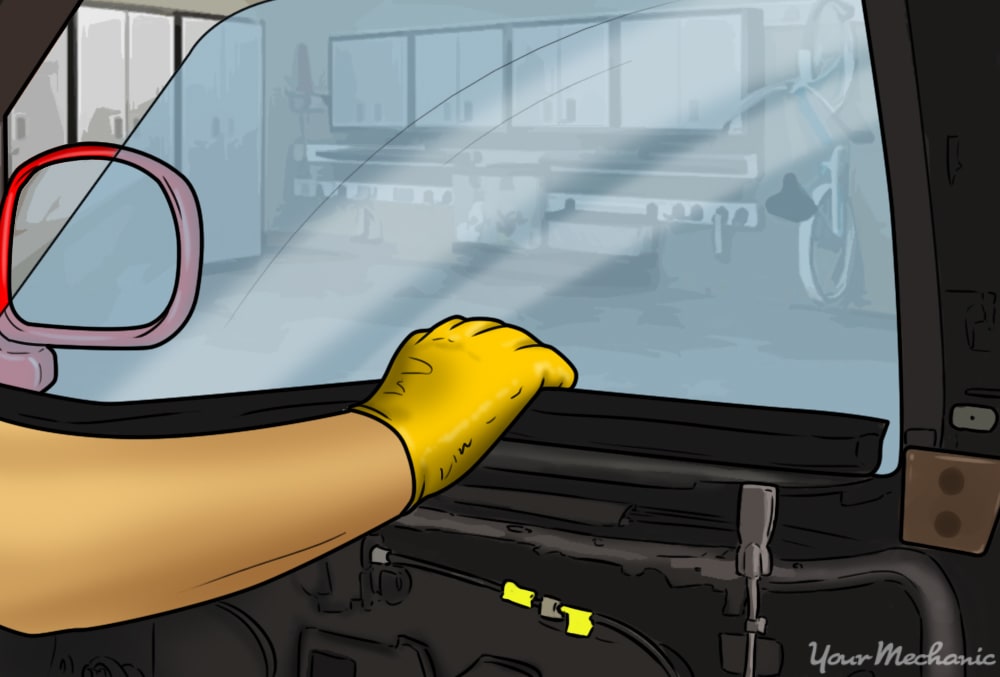
If the glass is still intact, you can pull it up through the door and out. You’ll need to remove the inner seal at the bottom of the window to make room for the removal of the glass.
Part 3 of 3: Installing the new glass
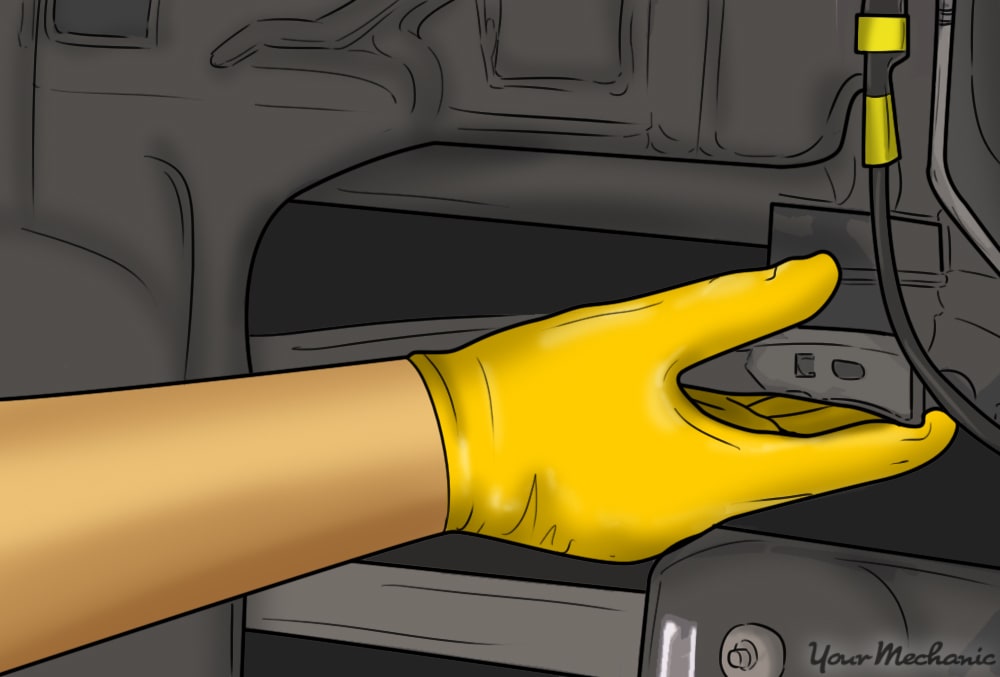
Step 1: Unscrew the bottom track bolt. Unscrewing the bottom track bolt will allow the window track to move around slightly and make it easier to get the new window slotted into the track.
It should be located either toward the front or back at the bottom of the door.
- Tip: This may not be necessary on all vehicles, but if you are having trouble getting the window slotted back in, you may want to consider unscrewing this bolt.
Step 2: Slot the new glass into the track. Start with the short side of the window glass and angle it into the track facing down slightly. Once the short side is lined up, start lowering the taller side to slot it into the track as well.
Don’t use too much force or you’ll shatter your brand new window. Don’t let go of the glass even when it’s slotted because there is nothing holding it up yet.
Warning: Make sure you are wearing your gloves and glasses in case the glass breaks. You don’t want any small shards getting in your eyes or cutting your hands.
Note: If you haven’t already, remove the inner seal at the bottom of the window to make room to slot in the new glass.
Step 3: Line up the mounting holes with the regulator. The glass will have mounting holes for screws that need to go into the regulator to connect the two pieces together.
Hold the glass with one hand while you line up the screws with the other.

Step 4: Tighten the window down. Use your ratchet or a wrench and tighten the nuts down to secure the window.
They don’t need to be overtight, just make them snug.

Step 5: Tighten the track back down. Use one hand to line up the track on the inside so you can screw the bottom track bolt back in.
If you don’t do this, the track won’t hold the window securely.
Step 6: Test the window. Before putting the door panel back on, make sure that the window does in fact go up and down.
You don’t want to put the panel back on just to find out the window wasn’t slotted in one of the tracks.
Step 7: Reinstall the inner seal on the window. The inner seal sits under the door panel and has to be reinstalled first.
Step 8: Reapply the air barrier. Replace the air barrier over the door.
If the adhesive isn’t sticking, you can use some glue or double-sided tape to hold it in place.
Step 9: Reattach the door panel. Line up the top slots and drop the panel down into them to reattach it.
Step 10: Reinstall everything like you took it off. Replace any screws that were removed from the door previously and reattach all of the plastic panels.
Make sure you reconnect the door handle linkage if you had to undo it before, or reconnect the switch if applicable.
Step 11: Test the window again. With everything put back together, test out the window one more time to make sure everything is okay.
Test the other functions of the door to make sure that everything was put back together properly.
Replacing the glass at home by yourself can save you a fair amount of money, especially if you get a good deal on the new glass. However, if you are at all uncomfortable with this repair, you can always Ask a Mechanic to get quick, detailed advice, or seek out one of our qualified technicians to come to your home or office and inspect your windows.