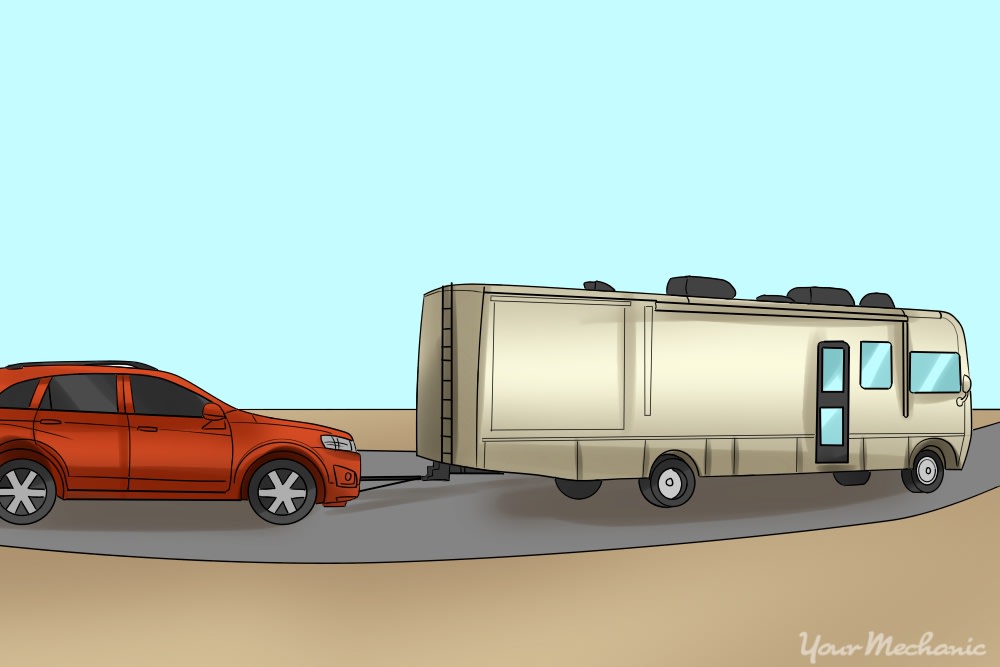
Going on vacation with an RV can be one of the most comfortable ways to travel for extended periods of time. But what happens when you get to your destination and need a vehicle to get around town? Your RV isn’t exactly easy to park and it certainly isn’t efficient on fuel.
A practical solution is to bring your car with you. It’s more cost effective than renting a vehicle for the duration of your stay and is much less hassle than hiring a taxi service or figuring out bus routes in an unfamiliar city. But how will you take your car along with you?
You can install a tow bar for your vehicle. A tow bar attaches to your vehicle and connects to your RV’s existing trailer hitch. To fix the tow bar, you will need to attach it to the front bumper or subframe of your vehicle so it can be anchored firmly in place.
When your car is being towed behind your RV, all its wheels are on the ground. It rolls along behind your RV in a controlled, smooth, and safe manner, with its wheels turning along with the RV’s motion.
Part 1 of 3: Make sure your vehicle can be towed flat
Perhaps the most important step to take is making sure your vehicle can be safely towed behind another vehicle with all four wheels on the ground.
In the case of vehicles with all-wheel drive and some four-wheel drive systems, being towed with all the wheels on the road can cause massive amounts of damage to the transfer case or transmission, thereby causing you delays in your journey or massive repair bills once you reach your destination.
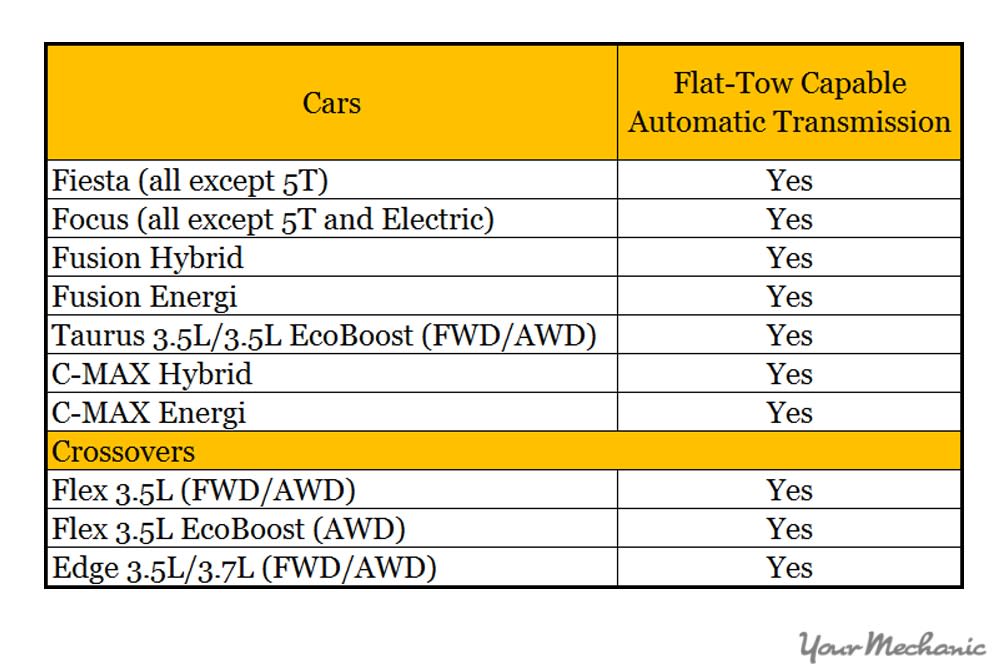
Step 1: Check your owner’s manual. Virtually all car manufacturers include this information in the towing section of the owner’s manual.
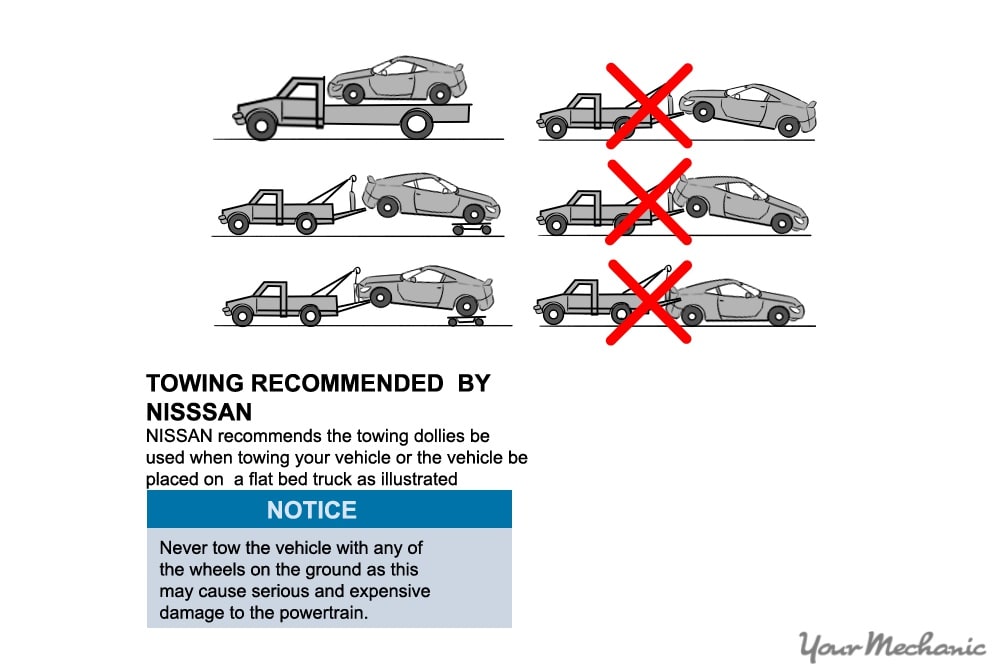
Warning: If there is a warning against towing your vehicle with all four wheels on the ground, do not use a tow bar.
Note: Check for any specific actions you need to perform while towing such as placing the transfer case in neutral. Remember and adhere to these instructions strictly.
Step 2: Check with your car dealership. A salesperson or a representative from the service department can look up your vehicle’s towing capabilities to confirm whether you can use a tow bar on your vehicle.
- Note: Be clear about your intention to tow the vehicle with all four wheels on the road. Be certain they understand that you aren’t asking about a trailer hitch for your vehicle.
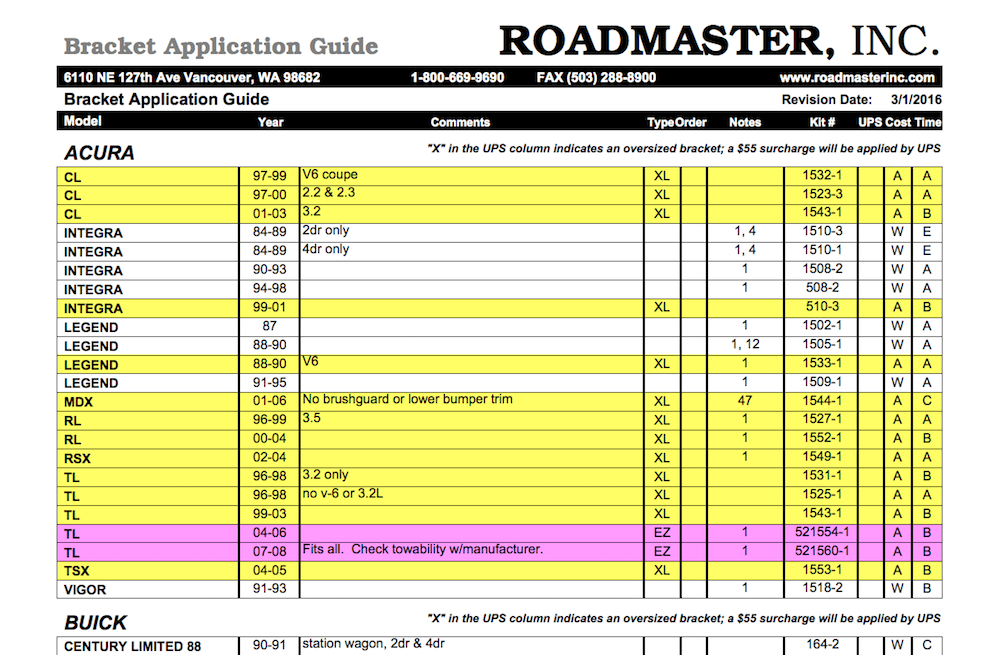
Step 3: Check with tow bar manufacturers. Websites for tow bar manufacturers have bracket application information listed online.
- Tip: If it isn’t listed online, call the manufacturer to ask which tow bar to use for your specific vehicle. They will also confirm whether you can use a tow bar to tow your vehicle.
Part 2 of 3: Install the tow bar brackets on your vehicle
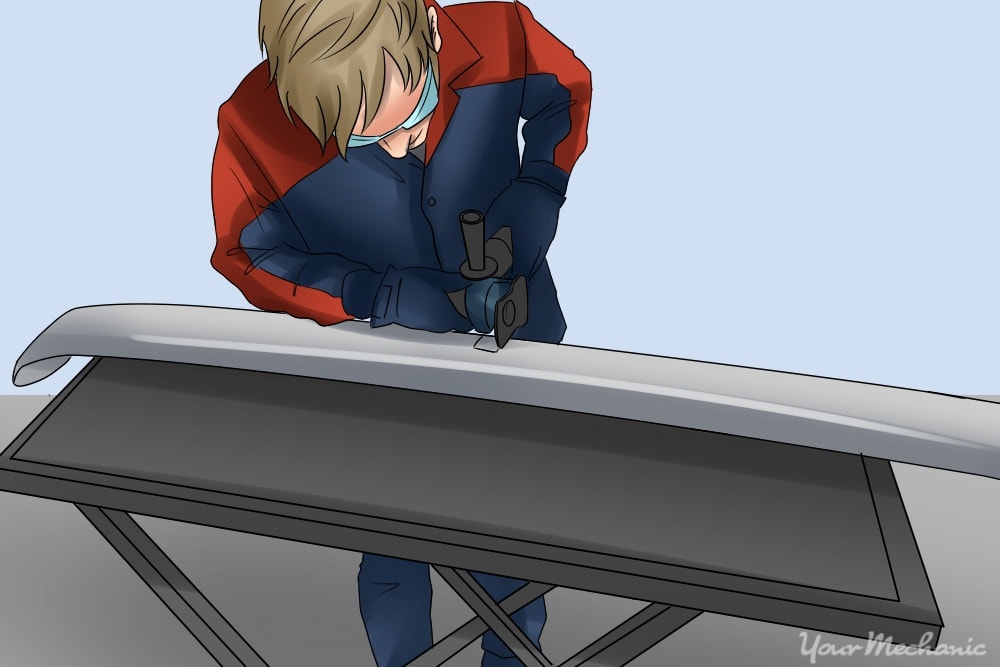
This step requires modification of your car’s front bumper and frame. You may need to cut and drill visible parts in order to install the tow bar brackets on the front of your car.
Be steady and precise to make it look as neat as possible.
- Warning: When you drill into your car’s frame, carefully follow the instructions included with your tow bar. An ill-placed drill hole can weaken the frame and cause structural problems in the future.
Materials Needed
- Angle grinder with cutting wheel
- Eye protection
- Gloves
- Hammer and punch
- Marker
- Measuring tape
- Power drill with metal bits
- Ratchet and socket set (½” drive)
- Sharp utility knife
- Wrench set up to ¾”
Step 1: Locate the mounting points. Locate the mounting points on the frame near the front bumper.
The frame or subframe, is a heavy, square metal tube that gives rigidity to your car’s structure and provides a mounting point for the car’s body, the engine, and other components.
- Tip: The frame is usually hidden behind or below the front bumper‘s plastic cover.
Step 2: Check the mounting position of the brackets. Before connecting the brackets, you must mock up the mounting brackets from the tow bar installation kit.
Find the centerline of the vehicle with your measuring tape and mark the spot on the frame with your marker. Using the measurement in the installation instructions, mark the mounting locations on either side of the center line.
Measure the overall distance required between the mounting brackets, halve it, and mark that distance on either side of the center line on the car’s frame.
- Tip: Try to hold the bracket against the frame in the precise location. Determine whether the tow bar will attach to the bracket with sufficient clearance.
Using your marker, mark off any parts that will interfere with the tow bar.
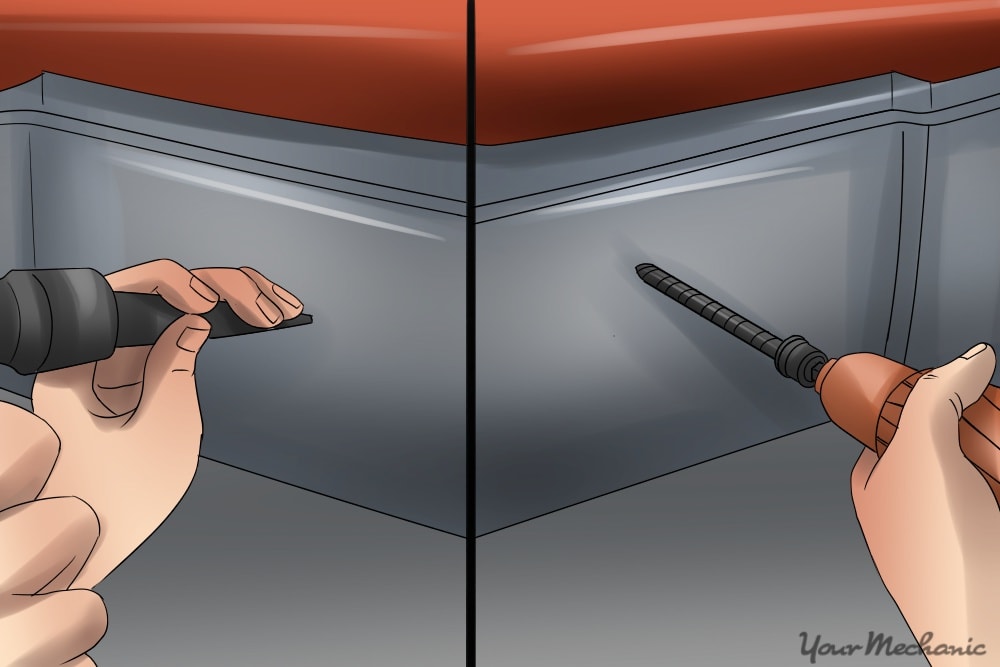
Step 3: Cut interfering components. Mark the spot you need to cut with your marker. Prepare to cut off any interfering components so that the tow bar will have sufficient clearance for installation and movement.
Warning: Make sure there are no parts, hoses, or wiring behind the location where you need to cut.
Note: Put on eye protection and gloves before using the angle grinder.
Cut the section with an angle grinder equipped with a cutting wheel. This tool can be used to cut either metal or plastic parts.
Make your cuts as controlled and clean as possible so that your vehicle’s surface isn’t marred by installation.
- Tip: If you had to cut off any plastic parts, trim the raw edges with a utility knife for a smooth appearance.
Step 4: Drill the mounting holes. Test the bracket position by fitting the mounting brackets and checking it again for clearance. Measure the placement again to make sure that the location is correct.
Mark the spots where holes need to be drilled with a marker.
Put an indent or divot in the drill spot using a punch and a hammer. When you are drilling, the drill bit will stay in the divot left by the punch. Without the divot, the bit can wander a little and the hole will be inaccurate.
Drill the necessary holes. Start with a small bit such as ⅛” and make a pilot hole. Work your way up in size until you have the designated size of hole according to the installation instructions for the tow bar.
Step 5: Install the mounting brackets. Assemble the mounting brackets and their hardware according to the instructions. Ensure that you use lock washers where indicated to prevent the bolts from getting loose while your vehicle is being towed.
- Tip: You can even use a thread-locker liquid to keep the bolts tight.
Step 6: Tighten all the fasteners. Use a wrench and a ratchet with the correct socket to tighten all the nuts and bolts as much as possible. After they are all tightened, go back and re-check each one.
- Tip: Re-check the bolts after driving 60 miles to make sure they haven’t started to loosen. Re-tighten them all once again.
Part 3 of 3: Install the tow bar.
The tow bar is a large, triangular shaped section of tubular metal. Mount the tow bar on your vehicle just before towing it and remove it at all other times.
The tow bar is connected with linch pins— a style of pins that have built-in safety rings.
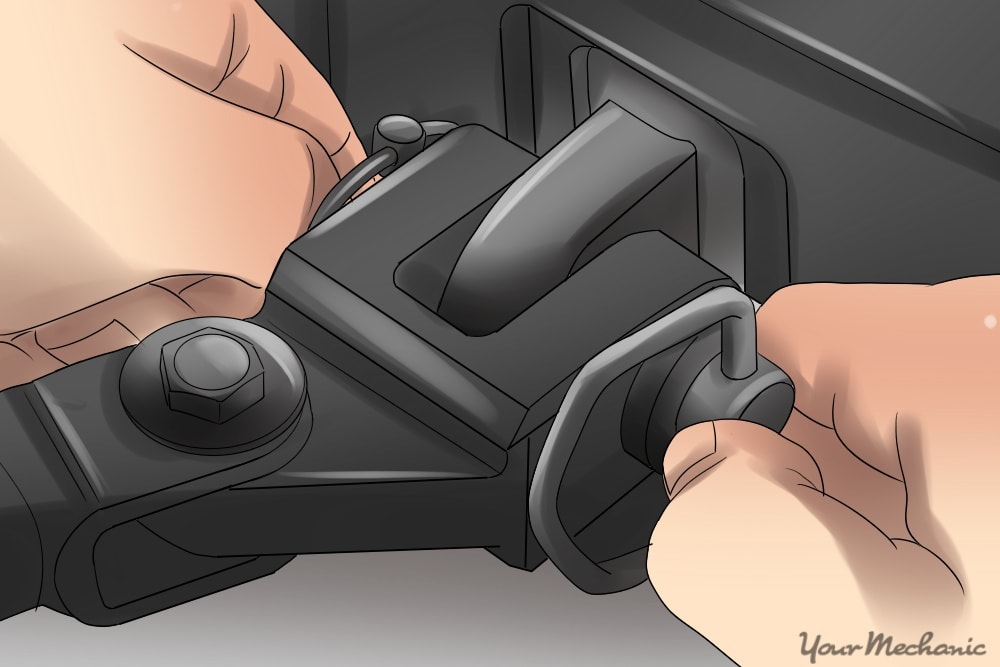
Step 1: Align the tow bar. Each mounting bracket will have a hole through it for a linch pin to slide into. Line the tow bar with these holes.
Step 2: Attach the pins. Once lined up, drop a linch pin into the hole, connecting the mounting bracket to the tow bar.
Flip the spring-loaded linch pin safety ring over to prevent the pin from coming loose.
- Tip: Other types of tow bar may have a vertical pin welded to it in order to align and connect with the mounting bracket. Install the bar, then put a linch pin through the vertical pin and flip the loop over to retain the pin securely.

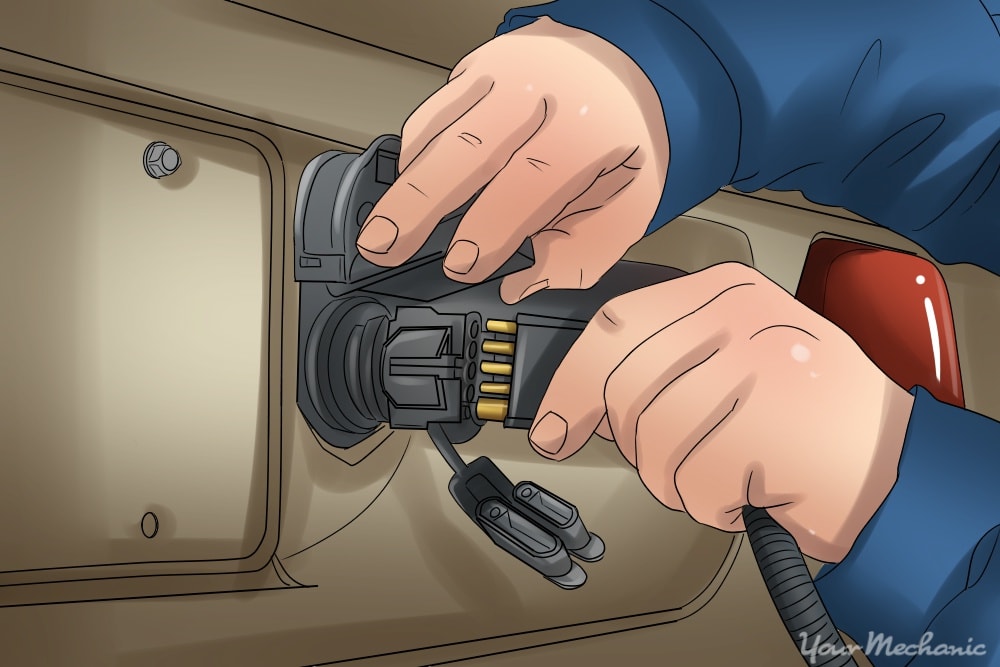
Step 3: Connect the tow bar to the trailer hitch on your RV. Some styles connect to a hitch ball while others are directly inserted into the receiver. Check what type of connector you have and then connect it as per the instructions.
Make sure the tow bar is installed securely.
Step 4: Attach safety cables to the car and the RV. The safety cables connect your vehicle to the RV in the event of an accident, damage or failure of the tow bar.
Attach the carabiner-style safety cable clips to their designated spot on the tow bar. Attach the safety clips to the trailer hitch, to the loops on either side of the receiver.
In some areas and different states, using a tow bar requires the use of additional braking methods depending on your tow vehicle and the vehicle you are towing. You may also be required to switch on additional brake and signal lights on your car while you are towing it.
Be aware of the regulations that apply to your vehicles and equip your vehicles properly.
