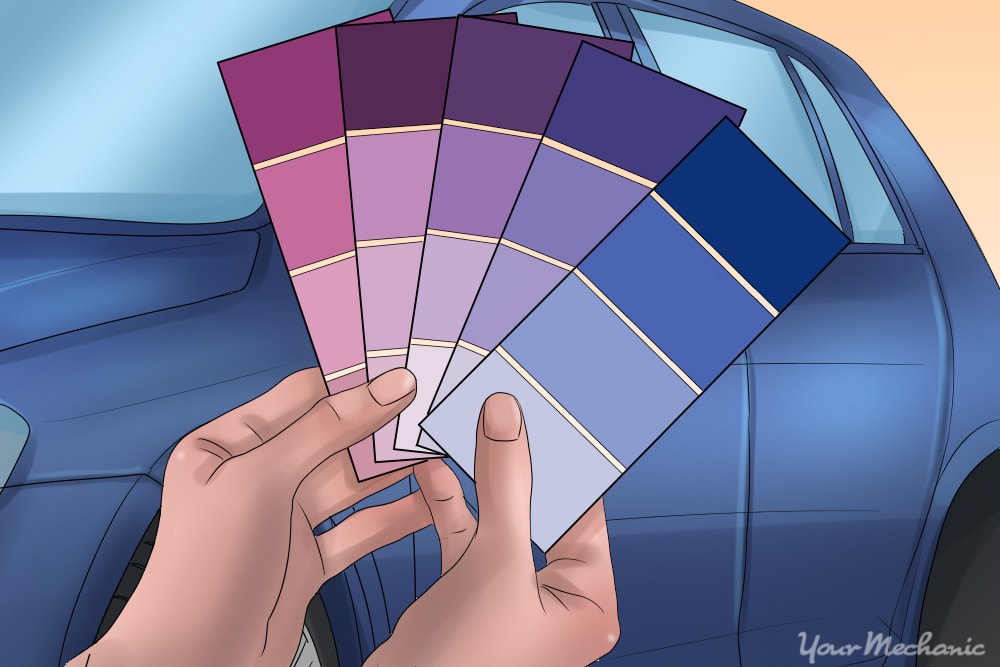
Plasti Dip is a relatively new product that can be used to temporarily change the color of your car. It is basically a liquid form of the material used to vinyl-wrap cars, and it can be sprayed on like normal paint. It dries into a flexible material that protects the paint underneath. If done correctly, Plasti Dip is not only a good tool for decorating the outside of your car, but also helps maintain the finish on the body and trim. Plasti Dip can withstand freezing temperatures and extensive direct sunlight without warping or melting, so it is highly durable. At the same time, the Plasti Dip is easy to remove and peels off when needed.
Part 1 of 2: Prepare your car for Plasti Dip
Materials Needed
- Buckets
- Coveralls or old, disposable clothing
- Goggles
- Lots of newspapers
- Painter’s tape in a variety of widths
- Painter’s mask
-
Plasti Dip
- Rubber gloves
- Razor blade or box cutter
- Soap
- Sponges
- Spray gun and trigger
- Towels
Water
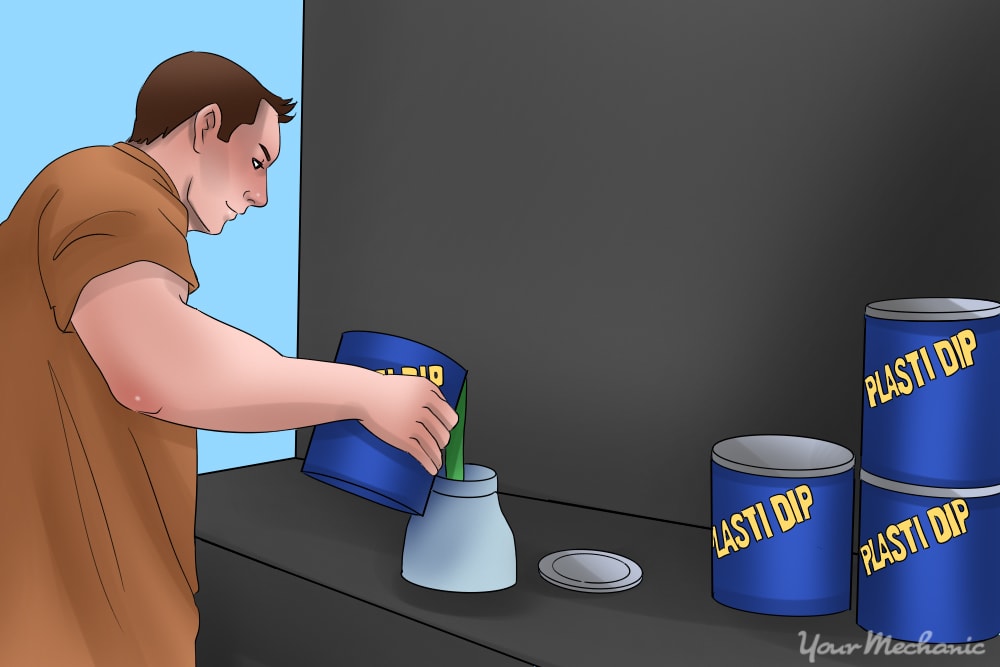
Note: If you are buying Plasti Dip in spray-cans and plan to cover the whole car, then expect to use on using up to 20 cans. A small car may only take 14-16 cans, but running out partway through could be a real problem, so get extra. If you are using a spray gun you will need at least 2 one-gallon buckets of Plasti Dip.
Step 1: Decide on a location. The next thing to do is to decide on a location where you will apply the Plasti Dip. Because the car will need to sit for a while to let the Plasti Dip dry after each coat, and since there are a lot of fumes involved in applying the Plasti Dip, location is essential. Here are some things to look for in a spot:
Ample ventilation for the fumes
Consistent lighting to help apply the Plasti Dip more evenly
A spot indoors, as it keeps debris from getting stuck in the Plasti Dip while it’s drying.
A shady area, as direct sunlight will make the Plasti Dip dry inconsistently and unevenly.
Step 2: Prepare for the Plasti Dip. Now the car needs to be prepared to have the Plasti Dip applied to it.
A solid application will result in the Plasti Dip looking great and lasting a long time. Here are some steps to take that will ensure a good result:
Step 3: Wash the car. Wash the car with soap and water, scrubbing any impurities on the surface of the paint until they are gone completely. The car should be rinsed several times to ensure there is nothing on the surface of the paint when Plasti Dip is applied.
Step 4: Allow the car to dry. More important than any other step, make sure to is dry the car very thoroughly. This will ensure that there is no moisture on the surface of the paint. Use dry towels to wipe the surface dry a couple of times before application.
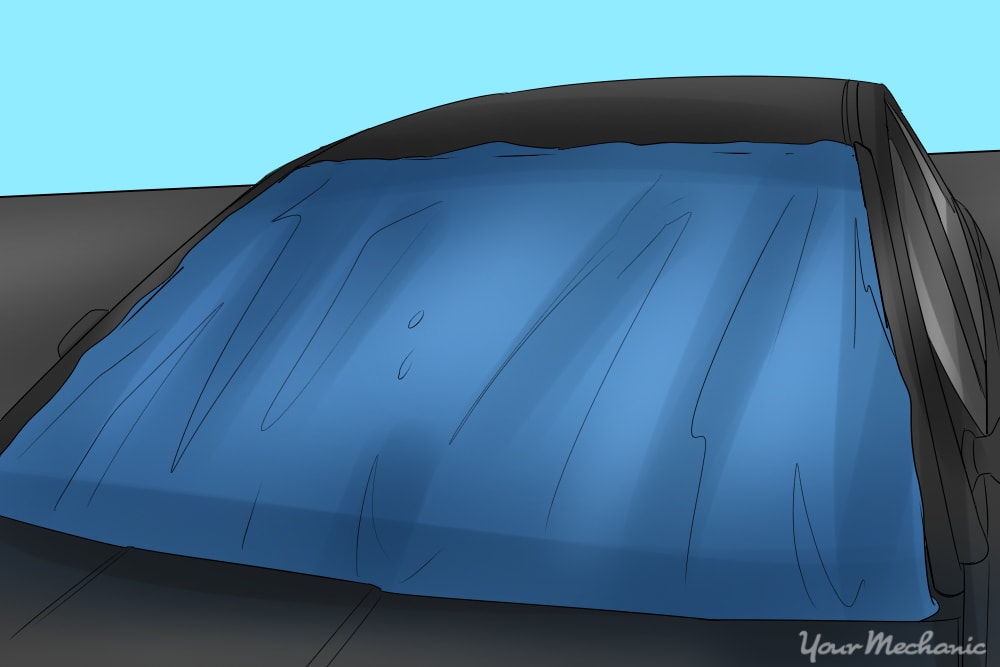
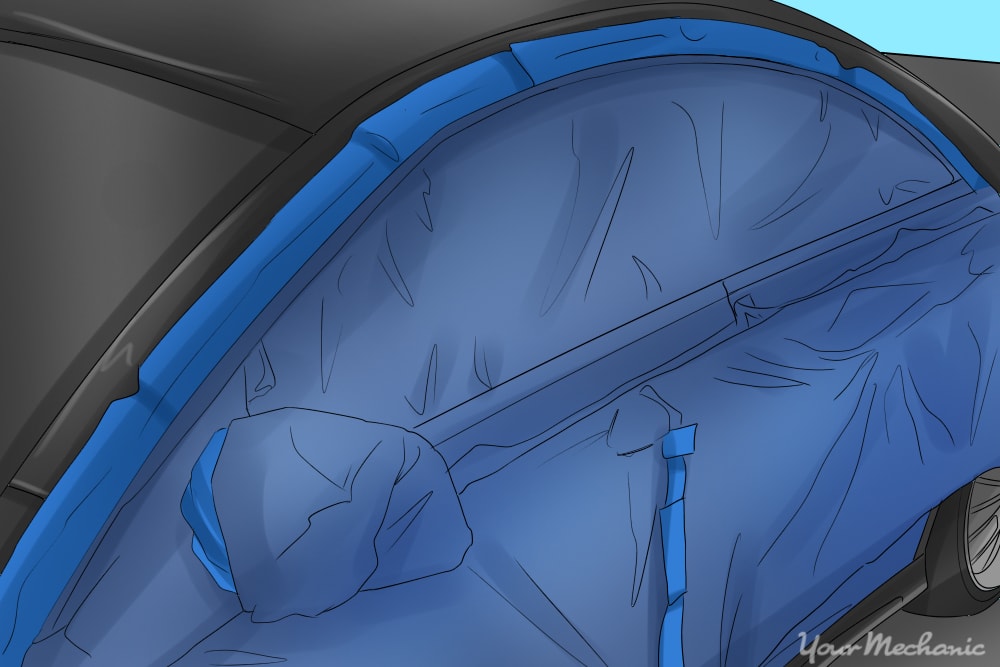
Step 5: Cover the windows. Use the painter’s tape and newspapers to cover up the windows and any other surfaces you do not wish to have applied with Plasti Dip.
Lights and emblems can be painted over, as once the Plasti Dip is dry, precise cuts around them will allow any extra to be peeled off.
Part 2 of 2: Applying the Plasti Dip
Step 1: Wear Proper Attire.Put on a painter’s mask, goggles, gloves, and coveralls.
- Tip: Keep some water on hand to quickly wash off anything that may spill on you throughout the process.
Step 2: Use your Plasti Dip. Cans are difficult but not impossible to use for the duration of time it takes to paint an entire car. It is best to use a professional spray gun for this task instead, since this will likely result in a more consistent finish.
- Note: Cans need to be shaken for at least a minute each to ensure the color is evenly mixed into the Plasti Dip, and gallon-size containers should be stirred for a minute or until the liquid is all one consistent tone.
Step 3: Prepare to Paint. Plan to paint 4-5 layers of Plasti Dip if you want a smooth consistent coat over the paint. A thicker coating also makes the material easier to peel off when you are done with it. This goes for everything you want to paint with Plasti Dip.
Step 4: Decide where to use Plasti Dip: Decide what parts are going to be Plasti Dipped and what parts are not. Lights and emblems can have the Plasti Dip peeled off easily, but it is better to tape off rubber trim and tires to prevent any material from getting on them.
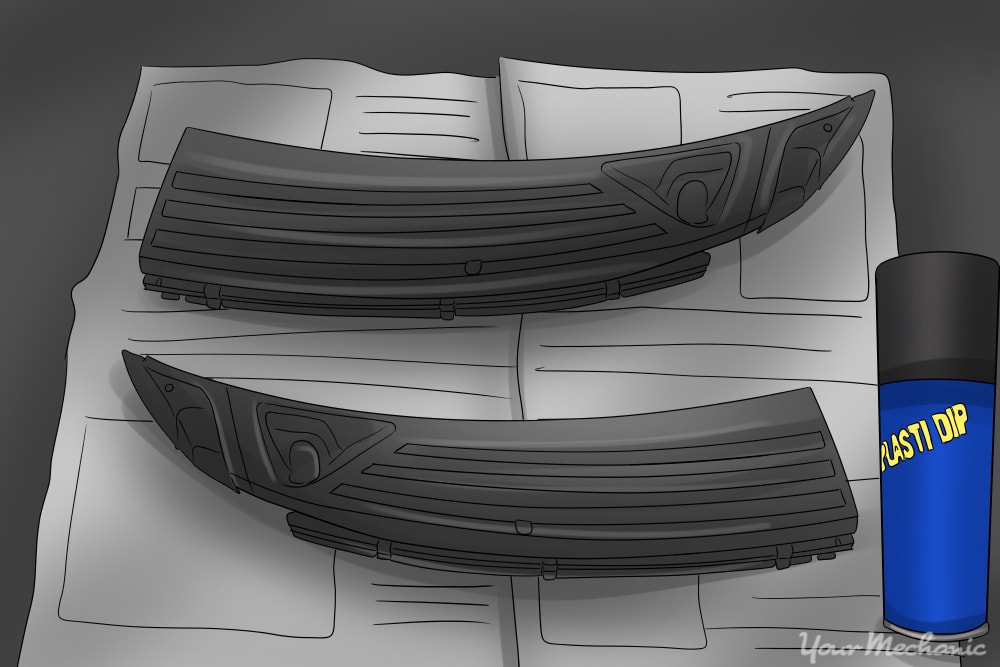
Grilles and trim pieces can be removed and painted separately, or they can be left in place and sprayed. Just be sure to protect pieces behind the grille before spraying it.
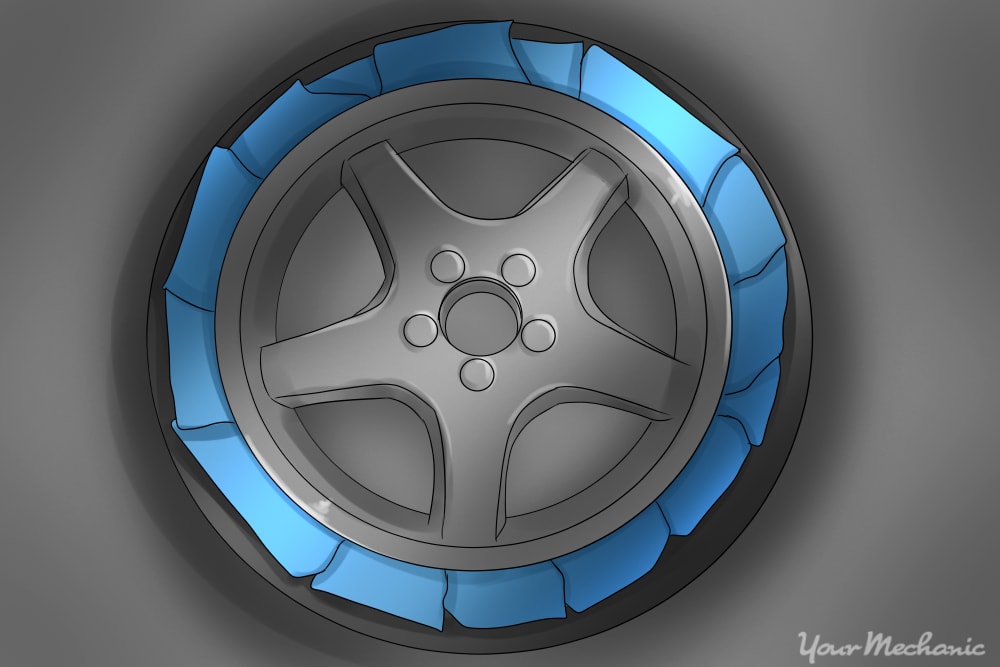
Step 5: Remove wheels. To Plasti Dip wheels properly, they should be removed from the car, washed, and dried.
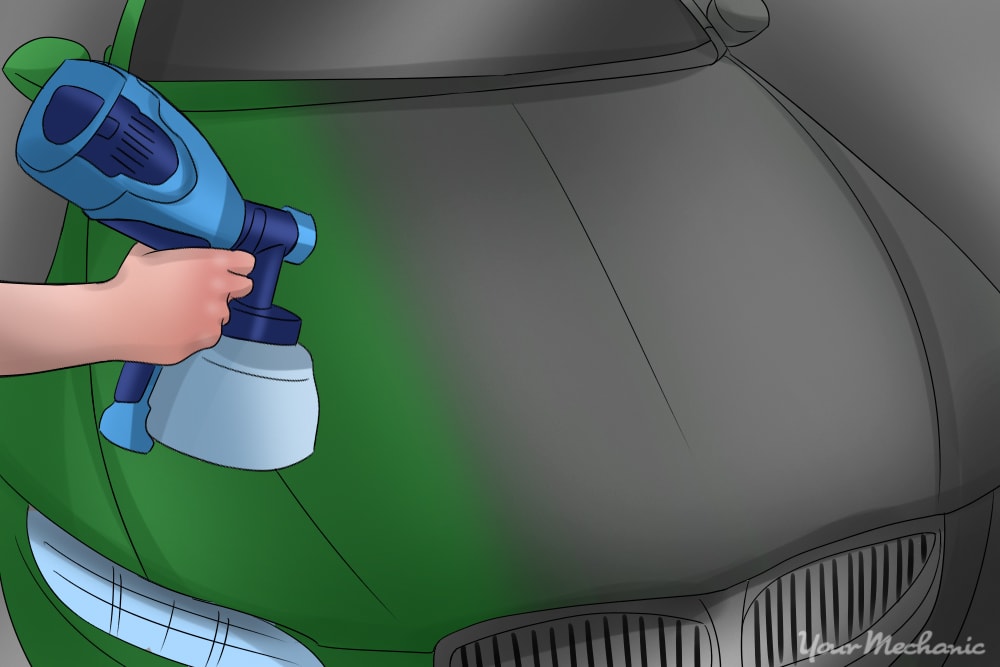
Step 6: Apply the paint. Keep the can or spray gun six inches away from the surface of the vehicle at all times when painting. Sweep back and forth and make sure not to pause on any spots.
- Note: The first coat is called the ‘bonding coat’ and needs to be a dusting of material over the original paint. It may seem counter-intuitive, but this allows the next few layers to adhere to both the car’s paint and the previous layers of Plasti Dip. Aim for 60% coverage.
Each coat needs to dry for 20-30 minutes before another can be added, so the fastest way to paint the entire car is to work in sections, switching between sections to allow the freshly-painted ones to dry while the dry ones receive another coat.
Coat everything smoothly and patiently, focusing on consistency above all else. Do not rush, because mistakes are be hard or impossible to correct.
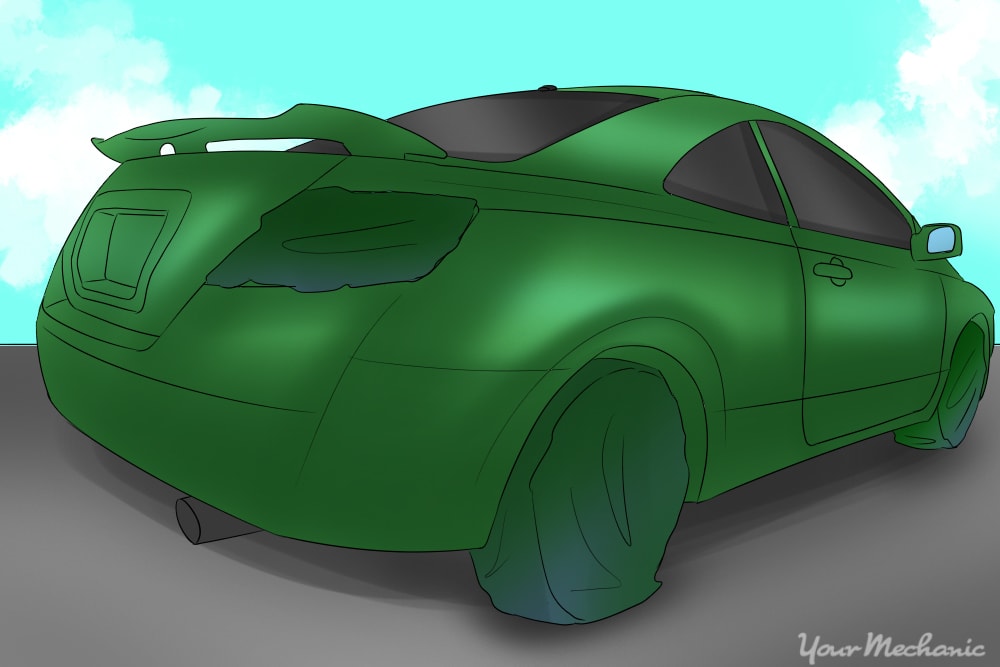
Once all of the coats are applied, it is time to remove all tape and paper. At any point where the Plasti Dip is touching tape, cut along the tape with a razor blade to ensure a good edge when the tape is removed. Cut around emblems and lights carefully with a razor and peel off the excess Plasti Dip.
If anywhere looks too thin, add another coat within 30 minutes and proceed normally.
Step 7: Allow the Car to Sit. It is essential that the car dry for at least four hours to allow the Plasti Dip to cure completely.
Do not let any moisture or debris come into contact with the surface of the car during this time. If this step is rushed, then it is likely that the finish will not be satisfactory.
Step 8: Once the Plasti Dip is dry. After the Plasti Dip is dry, you now have the factory paint protected by a tough, flexible material that looks professionally applied and can be removed easily. Simply locate an edge of the Plasti Dip and pull it up. Once a little bit comes off, the entire patch can be peeled off.
- Note: Once you have the process down, you can then change the color of your car whenever you like.
Plasti Dip is thus both an easy way to change the color of your car and an efficient way to protect the factory paint, ensuring that it has maximum life. This is something that can be done without too much trouble to the owner and is quick and painless to remove when you are ready. Whether you want to decorate your car with something new or preserve its finish, Plasti Dip is a viable option available to the average consumer.
