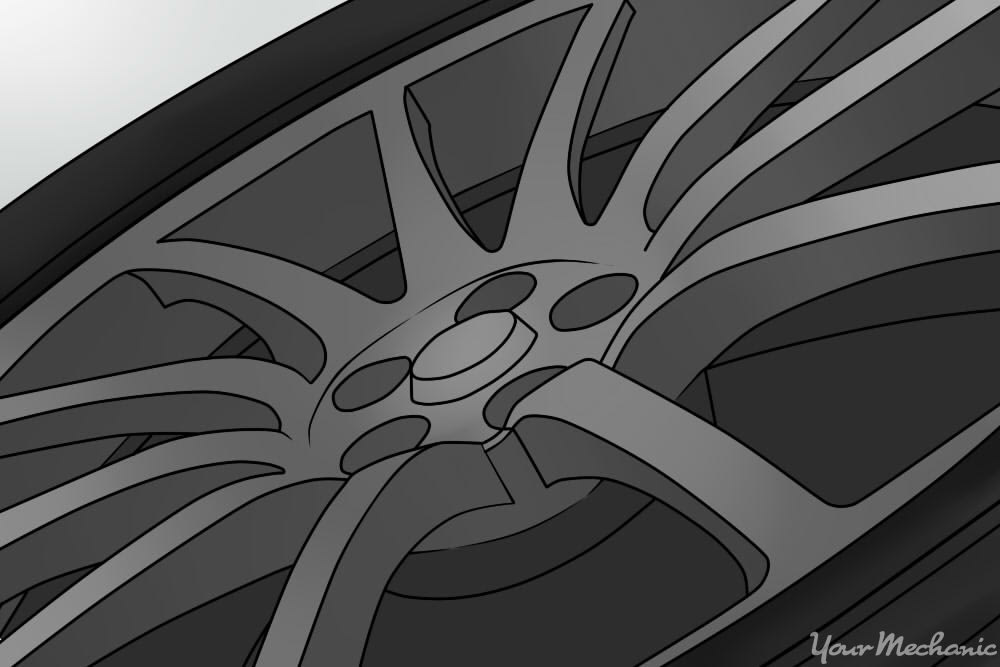

While there are many ways to update the look of your vehicle, one method that is often overlooked is painting the wheels. It is far cheaper and simpler than changing the entire color of your car or truck, and it can help differentiate your vehicle from the sea of similar makes and models on the road. This is a job that can be achieved at home with a little work over a weekend or any other time you do not need to drive for a couple of days since you will need to remove the wheels from your car or truck in order to paint them.
Painting your wheels is a relatively inexpensive way to achieve self-expression or switch up the look of your vehicle, but you can't just use any paint to do the job. Only use paint that is designated for wheels so that your hard work will last without it chipping or flaking under rough conditions, such as driving through tough terrain and the elements. In the long run, it’s worth paying a few extra dollars for the proper product to ensure your newly painted wheels retain their fresh look over time. Here is how to paint your car wheels:
How to paint your car wheels
-
Gather the correct materials - To begin painting your car wheels, you will need the following: Jack lift (a jack lift also comes with the car), Jack stands, and a Tire tool.
Tip: If you would like to remove all of your wheels and paint them at once, you will need four jacks or blocks to suspend the vehicle in the air and prevent damage from the ground.
-
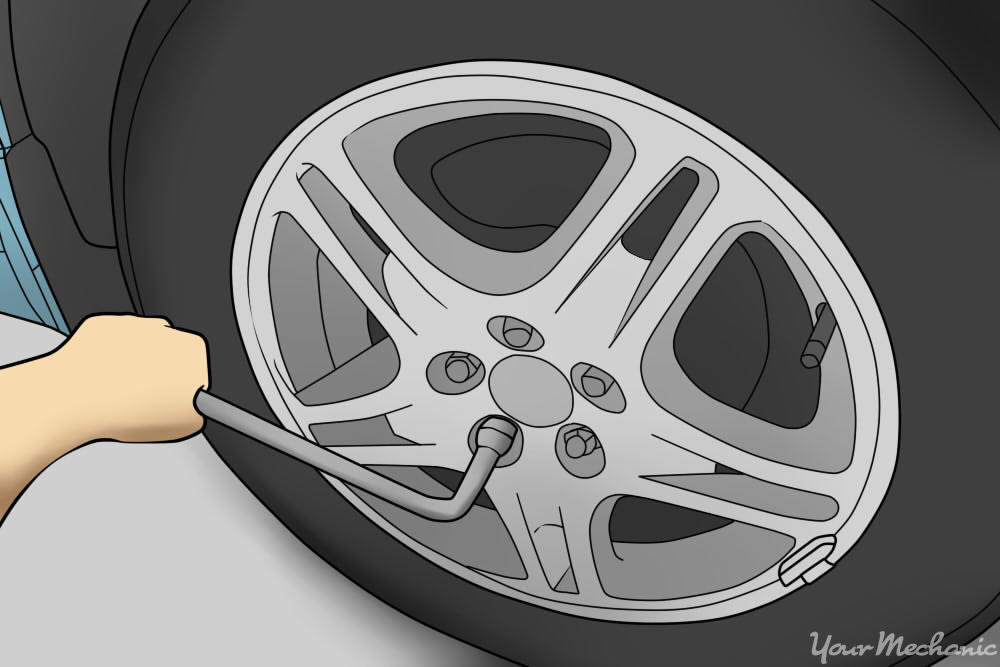
Loosen the lug nuts - With a tire tool, use a counterclockwise rotation to loosen the lug nuts.
Warning: Do not completely remove the lug nuts at this point. You will want to do this after lifting the car with to avoid the tire coming off and the car falling.
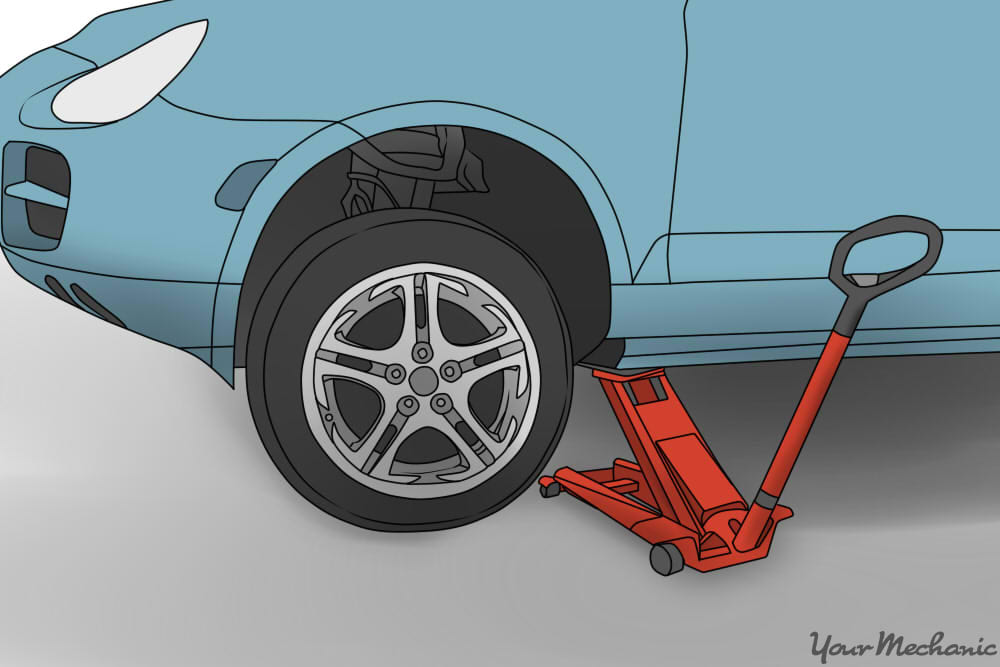
Lift the car with a jack - Use a jack lift to raise the tire by at least 1-2 inches from the ground.
-
Remove the lug nuts - Use a counter-clockwise rotation with your tire tool to completely remove the lug nuts.
Tip: Place the lug nuts somewhere where they won't roll away and where you can easily find them later.
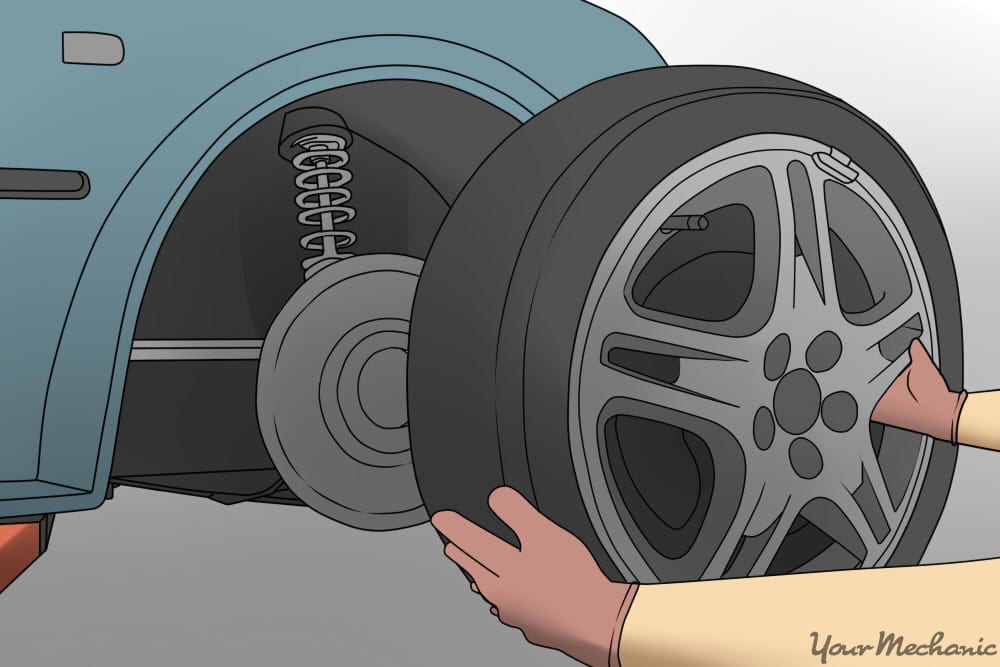
Remove the tire - Pull the tire off of your vehicle in a smooth outward motion using both hands, leaving the jack in place.
Wash your wheel - To thoroughly wash your wheel and tire, you will need the following materials: Bucket, Degreaser, Drop cloth or tarp, Mild detergent (such as dish soap), Sponge or cloth, and Water.
-
Prepare soap and water - Mix soap and warm water in a container using 1 parts soap for every 4 parts of water.
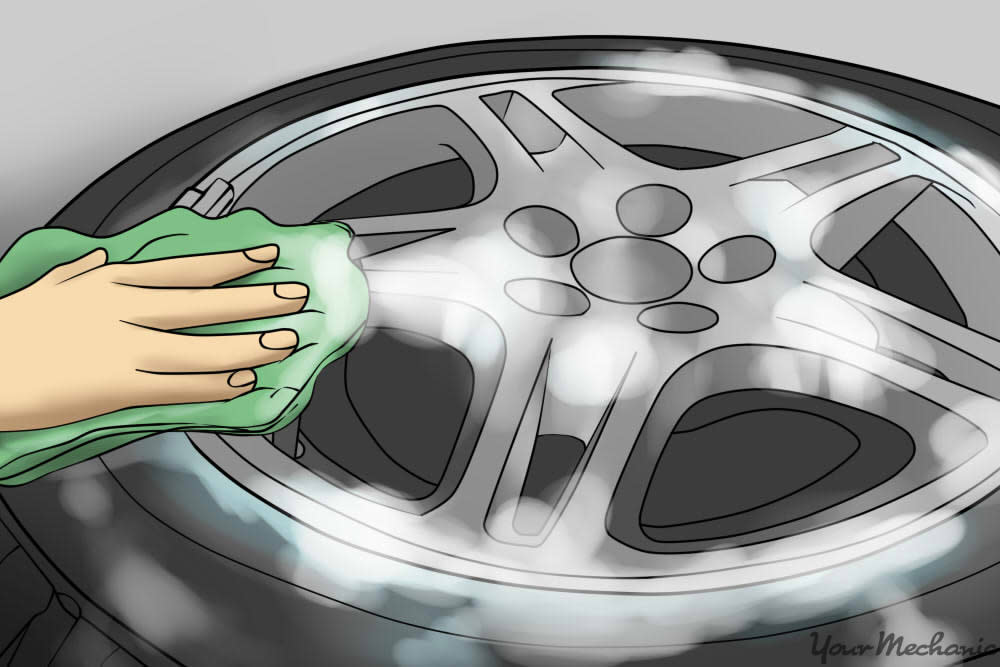
Clean the wheel - Wash off any dirt and debris from both the wheel and the tire with a sponge or cloth and the soapy mix. Rinse with water and repeat on the reverse side.
Apply degreaser - This product ensures you remove more stubborn particles, such as brake dust and heavy buildups of grease or dirt. Apply a wheel and tire degreaser to one side of the wheel according to the particular product's instructions and then rinse. Repeat this step on the other side of the wheel.
Let the tire air dry - Allow your tire to air dry on a clean drop cloth or tarp with the side you wish to paint upwards.
Prepare your wheel for painting - To adequately prepare your wheel for painting, you will need the following: 1,000-grit sandpaper, Cloth, Mineral spirits, and Water.
-
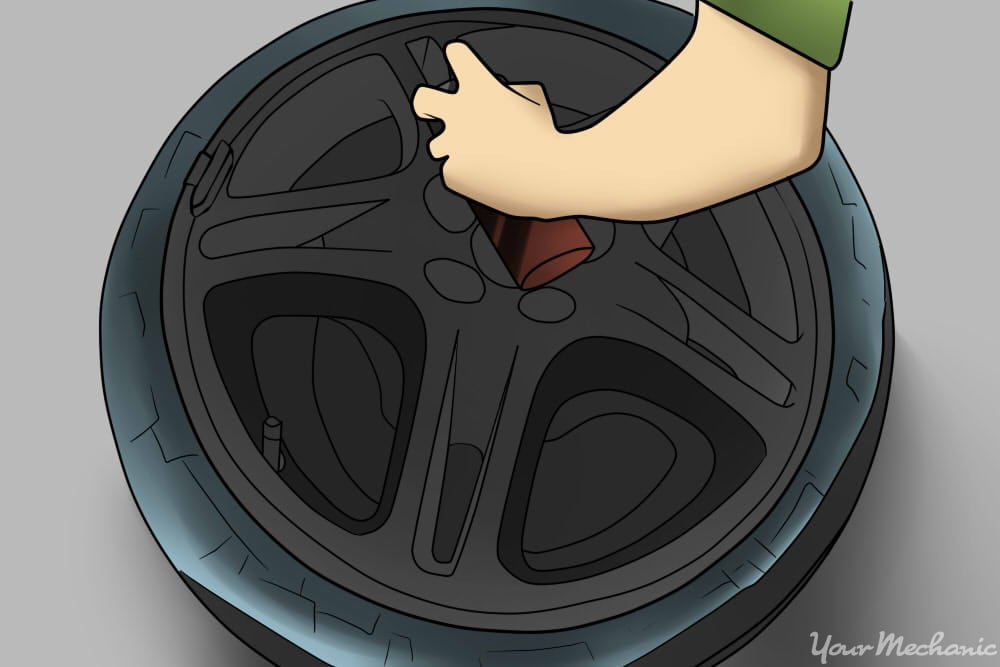
Sanding - Using the 1,000-grit sandpaper, sand off any rust or uneven existing paint. You may or may not reveal the metal beneath any previous paint or finishing. Run your fingers across the surface to check for it to feel smooth without any obvious bumps or nicks that may mar the appearance of your final product.
Tip: If painting a wheel that has spokes or similar details, you will need to prep and paint both sides of the wheel for an even appearance.
-
Rinse the wheel - Rinse off the resulting grit and dust with water and liberally apply mineral spirits to your wheel using a cloth. The mineral spirits will remove any oils that could interfere with the smooth application of your paint. Rinse again with water and allow the wheel to thoroughly air dry.
Warning: Mineral spirits can cause irritation on your skin. If you have sensitive skin, wear plastic gloves to protect your hands.
-
Apply primer paint - Before getting started with the primer painting, be sure you have the following: Drop cloth or tarp, Masking tape, Newspaper (optional), and Primer spray.
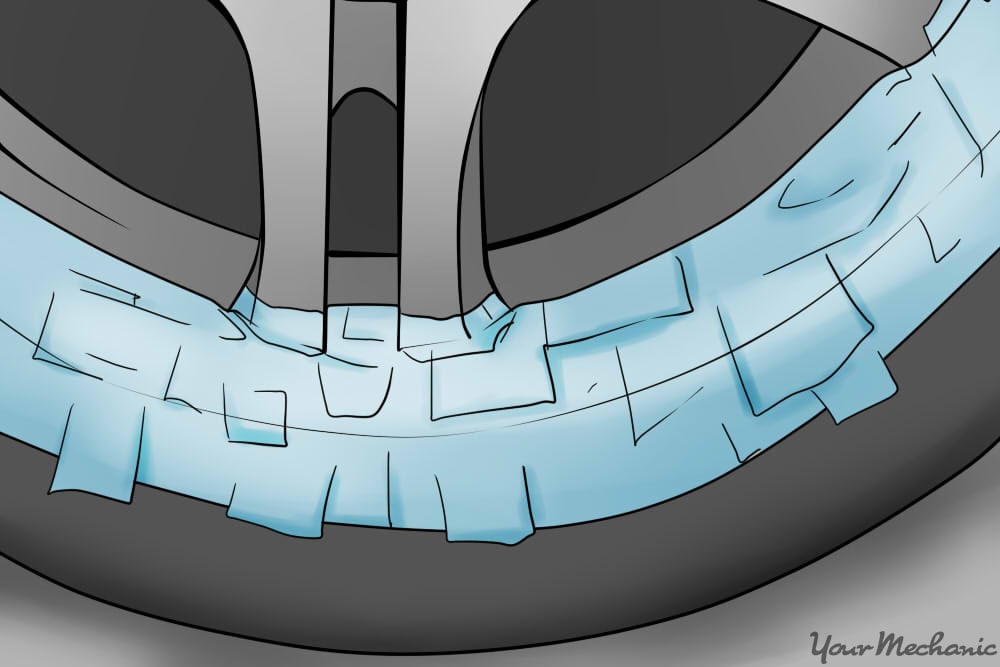
Apply masking tape - Place your tire on a drop cloth or tarp and put masking tape on the surfaces surrounding the wheel where you want to paint. You may also cover your tire’s rubber with newspaper to protect it from accidentally getting some primer spray on it.
Spray primer on the rim - Spray enough primer to evenly coat the surface for the first coat. Apply at least three coats in total, allowing 10-15 minutes of drying time between coats and 30 minutes of drying time after the final coat. For intricate wheel designs, such as spokes, apply primer to the reverse side of the wheel as well.
Thoroughly shake up your paint can - This will mix the paint and separate clumps inside so that the paint is more easily sprayed.
-
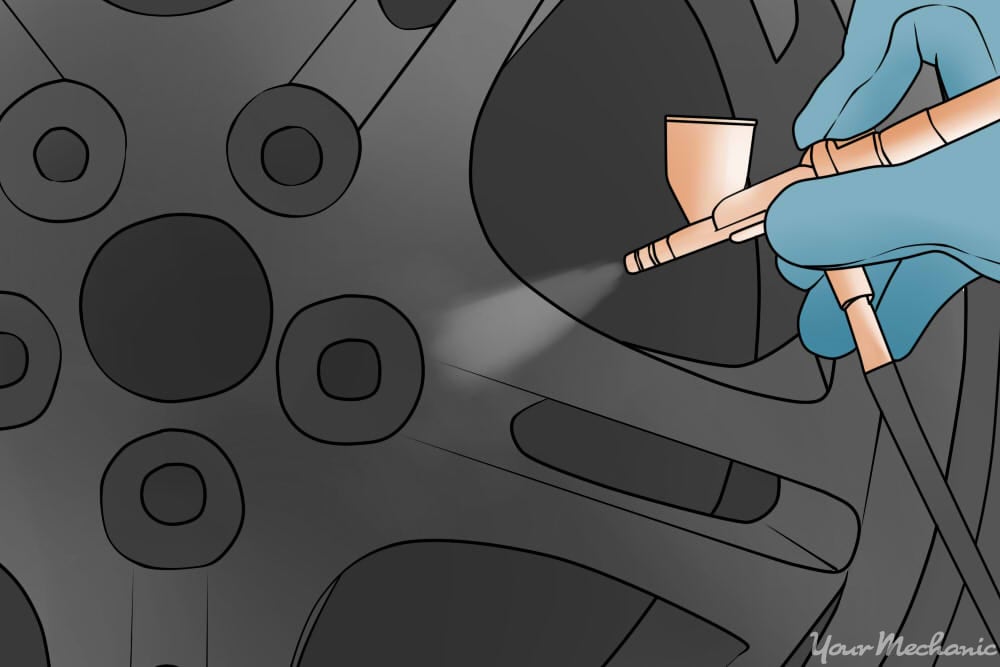
Spray the first coat - Continuing to work on a drop cloth or tarp, spray a thin coat of paint onto your wheel's surface, then allow it to dry for 10-15 minutes before moving forward. By applying thin coats of paint, you prevent dripping, which can mar the appearance of your paint job and nullify your efforts to improve the aesthetics of your wheel.
-
Apply additional coats of paint - Apply at least two coats of paint to the front side (and reverse side, if applicable), allowing 10-15 minutes of drying time between coats and 30 minutes after your final coat.
Tip: Refer to your paint brand's instructions for the ideal number of coats for the best coverage on your wheel. Most recommend 3-4 coats of paint.
-
Spray a clear coat and place the wheel back on - Before spraying a clear coat, gather your Clear protection paint, and a Tire tool.
-
Apply protection coating - Spray a thin coat of clear coat to your painted surface to protect the color from fading or chipping over time. Repeat until you have three coats and allow 10-15 minutes to dry between coats.
Tip: You should also apply clear coating the inside of your wheels if you applied new paint there as well.
-
Allow time for air dry - After applying the final coat and waiting 10-15 minutes, allow your paint job to dry undisturbed for approximately 24 hours. When the wheel is fully dry, carefully remove the masking tape from around the wheel.
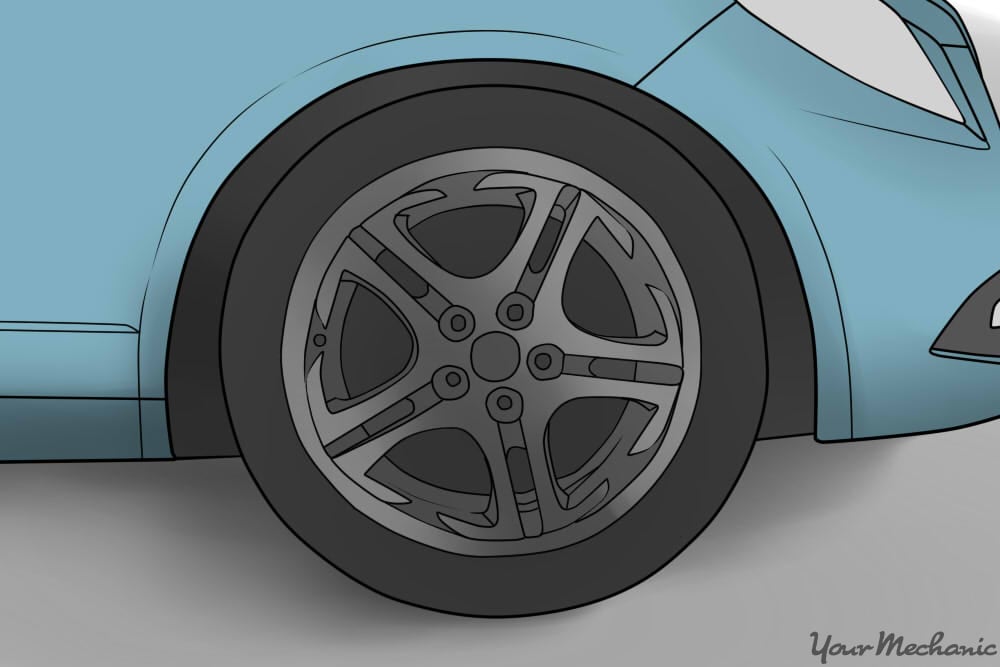
Place the wheel back on vehicle - Place your wheel(s) back on its hub and tighten the lug nuts using your tire tool.
Painting your stock wheels can create a custom appearance for your vehicle at a relatively low cost. If you would like to have this done on your vehicle, you may opt to consult a professional to do the job for you. This may be a bit more costly, but with higher quality on your final product. If you are willing to give this a shot yourself, painting your wheels can be satisfying and fun if you follow the proper steps.


