As your car ages, there is probably nothing more annoying than a sagging headliner. But a vehicle doesn’t necessarily have to be old for the ceiling fabric and foam to start to deteriorate. Faulty headliner installations are a problem with new vehicles as well as with older ones. In either case, the idea of headliner falling over your head while driving on the freeway is a scary thought.
When the headliner starts to fall down, temporary solutions (like twist-in pins) might seem appealing at first, but will cause damage the headliner board. When it comes time for a permanent repair, this damage will only make the job more difficult. You must completely replace the fabric of your headliner.
Hiring a professional to fix your vehicle’s headliner can be an expensive solution. If you have about two hours and some basic crafting skills, here's how you can replace your car's headliner:
How to replace a car headliner
-
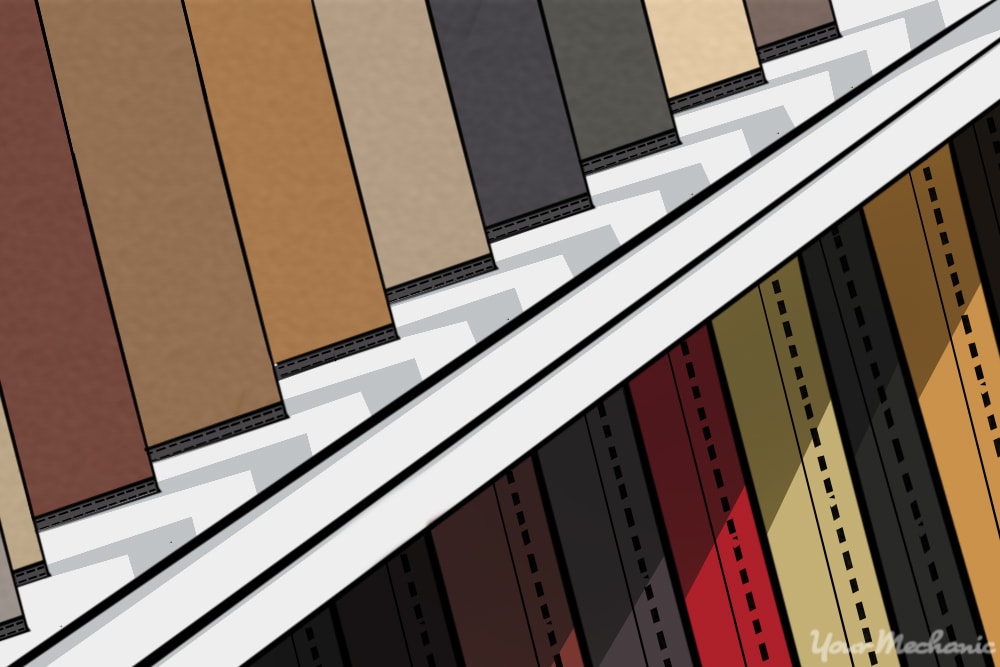
Gather the correct materials - Fabric (make sure you have a bit more than you need), Hobby knife/X-acto knife, Panel popper tool (optional, but makes the job easier), Screwdriver(s), Sound-deadening foam/heat-blocker (optional), Spray adhesive, and a Wire brush.
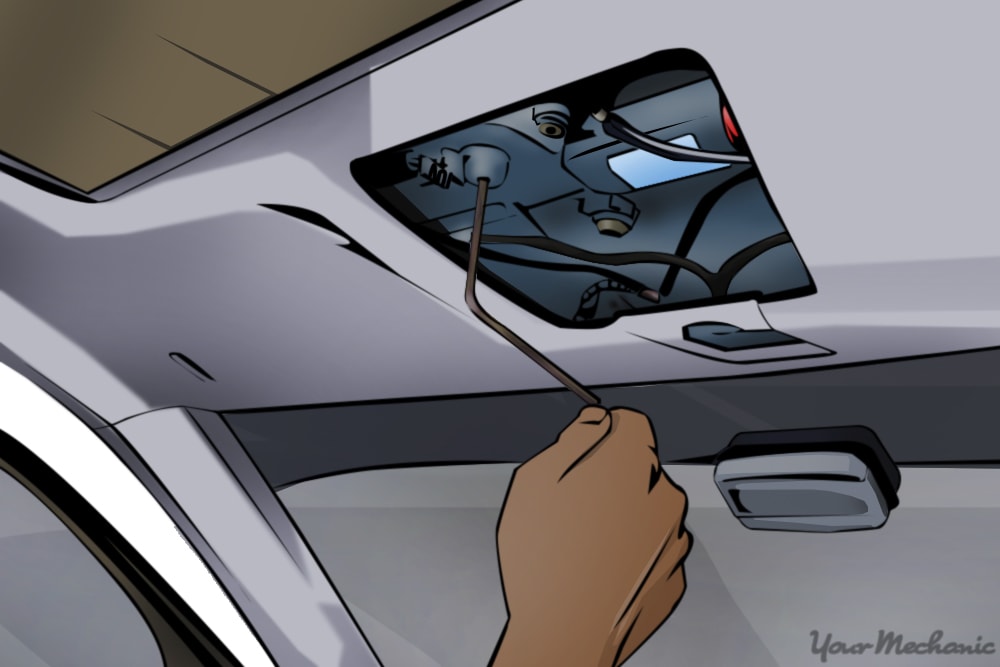
Remove anything securing the headliner - Unscrew, unbolt, or unclip anything that gets in the way of removing the headliner board or holds the headliner board to the roof. This includes Sun visors, Rearview mirror, Clothes hangers, Side handles, Dome lights, Seat belt covers, and Speakers.
-
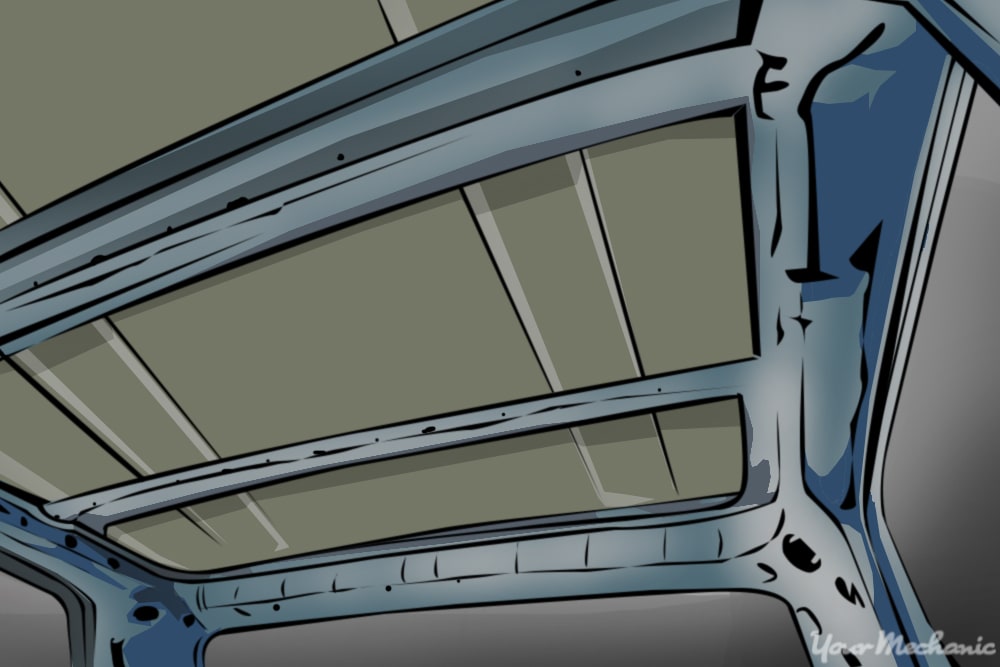
Take out the headliner - Once you’ve removed everything that holds the headliner board to the roof, make sure it is completely loose and take it out. Be very careful while maneuvering the headliner board so you don’t damage it.
Tip: The driver’s side and passenger’s side top corners can be tricky and brittle. Be extra cautious here. Recline the seats completely to give yourself more space to work. It might be easiest to take the headliner board out from the front passenger side door.
-
Examine soundproofing foam - While the roof is exposed, take time to look at the condition of the sound proofing foam to see whether or not it needs reinforcement or replacement.
Tip: Do you live in a hotter climate? Maybe you’d like to reinforce your soundproofing foam with heat-blocker, which will not only keep your car cooler, but will protect the headliner replacement job you’re working on now. It should be available at your local home improvement store.
-
Scrape off flaky styrofoam material - Now that you’ve removed the headboard, lay it on a flat work surface. You’ll notice that it has dried Styrofoam material that flakes off. Take a wire brush or lightweight sandpaper and scrape it all off. If any of the corners were torn, you can use industrial strength glue to fix it. Repeat more than once for optimum cleanliness.
Tip: Be gentle when scraping so you don’t damage the board.
-
Lay the new fabric over the board and cut it to size - Now that the headliner board is clean, take the fabric and lay it over the board to size it.
Tip: Make sure when you’re cutting it, you leave a little extra material around the sides. You can always take a little more off, but you can’t add it back.
-
Glue the fabric to the board - Lay the cut fabric over the headliner board in the position you want it glued. Fold half the fabric back to expose half the headliner board. Spray the board with adhesive and smooth the fabric over it, pulling it taut so there are no wrinkles. Also, be sure to follow the contour as best you can, working it with your palms and fingertips. Repeat for the other half.
Tip: Adhesive spray dries fast, so you need to work fast. Since there is little room for error, if half the board is too much, try doing it in quarters. If you mess up and need to peel it back, you might only be able to do this one time or you risk tearing the fabric.
-
Fix the edges and let the adhesive dry - Turn the headliner board over and fix the remaining material to the board.
Warning: If you damaged corners of the board in any way, this is your chance to return some of the integrity of the structure. Now, as per the instructions on the adhesive spray, let the adhesive dry.
-
Cut guide holes - Since the fabric is covering up all the holes you need to screw into, use the hobby knife to cut guide holes.
Tip: Don’t be tempted to cut completely around the holes. Not only could this take much longer, but you might leave a gaping area around the holes that the screws and bolts don’t cover.
-
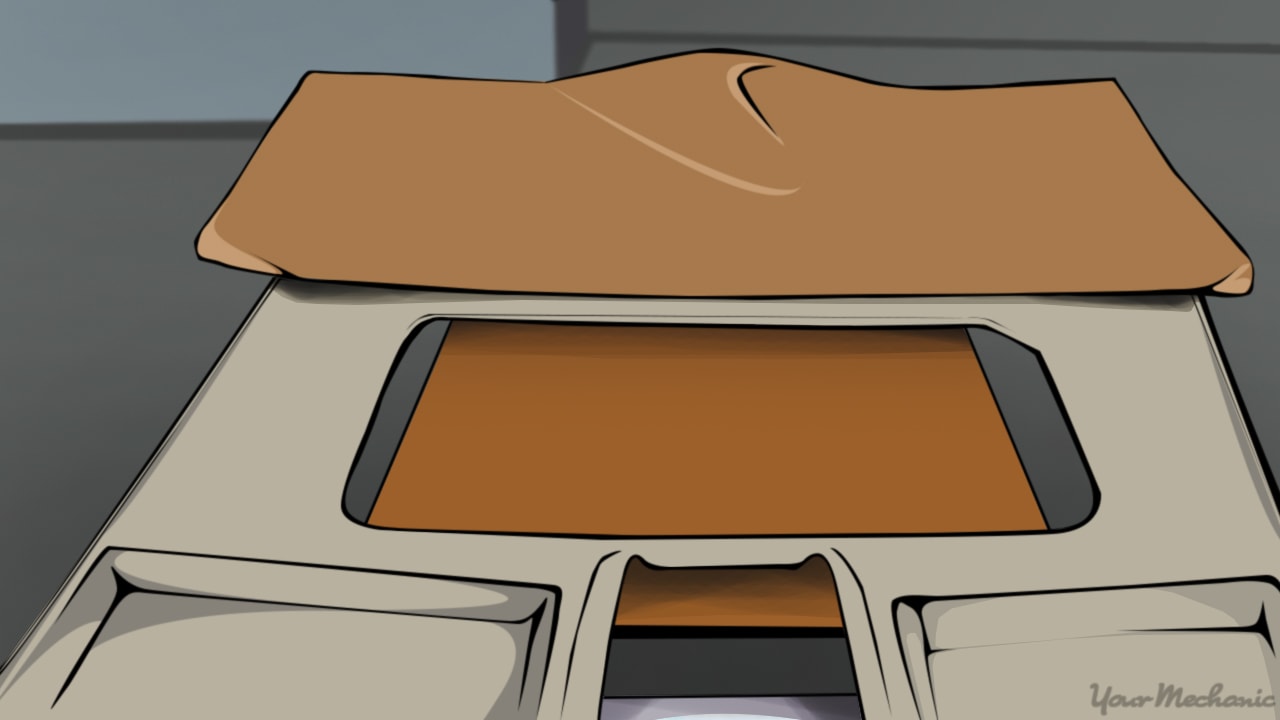
Reinstall the headliner - Carefully fit the headliner board back into the vehicle and refit the accessories. Patience is key here.
Tip: It is helpful to have someone hold the headliner board while you do the refitting. You might want to start by refitting the dome light. From there you can move the headliner around until it fits in perfectly. Be sure not to snag the headliner fabric with the knife or the screws, to avoid tearing.

Taking care of your headliner can make a huge difference when it comes to maintaining the appearance of your car. If you take the time to replace or repair any damaged material on your headliner yourself, you can drastically improve the overall aesthetic of your vehicle’s interior and also save money in the process.
