
Cleaning the interior of your car serves several purposes. It can:
Increase your car’s value if you are selling it
Extend the life of your vinyl or leather components such as the dashboard and seats
Improve your satisfaction with your vehicle
Services that clean vehicles are expensive. Interior detailing can be as simple as vacuuming the carpets and floor mats, and ranges into full detailing including carpet shampooing, vinyl cleaning and dressing, and leather conditioning.
If you want to save money, you can clean your vehicle on your own. Depending on how in-depth you want to clean your vehicle, it can range from less than an hour to four or more hours of your time. The end result will be the satisfaction of a job well done, a clean vehicle, and more money in your pocket.
- Tip: Take everything out of your car regardless of how much of a deep clean you would like to perform. Throw out any garbage and store any seasonal items like a snow brush or scraper in the trunk or in your garage if they are not needed.
Part 1 of 4: Vacuum up loose dirt
Materials Needed
- Crevice tool
- Extension cord (if needed for vacuum)
- Upholstery attachment without bristles
- Vacuum cleaner (recommended: ShopVac wet/dry vacuum)
Step 1: Remove your floor mats if equipped. Carefully lift out your mats whether they are rubber or carpet floor mats.
- Once they are outside your vehicle, dump off the loose dirt and gravel. Beat them lightly with a broomstick or against a wall.
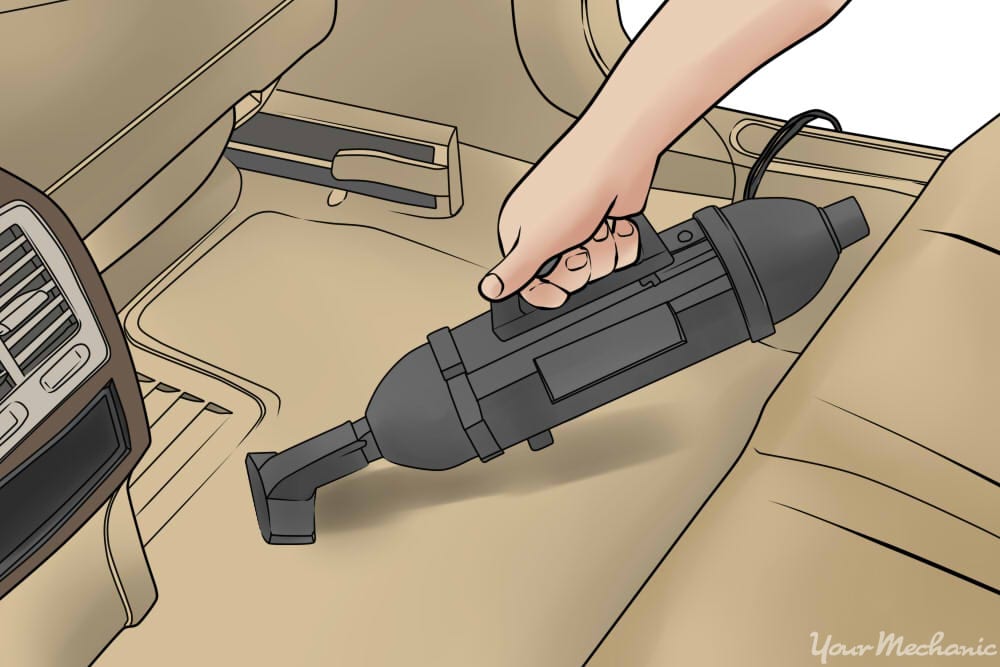
Step 2: Vacuum the floors. Use an upholstery attachment without bristles on the vacuum hose and turn the vacuum cleaner on.
Run the vacuum over all the carpeted surfaces, first picking up loose dirt and gravel.
Once the bulk of the dirt has been vacuumed up, go over the carpet again with the same attachment, agitating the carpet with the vacuum attachment in short back and forth strokes.
This loosens dirt and dust that is deeper in the carpet and sucks it out.
Pay special attention to the area around the pedals on the front driver’s side.
Reach the vacuum end as far under the seats as possible to pick up dirt and dust that collect there.
Vacuum the floor mats thoroughly. Pass the vacuum over them several times as dirt and dust get embedded deep in the fibers.
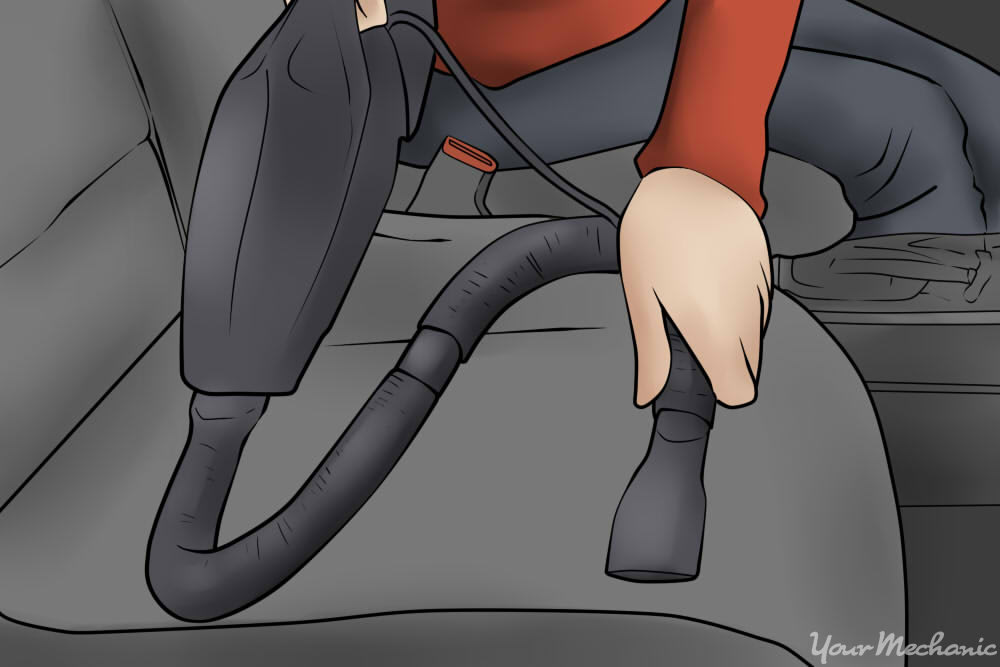
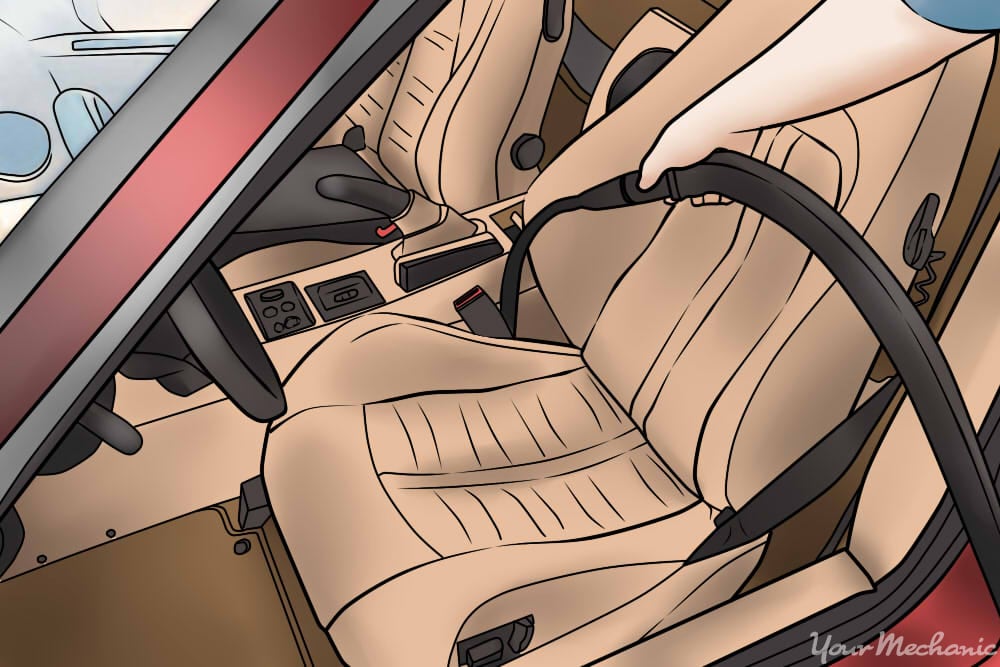
Step 3: Vacuum the seats. Pick up any loose dirt or dust from the seats with the upholstery attachment.
Vacuum the whole seat surface. The vacuum will suck some dust out of fabric seat covers and cushions.
Warning: Use caution when vacuuming under seats. There are wiring harnesses and sensors that can be damaged if the vacuum catches on them and breaks the wires.
Step 4: Vacuum the edges. Once all the carpets have been vacuumed, put the crevice tool on the vacuum hose and vacuum all the edges.
- Get into all the tight areas that the upholstery nozzle can’t reach including carpeted areas and seat surfaces and cracks.
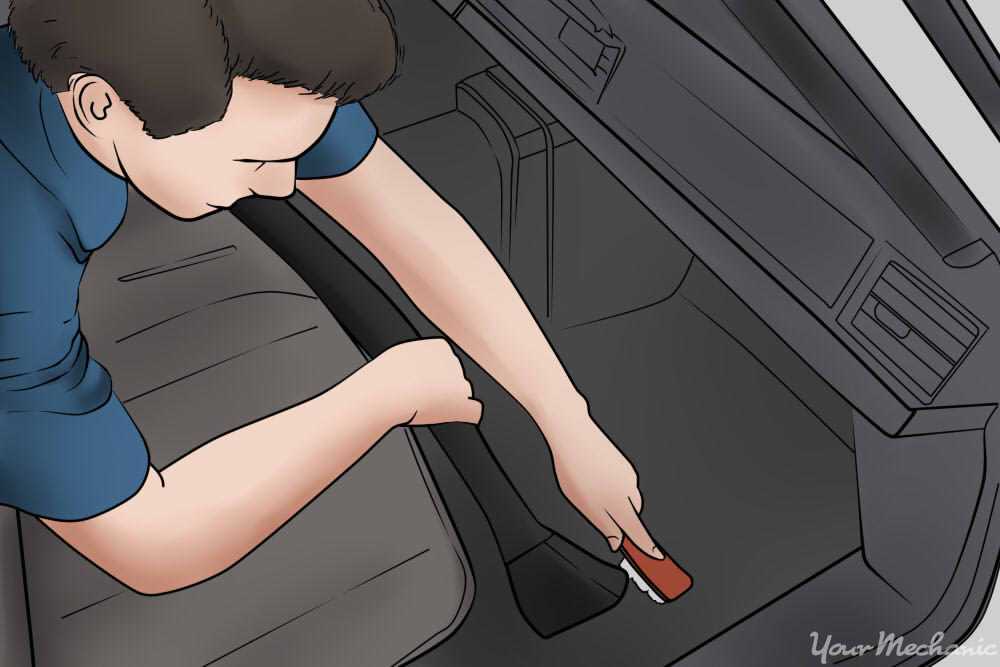
Step 5: Use soap and water for vinyl or rubber. If you have vinyl or rubber floors on your truck or car, you can clean them easily with a bucket of soap and water and a rag or brush.
Liberally apply soapy water to the rubber floor with a rag.
Scrub the floor with a stiff-bristled brush to lift dirt from the textured vinyl.
Use either the wet/dry vacuum to suck up excess water or wipe dry with a clean cloth.
It can take two or three washes for a vinyl floor to get clean depending on the amount of soiling there is.
Part 2 of 4: Cleaning vinyl and plastic
Materials Needed
- Several clean rags or microfiber cloths
- Vinyl cleaner (recommended: Blue Magic Vinyl and Leather Cleaner)
Vinyl and plastic components collect dust and make your car look old and unkempt. Aside from cleaning the floors, cleaning the vinyl makes the greatest restorative difference when you detail your car.
Step 1: Wipe down plastic and vinyl areas. Using a clean cloth or rag, wipe down all the plastic and vinyl surfaces to remove dust and dirt buildup.
- If an area is particularly dirty or soiled, leave it until the end to prevent spreading the concentrated dirt to other areas.
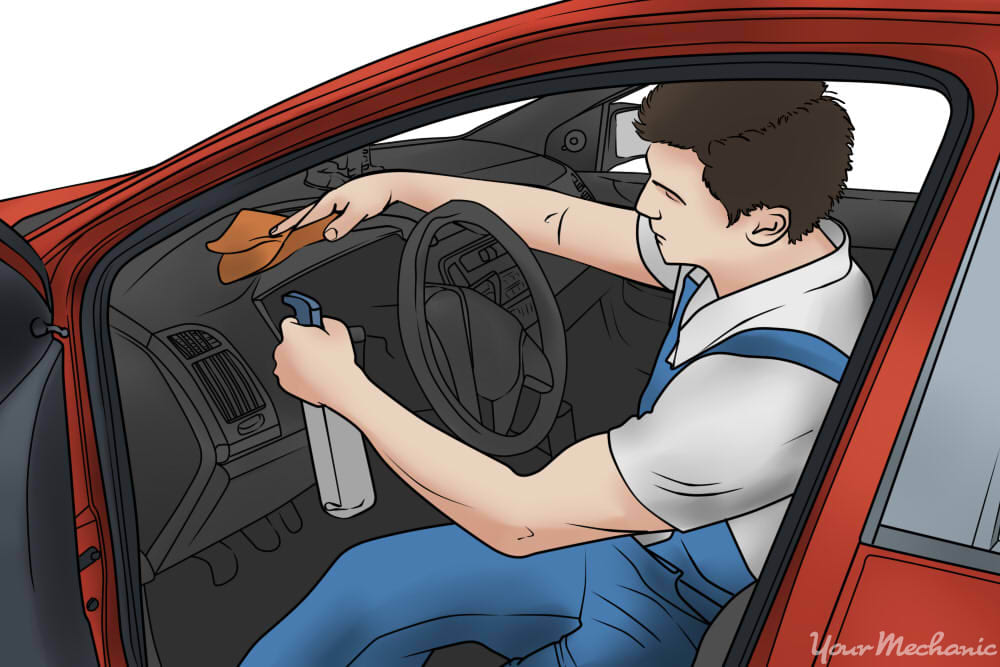
Step 2: Apply vinyl cleaner to cloth. Spray your vinyl cleaner onto a clean rag or microfiber cloth.
- Tip: Always spray your cleaner onto your cloth first. Spraying directly onto vinyl surfaces will inadvertently mist your cleaner onto your window glass, making them more difficult to clean later on.
Step 3: Wipe off vinyl surfaces. Wipe the vinyl cleaner onto the surfaces you are cleaning.
Use the palm of your hand in the cloth to get the greatest surface area at a time, reducing the length of time it will take to clean your car.
Wipe down the dash panel, the steering wheel column covers, the glove box, center console, and door panels.
Warning: Do not apply vinyl cleaner or dressing to the steering wheel itself. It can cause the steering wheel to be slippery and you may lose control of your vehicle when driving.
Step 4: Remove excess cleaner with cloth. Use a microfiber cloth to wipe the cleaner from the vinyl parts.
If part of your cloth gets too dirty, use another clean section of the cloth. If the whole cloth is dirty, use a new one.
Wipe until an even, streak-free finish is achieved.
Part 3 of 4: Cleaning leather
Materials Needed
- Leather cleaner (recommended: Blue Magic Vinyl and Leather Cleaner)
- Leather conditioner (recommended: Leather Honey Leather Conditioner)
- Microfiber cloths or rags
If your vehicle is equipped with leather seats, it is incredibly important to clean and condition them. Leather conditioner should be applied every six months to keep it supple and moisturized, preventing cracking and tears from occurring.
Step 1: Spray leather cleaner onto a clean rag. Wipe all the leather seating surfaces with the cleaner, making sure to get the sides and the crevices as well as you can.
- Allow the cleaner to fully dry before applying the conditioner.
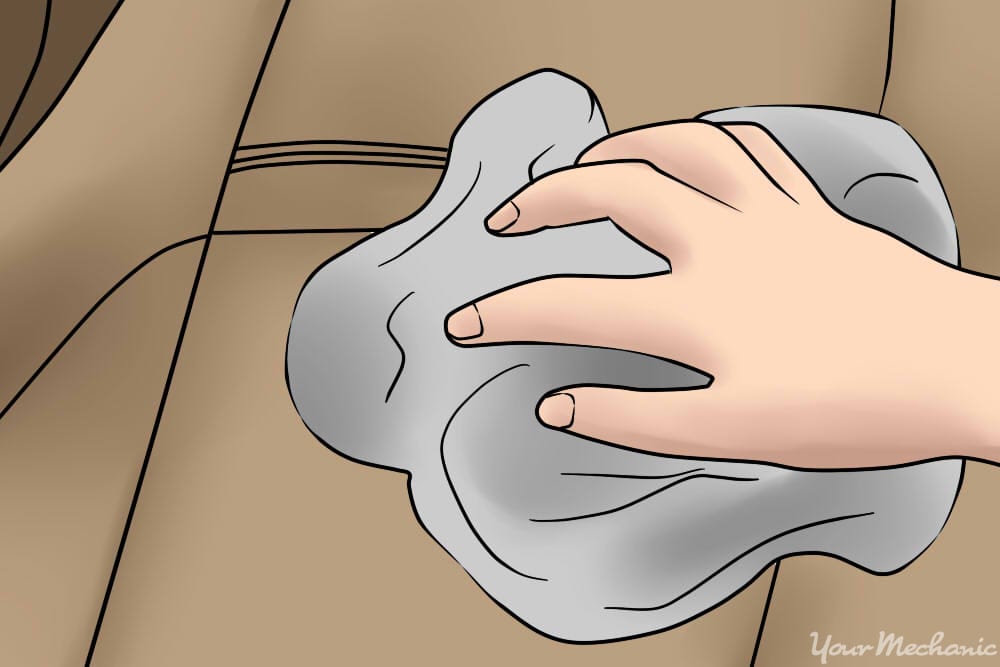
Step 2: Use leather conditioner. Apply leather conditioner to the leather seating surfaces.
- Pour a small amount of conditioner onto a clean cloth or rag and wipe onto the full leather surface.
Use light pressure in a circular motion to work the conditioner into the leather.
Allow two hours for absorption and drying.
Step 3: Remove the remaining leather conditioner with a cloth. Wipe the excess leather conditioner off with a clean dry rag or cloth.
Part 4 of 4: Cleaning the windows.
Leave the job of cleaning your windows until last. That way any cleaner or conditioner that settles on your windows during the cleaning process will be wiped off at the end, leaving your windows crystal clear and clean.
You can use disposable paper towels to clean your windows, though they leave particles behind and can easily tear. A microfiber cloth is best for cleaning windows to a streak-free finish.
Materials Needed
- Clean microfiber cloth
- Glass cleaner (recommended: Invisible Glass Premium Glass Cleaner by Stoner)
Step 1: Apply glass cleaner to a cloth. Spray a liberal amount of glass cleaner onto your clean cloth.
- Spraying directly onto the inside of the window will leave spots all over your clean vinyl surfaces.
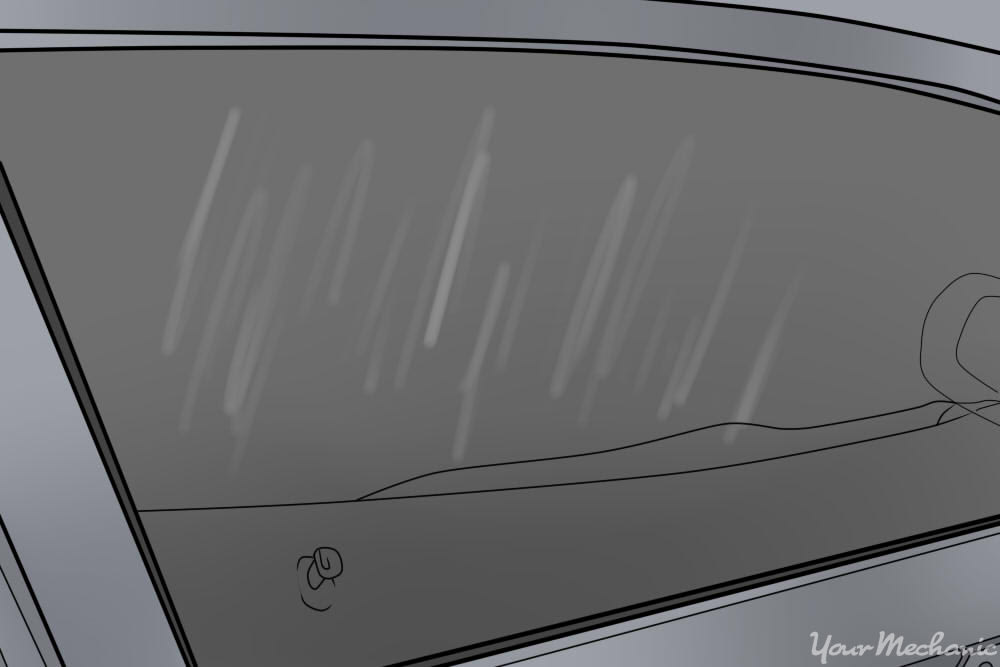
Step 2: Begin cleaning the windows. Wipe the glass cleaner onto the window using an up and down motion to start, then a side to side motion.
- Flip your cloth to a dry side and continue wiping to clean your window to a streak-free finish.
If streaks are evident, repeat steps one and two again.
If streaks are still present, use a new cloth and repeat the procedure.
Step 3: Clean the top edges of your side windows. For side windows, clean the inside surface of the window, then roll down the window four to six inches.
- Spray window cleaner on your cloth and wipe the top edge of the glass. This is the edge that rolls into the window channel when the window is fully closed, making it inaccessible to clean if the window is up.
Clean all the windows in the same fashion.
Once you’ve completed cleaning your vehicle, put the floor mats back inside as well as any other belongings you require inside your car.


