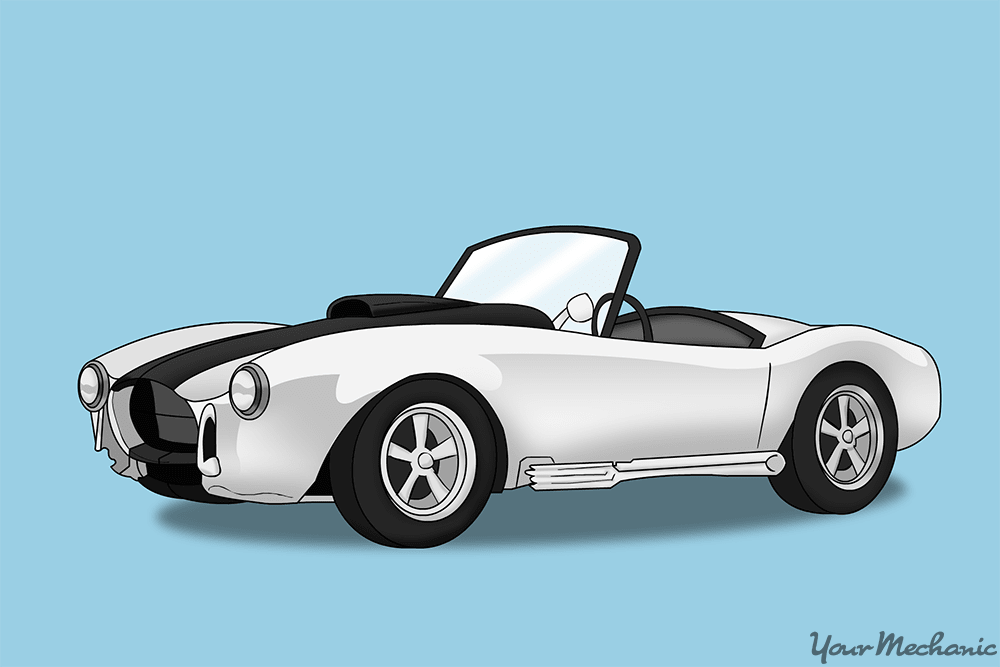
Older cars or classic cars have a lot of appeal because they represent bygone eras. Fresh paint is a great way to keep up the appearance of older vehicles, and a great way to show individual style.
Adding new racing stripes is an easy way to change the appearance of an older car and make it stand out. New decal racing stripes can be carefully applied with application kits and typically only take a few hours to apply.
Use the following steps to learn how to put new racing stripes on an older car.
Part 1 of 4: Choose the location of the racing stripes
Traditionally, racing stripes were applied across the length of the car from the hood to the rear. Nowadays, you’ll see stripes applied in wide range of patterns and styles. Before you apply the racing stripes, decide the position and location of the stripes on your car.
Step 1: Consider your car. Look at your car and imagine where you’d like the racing stripes placed.
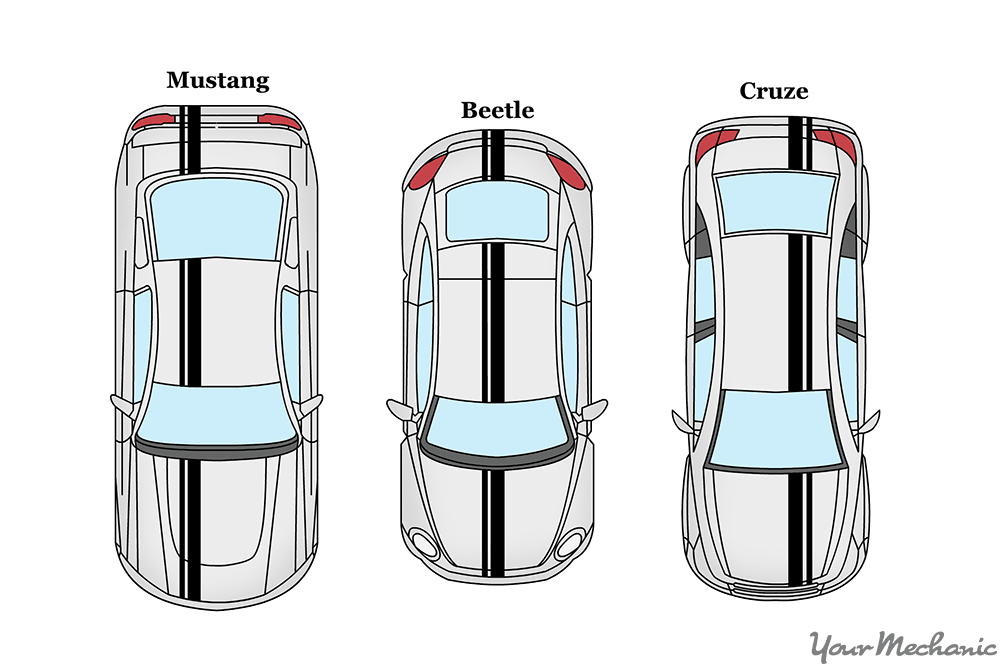
Step 2: Research other cars. Look at other cars that already have racing stripes placed on them.
You may notice another vehicle that has racing stripes placed in a way that appeals to you or you may notice racing stripes that do not look good on a certain part of another car.
This will help you decide where you should place the stripes on your vehicle and determines the parts of your car that need to primed before you apply the stripes.
Part 2 of 4: Clean the car
Remove any dirt, bugs, wax, cleaning product or any other build up on the surface of the car. If you don’t do this, the vinyl stripes may not stick as well to your car, which can result in them coming loose or falling off.
Materials Needed
- Bucket
- Cleaning product
- Sponge
- Towel
- Water
Step 1: Rinse the car with water. Use a hose without too much pressure to spray the whole body of the car with water and rinse it.
Be sure to start at the top of the car and work your way around each side.
Step 2: Wash the car. Mix the cleaning product and water in the bucket. Soak the sponge in the cleaning mixture and use it to clean the entire surface.
Start at the top of the car and work your way down. Be sure to wash the entire surface of the car.
Step 3: Rinse the car. Use clean water to rinse the car completely so that all of the cleaning product is removed.
Start at the top of the vehicle and thoroughly rinse away all of the soap that is left on the body of the car so that it doesn’t leave spots.
Step 4: Dry the car thoroughly. Using the towel, dry the entire surface of the car, starting from the top and working your way around the entire vehicle.
- Note: Before you begin to apply the racing stripes to the car, make sure that the car is stored in a cool area. Ideally, the car should be in a room that is between 60-80 degrees.
Step 5: Repair any uneven areas on the surface. Look for any dents, scratches, rust or other blemishes on the car. Vinyl racing stripes will need to be carefully smoothed over uneven areas.
Get a certified mechanic, such as one from YourMechanic, to repair any large dents. If you place racing stripes over a dent, it may result in an air bubble beneath the stripe. Small scratches can easily be covered with racing stripes.
Repair any small rust holes in your car so that the surface is smooth.
Repeat the cleaning process, if needed.
Part 3 of 4: Place the stripes
Before fixing the stripes to your car with adhesive, be sure to place them on the car so that you can see what they look like before securing them to your vehicle.
Materials Needed
- Racing stripes
- Scissors
- Tape (masking)
Step 1: Purchase your racing stripes. You can easily find a large variety of racing stripes online. However, if you’d prefer to purchase them in person, automotive stores like AutoZone also sell them.
Make sure that you purchase the right kind of racing stripes for your car’s dimensions.
Step 2: Lay the stripes flat. Remove the racing stripes from their packing and lay them flat on a table. Be sure to keep them at a temperature between 60 - 80 degrees.
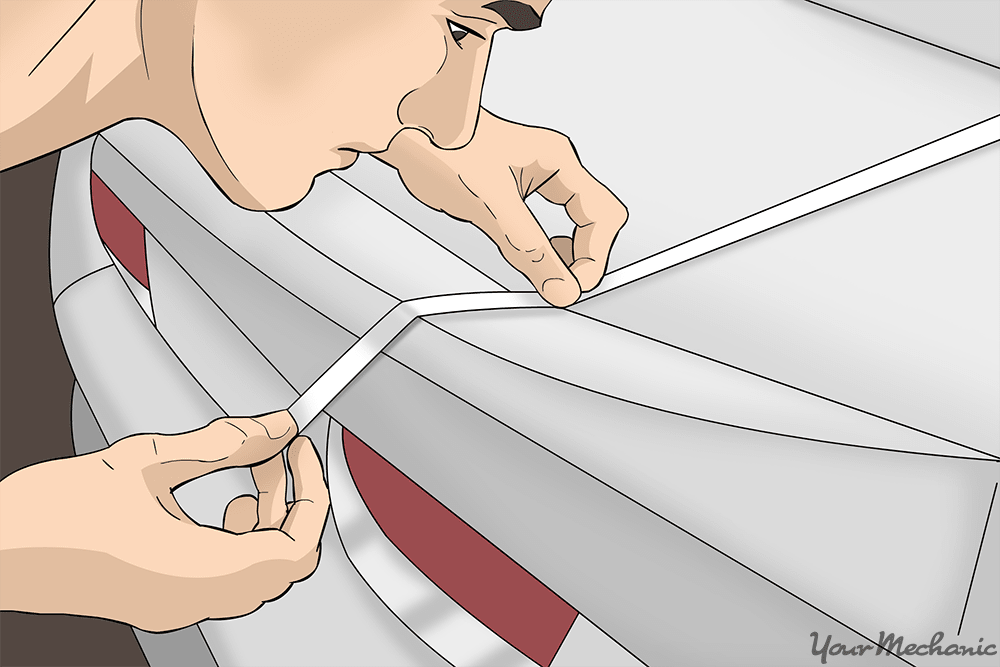
Step 3: Place the stripes on the car. Place one of the racing stripes on your vehicle. If necessary, use some masking tape to hold the stripe in place.
If you’re placing it on the hood or trunk, simply set it where you’d like the stripe to appear.
Step 4: Make sure the stripes are straight. Step away from the car and make sure the stripe is straight and placed exactly where want it.
Step 5: Trim extra length. Cut off any extra length of the racing stripe that you don’t need.
You can also use tape to mark the corners of the stripes so that you can remember exactly where to place them.
Mark the position of the stripes using masking tape, if needed, and then remove the stripes from your car.
Part 4 of 4: Apply the stripes
After identifying where you’d like the stripes to go, prepare the surface of the vehicle and apply the stripes.
Materials Needed
- Spray water bottle with water
- Squeegee
Step 1: Spray the car with water. Spray water over the area where you will apply the stripes.
If you haven’t taped the stripe on one end, use masking tape to secure the end of the racing stripe to the car.
Step 2: Tape the end. Secure one end of the stripes with masking tape to hold it during the application process.
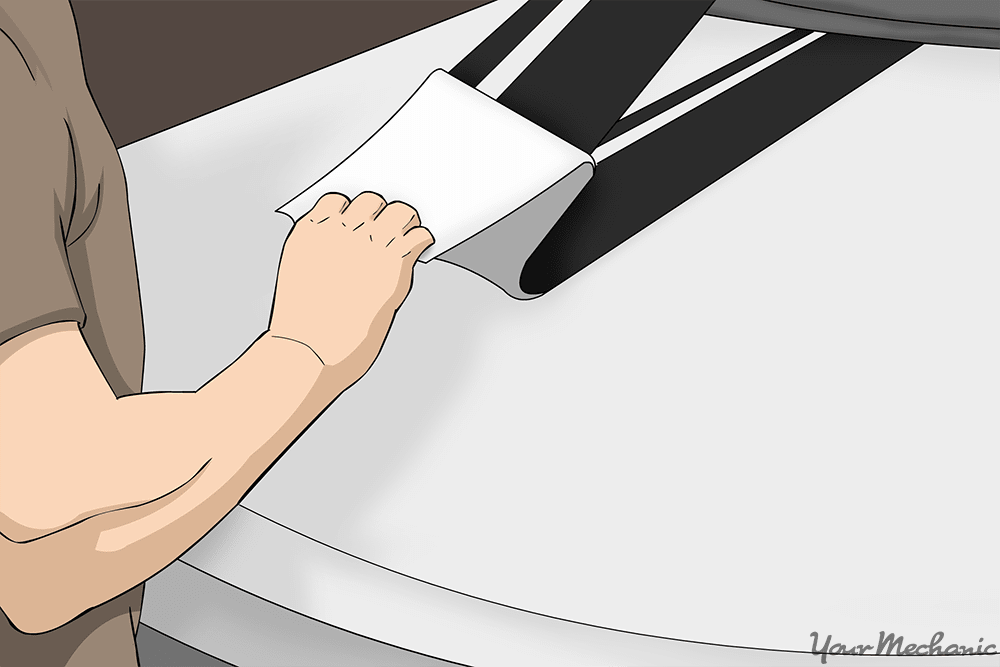
Step 3: Remove the release paper. Pull away the release paper on the stripes. This should easily lift off and will allow you to directly place the stripes onto the wet surface of vehicle.
Step 4: Remove all bumps. Smooth over the stripes with the squeegee, making sure to work out any bumpy areas.
If the stripe is not straight, you can lift it off the car and straighten it before it dries in place.
Tip: Only pull back about half of the release paper at a time so that you can slowly work your way down the stripe with the squeegee.
Tip: Apply the squeegee evenly across the stripe. If there is an air bubble under the stripe, slowly force it out by using the squeegee to push it out from under the stripe.
Step 5: Remove the tape. After you’ve applied the stripe, remove the masking tape that is securing it in place.
Step 6: Remove the backing tape. Take off the backing tape that is on the unattached side of the stripe.
Step 7: Smooth the stripes again. Once the stripes are applied, smooth over them again with the squeegee to make sure they are secure.
The squeegee should be kept damp when smoothing over the stripes after the backing tape is removed.
- Note: Washing and waxing your car will not negatively affect the racing stripes if it is applied properly.
Adding racing stripes onto your car can be a fun, creative way to enhance the appearance of your vehicle. The stripes are easy to put on and can be safely taken off or replaced without damaging the paint job.
Be sure to follow the steps above to ensure that you’ve applied the stripes correctly so that they look good and are appropriately secured on your car.
