Much of a vehicle's appeal has nothing to do with its performance and is purely superficial. Although a car's speed and agility on the road is important, it means very little in terms of the total package if it is not also attractive in its shape and hue. If you decide to change its color or repair damage to the exterior after an accident, achieving maximum attractiveness through repainting can be quite costly in a body shop. Consequently, you may wish to consider doing the job yourself. Although acrylic paints are the easiest to apply, they show signs of wear from UV rays and elements quite quickly. So, if you're going to invest the money in automotive paint and your time in applying it, it may be a better choice in the long run to go with a base coat, or clear coat paint job.
Part 1 of 3: Preparing your materials
Materials Needed
- Air compressor
- Automotive clear coat (optional)
- Automotive paint
- Buffer
- Buffing compound
- Catalyzed glazing putty (if needed)
- Clean cloth
- Denatured alcohol, or other painting prep solvent (optional)
- Electric/orbital sander (optional)
- Face mask
- Masking tape
- Moisture separator filter
- Paper (thick brown industrial paper)
- Paint gun
- Plastic or paper sheets, large
- Primer paint (if needed)
- Sandpaper (ranging from 360- to 3000-grit, depending on damage to original paint)
- Water
Step 1: Choose your vehicle's future color. Purchase the paint and other necessary materials for the job (listed above).
Step 2: Prepare your workspace. Ideally, it should be both well-ventilated and free of dust or debris. This is because the fumes given off by the preparatory and paint products are harmful if inhaled, and you don't want bits of grime making their way onto your wet paint. This means you should avoid outdoor spaces or garages without windows or doors you can open.
While it is virtually impossible to achieve a completely dust-free environment in a do-it-yourself situation, just do your best to minimize the risk of debris marring your wet paint. A clean garage with a partially opened door or window is usually sufficient.
Tip: Before beginning the job, assess the condition of your existing paint job to determine the necessary materials and scope of your project. If you are merely changing the color of your paint, which is in good condition, you will not need to strip any existing paint or coarse sandpaper to expose the bare metal. If, however, there is damage to the paint, you will need the coarse sandpaper, primer paint, and also catalyzed glazing putty to fill in deep scratches or dents.
Note: If you need to make such repairs on damaged areas (for example, if just your fender is damaged, only sand that fender down to the metal, fill in any damaged areas, and apply primer to that portion; the rest of the vehicle only needs a light wet sand before applying the base coat).
Part 2 of 3: Preparing your car
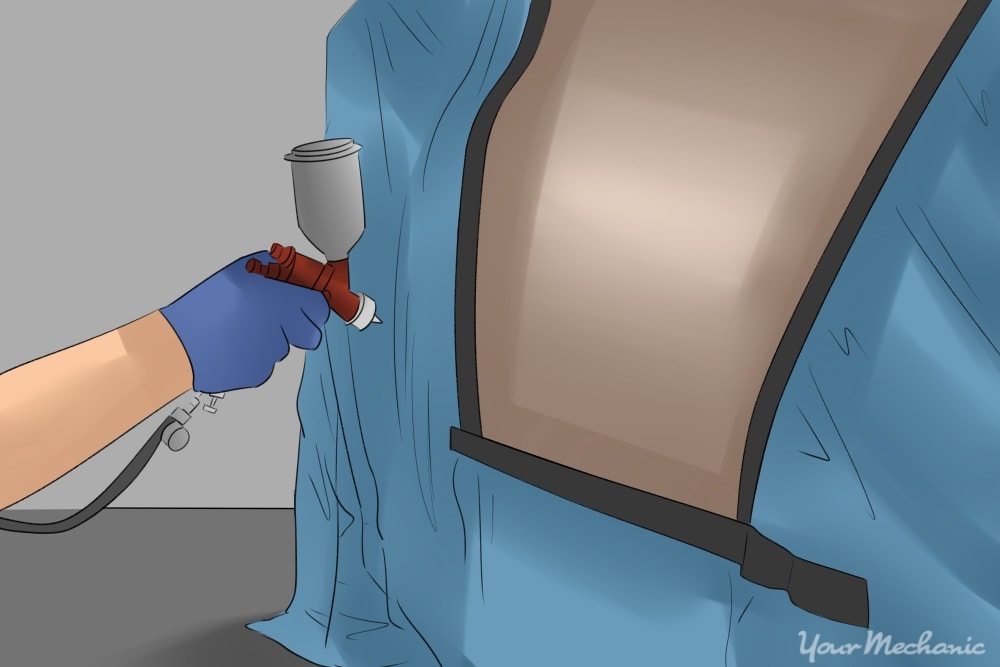
Step 1: Prepare your car. Remove any components you don't want painted or cover them with broad sheets of paper or plastic and masking tape.
Step 2: Sand the target surface. In damaged regions, prepare your exterior surface and strip the existing paint by sanding with a rough grit (like 360-grit) paper. Although this can be done by hand by rubbing in a back-and-forth motion until the bare metal is exposed, the job is far easier when the paper is used with an electric orbital sander.
Step 3: Fill in any dents. Fill any dents or deep scratches with catalyzed glazing putty. Once it hardens, usually within a day, sand it smooth with the rough grit paper.
Part 3 of 3: Painting your car
- Warning: Wear a protective face mask when working to prevent the inhalation of dust and harmful fumes.
Step 1: Use primer. If you repaired paint damage, you must apply a spray primer paint to create a surface to which the base coat can adhere. Spray the primer evenly in broad back-and-forth strokes and allow to thoroughly dry (up to 24 hours) before moving on in the process.
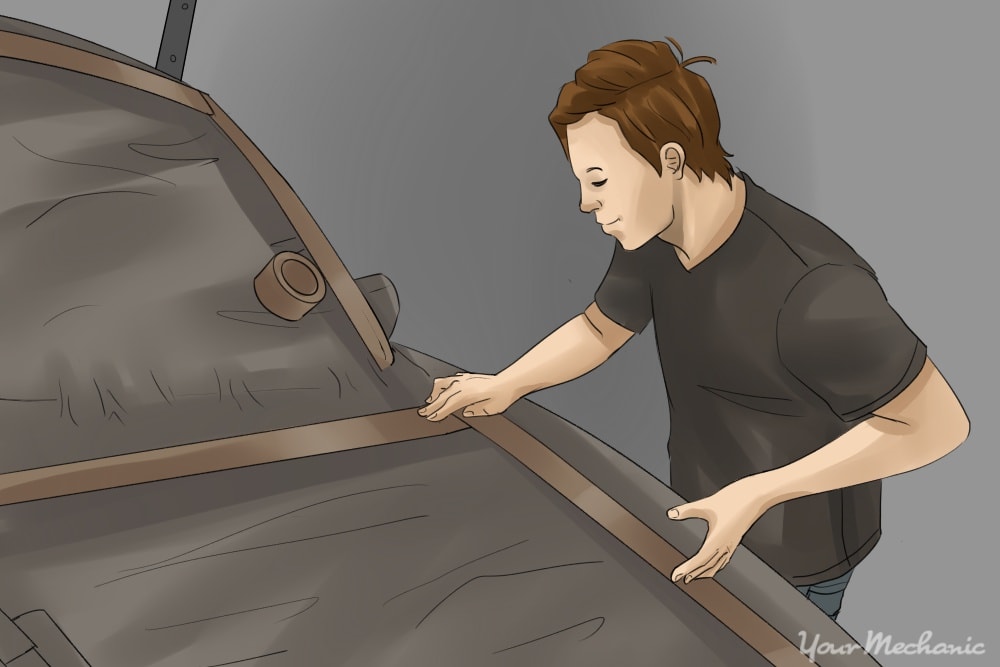
Step 2: Wet sand the target area. Submerge fine grit (around 3000-grit) sandpaper in a bucket of water for one to three minutes, then lightly sand the surface of your existing paint or primer by hand or using an orbital sander. The surface must always be wet, so add water or swap out the paper in your water bucket as needed.
- If you opt to sand by hand, wrap the paper around a rubber block to apply even pressure.
Step 3: Dry your vehicle. Ensure there is no moisture on the vehicle's exterior by cleaning it with denatured alcohol, or another painting prep solvent, and a clean cloth.
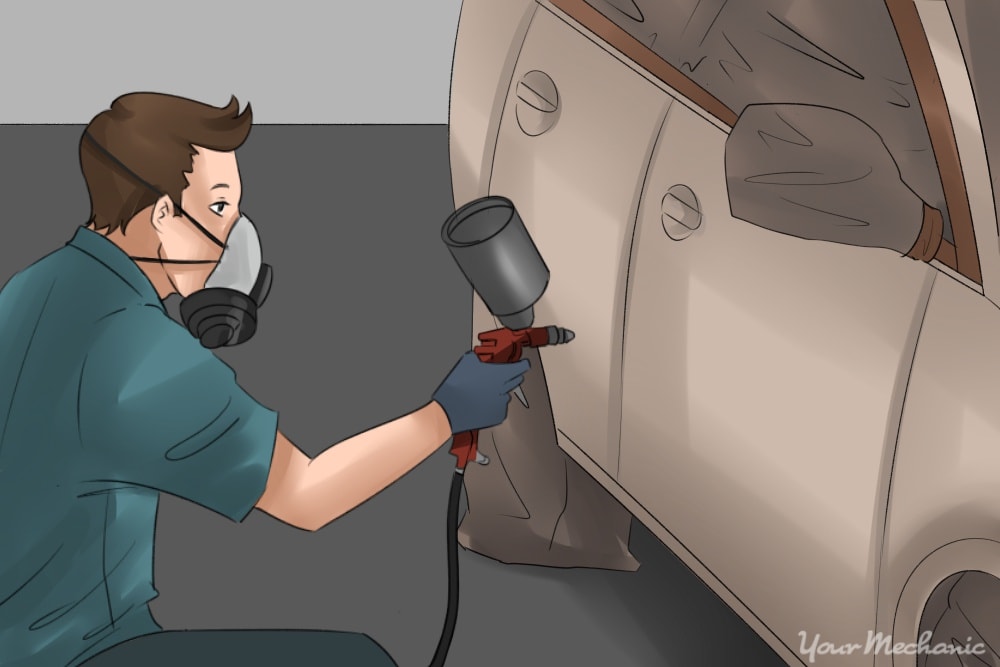
Step 4: Paint the target area. Connect the moisture separator filter to the paint gun and the air compressor to the filter, then fill with the automotive base coat paint of your choice. Spray your vehicle in smooth strokes, overlapping those strokes by about 50 percent, while holding the sprayer between 6" and 10" from the exterior.
Step 5: Allow paint to dry. After allowing the base coat to air dry according to your particular paint product's instructions (at least a day), wet sand the surface again.
Step 6: Clean and apply clear coat. Clean the surface with denatured alcohol and a clean cloth another time, then apply the clear coat in the same manner you did the base coat.
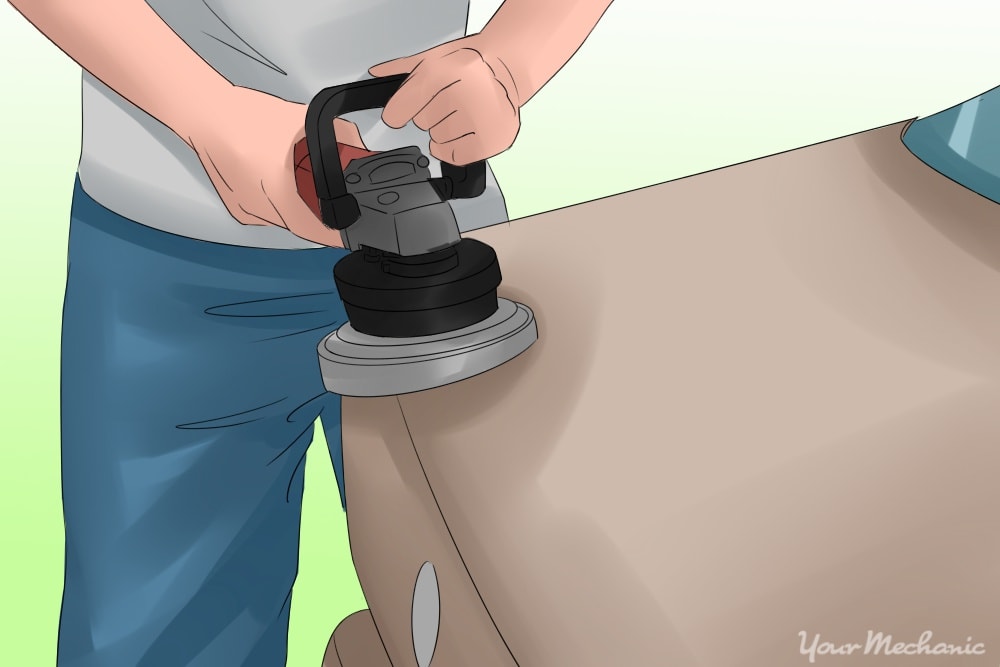
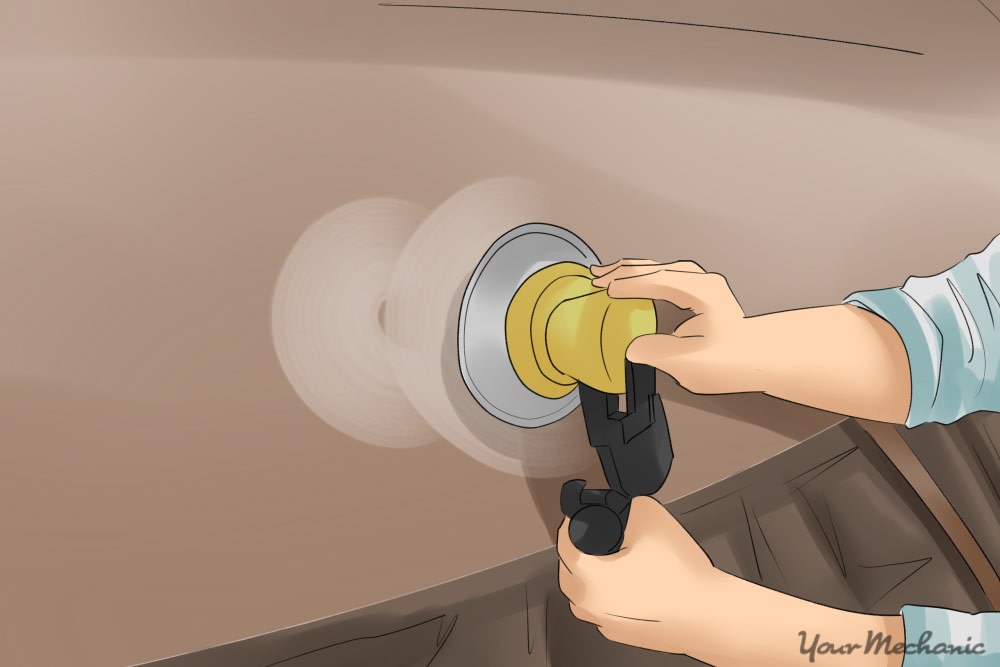
Step 7: Buff your vehicle. After the clear coat dries according to its instructions (approximately 24 hours), remove all of the tape and plastic or paper. Then, buff the surface with a buffer and buffing compound in a circular manner to reveal your paint job's maximum shine.
Tip: Apply two to three coats of base for the best coverage, waiting 5 to 10 minutes between coats to prevent flash-off, a chemical reaction that results in a hazy appearance.
Tip: If you make a mistake or an area is otherwise damaged during the process, you can always start over in that region with sanding.
While it is possible to apply a base coat and/or clear coat of automotive paint on your own, it is a time-consuming process using materials that are relatively expensive, depending on the choice of paint. Bearing in mind that your time also has value and that there is a potential of a novice painting attempt turning out badly, it may be in your best interests to enlist a professional's help.
