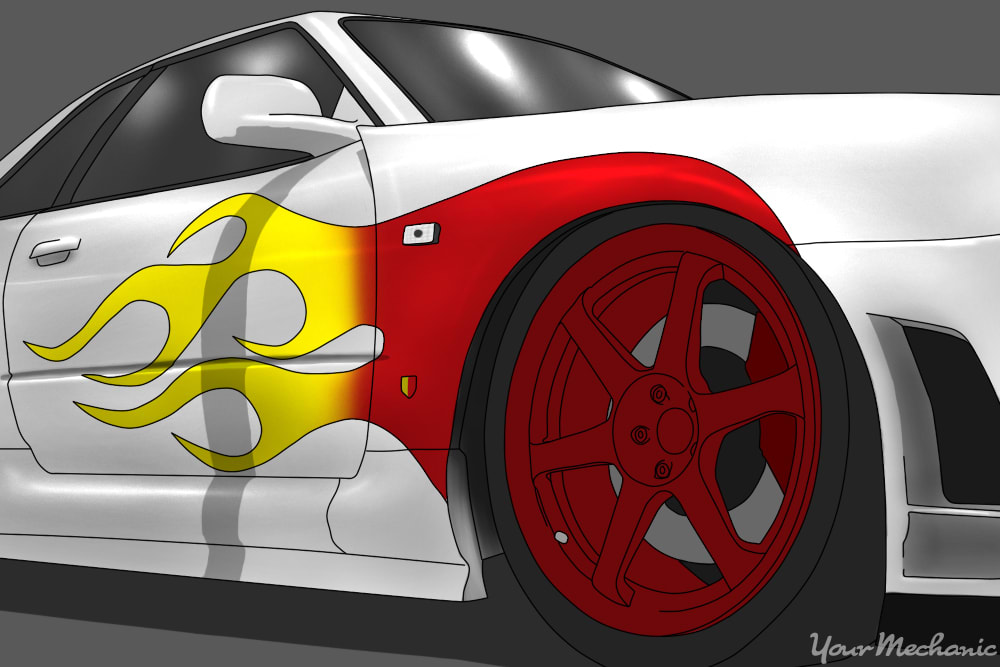
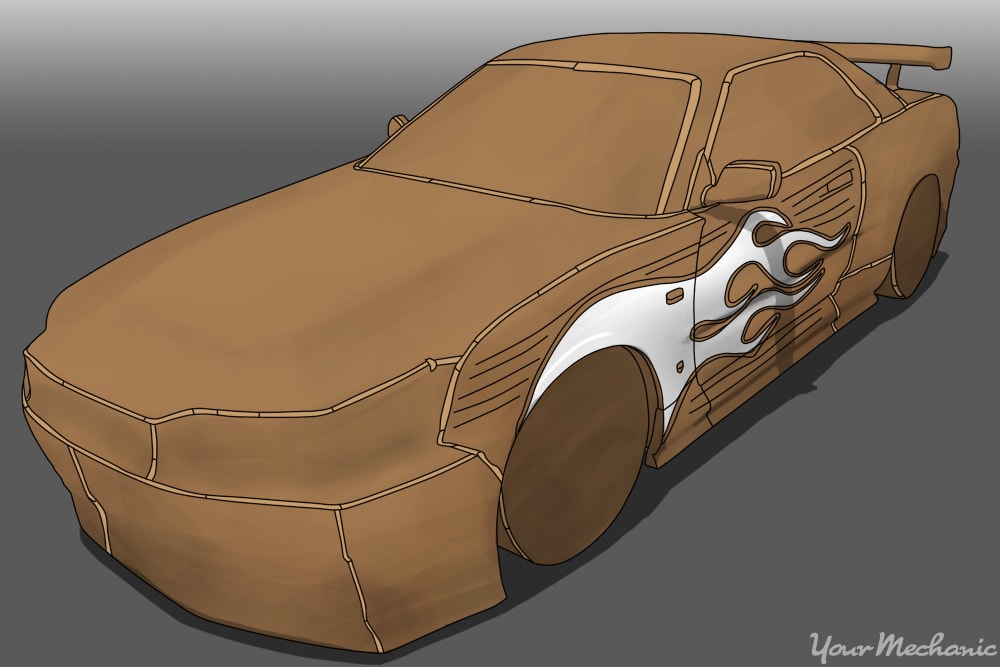
Flames on the side of a car are a throwback to the days of the hot rod, and many people enjoy decorating their cars with this iconic imagery. Painting flames on a vehicle is easy when you use the correct equipment and take the necessary steps to prep your vehicle. When painting flames on your car, it’s crucial to make sure to properly clean your vehicle, tape off the appropriate sections, and paint it in a clean environment. The following directions will help walk you through painting new flames on your car.
Part 1 of 4: Clean and your car body and smooth the surfaces
Materials Needed
- Clean rags
- Dust mask
- Grease and wax remover
- Pre-paint cleaner
- Sandpaper (600-grit)
Cleaning your vehicle before painting your car helps remove any dirt, grease, and grime that can interfere with the paint sticking to the car body panel correctly. Also, make sure the body panel is as smooth as possible before painting.
Step 1: Wash the car. Use grease and wax remover to wash your car thoroughly.
Pay special attention to the area where you plan on painting the flames, making sure that the area is spotless of grease and dirt.
Step 2: Let the car dry thoroughly. After washing the car, wipe the vehicle down with a dry cloth and then let the car sit until it is completely dry.

Step 3: Sand the car. Take 600-grit sandpaper and wet it. Lightly sand the panels you plan on painting the flames on. Make sure the surface is as smooth as possible.
- Warning: Wear a dust mask while sanding. This keeps you from breathing in the fine particles created from the sanding process.
Step 4: Use pre-paint cleaner: Once you are finished sanding, clean the area with pre-paint cleaner.
Pre-paint cleaner is made to remove any remaining grease and wax, as well as residue from the sand paper.
Part 2 of 4: Prepare the car body
Materials Needed
- Adhesion promoter
- Fine line tape
- Metal test panel (optional)
- Paper and pencil
- Plastic tarp (or masking tape)
- Plastic-filler spreader
- Pre-paint cleaner
- Transfer paper
- Utility knife
After cleaning and sanding the vehicle, you are ready to prepare it for painting. This process requires that you have a design in mind, so if you don't, sit down with paper and pencil and figure out one at this time.
- Tip: You can use a metal test panel with the same base color of the vehicle to try out different flame patterns and colors.
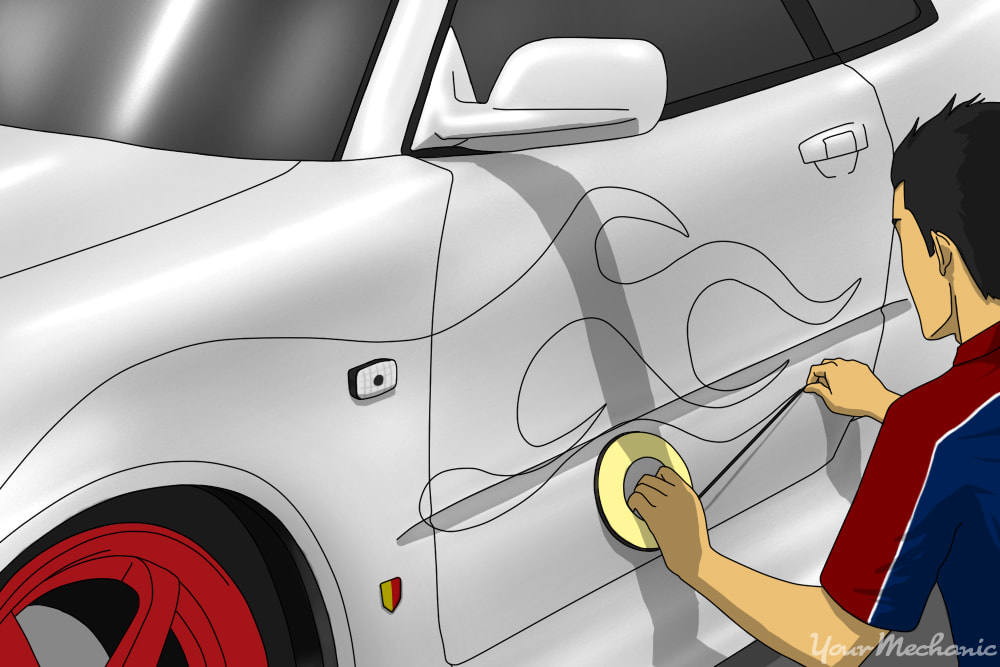
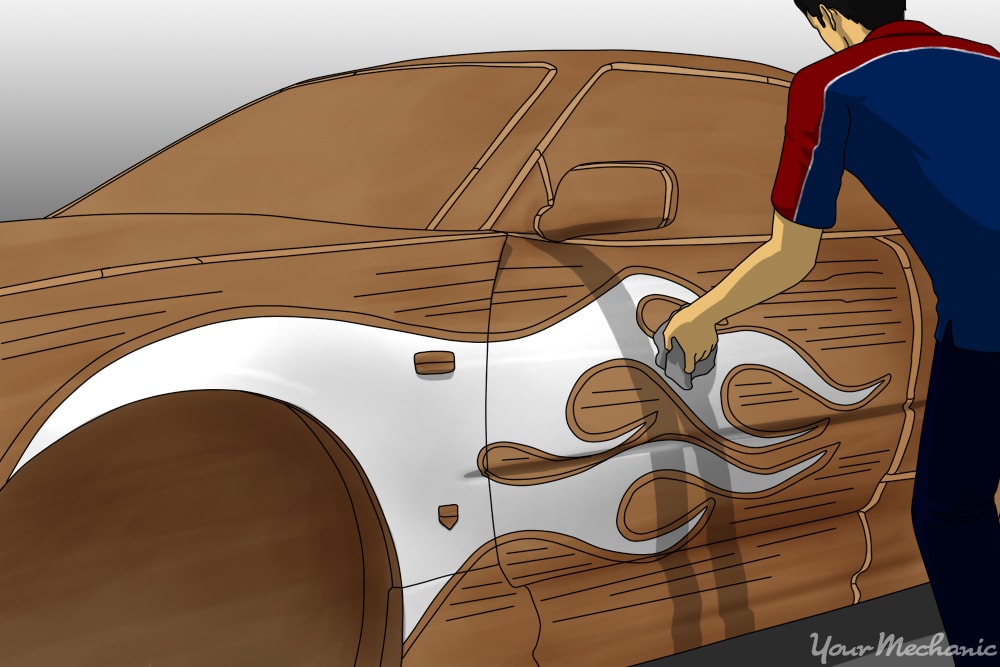
Step 1: Mark out your pattern. Using a 1/8-inch fine line tape, map out the flame pattern that you have decided upon.
You can use thicker tape, though thinner tape results in fewer wrinkles and less chance of any blurred lines while painting.
- Tip: Use a top-quality masking tape. When initially applied, it sticks firmly to the vehicle body and keeps paint from bleeding through. Paint as soon as possible after applying the tape, as masking tape tends to loosen up over time.
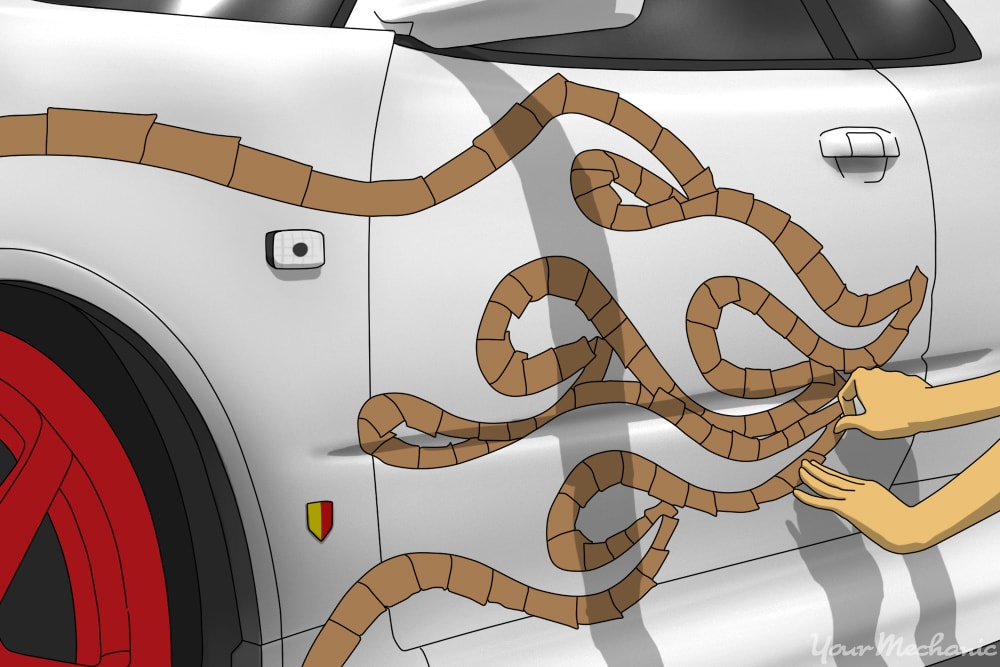
Step 2: Cover with transfer paper. Next, cover the taped out flame pattern completely with transfer paper.
Tip: If you notice any wrinkles in the transfer paper, use a plastic-filler spreader to smooth them out.
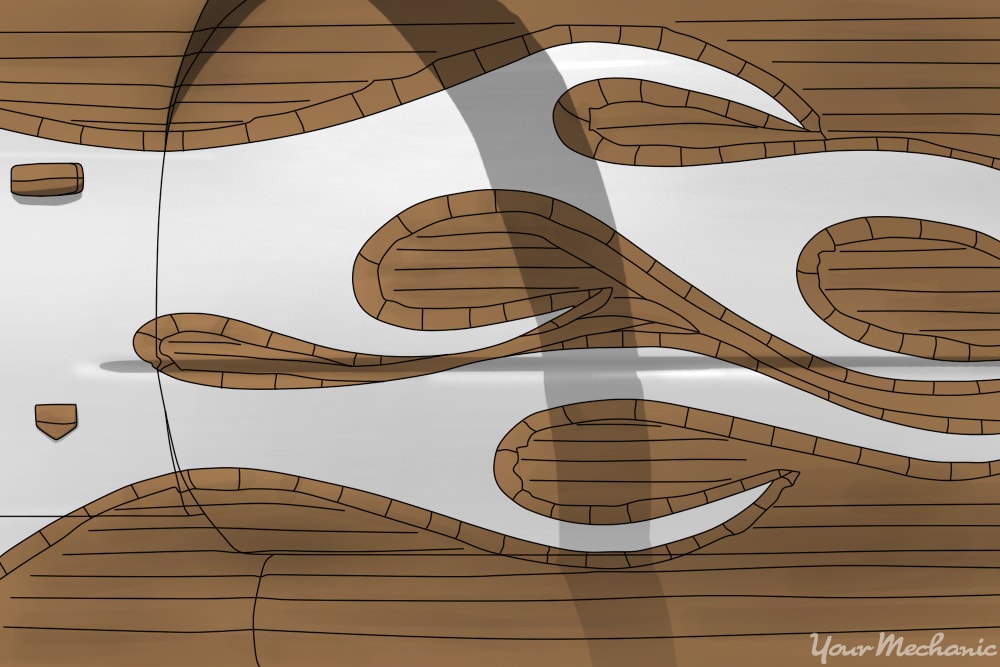
Step 3: Remove the fine line tape. Peel away the fine line tape that is outlining where the flames are.
This will expose the area where the flames are to be painted, with the surrounding areas covered by the transfer paper.
Step 4: Cover the rest of the car with plastic. With plastic, cover the rest of the car that is not to be painted.
Optionally, you can use large masking tape or a combination of the two. The main idea is to protect the rest of the vehicle body from any errant paint.
Step 5: Wipe again with pre-paint cleaner. You should also wipe down the area to be painted with pre-paint cleaner to remove any oils from where your fingers might have touched the paint.
You should follow this up with adhesion promoter, but only after the pre-paint cleaner applied to the panels has completely dried.
Part 3 of 4: Paint and apply clearcoat
Materials Needed
- Airbrush gun or spray gun
- Clear coat
- Paint
- Protective clothing
- Respirator Mask
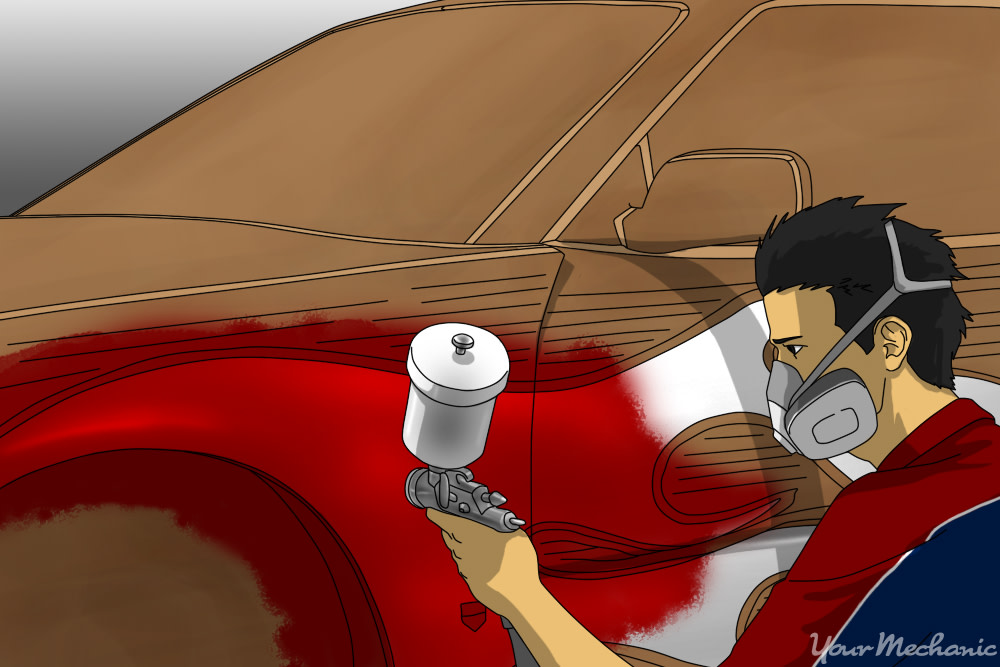
Now that the vehicle has been cleaned and prepared, it is time to paint. While a paint booth is ideal, find a nice clean area to paint that is free of dirt, dust, and other contaminants. If possible, rent out a paint booth to ensure that the area is as pristine as possible. Also, make sure you have the colors of paint that you want. Most flames are a combination of at least three colors.
Step 1: Get dressed. Wear the appropriate protective clothing and put on a respirator mask. This should keep paint off of your clothes and out of your lungs.
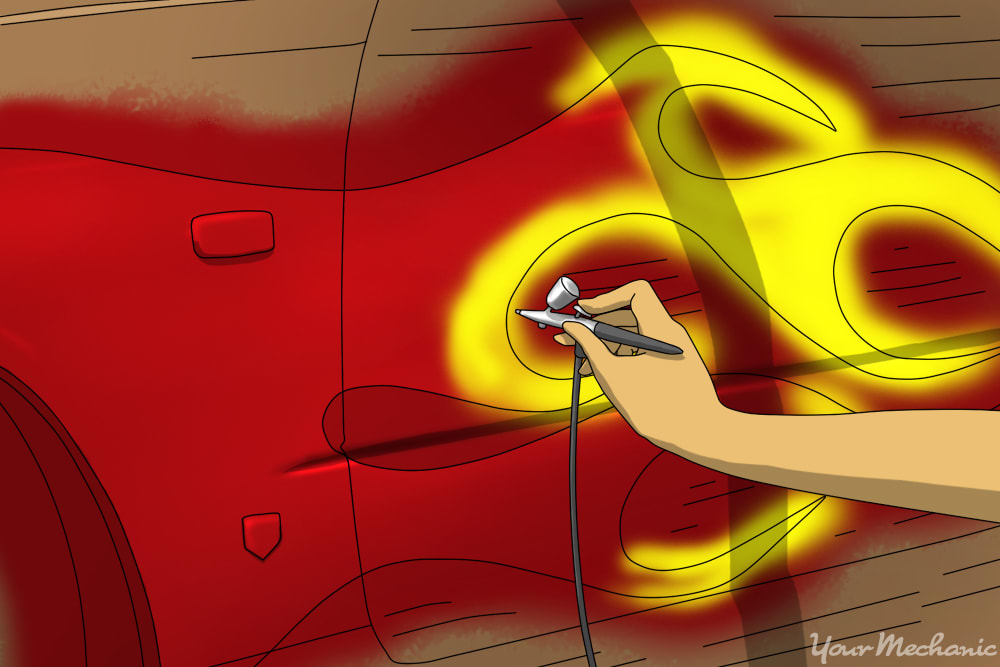
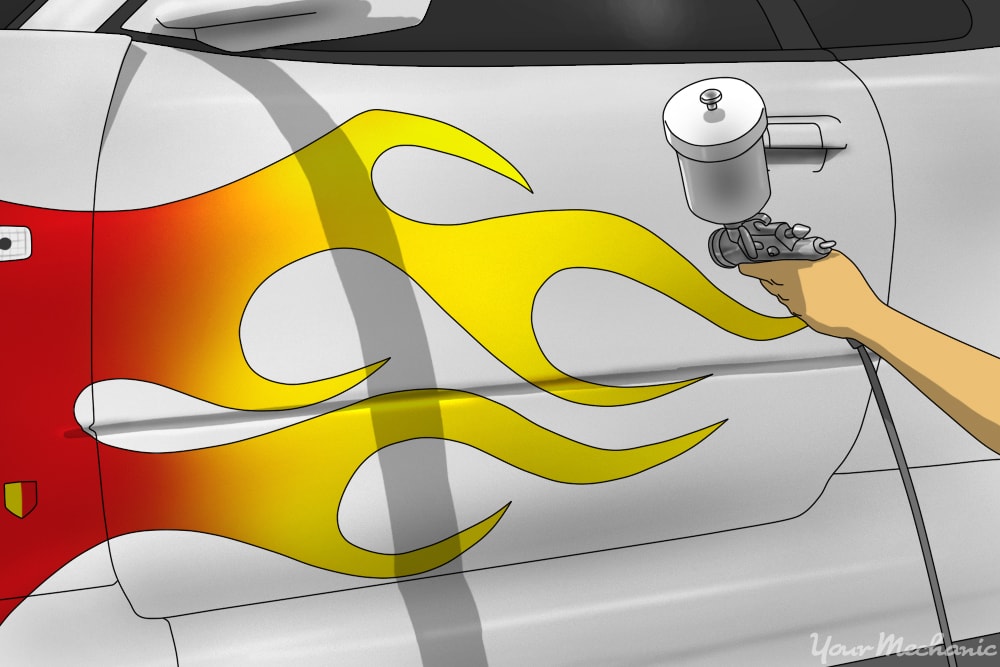
Step 2: Apply the paint. With the colors you've chosen, paint the flames on the car. You should try to make the paint appear as smooth as possible without over spraying.
Always use an airbrush or spray paint gun for the best results.
Apply one coat of paint and allow it to dry before moving on to the next.
- Tip: Start with lighter colors at the front of the flames, with the flames gradually becoming darker toward the back end of the flame. Allow the paint to dry according to the manufacturer's instructions.
Step 4: Remove the tape when paint is dry. Carefully, remove all of the masking tape and transfer paper. Make sure to go slowly so that you don't accidentally remove any of the paint.
Step 5: Apply the clear coat. This can be one to two coats, though two coats might be best. The goal is to protect the paint underneath.
Part 3 of 4: Buffing for a nice finish
Materials Needed
- Buffer
- Car wax
- Microfiber towel
Once you have applied the paint and clearcoat, you need to polish the body of the vehicle to make your all of your hard work stand out. Using a car buffer and wax, you can really make your vehicle shine.
Step 1: Apply the wax. Start with the main part of the body panels and apply wax using a microfiber towel. Allow the wax to dry according to the directions.
- Tip: Tape the edges of the body panels when buffing. This keeps you from going through the paint. Remove the tape after you are finished buffing the main part of the body, and use the buffer on the edges separately.
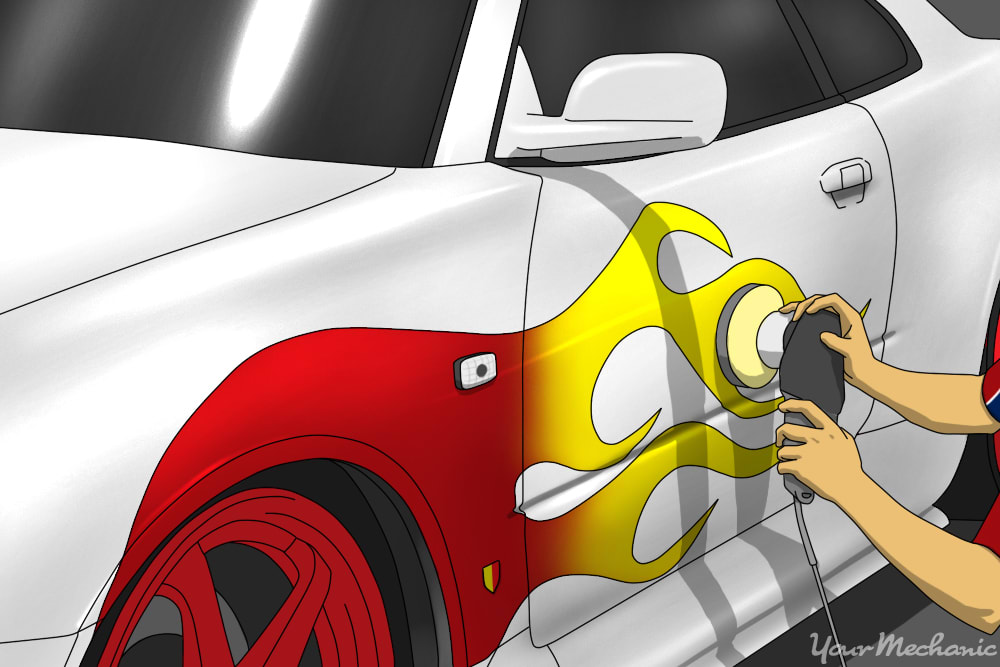
Step 2: Buff the car. Using a car buffer, buff the waxed area to remove the wax and polish the finished paint job.
Finish by wiping the area down lightly with a clean microfiber towel to remove any fingerprints, dust, or dirt.
- Warning: Try not to buffer one spot too long. Staying in one spot can burn the paint, so keep moving the buffer to newer areas as you add this finishing touch to the car.
Painting flames on your vehicle is easy and even fun when you follow the proper steps and have the correct materials. By making sure to prep your vehicle and only painting in a clean environment, you can ensure that the flames you paint on your car come out looking crisp and clean.
