When you drive, you never know what kind of debris and garbage will be on the road or in the air. One such substance you may encounter is chewing gum.
While on the road, if the car driver or occupant wants to get rid of their used chewing gum, often they choose to dispose of it by tossing it out the window. Sometimes, miscreants also stick used chewing gum on vehicles just to annoy people.
Chewing gum can land directly on your car when it’s thrown out the window, or it may get stuck to your tire, and then fly onto your car when it dislodges from your tire. It creates a sticky mess that becomes extremely hard when it dries out and becomes nearly impossible to remove once hardened.
Here are a few simple procedures that you can use to safely remove chewing gum from your car’s paint without damaging it.
Method 1 of 6: Use a bug and tar remover
Bug and tar cleaner actually works on chewing gum, by softening it so that you can remove it easily.
Materials Needed
- Bug and tar remover
- Paper towel or rag
- Plastic razor blade
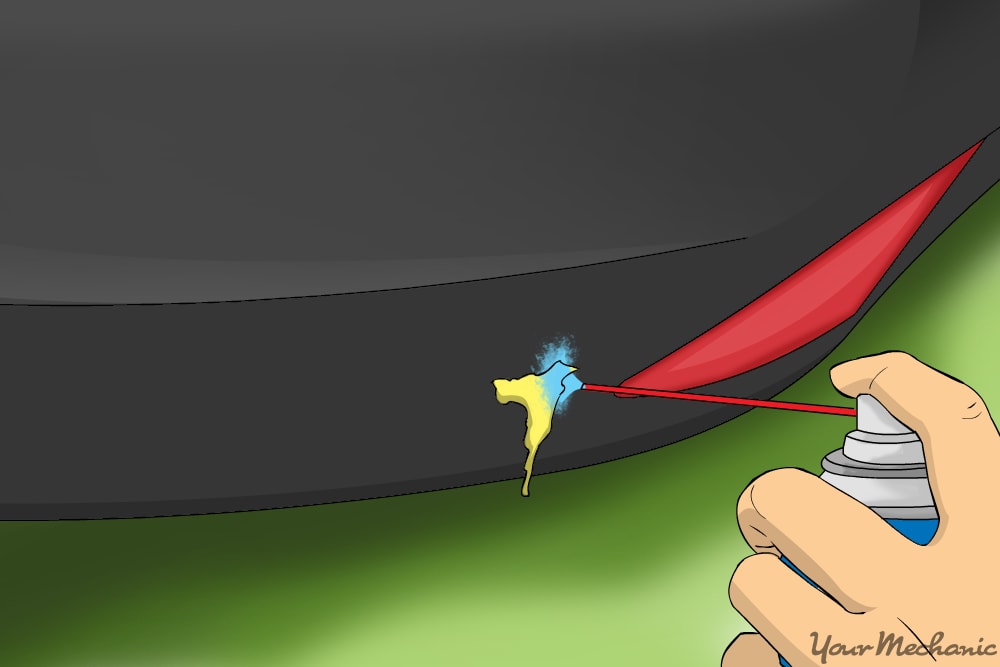
Step 1: Spray the chewing gum with bug and tar remover. Make sure to cover the gum completely with the spray, as well as the areas around the gum.
Let the spray soak for a few minutes to soften the gum.
Step 2: Scrape the base of the gum. Scrape gently at the base of the chewing gum with a plastic razor blade.
As you work, keep the paint lubricated with bug and tar remover to prevent the razor blade from sticking in the gum.
- Warning: Don’t use a metal razor blade to scrape off the gum as it will scratch your paint badly.
Step 3: Work on the sides of the gum spot. Work your way all around the gum spot, separating it from your car’s paint.
There may still be some gum residue stuck to the paint that you can deal with after removing the bulk of the gum.
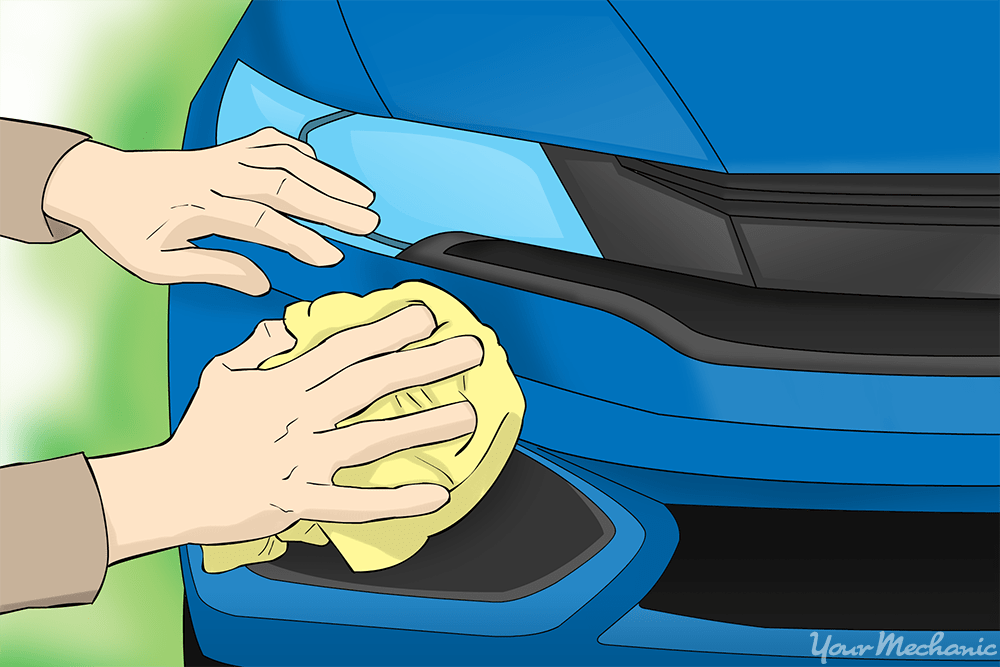
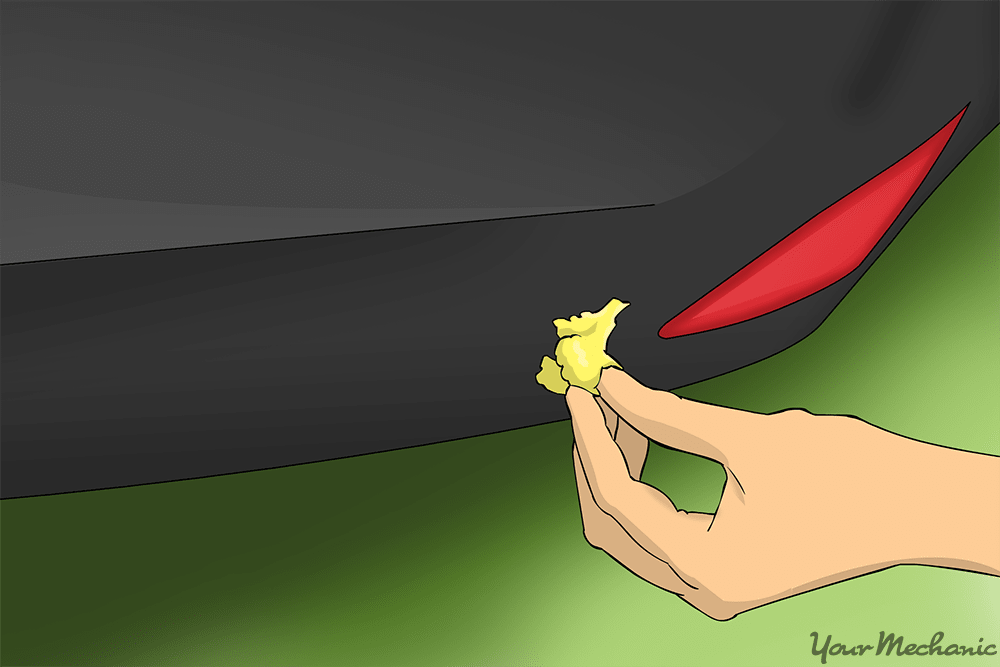
Step 4: Remove the gum. Pull the loosened gum off your car’s surface using a paper towel or a rag. The bulk of the gum will be gone, but some small bits may remain on the paint.
Step 5: Repeat the process. Spray the bug and tar remover onto the gum residue again.
Let it soak for a few minutes to soften and lift it off the paint.
Step 6: Buff off the gum residue. Wipe the gum residue with a rag or paper towel in small circles. Bits of gum will stick to the rag as it comes off.
- Tip: Make sure the surface stays moist with bug and tar remover so that the gum doesn’t just smear in the same place.
Repeat the process and wipe the surface until the gum is gone completely.
Method 2 of 6: Remove the gum by freezing it
Chewing gum gets brittle when it is frozen and it can be separated from the paint by freezing it quickly using canned air.
- Note: This works especially well for gum that is still wadded up and not smeared around.
Materials Needed
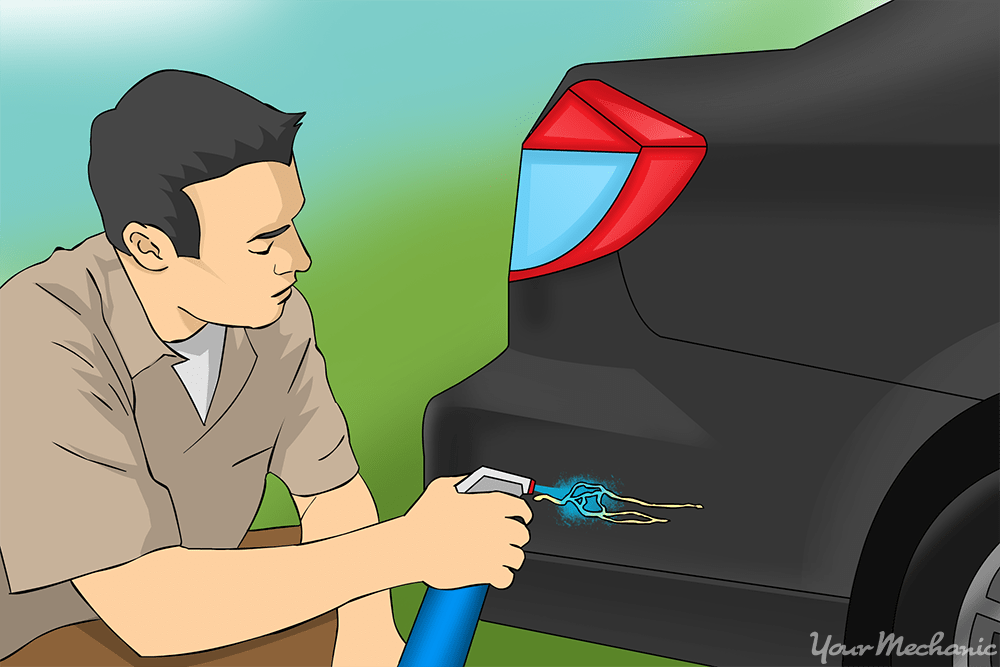
Step 1: Spray the canned air on the gum. Spray the gum until it freezes completely.
Step 2: Break off the gum. While the gum is still frozen, pick at it with your fingernail or a plastic razor blade. The frozen gum will break off in chunks.
- Note: Ensure that you do not use any tools that can scratch your paint.
Step 3: Re-freeze the gum, if needed. If the gum is thawing before the majority of the gum is removed, re-freeze it with the canned air.
Step 4: Remove the gum. Break as much of the gum as you can from the paint, being cautious not to remove paint along with the gum.
Step 5: Thaw the gum. When there are only small bits of gum left on the paint, let it thaw completely.
Step 6: Apply residue remover. Dampen a rag with residue remover and dab it onto the gum residue that is still on the paint.
Step 7: Buff off the residue. Rub the residue remover in small circles with the dampened rag. The gum will lift off in small bits and stick to the rag.
Wipe the area clean with a dry and clean rag.
Method 3 of 6: Use home remedies
If you don’t have these items on hand, you can try the following options that use items that you may already have around the house.
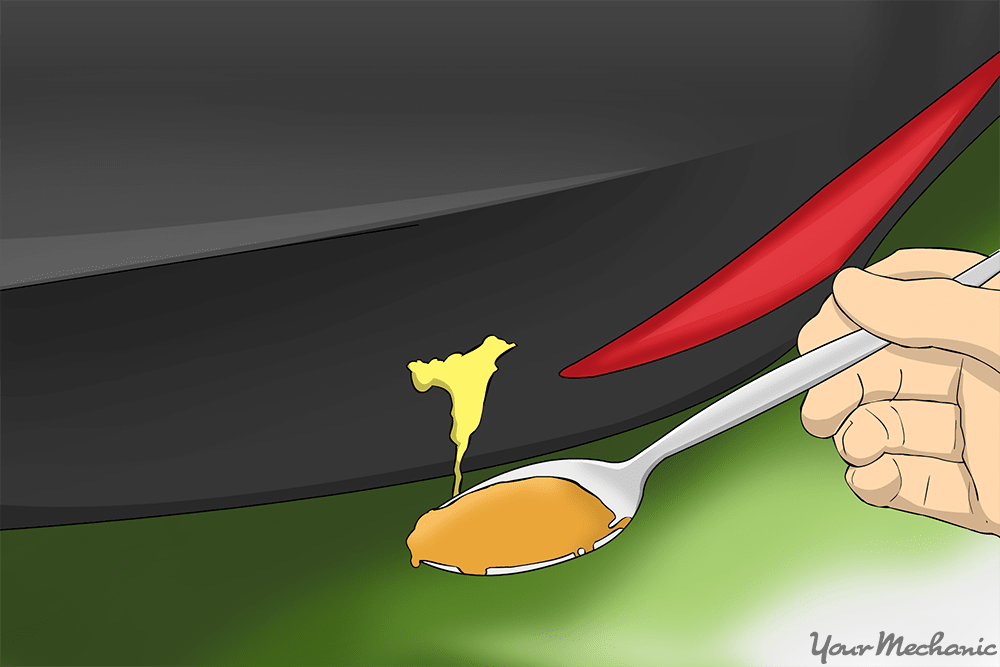
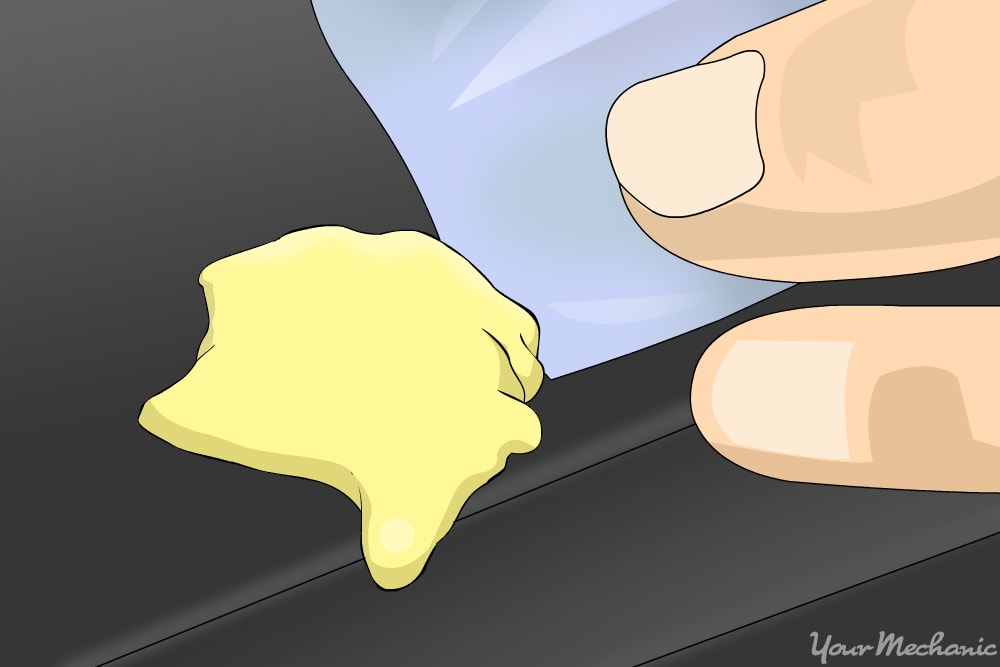
Option 1: Use peanut butter. Peanut butter has been known to remove sticky substances. Apply it on top of the gum, leaving it to set for about five minutes. Wipe it off with a wet cloth.
Option 2: Use body oil. Apply body oil to the gum, leaving it to set for few minutes. Wipe it off with a wet cloth.
Option 3: Use gum remover. Purchase gum remover from an industrial cleaning supply company. Spray it on the gum and then remove it using a clean rag or paper towel.
Method 4 of 6: Scrape off gum from car windows
Discovering chewing gum on your car window is more than just a sticky situation; it is unsightly and could even interfere with your ability to see in certain locations.
While removing gum from windows may be unpleasant, it is usually a quick fix if you have the proper tools and knowledge.
Materials Needed
- Plastic razor blade or palette knife
- Soapy water in a bowl or bucket
- Sponge or towel
- Water
Step 1: Hold the razor carefully. Pick up a razor blade or palette knife on the non-sharp side. Hold the blade where it faces away from your hand and fingers to prevent any injury in the case of slippage.
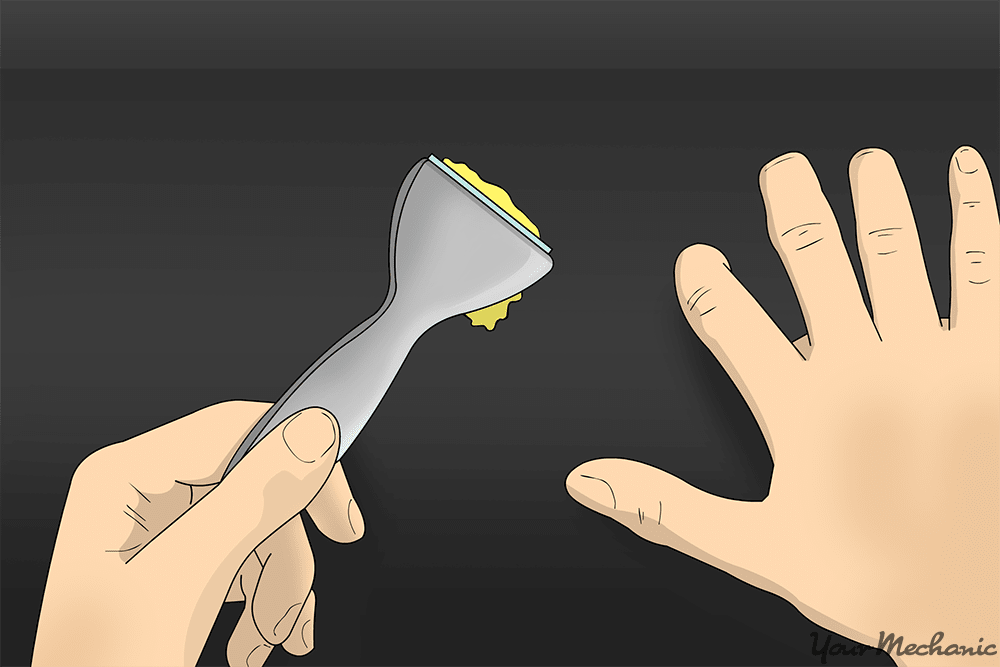
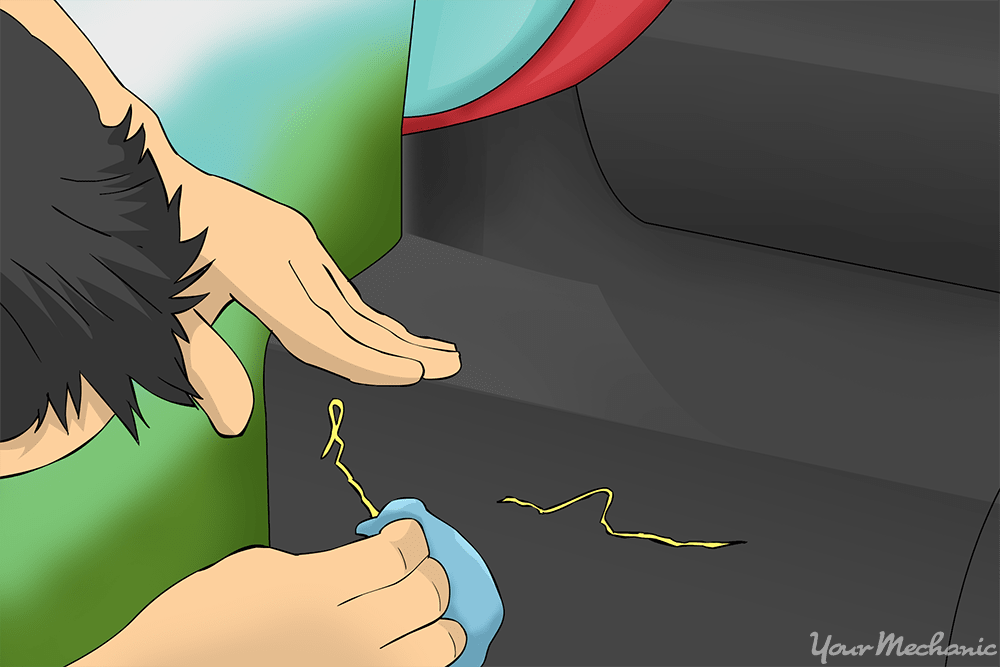
Step 2: Slide the blade under the gum. Press the blade’s side between the gum and the glass to dislodge it. Slide the sharp side in place along an edge of the gum and run it under the length of the gum you wish to remove. Repeat this process until all of the chewing gum is gone while taking care to avoid scratching your car’s window.
Step 3: Wash the window .Using a sponge or towel, dip it into soapy water and gently rub the window surface clean. Once it is clean, rinse off the soap using only water.
Allow the window to air dry for a few minutes, and inspect the glass to check if you removed all of the gum. If you did not, repeat the scraping and washing process.
Method 5 of 6: Use ice to remove gum from car windows
Materials Needed
- Ice cubes
- Plastic razor blade or palette knife
- Sponge or towel
- Water
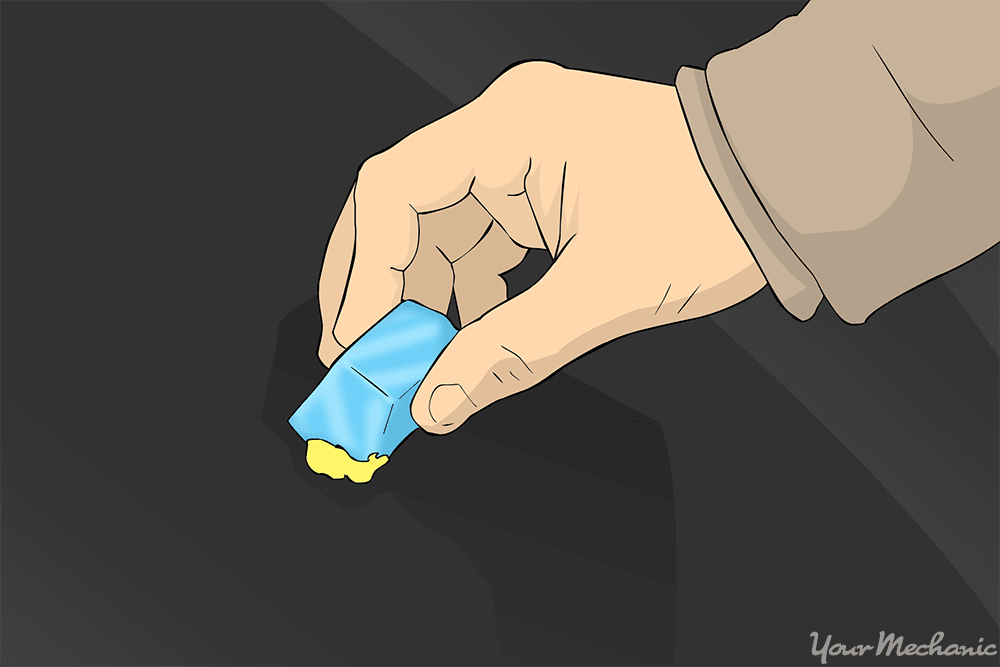
Step 1: Put ice on the gum. Run an ice cube over the gum with your hand. This will cause the chewing gum to harden for easier removal. Using cold temperatures on an adhesive like gum is better than using heat, because heat may cause the gum to melt and drip, causing a bigger mess than you had in the beginning.
Step 2: Scrape the hardened gum off. Use a razor blade or palette knife to scrape off the unwanted chewing gum as described in the previous method.
Step 3: Wash any remaining residue off the car window. Using soapy water and a sponge or towel, rub any remaining bits of chewing gum off the glass. Then, rinse it clean with plain water and allow the surface to air dry.
Method 6 of 6: Use a degreaser to clean your car’s windows
Materials Needed
- Degreaser
- Heavy-duty plastic gloves
- Soapy water in a bowl or bucket
- Towels
- Water
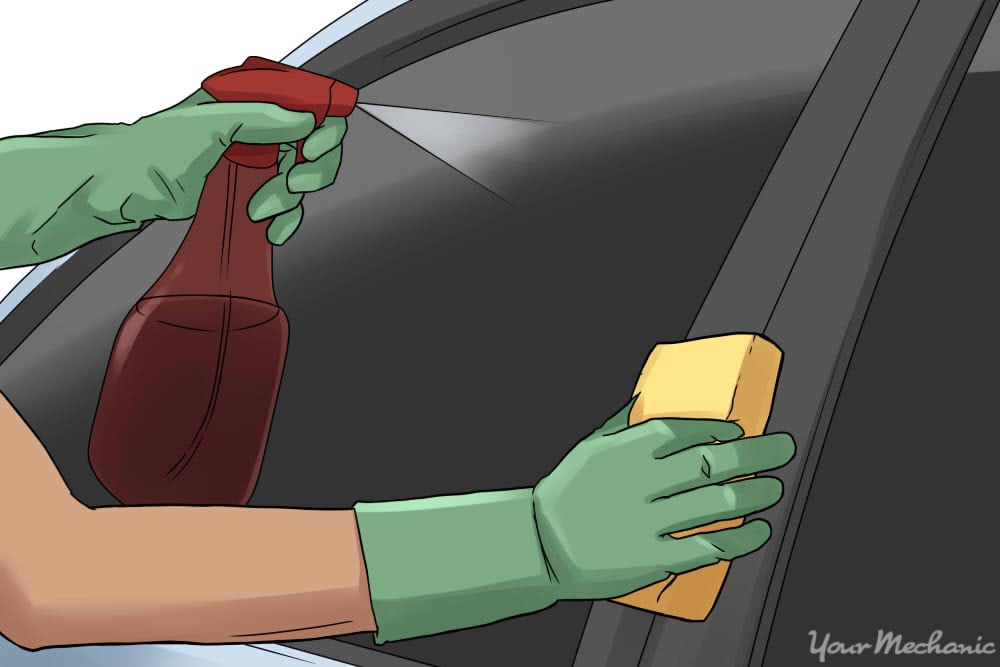
Step 1: Use a degreaser. Wear protective gloves and apply the degreaser to the gum on the window.
- Tip: Almost all degreasing products should work to remove gum from glass, although some degreasers come in spray bottles and others in capped bottles. Follow the directions for application that are on your chosen degreaser, and wear heavy-duty plastic gloves when dealing with these chemicals to prevent any damage to your skin.
Step 2: Wipe off the gum off. Press the spot firmly with a towel to remove the gum. If all the chewing gum residue does not come off the first time, apply more degreaser and wipe again until the window is free of gum.
Step 3: Wash the window. Lather the window up with soapy water and a fresh towel or sponge, then rinse with plain water and allow the window to air dry.
Once your car is clear of chewing gum, you will have returned your vehicle to its prime appearance. It is always advisable to remove any chewing gum from your car to protect its paint job and also ensure a safer driving experience for you, especially in situations where the chewing gum may obscure your line of sight.
Although removing sticky substances like gum from your car window is a hassle, these methods ensure that you do not inadvertently scratch the glass while removing it. These methods should also work to remove other adhesives that may get stuck to your car’s exterior surface.
