
These days, it seems that everyone is using vehicles for advertising. This type of advertisement is cheap and has far-reaching capabilities since it is essentially attached to a moving billboard. In addition to individual entrepreneurs using such decals to spread the word about their services, car dealerships often attach vinyl signage to the cars they sell and those purchasing used cars may not appreciate the previous owner’s bumper stickers or other vinyl-based customizations.
Fortunately, you are not destined to drive around with unwanted decals or signage on a permanent basis. It is possible to remove these customizations without harming your car’s paint job all on your own, using a product like Vinyl-Off that essentially dissolves the adhesive so you can take decals and signs off with ease.
Part 1 of 1: Removing vinyl decals using Vinyl-Off
Materials Needed
- Clean cloth
- Mild detergent, such as dish soap
- Plastic razor blade
- Vinyl remover
Water
Tip: If you have sensitive skin, wear plastic gloves as you apply the Vinyl-Off and remove the unwanted decal or sign.
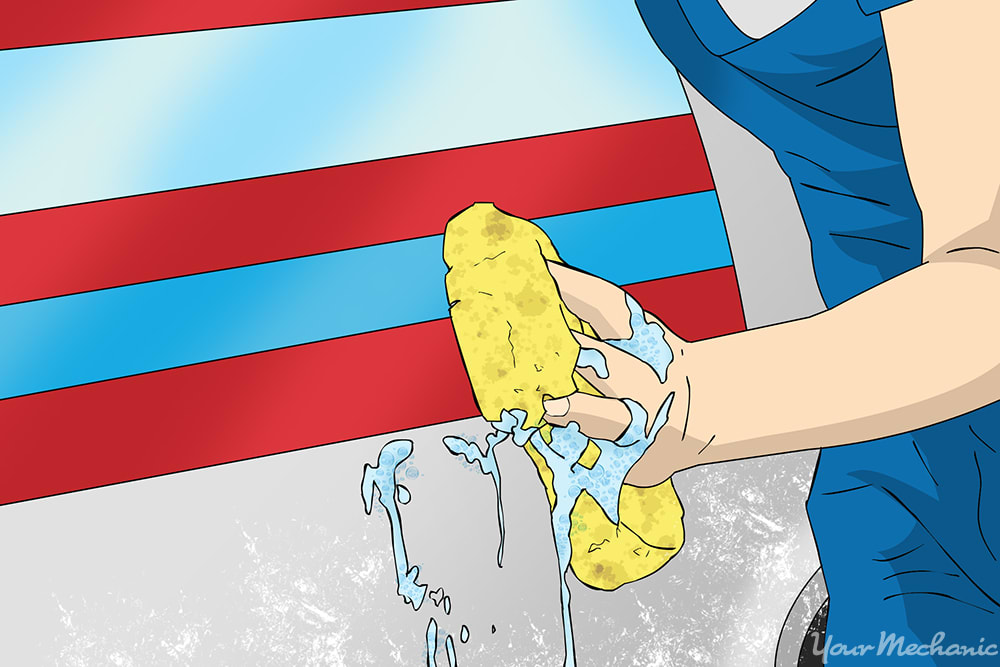
Step 1: Prepare your vehicle for Vinyl-Off application. Wash your vehicle with a clean cloth and mild detergent mixed with water, paying particular attention to the area around the graphic or sign you wish to remove.
This ensures there is no grit or grime to interfere with the Vinyl-Off’s adhesive-busting ability.
Rinse the area or entire car thoroughly with plain water when you are done and allow to air dry.
- Note: While it isn’t necessary to wash the entire vehicle – just the portion where you are working – many car owners feel it is worth doing a whole once-over while you have the cleaning supplies together and are already working.
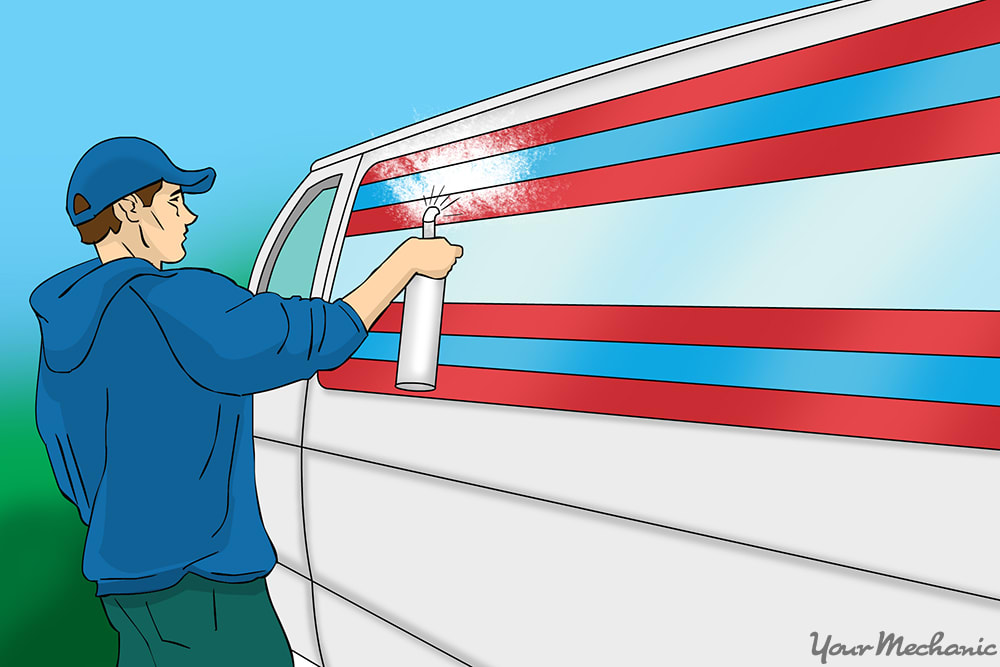
Step 2: Apply Vinyl-Off. Evenly spray the Vinyl-Off on the sign or graphic you wish to remove.
Bear in mind that a little Vinyl-Off goes a long way; apply enough to lightly coat the area but not enough that it begins to drip.
Step 3: Leave Vinyl-Off on the graphic for ten minutes. Allow the Vinyl-Off to sit undisturbed for approximately 10 minutes, allowing the product to work its adhesive-softening magic.
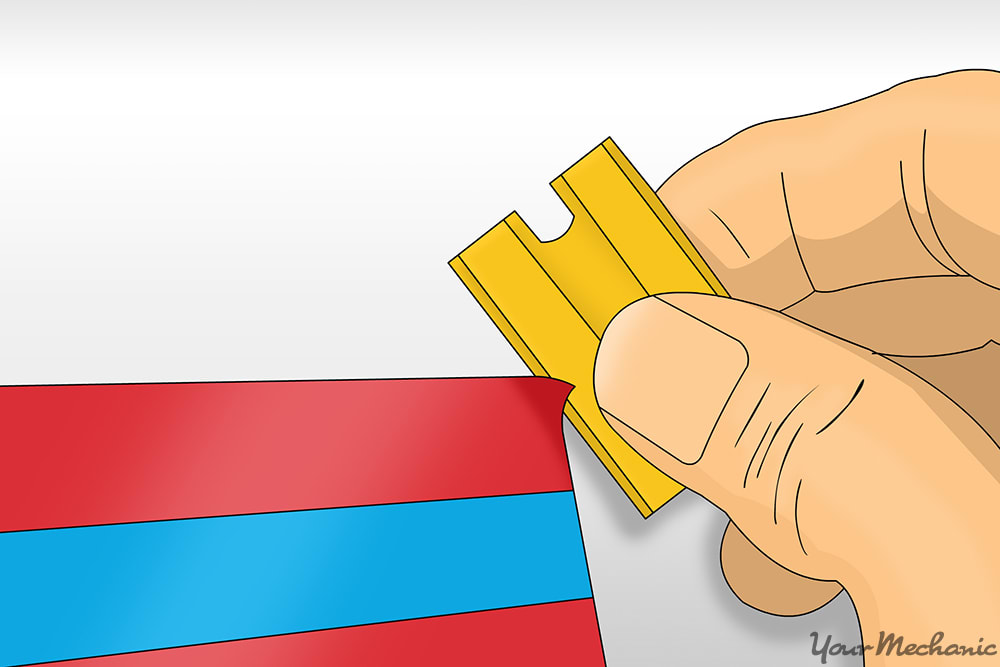
Step 4: Check to see if the sign or graphic is starting to come up. Use a plastic razor blade to pry up one corner of the sign or graphic. The corner should pry up easily.
If it does not, allow the Vinyl-Off to sit for five more minutes, then try again. If it still does not begin to lift, apply a small additional layer of the Vinyl-Off, let it sit for another 10 minutes, and the corner should lift without any problems.
- Tip: While Vinyl-Off alone is usually effective in removing signs and decals from car exteriors, if you have difficulty, you can try heating the sprayed surface with a hair dryer held approximately three inches away from your car. This will further loosen the adhesive holding the sign or decal onto your car.
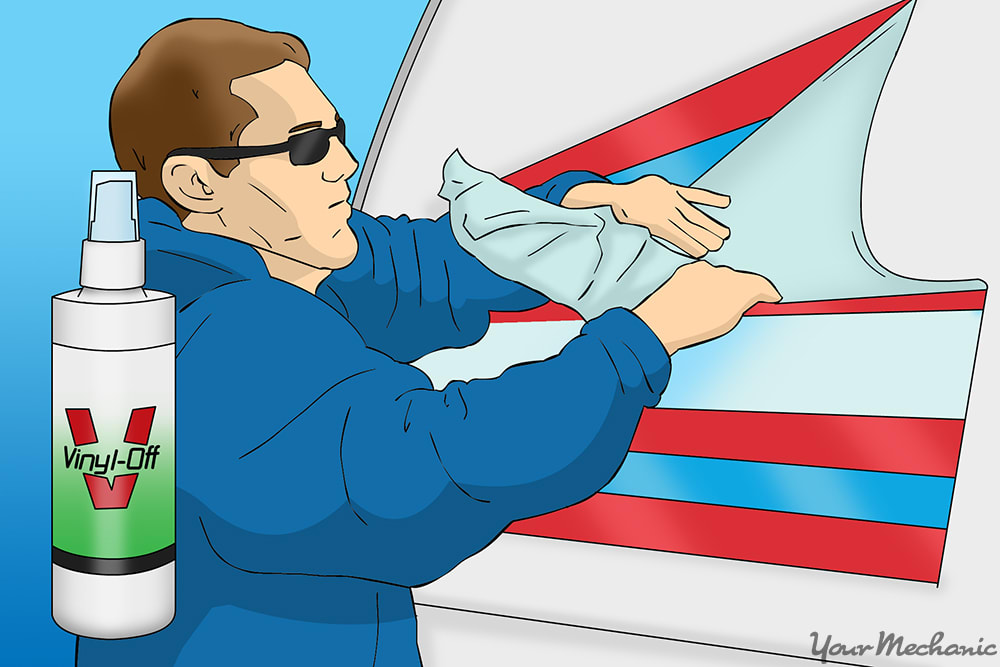
Step 5: Remove the sign or graphic. Starting from the lifted corner, firmly pull off the graphic in a slow and controlled motion.
Although the decal or graphic should come off in one piece, don’t panic if it tears. If this occurs, simply pry up another corner and pull again.
Step 6: Wash away any remaining adhesive residue. Wash away any residue using a mild detergent, water, and a clean cloth. Rinse thoroughly with plain water and allow to air dry.
- Tip: If this does not remove the adhesive residue left behind, lightly spray a thin layer of Vinyl-Off on the underlying paint, allow to sit for five to 10 minutes, and wipe the remaining gunk away with a clean cloth.
Step 7: Clean up your waste and materials properly. Dispose of the remnants of the sign or graphic away from the reach of children or pets. The ingredients in Vinyl-Off are toxic if ingested.
Once you have removed the unwanted decal or sign from your vehicle, you are free to replace it with another vinyl-based product to reflect your personal interests or current business. If things change in the future, you can always repeat this process to start anew.


