Your vehicle interior’s ceiling has a finished appearance. It is covered in fabric, vinyl, leather, or other types of upholstery which serves a few purposes including:
- Insulating the car from the cold
- Muffling noise and vibrations from the outside
- Creating a finished look
- Suspending devices from the roof like dome lights and bluetooth microphones
Your car ceiling’s covering material is known as a headliner. It is made up of more than just fabric, otherwise it would droop down from its mounting points on the ceiling. The roof liner is composed of:
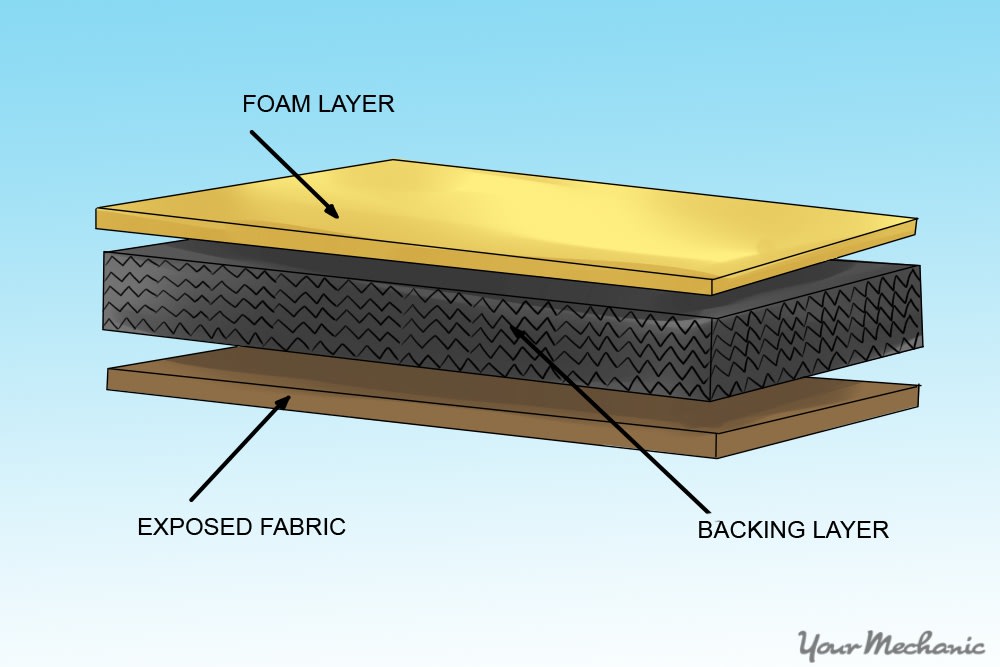
- A hardened backing, typically made of fiberglass or another fibrous board molded to shape
- A thin foam layer glued to the backing
- The exposed material of the headliner, uniformly glued to the foam
The whole headliner in your vehicle is manufactured in one piece. In the event that it gets damaged or falls apart, it has to be replaced as a complete part.
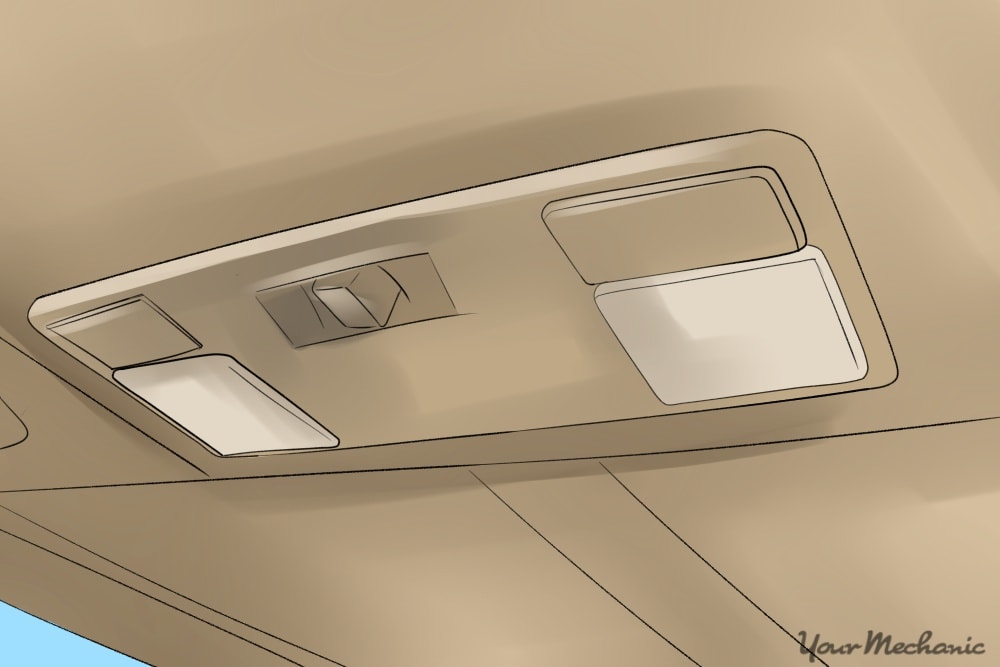
The headliner is one of your vehicle’s components that receives little attention. It is often neglected when you wash and detail your car and becomes dirty and discolored. Its exposed surface is porous and absorbs smells and smoke, retaining the odor for days, weeks, or even permanently.
You may notice at some point that your headliner is dirty or stinks and decide to clean it. It is rather delicate compared to the rest of the upholstery and requires extra care to ensure it doesn't get damaged when you attempt to remove stains or smells.
Method 1 of 3: Remove minor soiling
Materials Needed
If an object brushes against the headliner, possibly while it is carelessly tossed into your car, it can leave a mark on the fabric on your headliner.

Step 1: Wipe gently. Gently wipe the dirty spot with the microfiber cloth.
Brush off any loose soil that is stuck to the headliner. Your goal is to gently remove any loose bits without rubbing the dirt into the fabric any deeper.
If the dirty spot is no longer visible at this point, you are finished. If it is still noticeable, continue to Step 2.
Step 2: Apply the cleaner. Apply fabric cleaner to the spot on the headliner with a cloth.
Turn your cloth over and spray a small amount of upholstery cleaner onto the cloth. Lightly saturate a small corner.
Wipe the dirt spot on the headliner with the wet corner of your cloth.
Wipe your cloth on the headliner with the visible grain if there is one.
Apply very gentle pressure with the cloth. You want to work the cleaner just into the surface of the headliner to remove minor stains and don’t need to saturate deep into the foam.
Blot the wetted spot with a clean, dry section of your microfiber cloth to remove excess wetness.
Wait for the upholstery cleaner to fully dry, then check if the dirty spot has been fully removed.
If the stain is still there, try the next method.
Method 2 of 3: Perform a surface cleaning
Materials Needed
When a spot cleaning isn’t enough to remove a small dirt spot, it will be necessary to clean the whole headliner in a more in-depth way.
Step 1: Spray your headliner. Spray the whole headliner evenly with upholstery cleaner.
Pay special attention to the edges and in crevices around lights.
Tip: An aerosol upholstery cleaner has a foaming action that helps break up trapped dirt just below the surface. While a pump-style liquid upholstery cleaner may work, the foaming cleaners work best.
Step 2: Let it sit. Let the cleaner sit on the upholstery for the set amount of time specified on the container.
Step 3: Agitate the headliner with brush. Once the sit time has finished, use a small, soft-bristled brush to lightly agitate the surface of the headliner.
- Reach every part of the headliner’s surface with the bristled brush to ensure an even clean is performed. If you don’t brush a section of the headliner, it may be evident after the cleaner has dried.
Step 4: Let dry. Let the cleaner dry completely. Depending on how heavily you applied the cleaner, it could take an hour or two for it to dry.
- For tough stains, a second treatment may be required. Repeat steps 1 through 4. If the stain still persists, try the next method.
Method 3 of 3: Perform a deep cleaning
Using a deep cleaning system should always be your last resort for removing dirt from the car ceiling. The heat and moisture from the cleaning process wets the glue that holds the layers together and even the rigid backing, and the headliner can sag and fall, causing permanent damage. The fabric can also come loose from the foam and interfere with your visibility when driving or simply be an eyesore.
Materials Needed
- A deep cleaning system
- Hot water from the tap
- Stain remover
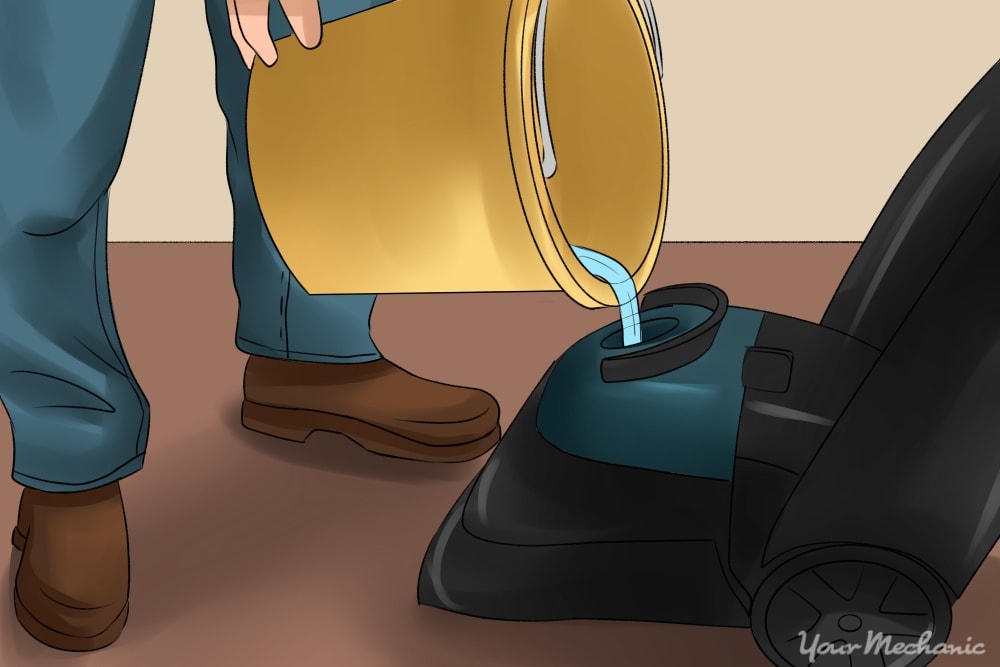
Step 1: Fill the cleaning machine. Fill the deep clean machine with water and cleaning solution.
Use the instructions provided with the machine for the correct ratio of water to cleaner.
Tip: Always use the specified brand and type of cleaner for your machine. Substituting cleaners meant for another machine can cause excess suds or residue left behind in the fabric that can stain your headliner even further.
Step 2: Turn the machine on. Turn the machine on and prepare it for use according to its instructions. If it needs to preheat, wait until the machine is ready.
- Put a narrow upholstery cleaning adapter onto the hose.
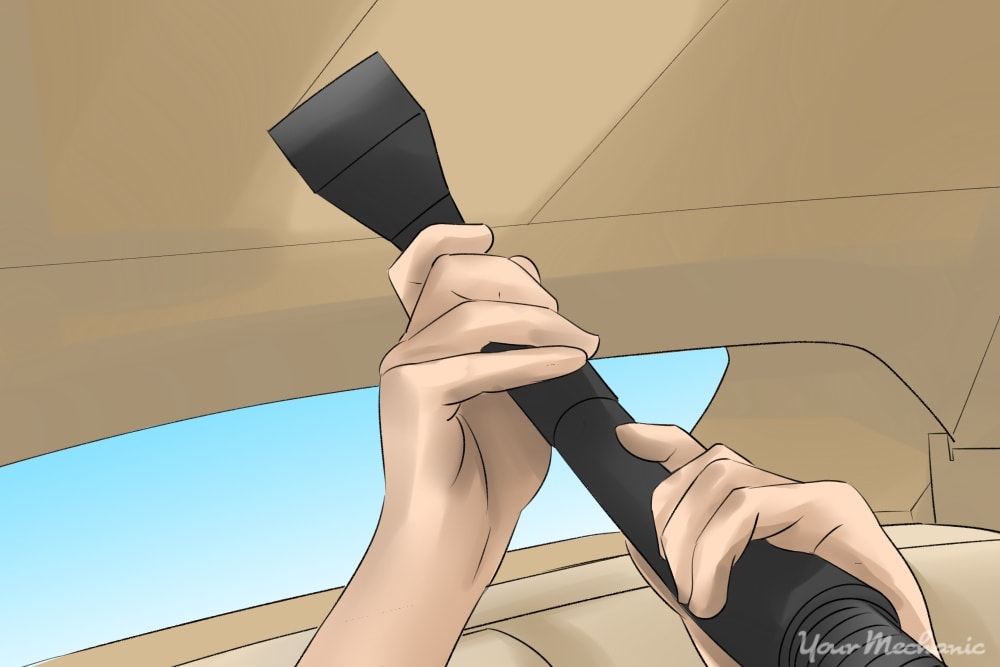
Step 3: Start at corners. Place the tip of the upholstery cleaning tool onto the headliner. Start at a corner.
Step 4: Move at a steady rate. Press the trigger to spray cleaner onto the fabric surface of the headliner as you begin to move the tool along the surface. Move at a rate of 3-4 inches per second so the headliner isn’t saturated too deeply.
- If it appears that the headliner is oversoaked, move at a faster rate over the headliner.
Step 5: Cover evenly. Move across the headliner using strokes of roughly 24 inches. Overlap the next stroke by a half inch with the one before it.
- Release the trigger between strokes so soapy water doesn’t spray everywhere.
Step 6: Maintain technique. Make sure the whole headliner is cleaned using the same pace and technique. Try to maintain the same direction with all your strokes for appearance once it dries.
Step 7: Allow to dry. Allow a whole day for the headliner to fully dry. If you have fans available, circulate the air inside your car to accelerate the drying process.
- Roll down your windows for increased air flow if your car is parked inside a climate-controlled and secure environment.
Step 8: Run your palm on the headliner. Once the headliner is completely dry, run the palm of your hand over the whole surface with the grain of the fabric to remove the dried lines left from the deep cleaner.
Cleaning your car's headliner can restore a pleasant aroma and appearance inside your car. Follow the steps above to get your headliner back in great shape. If you clean your headliner and find your car still smells, contact a certified mobile mechanic from YourMechanic to inspect the cause of the smell.