Stock car speakers aren’t always the highest quality available. When you bought your car, you may have chosen a model that didn’t have the upgraded sound system, or maybe the sound from your car speakers is just not up to par with your expectations. There are many reasons why you may want to replace or enhance your car’s speakers, including:
- The sound quality is poor.
- The speakers aren’t loud enough.
- You’ve blown the factory-equipped speakers.
- You want to amplify your car’s sound system.
Whatever your reason, you can always replace your car speakers or add more speakers to the sound system.
How to replace car speakers
Decide on your purpose for buying new speakers - If it is to replace blown or low-quality speakers, you need to know the exact size of the ones you will be removing.
-
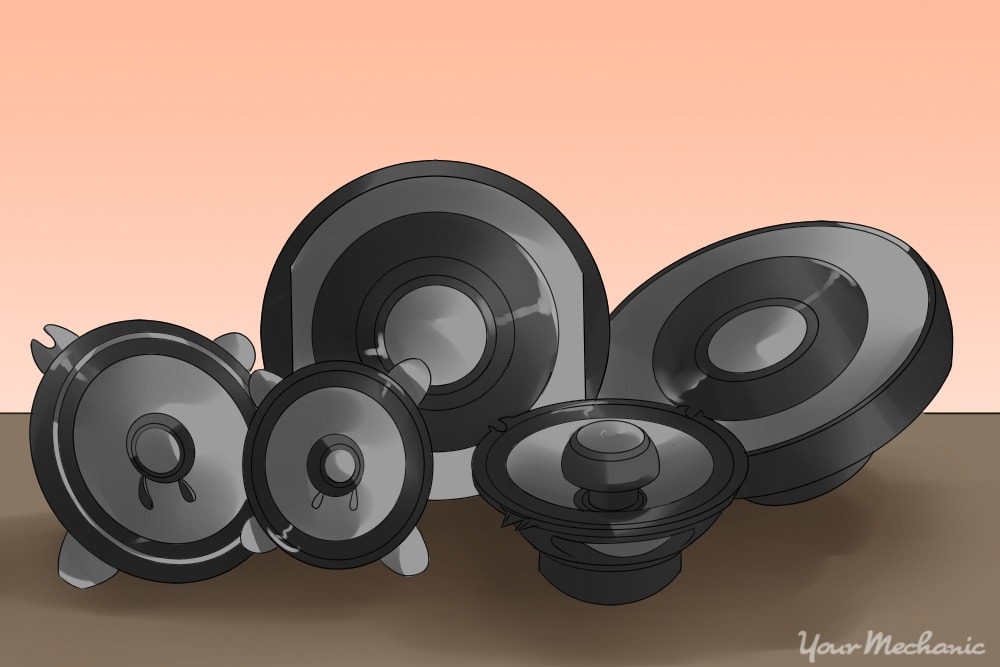
Determine the correct speakers and placement - You can either go to the parts department at your manufacturer’s dealership or you can find the exact fitment by researching your car’s speakers online. Services such as OnlineCarStereo can tell you which parts will fit your car’s original speaker locations precisely. Or visit an automotive electronics store. A representative can assist you in locating the correct speakers for your vehicle. You’ll need to decide on where they will be located.
Tip: You will want to choose surface-mount speakers in this case unless there are factory-designated locations for additional speakers.
Gather the correct materials - To remove your factory-mounted you will need the following: New speakers, Screwdriver set, Socket set with ratchet (¼” drive) and a Trim removal tool set (recommended: ABN Premium Trim Removal Tool Kit).
-
Locate your factory-mounted speakers - Most speakers are located behind panels to prevent damage and to cover them up, blending them into their surroundings. They will be covered with a grille, most commonly plastic with dotted holes through.
Tip: Always replace speakers in pairs for the best clarity and sound from side to side.
-
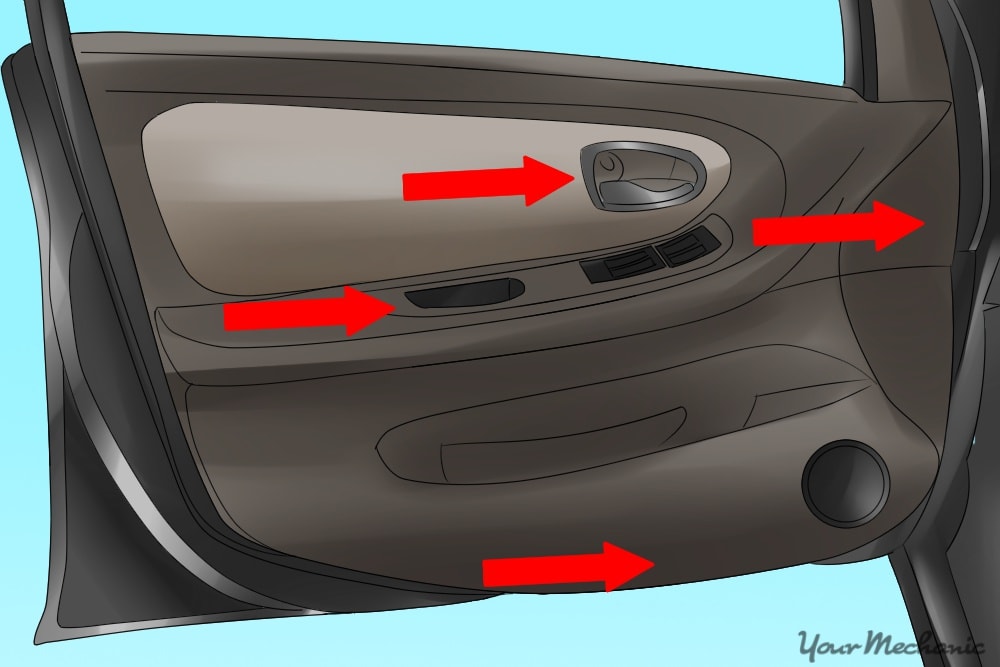
Remove the panel covering the speaker - Locate all the fasteners for the panel. Trim panels use screws, clips, or a combination of the two. Each panel varies depending on the car manufacturer and the location. Remove any exposed screws with your screwdriver or ¼” ratchet and socket set. Commonly, Phillips-head screws are used in trim applications along with 8mm and 10mm bolts.
-
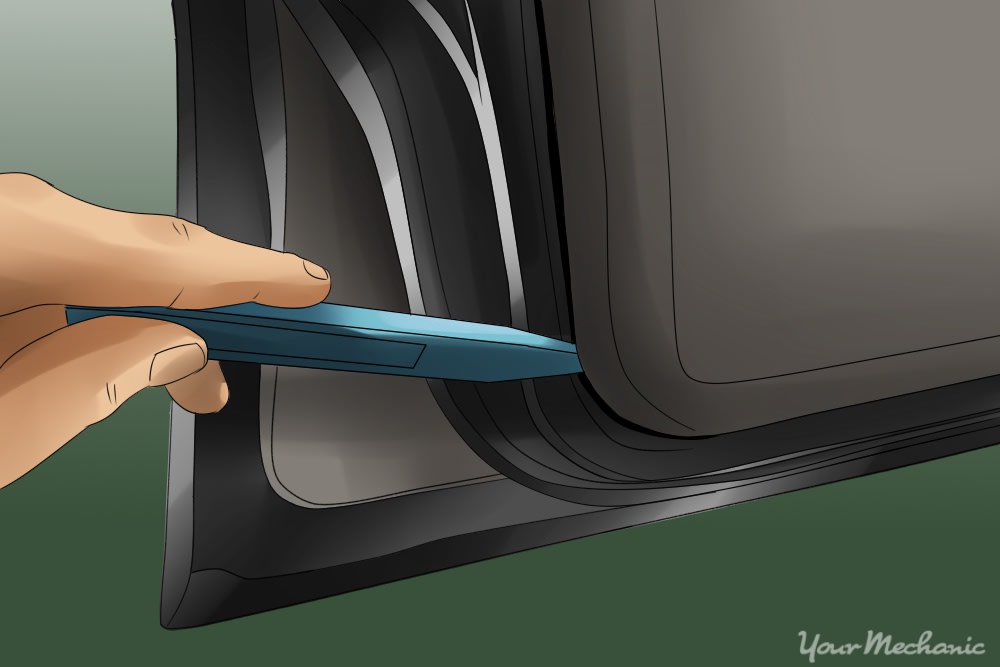
Pry to remove panel - Pry lightly on the panel once the screws are removed using a trim removal tool, or trim stick. Start at the edges and work toward the middle. If there is a lot of tension on a particular spot, check for screws that you may have missed. If there aren’t any more screws, pry harder, being as careful as possible not to crack the panel.
Tip: If any clips broke when you were removing the panel, you will want to find replacements before re-installing the panel, otherwise the panel will be loose and rattle.
Disconnect any wiring - As the panel is coming loose, disconnect any wiring harnesses or additional fasteners that you may have uncovered. Remove the panel and set it aside where it will not get scratched or broken. The back seat is a great spot to place panels.
-
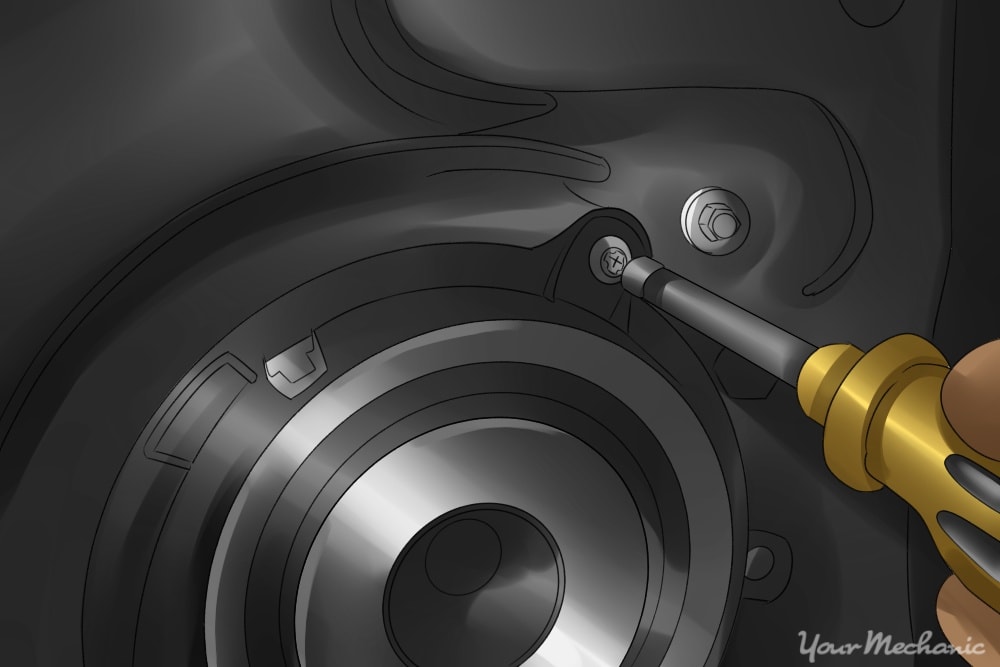
Remove the screws on the speaker - There will be 4-6 screw or bolts holding the speaker in place. Use the appropriate screwdriver or socket to remove the fasteners. Typical fasteners are Phillips-head screws and 8mm bolts.
Warning: When you are removing the last screw, take care to make sure the speaker doesn’t fall. It can damage the wiring if the speaker drops and pulls on the wires.
-
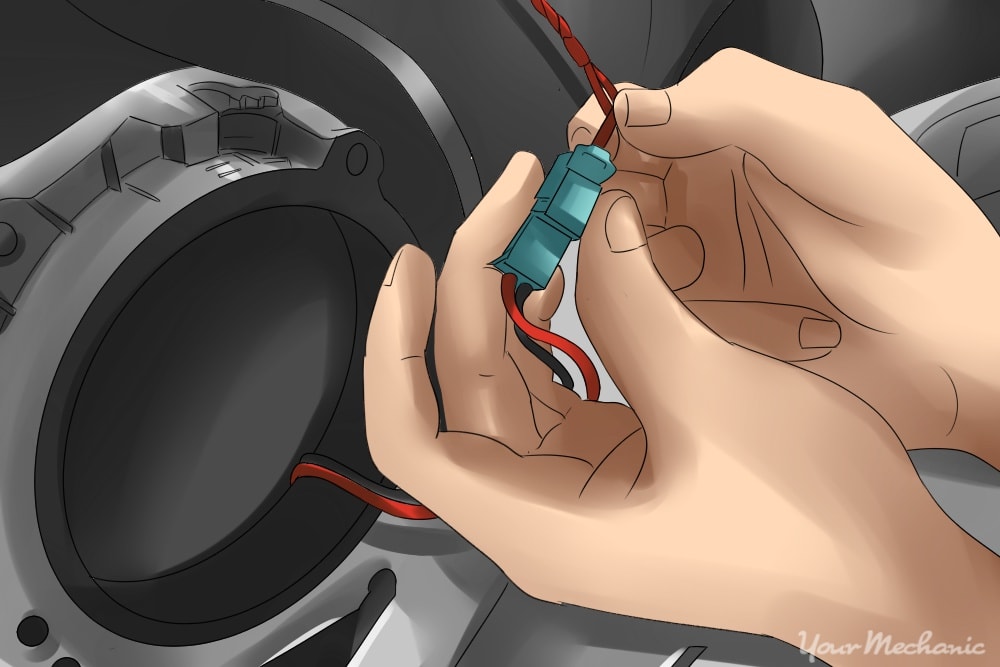
Disconnect the wiring - On the backside of the speaker the wires will be connected either with a female blade connector or in a wiring harness connector. If it is a blade-style connector, just pull the connector until it released from the speaker. If the connector is a wiring harness connector, press the release tab and pull the two sides of the connector apart. Set aside the old speaker or discard it.
Install the new speakers - Installing your new speakers is essentially the reverse order of removing the old speaker.
-
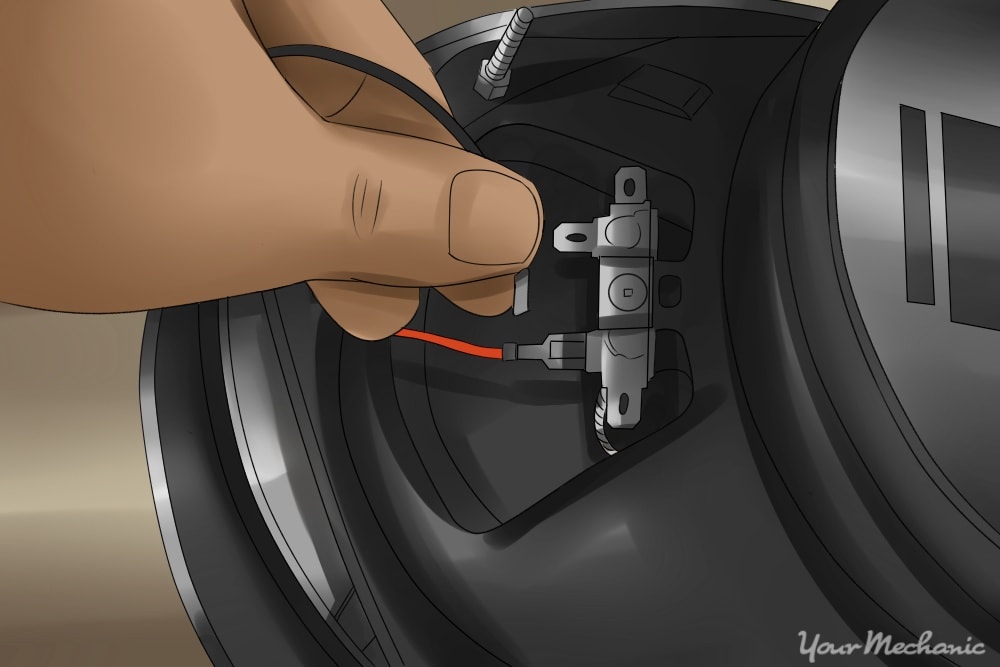
Connect the wiring to the speaker - If there are blade-style connectors, press them onto the appropriate male blade on the speaker. One wire will be black which attaches to the negative or (-) blade. The other wire attaches to the positive or (+) blade.
Tip: If the wiring is a harness connector, press the two ends together. There is only one orientation where the connector will fit together, though lining up the lock tab will help you find the correct orientation.
-
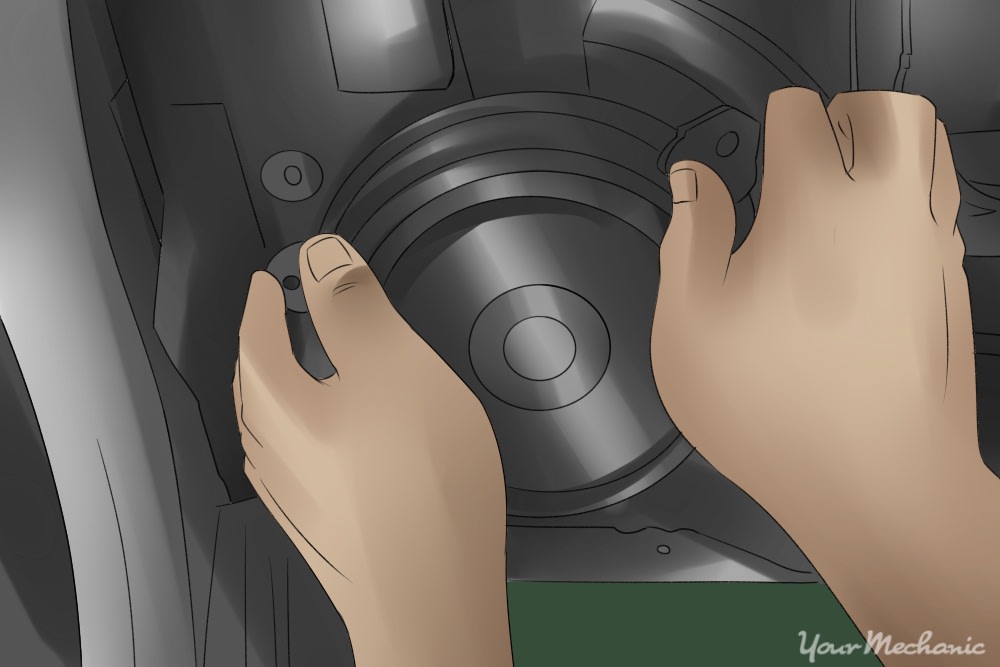
Fasten the speaker back in place - Line up the holes in the speaker’s frame with the holes in your vehicle’s body panel. Start all the screws into their respective holes in the speaker, then tighten them evenly.
Warning: If the speaker’s frame doesn’t fit flat against the body panel, make sure the speaker isn’t too deep. It may be “bottoming out” in the panel (meaning it won’t fit), and an alternate replacement will need to be found.
Install the cover panel or door panel - Install the screws in the reverse order they were removed. For any clips you pried free, press firmly to snap them back in place.
Overall, the process of replacing or adding speakers is relatively straightforward, and if you follow the guide above, you should be able to complete the task successfully. If you want to install additional car speakers next, that is also a simple process.
However, if you run into any questions along the way, you can always Ask a Mechanic. Or, if you don’t feel comfortable performing this job on your own, you can call one of the certified technicians at YourMechanic to come to your home or office.
