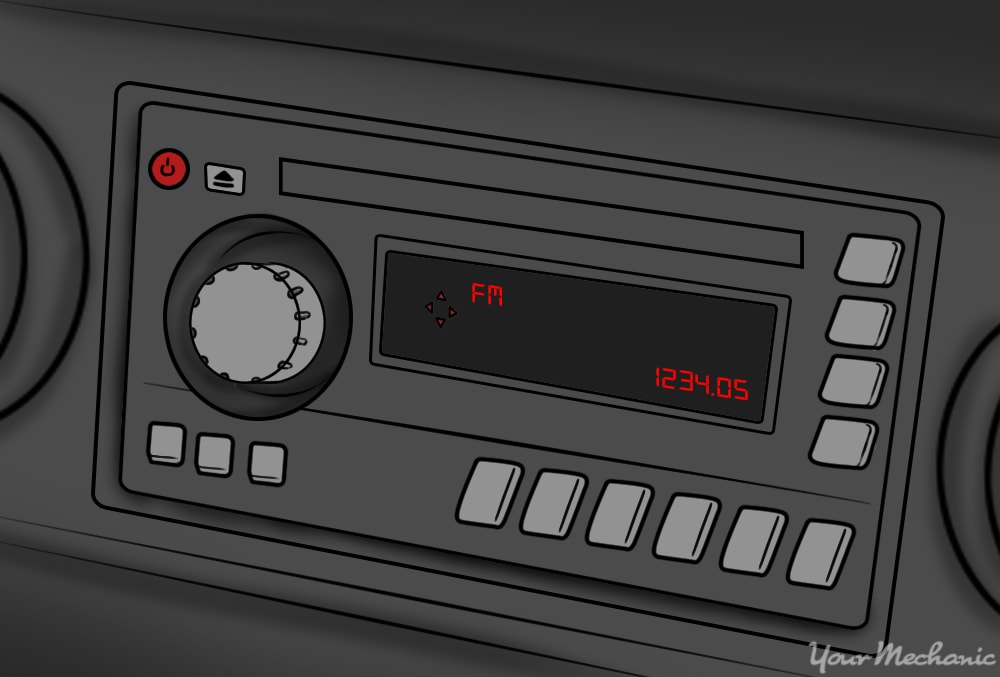
Virtually all vehicles built in the past fifty years come with some sort of audio entertainment system as standard equipment. While most of the original equipment stereos on newer vehicles offer adequate performance, the stereo units found on many older vehicles are often of lower quality, declining in performance due to age, or lacking the features found on newer units.
Thus, many vehicle owners seek to upgrade their original head units to aftermarket ones. Aftermarket stereo head units typically offer more features, more power, and higher quality sound output, in comparison to most original equipment units, and can be a dramatic upgrade to the driver's comfort.
Usually, installing an aftermarket stereo is a relatively simple task that can be done with a basic set of hand tools and the correct installation components. In most vehicles, stereos are secured in one of two ways: either with regular screws, or bolts or with spring clips that require a special tool to remove. In this step-by-step guide, how to remove and install a stereo for both types of vehicles is outlined.
Method 1 of 2: Install a stereo that is bolted in place
Materials Needed
- Basic set of hand tools
- Car stereo mounting kit specific to your vehicle
- Stereo wiring harness specific to your vehicle
- Wiring caps or crimp connectors
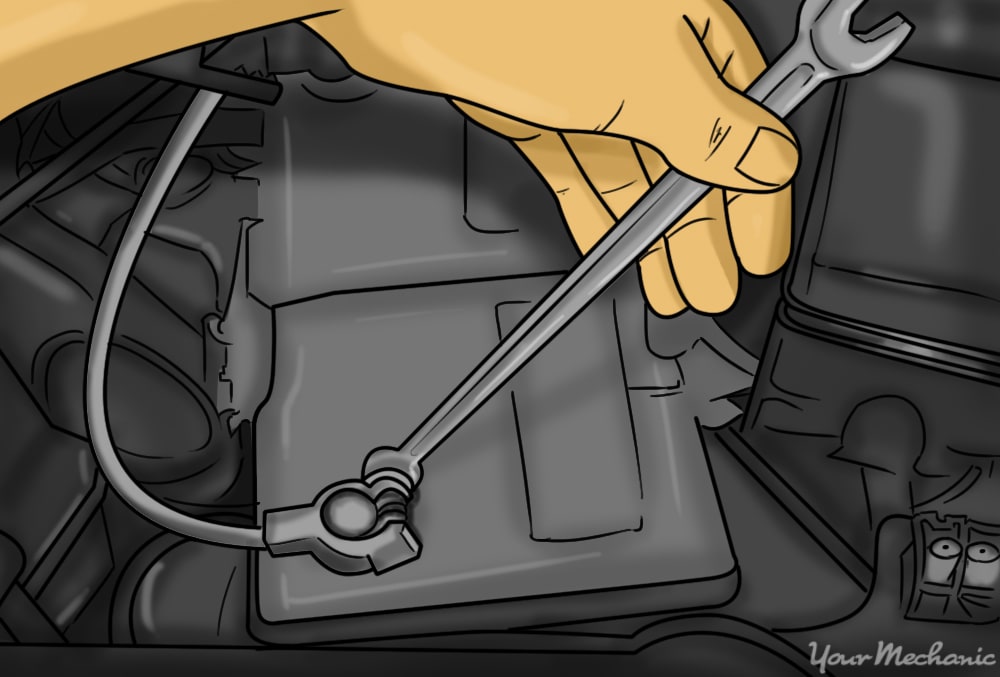
Step 1: Disconnect the vehicle’s battery. Detach the cables from the battery to prevent the possibility of any electrical short circuits or shocks.
Disconnect the negative terminal first, move it away from the battery, and then disconnect the positive terminal.
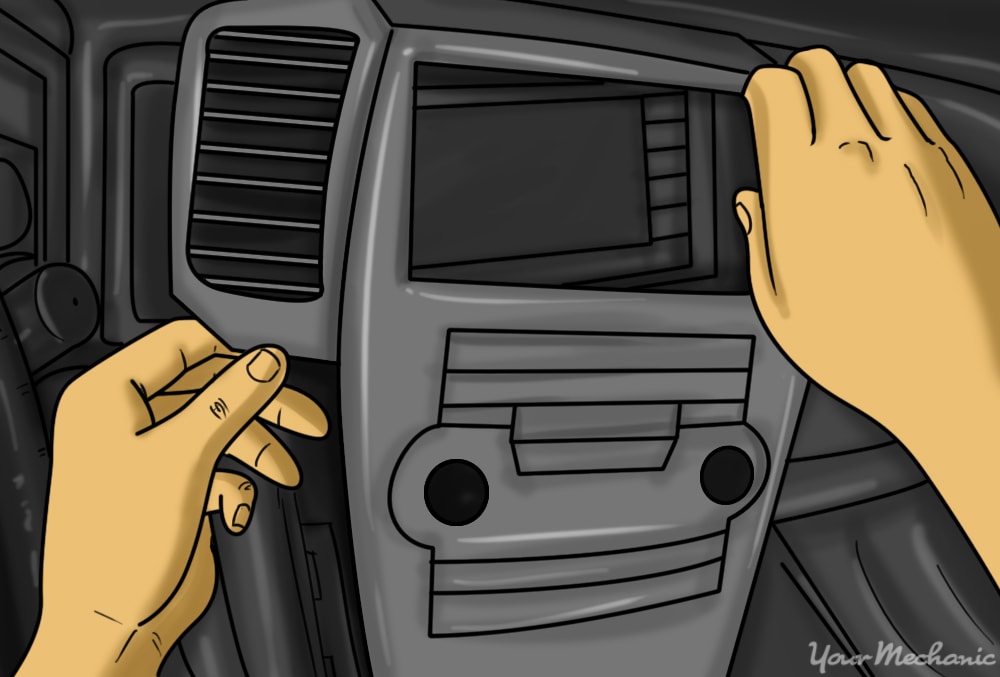
Step 2: Remove trims or bezels. The stereo is usually covered by plastic trim or bezel that must be removed to access the hardware securing the stereo to the vehicle.
Search for any screws or caps that may be securing any trim pieces and remove them. If no hardware is visible, it is likely that the trim pieces are held in by clips that are built into the pieces themselves.
If that is the case, simply use gentle force to pop them free, or if necessary, use a flathead screwdriver and gently pry the clips free for easier removal.
Remove any trim pieces around the stereo unit until you can see all of the screws or bolts that are securing it to the vehicle.
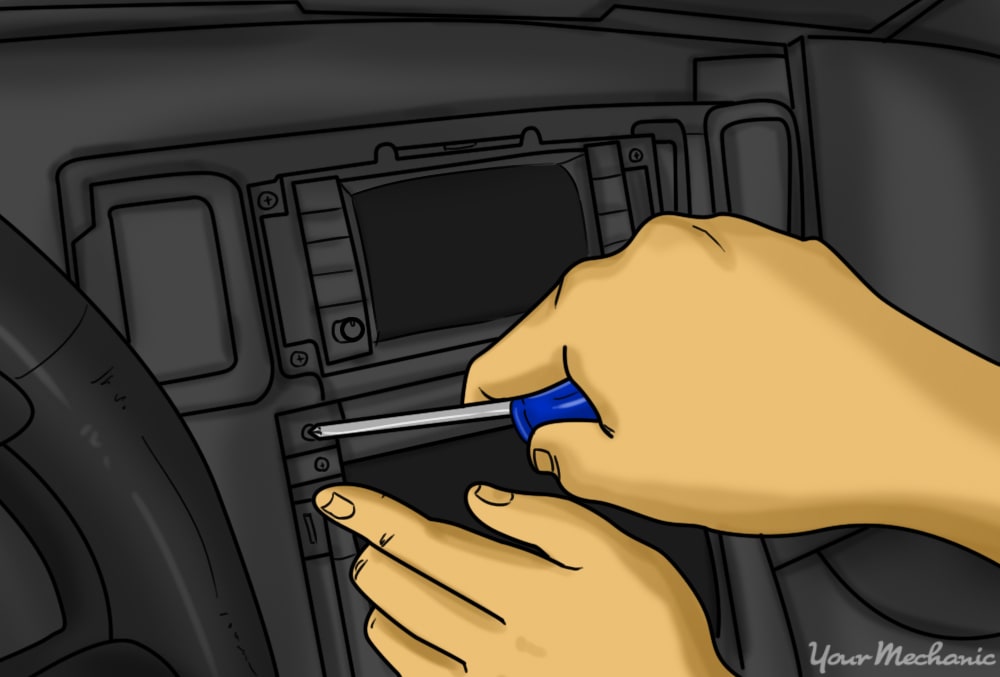
Step 3: Remove the hardware securing the head unit to the vehicle. You will need to remove any hardware that keeps the head unit in place.
Often, these are plain Phillips head screws or ten millimeter bolts.
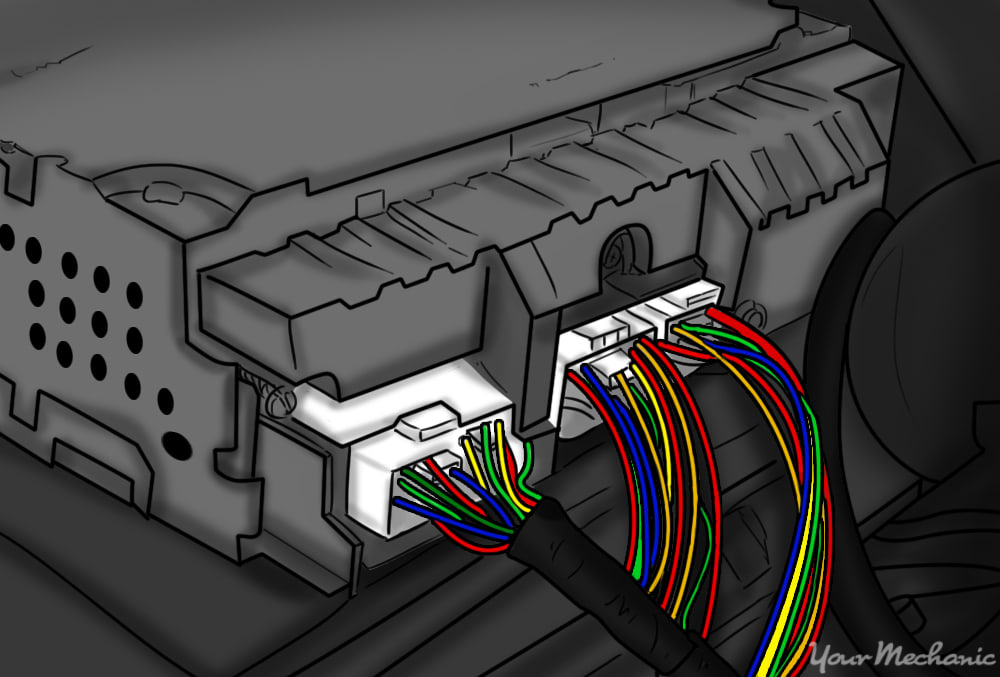
Step 4: Disconnect electrical connectors from stereo head. Pull the original equipment stereo head unit from the center console and disconnect all of the electrical connectors plugged into it.
Many original equipment stereos will have one or two harness connectors and a separate wire used for the radio’s antenna. All of these will need to be removed before the stereo can be pulled completely free.
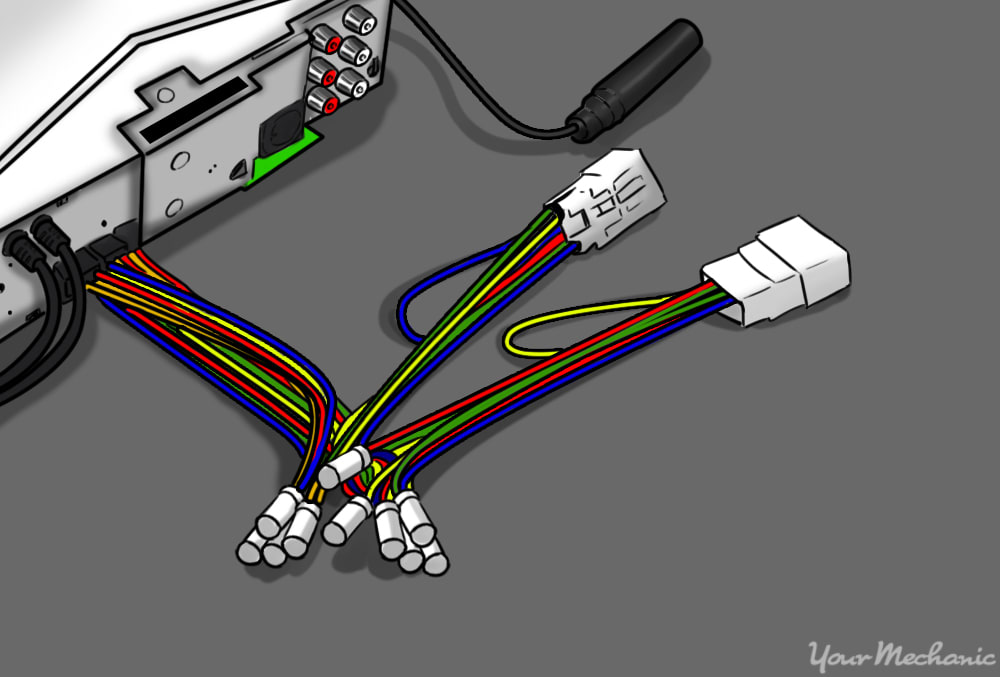
Step 5: Splice wiring harnesses. Your new stereo should come with its own wiring harness, which needs to be spliced with your new vehicle specific wiring harnesses.
Match up the wires on the ends of both harnesses and splice them together using the wiring caps or crimp connectors. The wires should be color coded and easy to identify and match up. If you are not sure about the wiring, refer to a wiring diagram for guidance.
When finished, the two harnesses should combine into one harness that allows you to plug the new stereo head unit directly into the vehicle’s original connectors.
Step 6: Install the stereo. With the original stereo removed, and the harness prepared, proceed with installing the new stereo.
Begin by installing the mounting kit onto the vehicle. In most cases, the mounting kit will be pre-made to fit perfectly into the vehicle’s center console and need only be properly mounted in place and secured with screws.
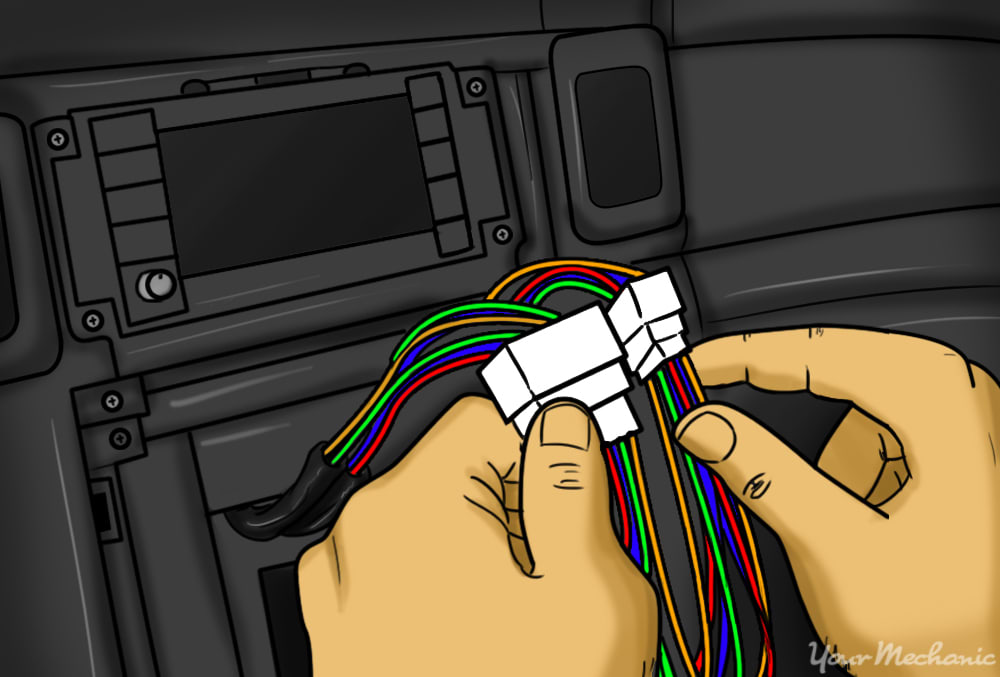
Step 7: Plug new harness in. Once the mounting kit is in place, plug your vehicle’s harness or harnesses into your newly spliced wiring harness.
With the correct wiring harness, you should be able to connect your vehicle’s factory harness or harnesses directly into the new stereo head unit without the need to modify the vehicle’s original wiring.
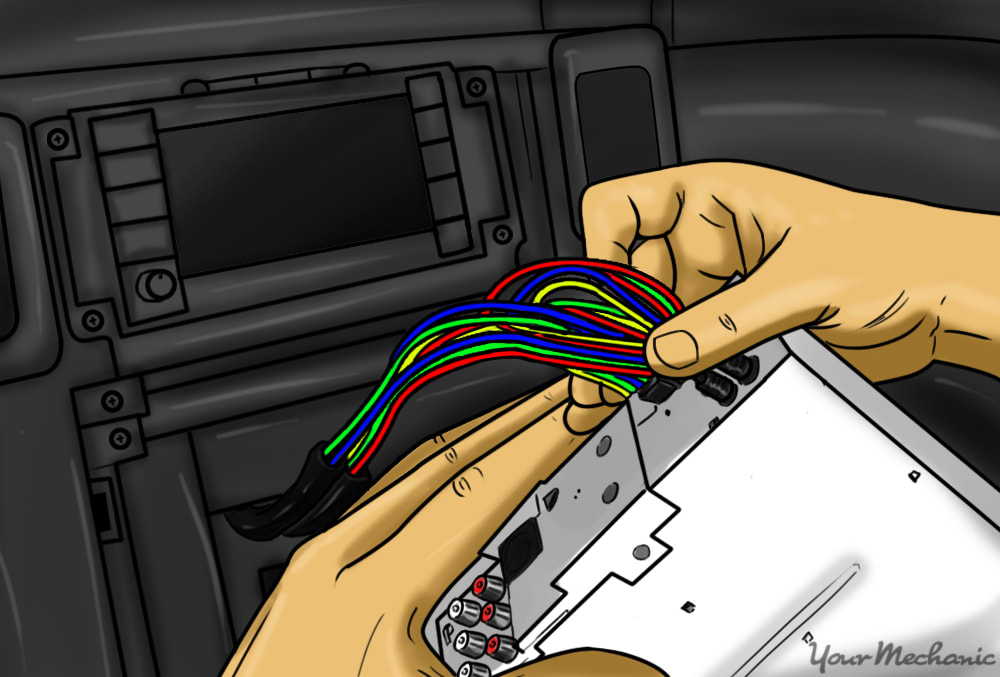
Step 8: Plug opposite end into head unit. Once the harness is plugged into the vehicle, take the opposite end and plug it into the back of the new stereo head unit.
Also plug in the connector for the antenna, if there is one, at this time. However, do not slide the head unit into the center console just yet.

Step 9: Verify that the stereo functions properly. Verify that the new stereo is functioning correctly by reconnecting the battery and turning the key on to accessory mode.
With the key on, the stereo should power up as normal. At this point, test to make sure that sound is coming out of the speakers and that all of the stereo’s functions are working correctly. Remember to test the radio as well, to make sure that is receiving a clear signal from the antenna.
If the stereo does not power on, or the radio receives static, double check all of the connectors on the back of the head unit, as well as any electrical fuses that may be associated with the entertainment system.
Step 10: Slide the stereo head unit into place. Slide the stereo head unit into the mounting kit that is already secured to the vehicle.
The stereo should slide into the mounting kit with minimal effort and should click into when place when it is fully set. If it jams or binds, remove it and re-insert it.
Step 11: Reinstall any trim pieces. Reinstall any bezels or trim pieces that you removed during disassembly to finish the installation.
Method 2 of 2: Install a stereo that is mounted using spring clips
Materials Needed
- Basic set of hand tools
- Car stereo mounting kit specific to your vehicle
- Stereo wiring harness specific to your vehicle
- DIN radio removal tool
Step 1: Disconnect the vehicle’s battery. Before beginning, disconnect the vehicle’s battery to prevent the possibility of any electrical short circuits or shocks.
Disconnect the negative terminal first, move it away from the battery, and then disconnect the positive terminal.
Step 2: Remove any securing pieces. Usually, the stereo will be covered by plastic trim or a bezel that will have to be removed in order to pull out the stereo.
Search for any screws or caps that may be securing any trim pieces and remove them. If no hardware is visible, it is likely that the trim pieces are held in by clips that are built into the pieces themselves.
If that is the case, simply use gentle force to pop them free, or if necessary, use a flathead screwdriver to pry the trim pieces free. Remove any trim pieces around the stereo unit until there is nothing obstructing the removal of the head unit.
- Note: Certain vehicles will not require the removal of any trim so simply proceed to the next step.
Many original equipment stereos will have one or two harness connectors and a separate wire used for the radio’s antenna that will need to be removed before the stereo can be pulled completely free.
Step 3: Splice wiring harnesses. Your new stereo should come with it’s own wiring harness, which needs to be spliced with your new vehicle specific wiring harnesses.
Match up the wires on the ends of both harnesses and splice them together using the wiring caps or crimp connectors. The wires should be color coded,
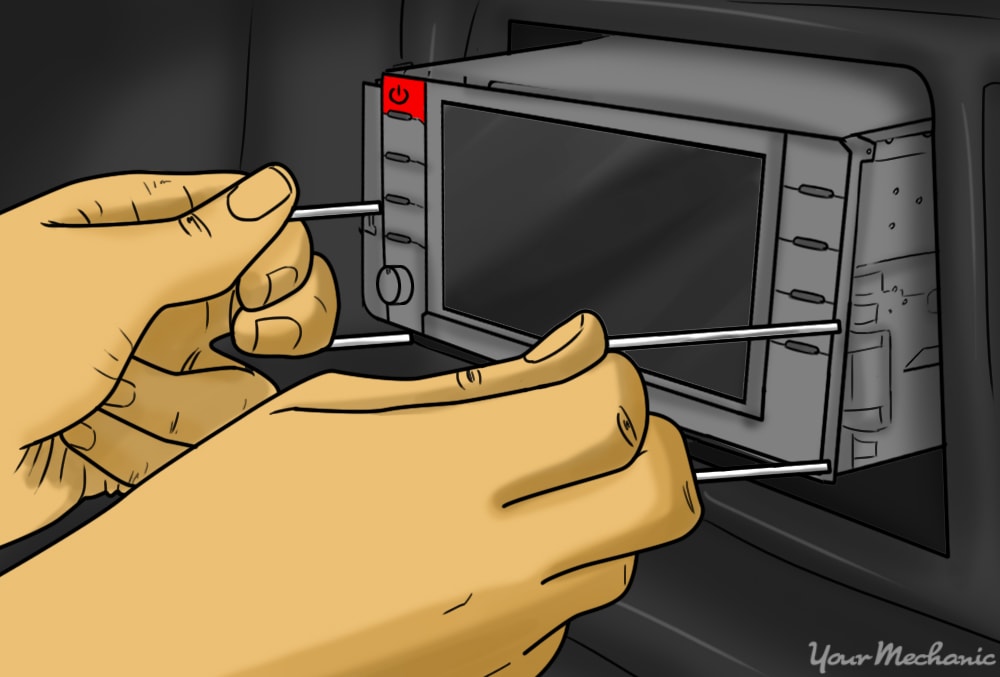
Step 4: Remove the stereo. Use your DIN radio removal tools and insert them into the holes present on both sides of the radio.
Insert them until you hear a click, or feel them lock, and at that point, the spring clips locking the head unit into place should be free, and you should be able to use DIN tools to pull the stereo out of the center console.
Step 5: Disconnect electrical connectors. Before you can pull the head unit free, disconnect all of the electrical connectors plugged into the back of it.
The wires should be color coded and easy to identify and match up. If you are not sure about the wiring, refer to a wiring diagram for guidance.
When finished, the two harnesses should combine into one harness that allows you to plug the new stereo head unit directly into the vehicle’s original connectors.
Step 6: Install the mounting kit. Install the mounting kit onto the vehicle.
In most cases, the mounting kit will be pre-made to fit perfectly into the vehicle’s center console and need only be properly mounted in place and secured with screws.
Step 7: Plug in vehicle wiring harness. Plug your vehicle’s wiring harness into your newly spliced wiring harness.
With the correct wiring harness, you should be able to connect your vehicle’s factory harness or harnesses directly into the new stereo head unit without the need to modify the vehicle’s original wiring.
Step 8: Plug in opposite end of harness. Once the harness is plugged into the vehicle, take the opposite end and plug it into the back of the new stereo head unit.
Also plug in the connector for the antenna, if there is one, but do not slide the head unit into the center console just yet.
Step 9: Ensure that the stereo works properly. Verify that the new stereo is functioning correctly by turning the key on to accessory mode.
With the key on, the stereo should power up as normal. At this point, test to make that sound is coming out of the speakers and that everything is working correctly. Remember to test the radio as well, to make sure that is receiving a clear signal from the antenna.
If the stereo does not power on, or the radio receives static, double check all of the connectors on the back of the head unit, as well as any electrical fuses that may be associated with the audio entertainment system.
Step 10: Slide the head unit into the mounting kit. Sliding the stereo head unit into the mounting kit that is already secured to the vehicle.
The stereo should slide into the mounting kit with minimal effort and should click into when place when it is fully set. If it jams or binds, simply remove and re-insert it.
Step 11: Reinstall any trim pieces. Reinstall any bezels or trim pieces that you removed during disassembly to finish the installation.
For most vehicles, retro-fitting a new stereo head unit is a relatively simple procedure if the correct harnesses and mounting kits are available. This can be a big part of your effort to modernize your car. If you have any questions along the way, Ask a Mechanic for some detailed advice, and be sure to have your battery inspected if it is giving you trouble.