
Car audio is big business with seemingly limitless options for upgrading and improving your sound system. You can:
- Add more audio sources (such as satellite radio)
- Add more car speakers
- Improve sound quality
- Install an amplifier
- Install a subwoofer
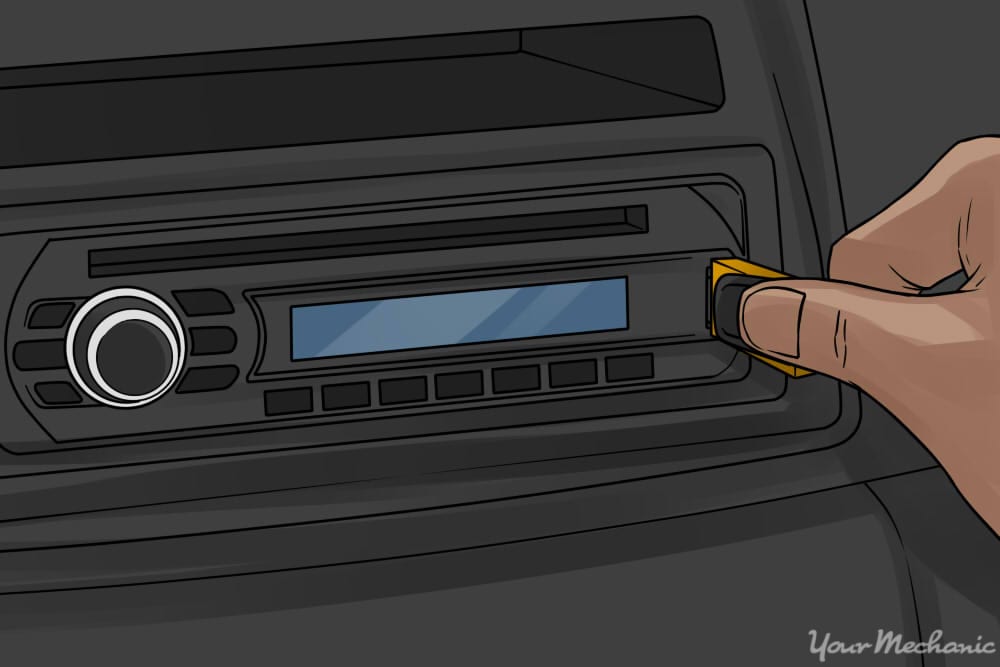
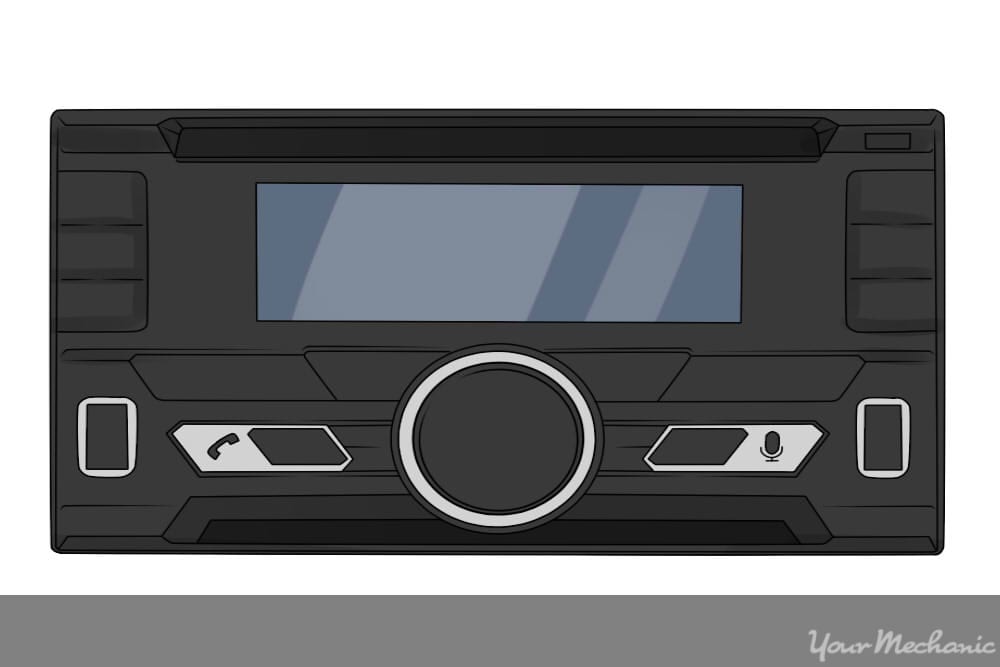
One of the most important decisions you need to make is for your new car stereo head unit. The head unit is what you see mounted in the dashboard of your car, typically in the center stack of controls between the driver and the front passenger.
There are several factors to consider when selecting your car stereo head unit.
Part 1 of 4: Select the right size of car stereo head unit
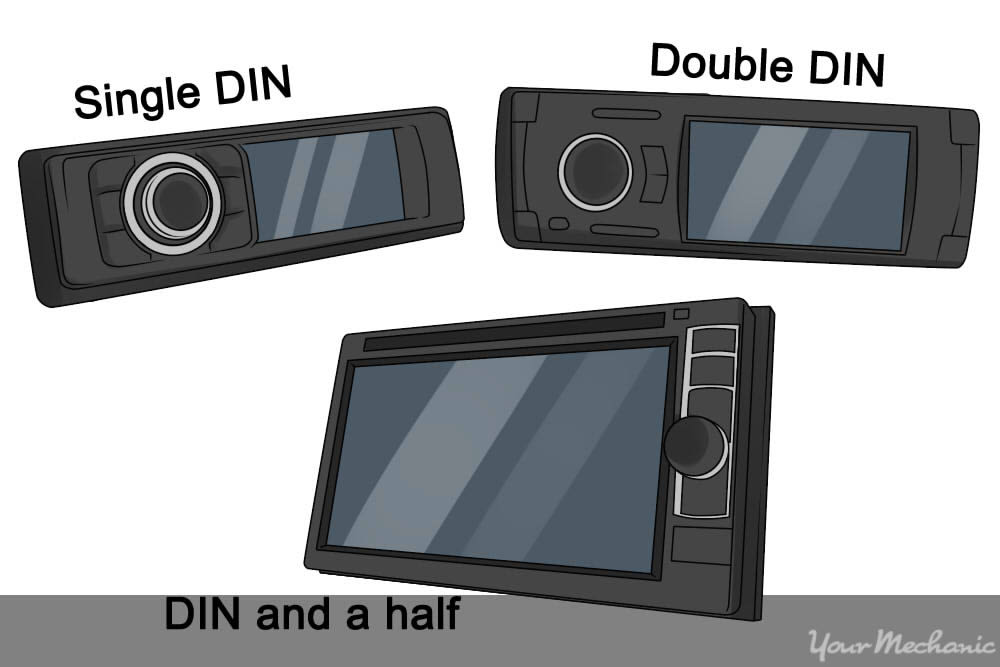
There are two common sizes for replacement car stereos:
- Single DIN
- Double DIN
There is a DIN and a half that is not a set standard, but some manufacturers did make them.
- Note: “DIN” is a term that refers to the height of the stereo in the opening on the dash. Officially, DIN stands for “Deutsches Institut für Normung,” a German governing body that defined the standard radio size according to DIN 75490, commonly referred to as DIN. A DIN is 2 inches in height.
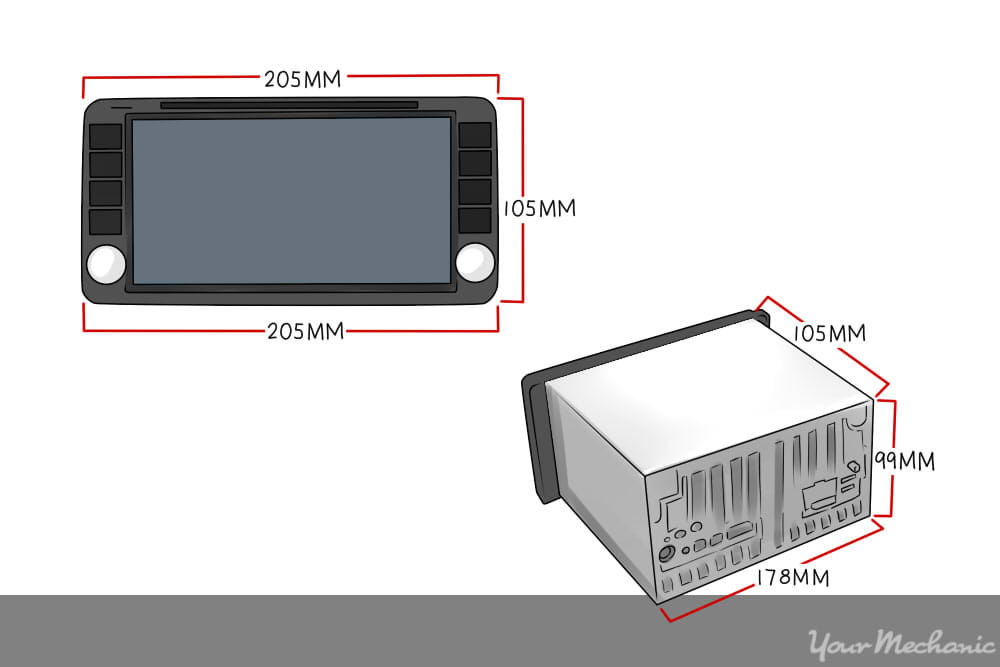
Step 1: Measure the size of your current in-dash radio. Use the overall height, measuring from the inside of the bezel (the trim that surrounds the stereo to decoratively conceal gaps between the bodywork) if the radio is still installed in the dash.
- Note: Head units generally come in either single DIN (180 x 50 mm panel) or double DIN (180 x 100 mm panel) size. The depth is not standardized but the typical US DIN radio is 7" x 2" (although the actual 180 mm width converts to about 7-3/32" so most people use 7-1/8" to allow for clearance) and the double DIN sized radio is 7" x 4". Some radios in Japanese cars do not conform to the DIN standard.
Step 2: Calculate the size. Determine the closest size radio that will fit in your dash opening.
If your dash opening is slightly smaller than a double DIN, you need to choose the DIN and a half. You won’t be able to fit a double DIN in the space.
Step 3: Shop carefully. Look only for the largest size that will fit or smaller.
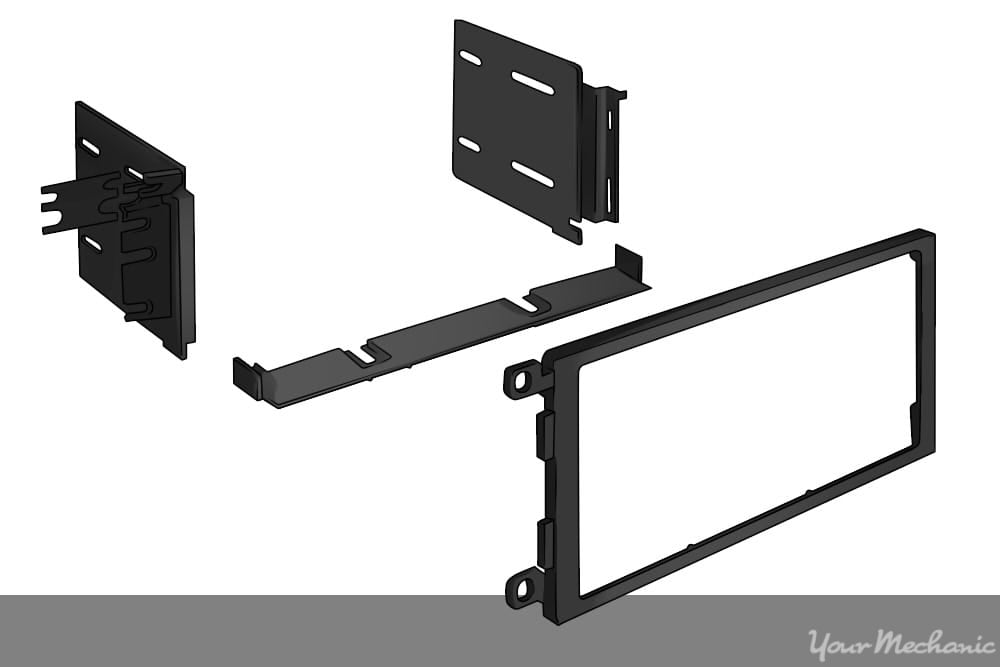
For example, if you find a radio you like that is a single DIN and you have space for a double DIN, you can find an install kit to fill the extra space. Make sure it fits your specific make and model before you buy it.
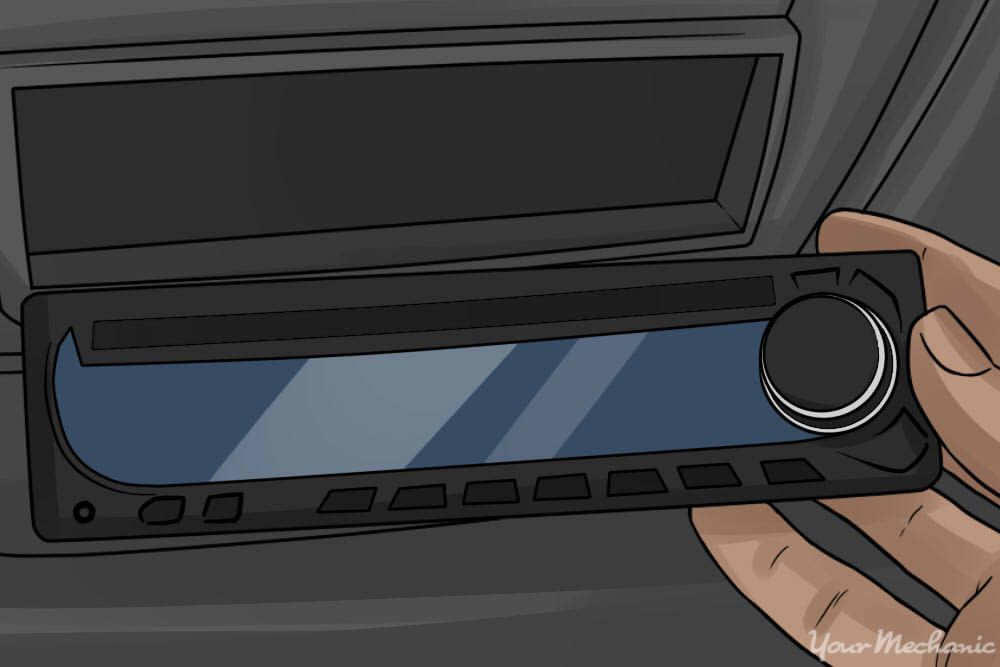
Step 4: Decide if security is a concern. If you are concerned that your new car stereo may be stolen, look for a head unit that has a detachable faceplate.
- Note: Most removable face plates can be secured where they will not come off when the installation is done.
Step 5: Select an option with navigation or a video screen. This is a great way to add on features you won’t be able to add otherwise.
Make sure you purchase the GPS receiver in addition to the car stereo and install it at the same time for the easiest installation.
GPS-capable radios have a plug to easily connect the GPS receiver cable to the audio head unit.
Part 2 of 4: Select a car stereo with multiple audio sources
Step 1: Determine your most commonly used audio source. CDs and digital music are the most common ways to listen to your own music while satellite radio and regular radio are extensively used by motorists as well.
Make sure the radio has a USB input or auxiliary (3.5mm) jack on the faceplate if you want to use a music device like an iPod.
Step 2: Consider a radio with cutting-edge or emerging technology. It may be more expensive initially but you won’t have to replace your car stereo to use that technology in the future.
Step 3: Select a radio with Bluetooth connectivity. You can stream music from your smartphone or even pair your phone to place and receive handsfree calls through your aftermarket radio.
Part 3 of 4: Ensure your car stereo is compatible with your current equipment
Step 1: Check the outputs. Make sure your new car stereo has enough outputs for all the speakers in your car.
Step 2: Check compatibility. If your car is equipped with one or more amplifiers, make sure the head unit can accommodate amplifiers with RCA inputs.
Some car stereo head units can control sound imaging and regulate frequencies to certain channels.
Step 4: Check power. Determine if your car stereo will provide enough power on its own to standard speakers or if you’ll require an amplifier.
The amount of wattage a car stereo can put out is closely tied to the volume you can produce from your speakers.
Part 4 of 4: Leave room to expand
If you care enough to complete the above steps, it’s only a matter of time until you decide to upgrade again. If you’ve selected a capable car stereo initially, you’ll only need to expand your additional components.
Step 1: Have RCA inputs. Make sure you have at least one pair of RCA inputs available for future use.
You can easily add another amplifier to your stereo system in the future if you have an open set of RCA inputs.
Step 2: Select the highest wattage car stereo you can afford. If you upgrade your speakers in the future, you may not need to amplify them if the car stereo produces enough power on its own.
- Warning: A stereo that has more power output than your speakers can handle may damage your speakers if the volume is turned too high.
As you work your way through the above steps and find that your existing (or new) radio isn’t working as well as it should be, have a certified mechanic, such as one from YourMechanic, inspect your car radio to find out why it’s not giving you the sound quality you expect. YourMechanic provides certified mobile mechanics who come to your home or office for convenient service.


