Most vehicle owners depend on warning and indicator lights to let them know that there is a potential problem brewing under the hood of their car, truck or SUV. But what happens when these sensors relay inaccurate information? The sensors on a vehicle are just as prone to failing as the components they monitor. One of the most common sensors that deteriorate over time is the coolant level sensor.
The coolant level sensor is attached on the side of the radiator on most cars, trucks, and SUV's sold in the United States built prior to 2010. Some modern vehicles have this sensor located on the inside of the radiator which makes them extremely difficult to replace, but for the most part, the coolant level sensor is easy to get to on most vehicles. The coolant sensor is an electronic piece that measures the level of coolant in the radiator. This sensor measures the level of coolant inside the radiator when it is cool; as warm or hot radiator fluid will expand as it heats.
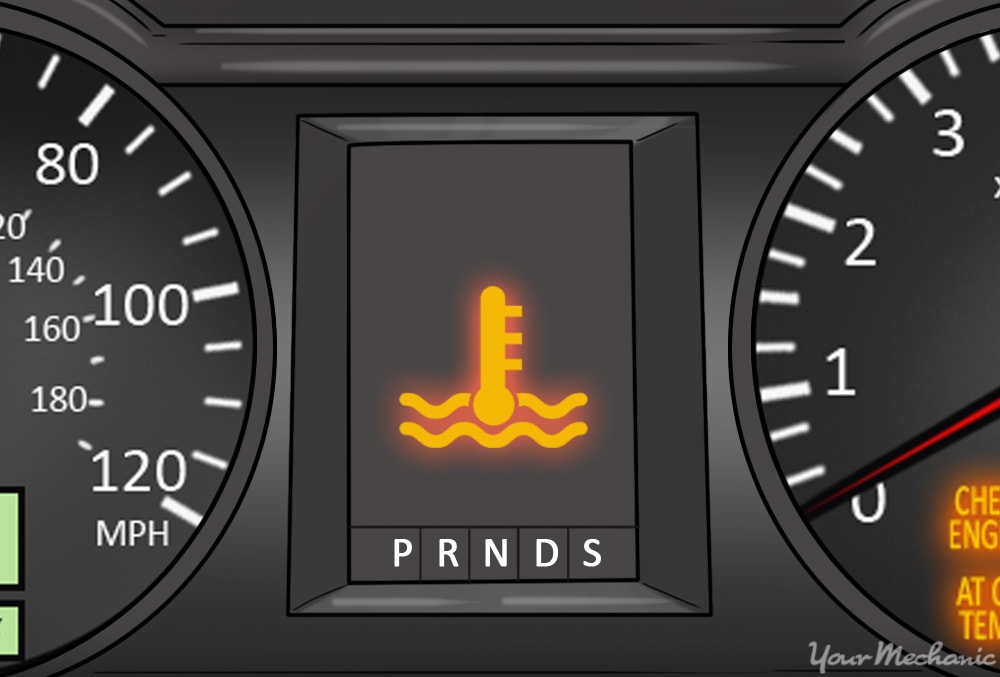
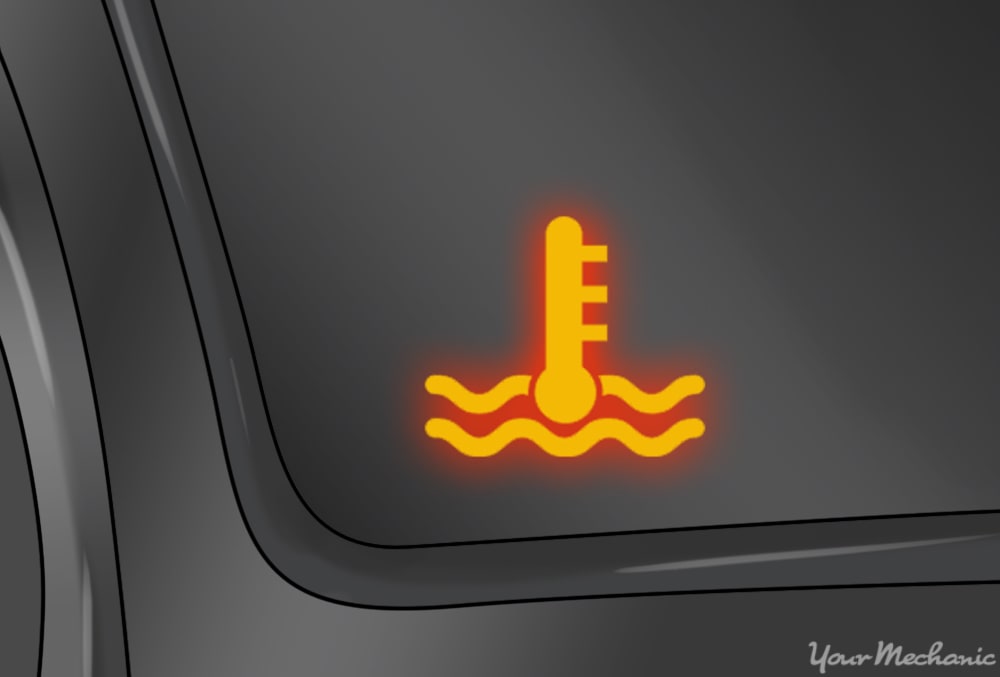
When the sensor works properly, it will illuminate on the dashboard or trigger a check engine code to be displayed. This will occur at first start up to warn the driver that they need to add coolant before driving to avoid overheating. However, there are times when the sensor displays incorrect data and will need to be replaced.
Part 1 of 4: Determining the symptoms of a broken coolant level sensor
Before you decide to replace the coolant level sensor, you'll want to complete some diagnostic work first to ensure that this is the part that is broken. Noted below are a few of the common warning signs or symptoms that the coolant level sensor is broken and needs to be replaced.
The coolant sensor light is only supposed to stay illuminated for a few minutes when you start the motor, so, if it is staying on for longer than this, you may need to replace the coolant level sensor. Under most situations, the driver will shut the engine off and add radiator coolant or water to the radiator or overflow tank.
If the driver adds coolant to the radiator until it is full, the light may stay lit until the radiator has properly cycled. However, if the light stays on for an extended period of time, the coolant level sensor or the electrical connection to the sensor may be damaged, dirty, or need to be replaced.
On the opposite side of the coin, if your radiator is actually low on coolant and the light does not come on, this can cause the engine to overheat. The coolant level sensor is supposed to be a warning indicator that reduces the potential of this occurring. If your engine overheats or is running hot, but the coolant level sensor did not come on, you should replace the sensor.
- Note: Since all vehicles are unique, it's important to understand that the guidelines and instructions listed below are general instructions. Make sure to verify specific instructions with your vehicle manufacturer service manual before proceeding.
Part 2 of 3: Remove and replace the coolant level sensor
Once you've determined that the coolant level sensor is broken or malfunctioning, you'll need to secure the right parts, materials, and tools needed to complete the job. Since every vehicle is unique and the location of the sensor may be specific to the vehicle manufacturer, it's always a good idea to check your vehicle service manual to determine the exact location of the coolant level sensor as well as the appropriate tools needed.
The process for removing the coolant level sensor is virtually identical for most cars, trucks, and SUV's sold in the United States. As noted above, it's always a good idea to buy a service manual for your specific make and model vehicle for specific guidelines, suggestions, and tips from the manufacturer. Noted below are the steps you'll need to take to remove and replace the coolant level sensor that is attached to the outside of your radiator.
Materials Needed
- Combination wrench set and extensions
- Coolant collection pan
- Flat blade screwdriver
- New coolant
- Replacement coolant level sensor and bracket clamps
- Safety equipment including safety glasses and gloves
- Socket wrench set
- Specialized tool for removing support wires
- WD-40 or other penetrating oil
Work light
Tip: Since you're working on the radiator, this job should only be completed when the engine is cold and has not been running for a minimum of one hour. You will also be exposed to coolant so make sure you wear safety glasses and gloves to protect your hands from hot coolant if the engine is not cold.
Step 1: Prepare the vehicle. In most cases, the radiator coolant level sensor is going to be accessible from the top of the engine compartment and with simply reaching down with your hands.
You should place a coolant bucket under the radiator large enough in circumference to collect all the coolant that will spill when you remove the coolant level sensor.
Step 2: Lubricate rusty bolts. One of the first steps in this job will be to remove the battery and battery support brackets.
In many cases, these bolts are rusted and can be difficult to remove (especially if you're not using air tools). Spray some WD-40 or other penetrating fluid on these bolts before you start the actual removal steps to reduce stripping bolts.
Step 3: Remove the battery bracket. Most of the time the bracket that keeps the battery secure inside your engine compartment will be in the way of removing the coolant level sensor. In order to make it easier to remove the sensor, remove the bracket.
Use the correct sized socket to loosen up the bolts attached to the vehicle's front engine support rail and other areas where the brackets are attached.
Step 4: Remove the battery cables. Since you're working on an electrical sensor, you'll need to disconnect the power from your battery.
This ensures you don't short out or cause damage to the ECM on your vehicle. Disconnect the battery cables - both positive and negative terminals - and set them aside.
Step 5: Remove the battery. On some vehicles, the battery will also be in the way of your work area for replacing the coolant level sensor.
To be safe, remove the battery and set it aside.
Step 6: Locate the coolant level sensor. On most cars, trucks and SUV's, the coolant level sensor will be located on the passenger side.
It will be rectangular in shape and be located on the side of the radiator near the fill neck. The sensor will also have an electronic connection on the bottom of the sensor that has a group of wires attached to it that leads to the vehicle’s ECM.
Step 7: Remove the electrical wire attached to the sensor. Once you locate the coolant level sensor, you need to remove the electrical wire that is attached to the sensor.
The electrical connection may have a nylon snap connector attached to the bottom of the sensor. Remove this clip and then remove the electrical wire from the sensor.
Step 8: Remove the wire clamps holding the sensor onto the radiator. After you've removed the electrical connection, you need to remove the clamps that are holding the radiator coolant level sensor.
There are two clamps; one on the top and one below. In order to remove these clamps, you may have to use a specialized tool. Many mechanics create this by using a 1/16 welding rod and creating a hook on the end that can pry the clamp off. Using the correct tool, remove the clamp on top of the sensor and then the clamp below the sensor.
Step 9: Remove the coolant level sensor. When the clamps are loose, the coolant level sensor will be ready to come out of its location.
To remove the sensor, slowly wiggle the sensor up and down and then from left to right to loosen the connection. The sensor will be very tight on most vehicles, so it may require the use of a pair of pliers for added support.
Be careful not to break the sensor end inside the radiator. Once the radiator coolant sensor begins to come out of the hole, radiator fluid will begin to leak. This is normal and will help provide some lubrication to permit the sensor to come out all the way.

- Warning: Before completing this step, make sure you have the radiator coolant pan or collection bucket underneath the radiator where you are working as there will be a lot of radiator fluid that comes out of the sensor's location.
Step 10: Clean the area and electrical attachment wire. Once you've removed the coolant level sensor and the coolant is done leaking, clean this area of loose radiator fluid, dirt, and other debris.
You should also take this opportunity to make sure the electrical attachment is not frayed, dirty, or damaged. If it is, you should replace this wire as well as it may be the cause of the problem.
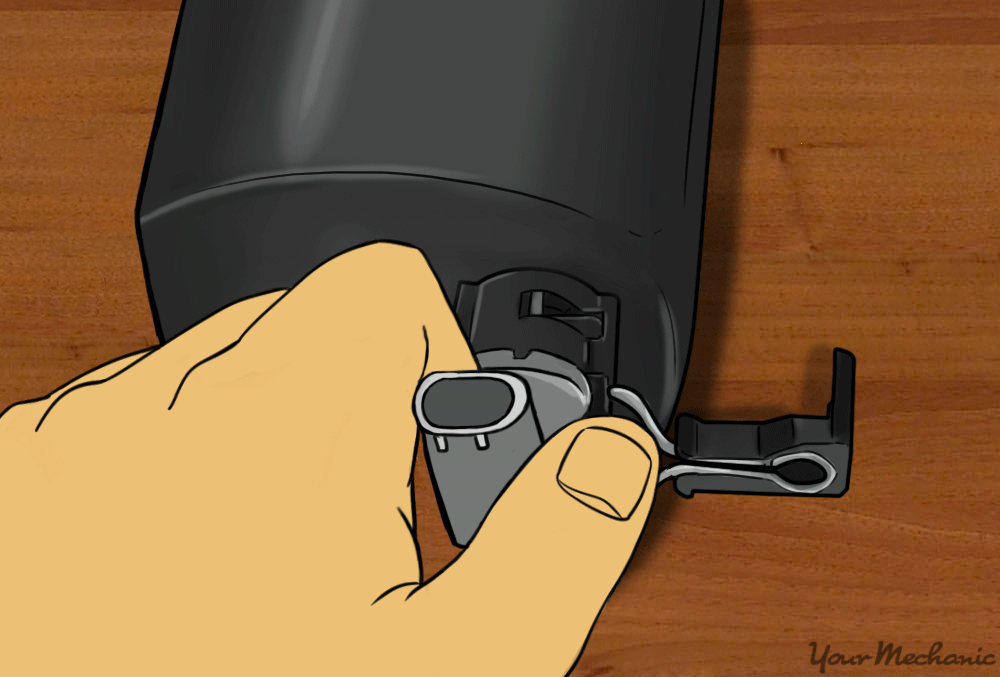
Step 11: Place the clips on the new sensor. When you purchased the new coolant level sensor, you likely also received new clips that hold the sensor in place.
If not, you need to attach the new clips onto the back of the sensor in the area noted in the above image before you attempt to replace the coolant level sensor.
Step 12: Lubricate the sensor end with new coolant. In order to help the new sensor slide into place, lubricate the insert end with new coolant before replacing it.
Step 13: Replace the coolant level sensor. Once the clips are secured to the back, replacing the coolant level sensor is literally a "snap".
Simply insert the coolant level sensor in the hole it came out and press until you hear the clips "snap" into place.
Step 14: Reattach the electronic wire at the bottom of the sensor.
Step 15: Replace your battery. After you've reattached the electronic wire that powers the sensor, you simply need to put everything back into place.
Start this process by replacing your battery first.
Step 16: Reattach the battery cables.
Step 17: Reattach the battery support brackets.
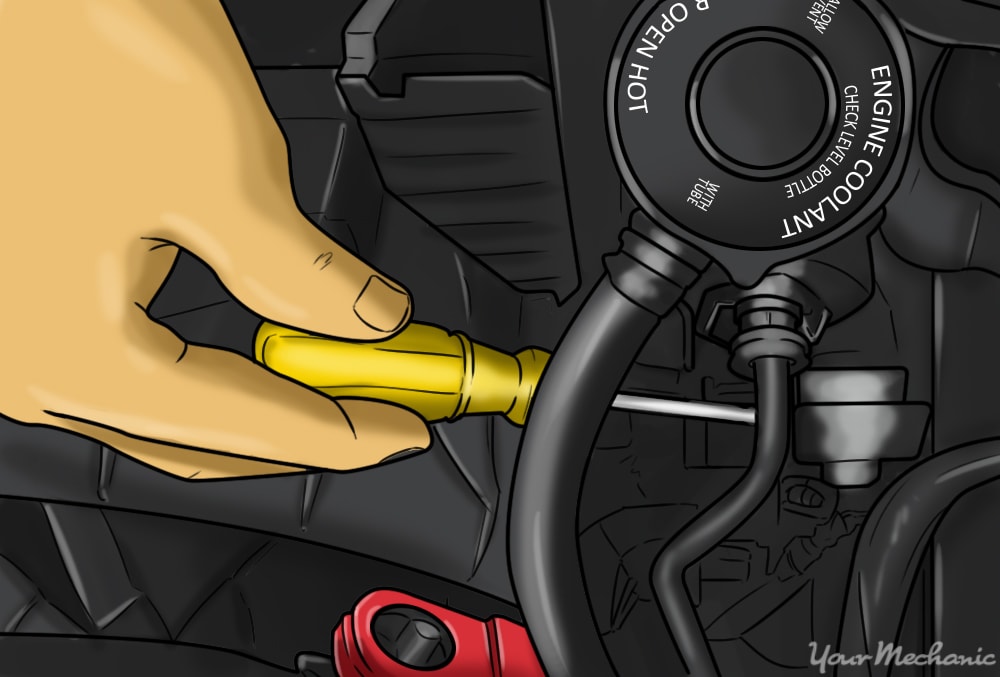
Step 18: Refill radiator with coolant. Many mechanics prefer to refill their radiators with the coolant that leaked into the pan during service, which is ok as long as the coolant is in good shape.
Always top off the coolant and prime the coolant system if your vehicle manufacture requires this step.
- Warning: Many newer cars, trucks and SUV's have coolant systems that require a priming step. This is unique and specific to each vehicle manufacturer, so it's VITAL that you contact your automotive manufacturer and receive the precise process for priming the coolant system. Failure to do this will often result in air bubbles being trapped in the coolant system and overheating problems.
Part 3 of 3: Test drive the vehicle
After you've successfully replaced the coolant level sensor, you'll want to test drive the vehicle to ensure the original problem has been fixed. The best way to complete this test drive is to plan your route first. Make sure you drive on a straight road with as few bumps as possible. It's OK to make turns, just try to avoid twisty roads at first.
Step 1: Start the vehicle. Let it warm up to operating temperature.
Step 2: Check to see if the check engine or low coolant level light is illuminated. Do this especially if this was the original problem.
Step 3: Replicate original conditions. Make sure to accelerate to a speed where the vehicle will be placed into the same scenario where the original symptoms were noticed.
Step 4: Drive the vehicle for about 15 to 20 minutes. This will ensure it is at full operating temperature.
Step 5: Double check coolant level. After letting the engine cool, double check your radiator coolant level and top it off as recommended by the manufacturer.
If you've completed this replacement correctly, you should notice that the check engine light or the low coolant level light is not illuminated. However, if you are not 100 percent confident in completing a coolant level sensor replacement, have one of YourMechanic’s certified technicians do it for you.
