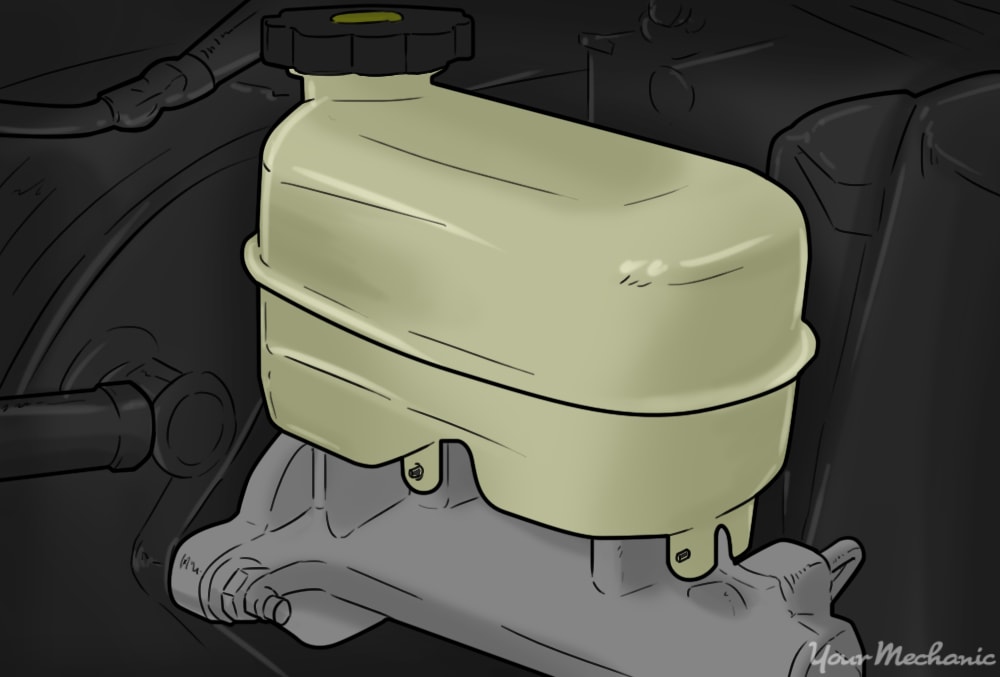
The brake master cylinder is an integral part of modern car braking systems. Inside the master cylinder is a seal that holds the pressure from the brake pedal and transfers more fluid into the lines, which then applies the brakes. When this seal begins to fail, your brake pedal won’t be able to hold pressure and will sink to the floor as you try to apply the brakes.
Replacing your master cylinder doesn’t require too many tools, mostly just care and attention to detail. In particular, your biggest concern will be fluid dripping and being able to quickly clean it up so you don’t forget. Bleeding the master cylinder on the car is possible, albeit slightly more time consuming, so bench bleeding is recommended to help get the process started.
The following instructions will go over how you can replace the brake master cylinder yourself.
Part 1 of 3: Preparing the old master cylinder for removal
Materials Needed
- Brake fluid
- Brake master cylinder
- Gloves
- Line wrench
- Rags
- Ratchet
- Safety glasses
- Socket
- Turkey baster
Tip: For the metal brake lines, you need to use a line wrench when first cracking them open, otherwise there is a high chance you’ll damage the fittings. These lines are typically around 10 mm, but make sure you confirm the size before trying to open them. The nuts that hold the master cylinder in place are larger and vary in size depending on the vehicle.
Note: It is possible to bleed the master cylinder without a vice by propping it against a wall or having someone hold it. The vice is convenient because it can hold the master cylinder perfectly still while you are pumping the air out.

Step 1: Remove as much fluid as possible from the master cylinder. Use a turkey baster to siphon the brake fluid out of the reservoir.
Although this is not a completely necessary step, this can greatly help to reduce any mess later on.

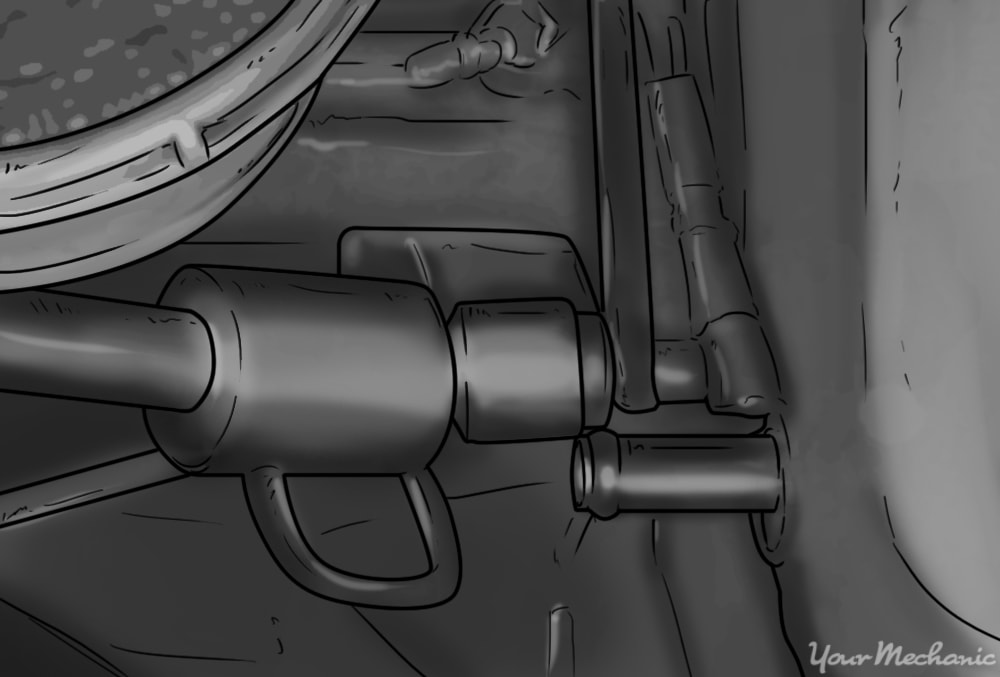
Step 2: Remove any components that may be in the way. Removing tubing and connections like the brake booster vacuum hose can help you access the sides of the master cylinder much more easily.

Step 3: Unplug the fluid level sensor. Locate the fluid level sensor on the plastic reservoir, not the master cylinder itself, and unplug it.
Step 4: Crack open the brake lines with the line wrench. With the master cylinder still secured to the brake booster, crack open the lines and lightly tighten them again so fluid doesn’t leak out.
This will make it easier later on when you are ready to fully remove the master cylinder.

Step 5: Remove the nuts that secure the master cylinder. Loosen and remove each nut securing the master cylinder to the brake booster.
It is common for there to be a washer for each nut so make sure not to lose any pieces.
Part 2 of 3: Bench bleeding the new master cylinder
At this point, you’re almost ready to pull out the old master cylinder. But first, you will need to get the new master cylinder prepped a little by bleeding it on a bench to remove most of the air from inside.

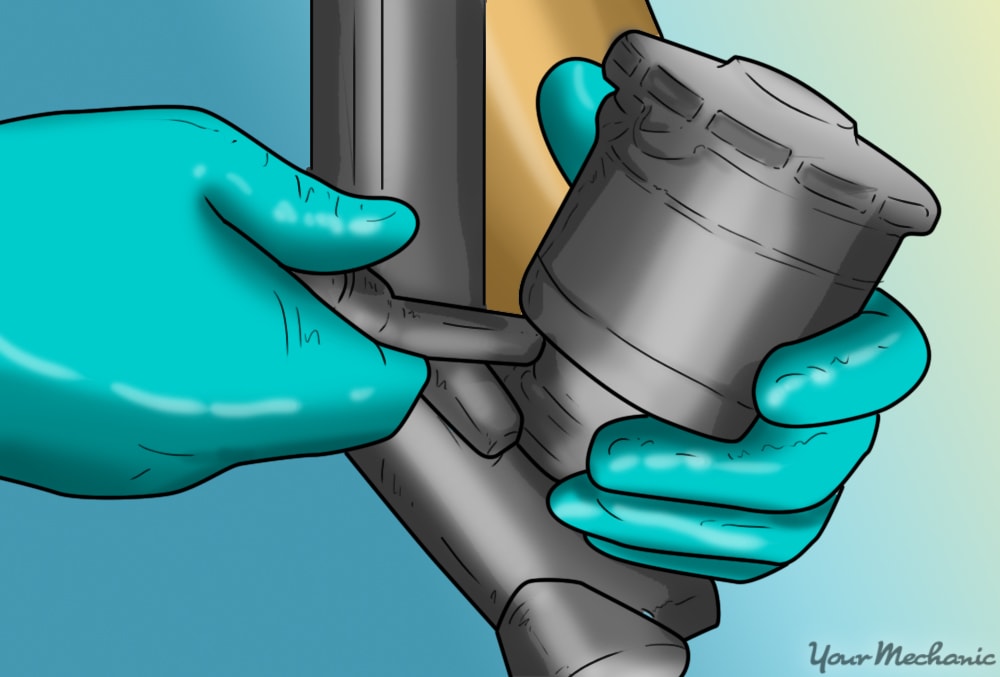
Step 1: Secure the new master cylinder. Using a vice, clamp the new master cylinder in place.
Put some rags on the ground beneath the cylinder as there will be some spillage.
Also make sure that you’re wearing gloves and eye protection as brake fluid doesn’t mix well with the human body.
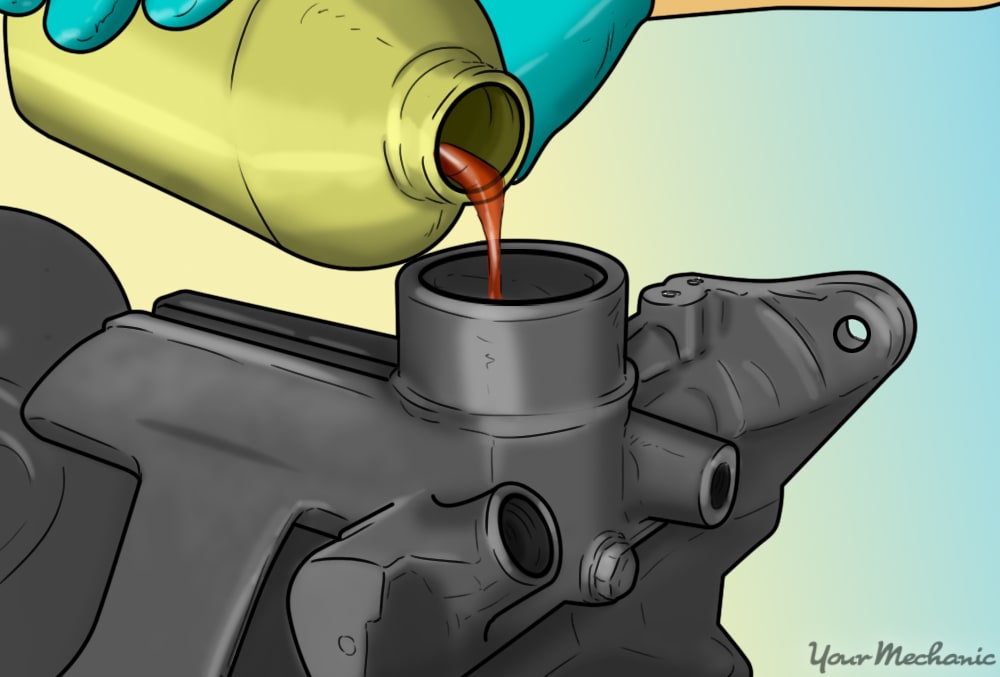
Step 2: Fill the master cylinder with brake fluid. Fill up the master cylinder as much as possible. Throughout this process, fluid will be pumped inside the master cylinder and some will come out of the brake line ports.
You need to keep the master cylinder filled with fluid, otherwise air will get inside and you’ll have to start over, so make sure the level is always topped off before each pump.
- Note: If your new master cylinder comes with a reservoir, go ahead and install it at this point. This will make it easier to keep the master cylinder from running dry.

Step 3: Push in the piston. Use your hand to manually push in the piston. This will start filling the inside of the master cylinder with fluid and the level will go down. Don’t release the piston immediately.

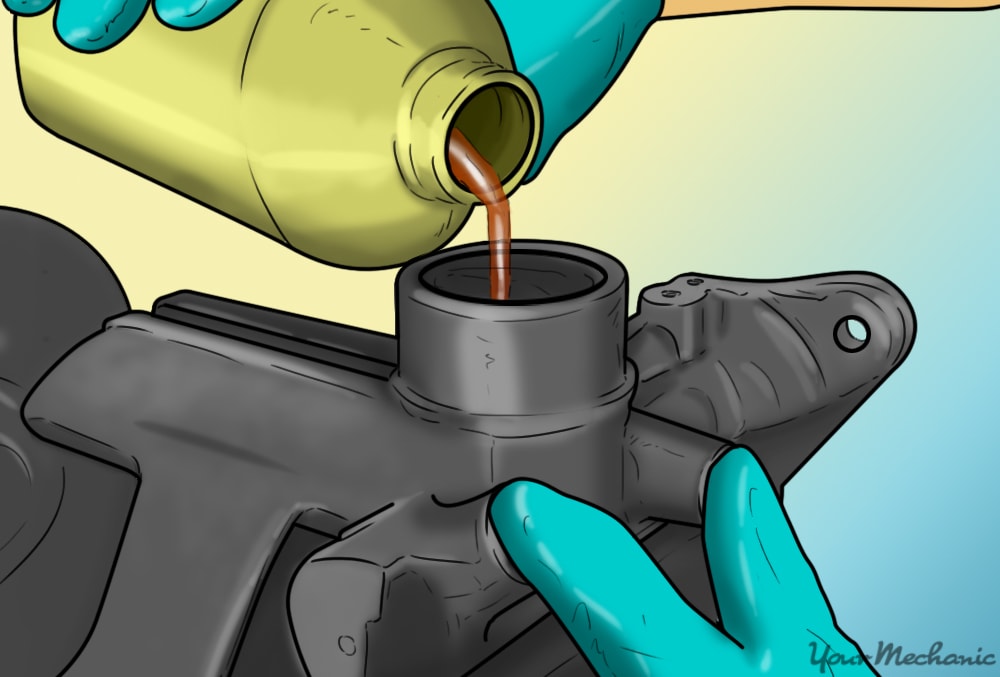
Step 4: Completely cover the brake line ports. While still pushing in the piston, use your fingers to cover all of the brake line air ports.
When you later let the piston out, it will suck air through the ports if they are not covered. You are trying to let all of the air out of the master cylinder, not let more come in.

Step 5: Let out the piston. Release the piston while your fingers are still covering the ports. You’ll see some bubbles and the fluid level may go down some more.
Step 6: Top off the fluid level. While still covering the brake line air ports, add some more fluid to the master cylinder so that it doesn’t run dry. The cylinder should never be allowed to run dry.
Step 7: Push in the piston. Similar to Step 3, manually push in the piston again. Fluid may start coming out of one of the ports, so lightly cover them with your fingers so the fluid doesn’t spray everywhere.
You want the fluid to come out so don’t completely seal up the ports.
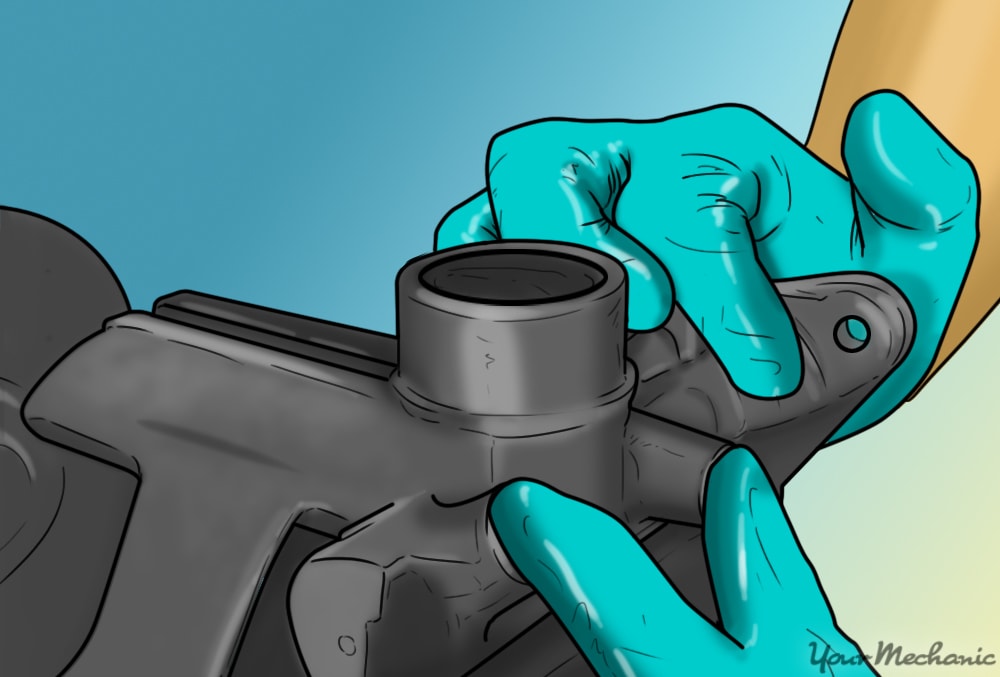
Step 8: Cover the ports and release the piston. Seal the ports up tight again and release the piston.
Step 9: Keep pumping until fluid is coming out of all of the ports. Repeat Steps 3 through 8 until fluid is coming out of all the ports. Then the new master cylinder is ready to be installed.
Remember to check the fluid level and fill it as needed every time you release the piston. If you don’t have a reservoir, you’ll want to add fluid before every pump.
Make sure your fingers are covering the ports every time you release the piston otherwise air will get inside.
Part 3 of 3: Installing the new master cylinder
You’re now ready to finish removing the old master cylinder and install the new one.
Step 1: Unscrew the brake lines completely. Using a wrench, unscrew each of the brake lines completely. Brake fluid will start leaking out, so be sure to have some rags ready to soak it up.
Since you’ve already cracked them open, a regular wrench should be okay, just take care not to round off the nuts.
- Warning: Brake fluid can damage rubber and paint so make sure any fluid that is spilled is cleaned up quickly.

Step 2: Remove the master cylinder. With everything disconnected, you can now remove the master cylinder.
Make sure to remove the rubber seal that is between the master cylinder and the brake booster.
The new master cylinder should have a new seal and having both on could create an issue with your braking system.
- Warning: Be aware of any brake fluid dripping while you are taking the old master cylinder out. Again, be sure to have rags ready to clean up any drips, especially on paint.
Step 3: Transfer the reservoir to the new master cylinder. If you’re new master cylinder does not come with its own reservoir, you will want to remove the reservoir from the old master cylinder and transfer it to the new one.
Typically the reservoir will have a clamp that holds it onto the master cylinder. Be sure to tighten it down on the new one so fluid doesn’t leak out.

Step 4: Begin to install the new master cylinder. Once the reservoir is in place, you can start to install the new master cylinder onto the vehicle.
Make sure the rod coming out of the brake booster fits into the piston on the master cylinder. This rod is what pushes the seal inside the master cylinder to pump fluid into the lines.

Step 5: Start screwing in the brake lines. Before you completely tighten down the master cylinder, get the brake lines started by hand.
This way you have a little wiggle room to get everything lined up perfectly.
- Warning: Be careful when starting to screw in these lines. If you cross thread the line, you will need to replace the master cylinder again.
Step 6: Tighten the mounting nuts. Next, tighten the mounting nuts, making sure to use any washers that were there before. Screw them in with one hand so you don’t overtighten them.
Step 7: Tighten brake the line connections. With the master cylinder bolted in, you can now fully tighten the brake line connections.
Use the line wrench again and only one hand so you don’t overtighten them.
Step 8: Reconnect any hoses or wires. Plug the fluid level sensor back in and reconnect the vacuum hose for the brake booster if you removed it before.
Get everything back to how it was before you started the job.
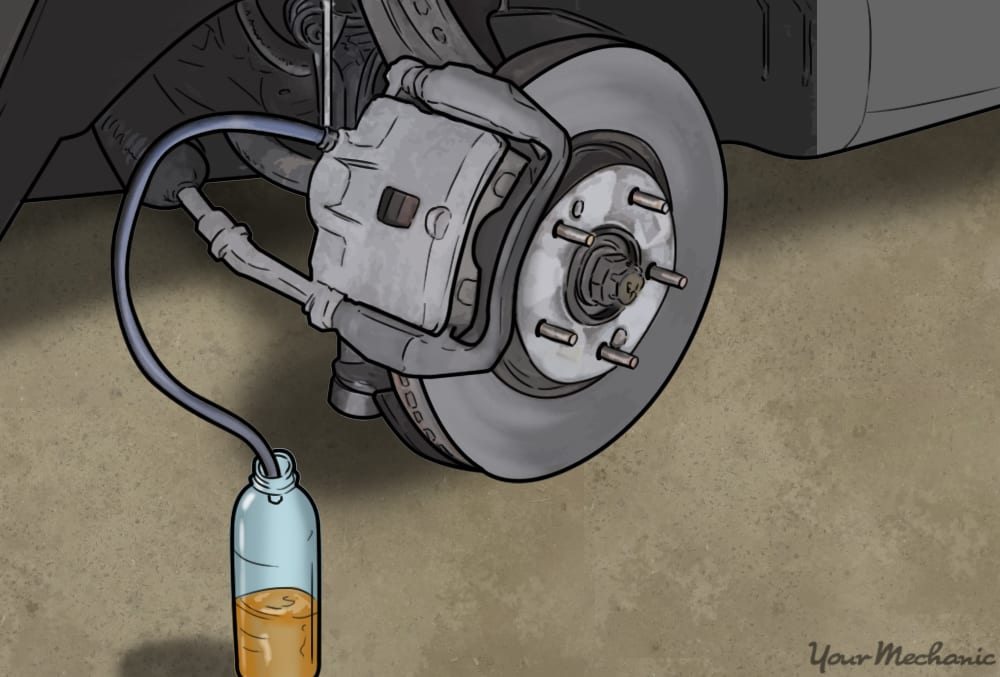
Step 9: Bleed the system of air. Since all the lines were disconnected, you’ll need to bleed each one at the caliper.
While you are bleeding the brakes, keep an eye on the brake lines coming out of the master cylinder for leaks.
- Tip: Have a friend help you pump the brakes while you open and close the bleeder valves.
Step 10: Take the vehicle for a test drive. If the brake pedal is nice and hard after bleeding the system of air, it is time for a road test.
Start with an empty street or parking lot at a low speed. Check the brake line ports for leaks after stepping on the brakes a few times. If everything seems okay, you can start going on normal roads.
Maintenance of your braking system is perhaps the most important way to keep you safe while driving. Regular brake maintenance such as bleeding the brakes will also help keep your master cylinder and other brake components in working order for the long haul. If you are experiencing any issues with this job, a certified technician at YourMechanic can assist you in replacing your master cylinder. If you are having any other braking issues, YourMechanic also provides full brake system inspections so that you can always make sure that your brakes are in great shape.
