The AC control module is the the brain of the whole system. This electronically controls the interior AC functions such as fan speed, temperature, and which vents the air comes from as well as controlling the AC compressor and mechanical system. It may even take measurements of the outside and cabin air temperatures to regulate the air temperatures in the climate control system.
This article will only address the replacement of the AC control module that has already been diagnosed and found to be faulty. If the AC control module has not been diagnosed then the fault must be determined before any repairs are made. This article will cover how to remove and replace the most common AC control modules.
Part 1 of 3: Preparing for the repair
Step 1: Verify the AC control module is faulty. The first step in this process will be to confirm that the AC control module is the source of the problem.
The most common failures include inconsistently functioning AC system, or improper air distribution. AC control modules do fail over time as the vehicle ages.
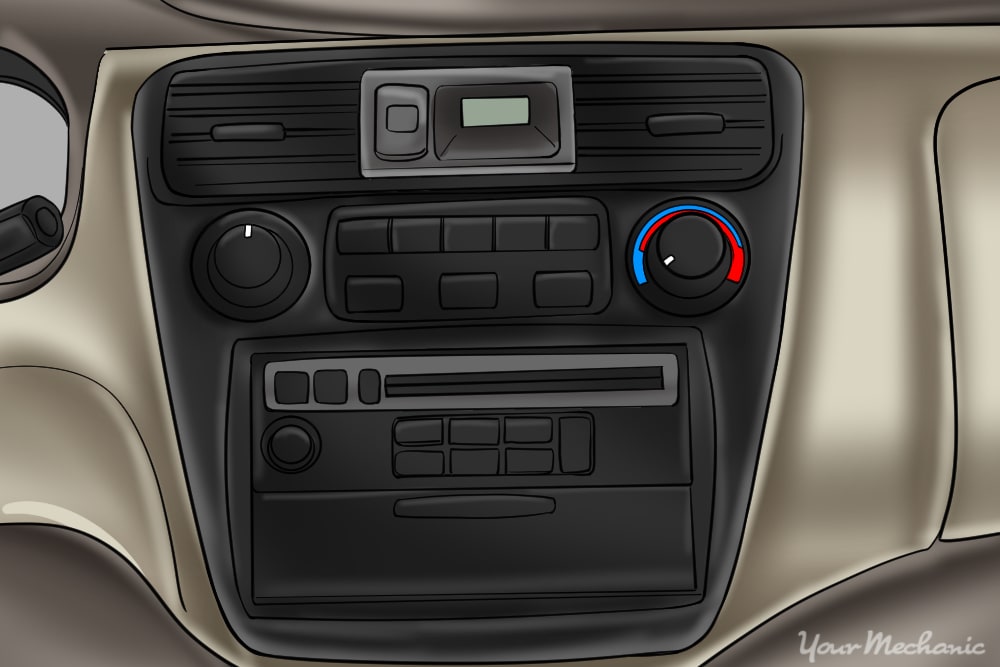
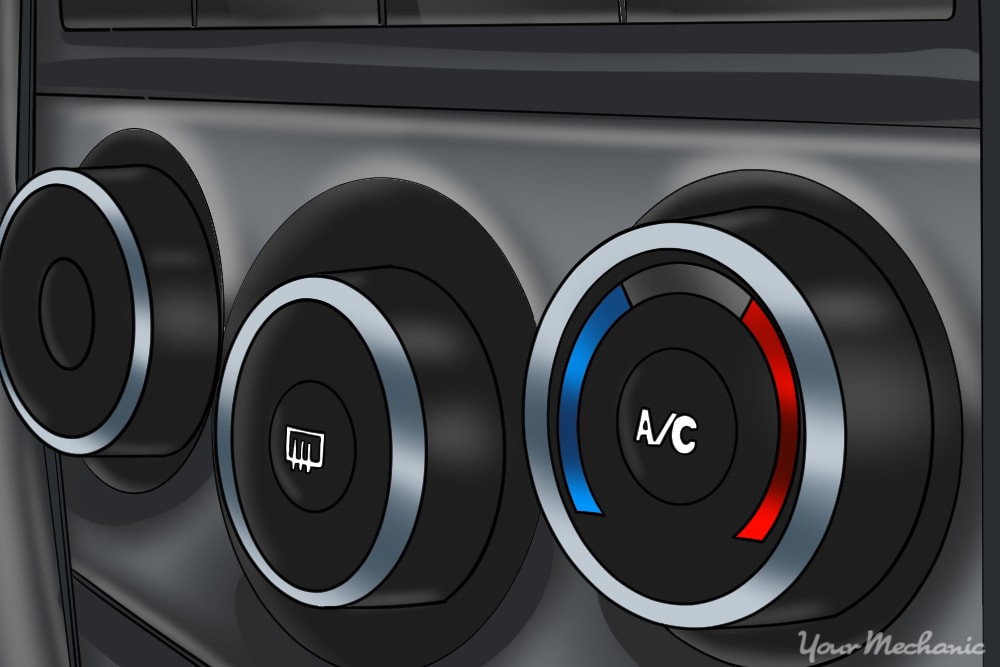
Step 2: Identify the AC control module location. The AC control module is the assembly with the temperature control dials, fan speed control, and temperature readouts.
Before any repairs, make sure the new part matches the old part. This assembly is larger than it seems as most of the unit is hidden by the dash panel.
Part 2 of 3: Replacing the AC control module
Materials Needed
- Basic socket set
- New AC control module
- Owner's manual
- Plastic pry set

Step 1: Remove the dash trim cover. The dash trim hides the mounting brackets for components such as the radio and the AC control module.
This will need to be removed to gain access to the AC control module.
On some vehicles this trim is able to be pried off gently with the plastic trim tools. In other vehicles, the trim may be bolted in and require removing lower dash panels and the center console.
Consult your owner's manual for the exact procedure for your make and model and remove the dash trim panel.

Step 2: Remove the mounting bolts. After the dash trim cover is removed the AC control module assembly mounting bolts should be visible.
These bolts will be removed, but do not pull the unit out quite yet.
Step 3: Disconnect the electrical connector. With the mounting bolts removed we will not pull the AC control module out.
It will only come so far and before the electrical connections will be visible. Support the AC control module while disconnecting the connectors. Take note where each connector goes and lay them in plain site.
Now, the old AC control module should slide out and be able to be set aside.
Step 4: Install the new AC control module. First take a look at the new AC control module, making sure it matches the one that was removed.
Slide the AC control unit into its slot enough to hook up the electrical connections. Hook up all the connectors that were removed from the old unit. With the wires all hooked up slide the AC control module the rest of the way into the dash.
Step 5: Install all bolts and trim. Now we will loosely install all the mounting bolts.
Once all are installed and the control module is sitting properly these can be tightened. Now the dash trim cover may be reinstalled. Either bolt it in or make sure it clips back in place properly, following whichever method was used for removal.
Part 3 of 3: Test for function
Step 1: Inspecting the work. Inspect the finished work and make sure there are no leftover parts or bolts.
Make sure all wires were hooked back up during reassembly. Finally make sure the AC control module is mounted properly.
Step 2: Perform first AC function test. Lastly we will turn the vehicle on and set the vehicle to the coldest setting and turn the AC on.
The AC should turn on and function as designed. The air should come out of the vents selected and airflow should be even across all vents.
Now that you have replaced your AC control module you can sit back and enjoy the cold air which makes driving in summer months and hot environments much more bearable. This can be a simple install or require much of the dash to be removed. If at any point you have have questions, be sure to Ask a Mechanic for some quick and detailed advice.
