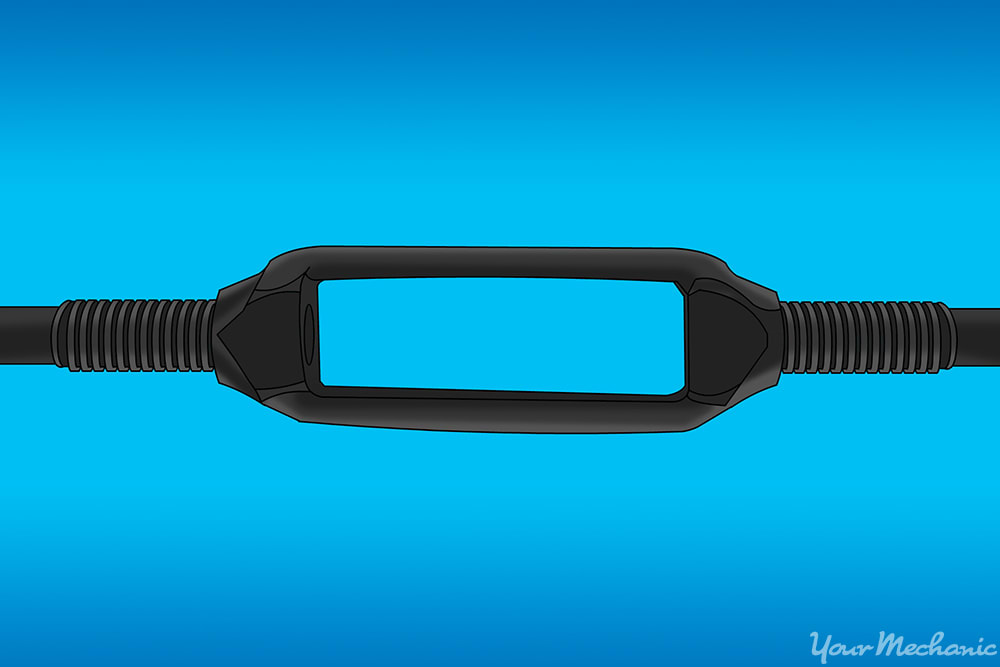
Clutch cables tend to stretch out and make the clutch not engage properly. As clutch cables wear out, the adjuster wears out too. Some clutch cables have an inline adjuster attached to the clutch cable housing. Other clutch cables attach to an exterior adjuster.
Clutch cable adjusters that are located exterior or external to the clutch cable are commonly found on pickup trucks, four wheel drive vehicles, diesel pickups, diesel trucks, and motor homes.
Clutch cable adjusters located inline on the clutch cable are commonly found on foreign and domestic cars, vans, and small to medium sport utility vehicles.
Part 1 of 5: Verifying the clutch cable adjuster condition
With the engine running and lots of room around the vehicle, press down on the clutch pedal and try to put the vehicle in gear by moving the shifter to a gear selection of your choice. If you start to hear a grinding sound as you try to move the shifter, then this is a indication that the clutch cable adjuster is out of adjustment or damaged.
- Note: If you start your vehicle and hear a loud clicking noise and notice that your clutch pedal is against the floor mats in the cab, turn off the engine immediately for that the clutch fork is riding against the clutch springs.
Part 2 of 5: Preparing to work
Materials Needed
Step 1: Park your vehicle on a flat, hard surface. Make sure that the transmission is in neutral.
Step 2: Engage the parking brake to the rear wheels of the vehicle. Place wheel chocks around the rear wheels of the vehicle that will remain on the ground.
Step 3: Open the hood. This will allow you to access to the engine compartment.

Step 4: Raise the vehicle. Using a floor jack suited for the weight of the vehicle, lift at its specified jacking points until the wheels are completely off the ground.
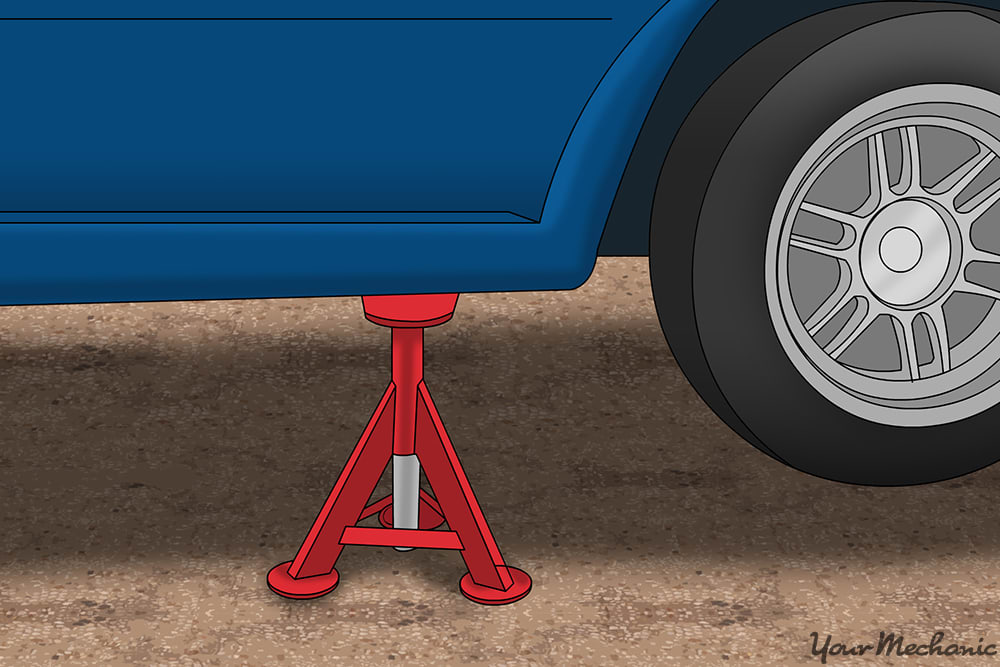
Step 5: Place the jack stands. The jack stands should go under the jacking point locations.
Then lower the vehicle onto the jack stands. For most modern cars, the jacking points for jack stands will be on the pinch weld just under the doors along the bottom of the car.
- Note: It is best to follow the vehicles owners manual for proper jacking locations.
Part 3 of 5: Removing the external clutch cable adjuster
Materials Needed
- Boxed end wrenches
- Creeper
- Needle nose plyers
- Ratchet with metric and standard sockets
- Torque wrench
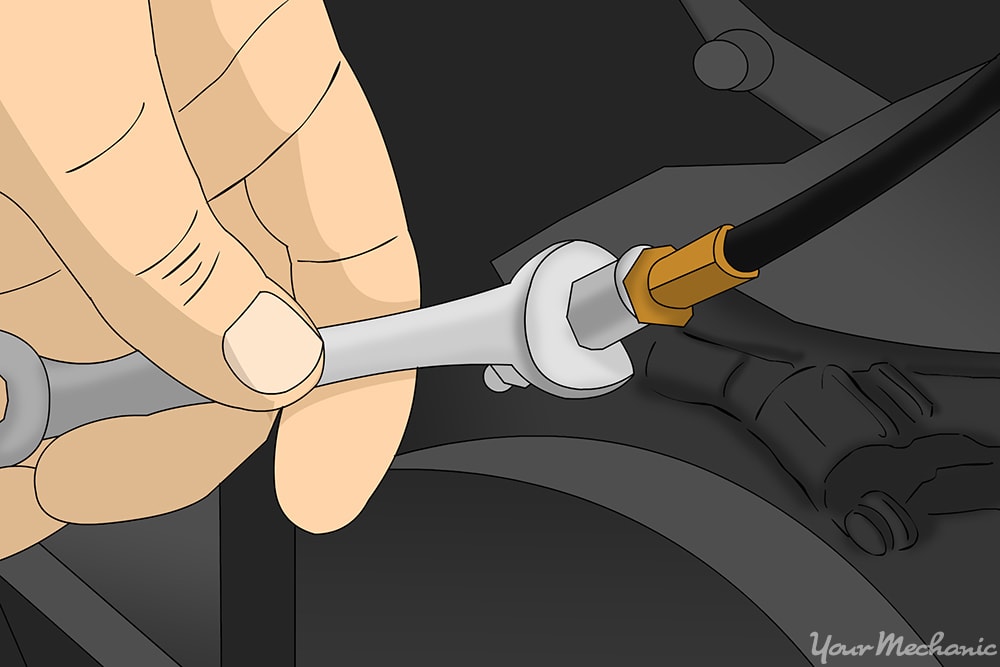
Step 1: Find the clutch pedal adjuster. Locate the clutch pedal adjuster in the driver side of the vehicle’s cab.
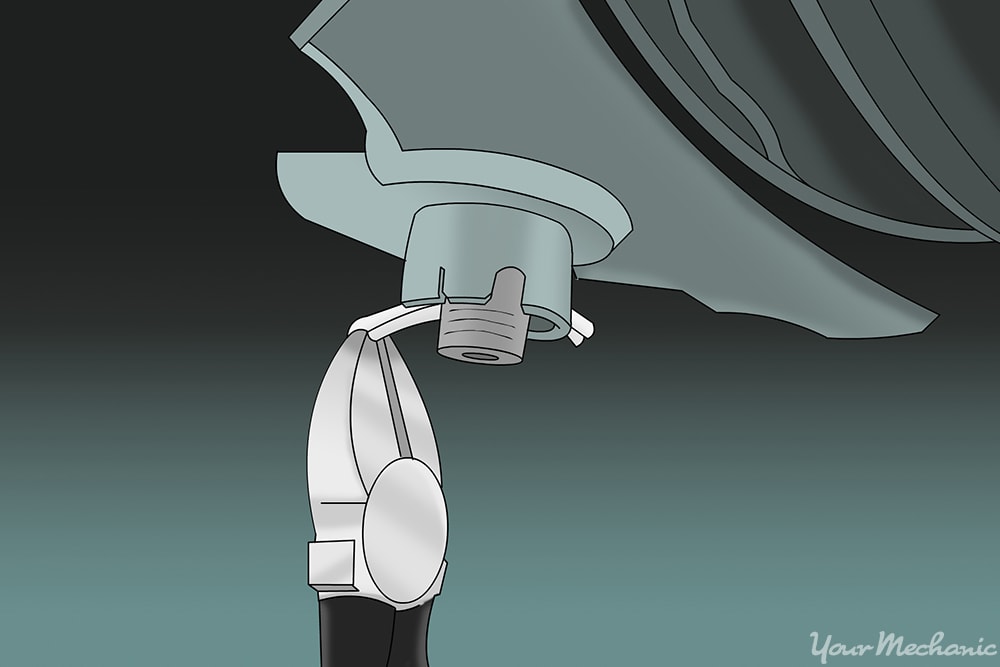
Step 2: Remove the cotter pin. Using your needle nose plyers, you will need to remove the cotter pin holding a slotted anchor pin in the clutch cable end.
Take the cable off the adjuster.
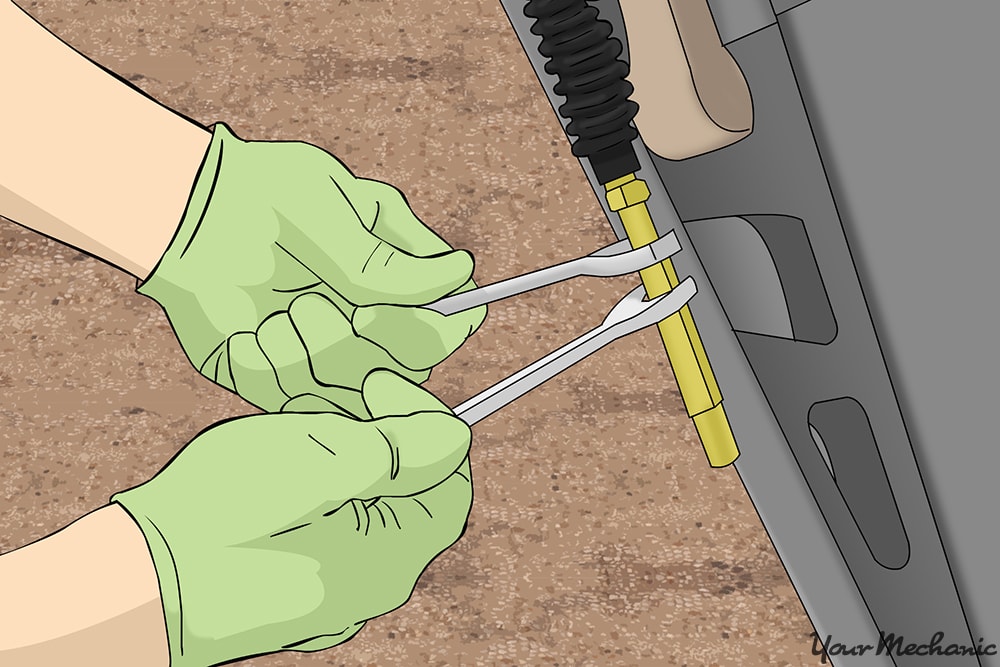
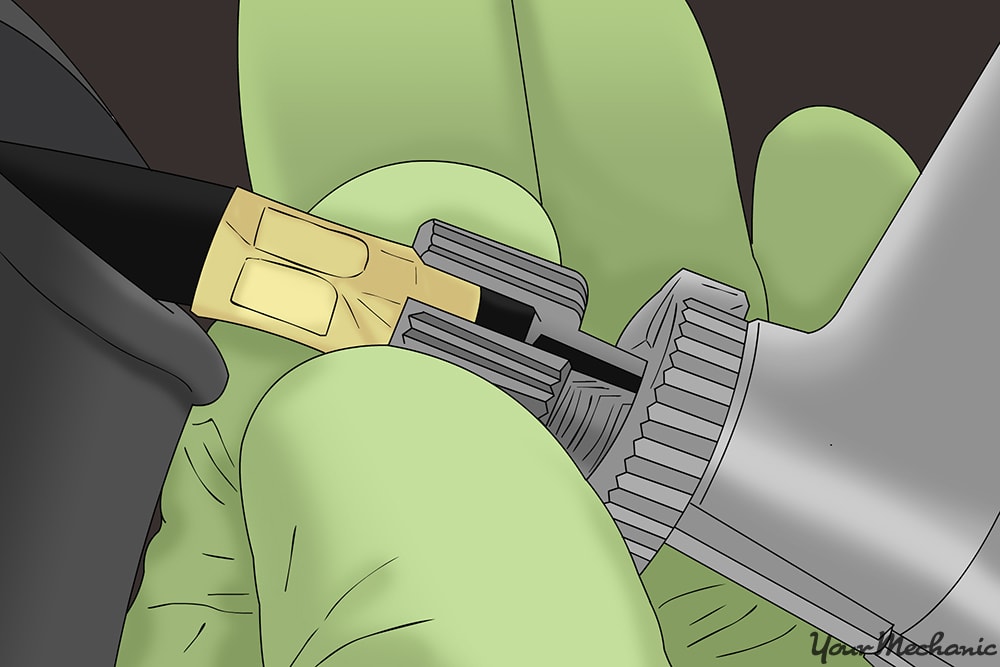
Step 3: Remove the lock nut for the adjuster and remove the mounting nut. Remove the clutch cable adjuster.
If you have an inline adjuster that is attached to the clutch cable housing, you will need to replace the clutch cable.
- Note: You will need to remove the clutch cable in order to replace the inline clutch cable adjuster.
Step 4: Install mounting nut. Tighten to specifications that the external adjuster came with.
If there were no instructions on how to install the external adjuster, then tighten the nut up hand tight, then tighten the mounting nut an additional 1/4 turn.
Step 5: Install the lock nut to hand tight. Tighten the lock nut to 1/4 turn to create a locking force.
Step 6: Install the slotted anchor pin into the adjuster. Using your needle nose pliers, install a new cotter pin into the slotted anchor pin and attach the clutch cable end to the external adjuster.
Step 7: Turn the clutch cable to tighten the cable up. Refer to the maintenance manual to your vehicle to ensure that have the proper clutch bearing clearance.
For most vehicles the clearance on the clutch pedal is set to 1/4 inch to 1/2 inch from the pedal pad to the floor. If the vehicle is equipped with a constant-contact clutch release bearing then there will be no clearance on the brake pedal.
Step 8: Raise the vehicle. Using the floor jack lift under the vehicle at its specified jacking points.
Step 9: Remove the jack stands. Be sure to keep them far away from the vehicle.
Step 10: Lower the vehicle to where all four wheels are on the ground. Pull out the jack and put it aside.
Step 11: Remove the wheel chocks. Remove them from the rear wheels and put them aside.
Part 4 of 5: Testing the assembled clutch cable adjuster
Step 1: Make sure that the transmission is in neutral. Turn on the ignition key and start the engine.
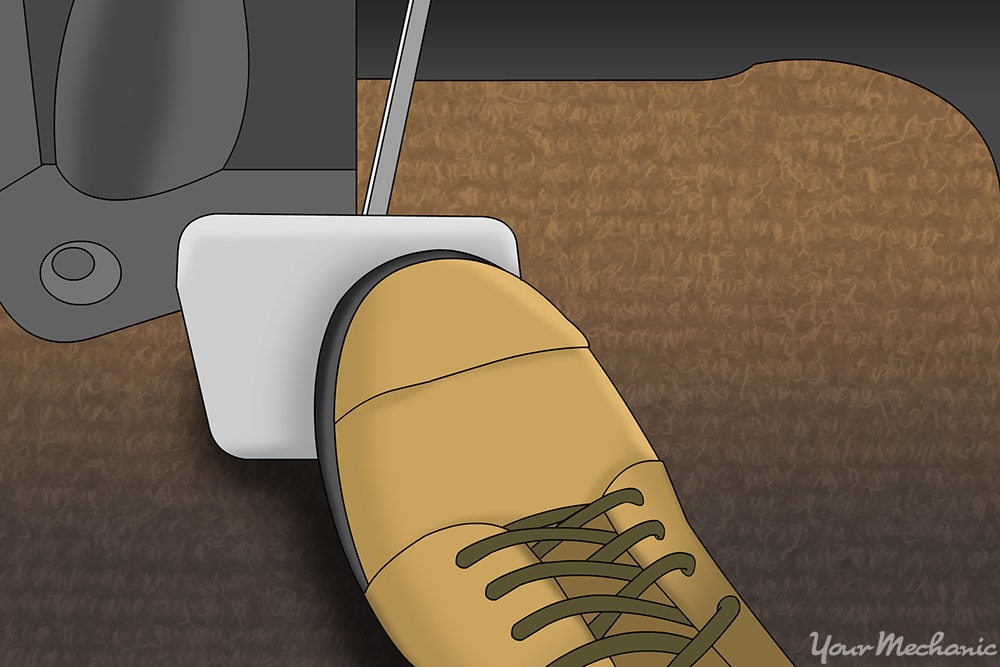
Step 2: Press down on the clutch pedal. Move the gear shifter to a selection of your choice.
The shifter should slide easily into the gear selected. Shut the engine off when you are done with the test.
Part 5 of 5: Test driving the vehicle

Step 1: Drive the vehicle around the block. During the test drive, change gears from first gear to the top gear one at a time.
Step 2: Press the clutch pedal down. Do this when moving from the selected gear to neutral.
Step 3: Press the clutch pedal down. Do this when moving from the neutral position to another gear selection.
This is process is called double clutching. This insures that the transmission has little to no power from the engine with the clutch disengaged properly. The process is to prevent clutch damage and transmission gear damage.
If you do not hear any grinding and the shifting feels smooth from one gear to another, then the clutch cable adjuster has been fixed correctly.
If the clutch grinding noise comes back or if the clutch pedal feels too loose or too tight, then you may need to tighten or loosen the clutch cable adjuster to correct the tension. If the clutch cable adjuster was replaced but you hear a grinding noise on startup, there may be further diagnosis of the transmission clutch release bearing and clutch fork or possible transmission failure. If the problem persists, then you should seek out help from one of our certified mechanics that can inspect the clutch and transmission and diagnosis the problem.
