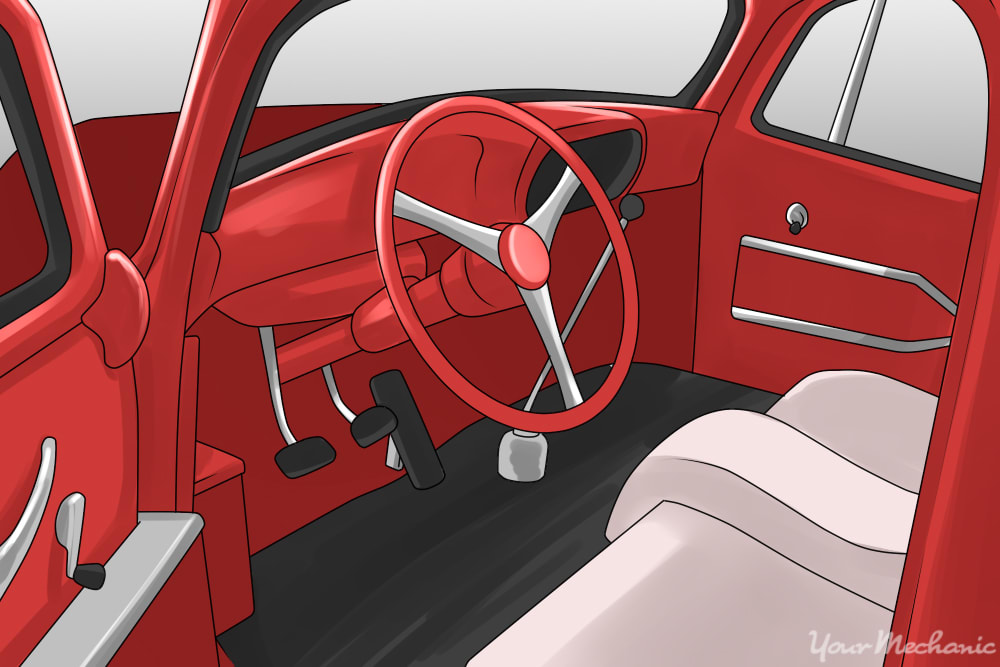
There are a lot of ways you can customize a car, and for many car owners, personalizing the interior is the first thing they want to do. Some people install aftermarket interior modification parts, which can be expensive. But if you’re willing to put in a decent amount of time and effort, you can custom paint your vehicle’s dashboard at home.
Whether you’re looking to improve the aesthetic of your car’s interior, or you want to repair some scratches in the dash, custom painting the dashboard can be a great project. Not only can you improve the visual quality of the interior, but you can add value to it as well.
Lastly, it should go without saying, but a rushed project is something you want to avoid at all costs. You might sacrifice a quality paint job, and you could also risk your health and safety as well. As with any painting project, preparation and safety equipment is extremely important. Follow the straightforward steps below, and in a matter of hours you will have a custom painted dashboard for your car.
Materials Needed
- Aerosol paint: plastic primer, base coat, and lacquer
- Clean, microfiber cloth
- Mask (preferably a vapor mask)
- Old newspaper (lots of it)
- Painter’s tape
- Rubbing alcohol or soapy water
- Scouring pad or 1500-grit sandpaper
- Tack cloth
- Tools for disassembling your dash (screwdrivers, wrenches, ratchets, allen keys, etc.)
- Wire clothes hangers (optional)
Part 1 of 2: Disassembling and/or cleaning the dash
Preparation might be considered the most important part of the job, and it will determine your exact plan of attack.
Step 1: Decide what parts of your dashboard you want to paint and what color you want. This will determine how much paint you need, and, of course, what you buy and where you get it.
If you want the interior paint to match the exterior paint, make sure you do some thorough research and collect samples so you are 100% certain that the paint you buy perfectly matches. The last thing you want is to pay for oddly matched colors.
Once you have gathered your materials you can begin to disassemble the dashboard.
- Warning: Unless you have an exact color match with numbers, do not buy the paint off the internet.
Step 2: Determine how to take your dash apart. Since all vehicles are different, use your car manual to find out how you should proceed. Using the manual is the safest bet to completing the job properly, ensuring nothing gets damaged or broken, which creates more work for you and potentially costs you more money.
Alternatively, depending on the scope of the job, you might prefer not to take apart the dashboard. If this is the case, be certain that all surfaces that are not being painted are meticulously sealed off with old newspaper or plastic, and painter’s tape. For this method, you will need to wear a vapor mask to avoid breathing paint fumes. As a last precaution, ensure your workspace is well ventilated. Proceed directly to Step 9 if you won’t be taking your dash apart.
- Tip: Depending on your vehicle’s make and model, taking the dashboard apart might be a lengthy process. If you have a lot of screws, bolts, or other small parts, you might want to put them in a bag for safe keeping. When it comes time to reassemble everything, follow the instructions in reverse so you don’t accidently skip a step.
Step 3: Disconnect the battery. To take apart the dashboard, you want to detach the negative battery cable from the battery to avoid any electrical damage that could occur when disassembling it.
Always be sure to put the cable in a position where it cannot come into contact with any metal, or it will create sparks. If necessary, rest it on a clean towel or rag.
Step 4: Locate the screws, clips, and/or fasteners attaching the glove box to the dash. Begin to remove them. Once those are removed, start taking apart the lower part of the dashboard, removing any necessary screws holding it together.
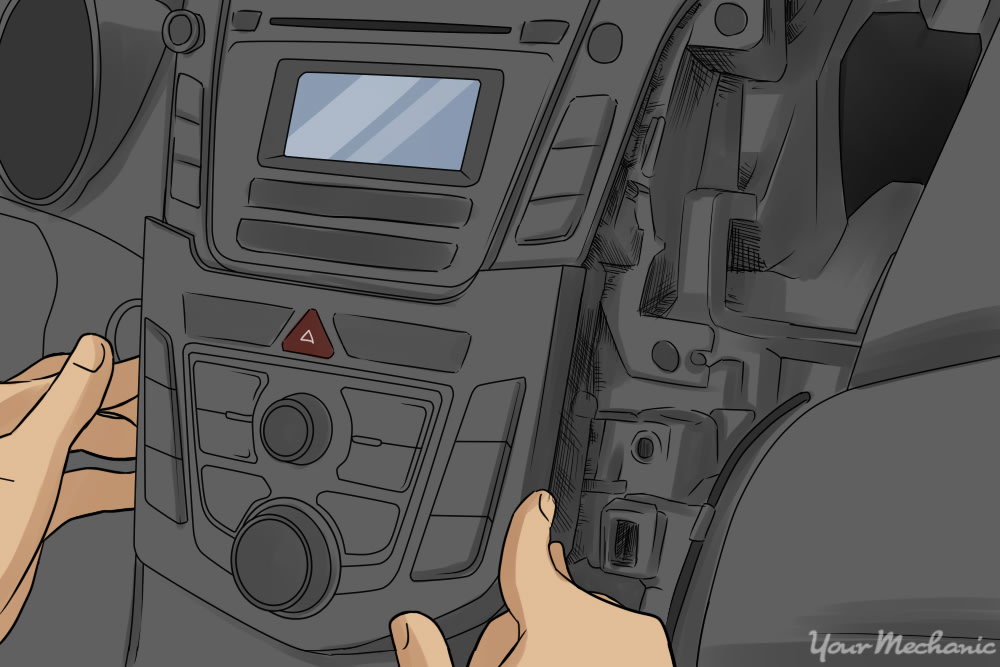
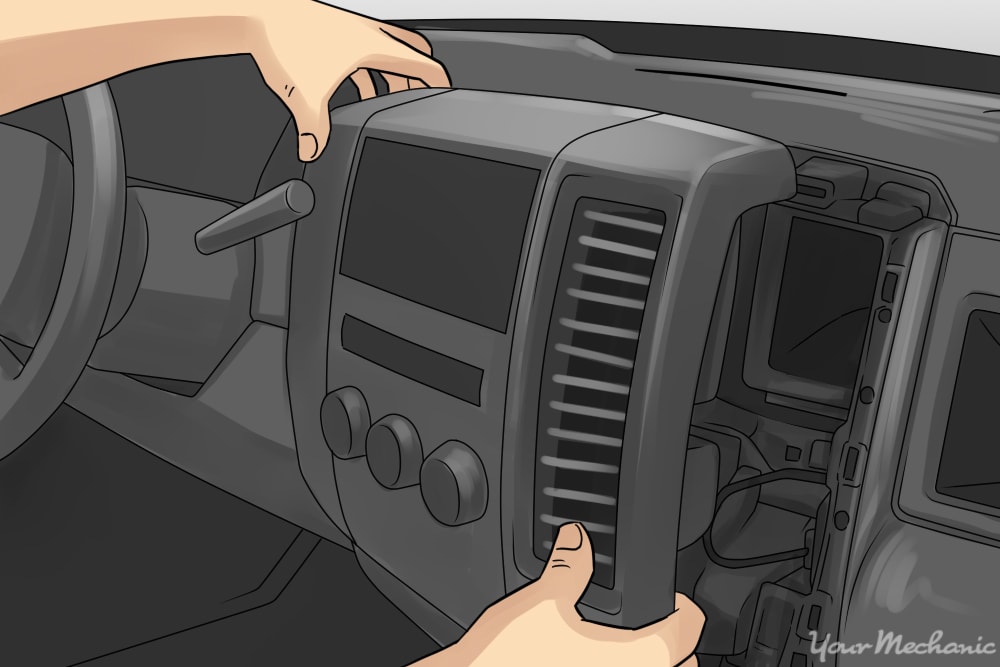
Step 5: Remove the face and trim of the radio and the air conditioner unit. These components may need to be removed in order to remove the upper part of the dash.
Unscrew/unfasten any brackets attached to the radio or the AC unit, and undo the respective electrical wiring harnesses. Take the radio and/or AC unit of the car.
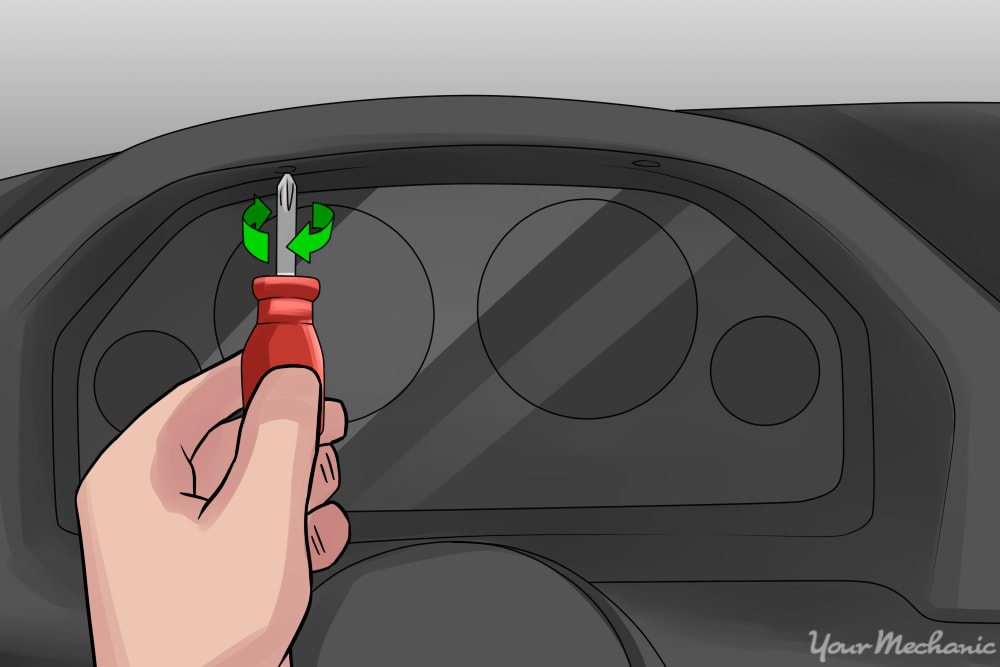
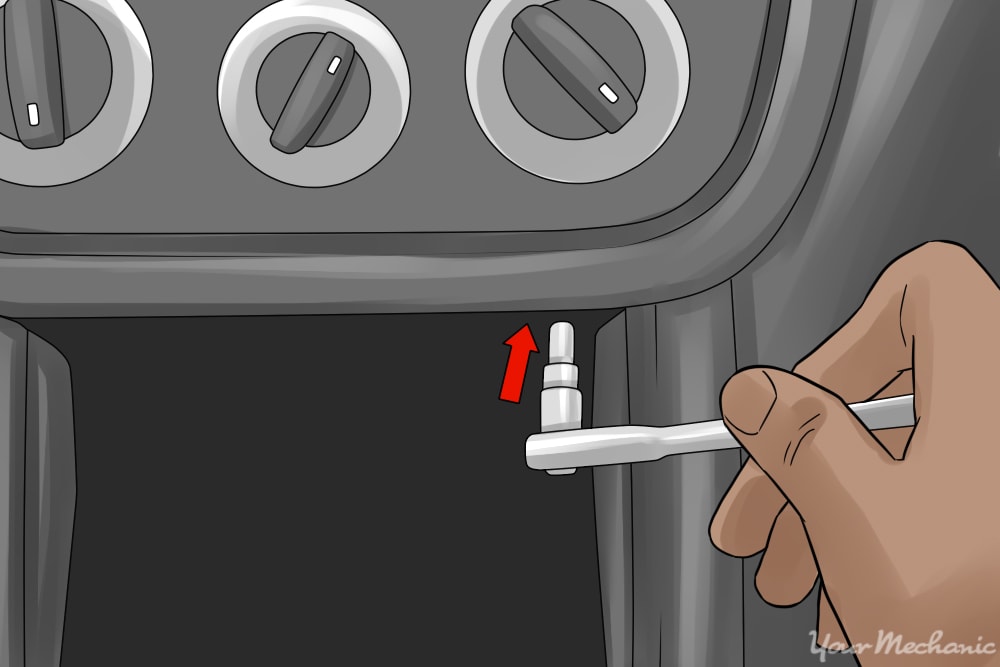
Step 6: Undo any screws holding the upper dash to the car. There will be screws on the top section of the dash, and you will also find screws underneath and on the sides of the dash.
Make sure you remove all the screws before you try to pull out the dash to avoid any damage, and keep your eyes peeled: some screws might be tricky to spot.
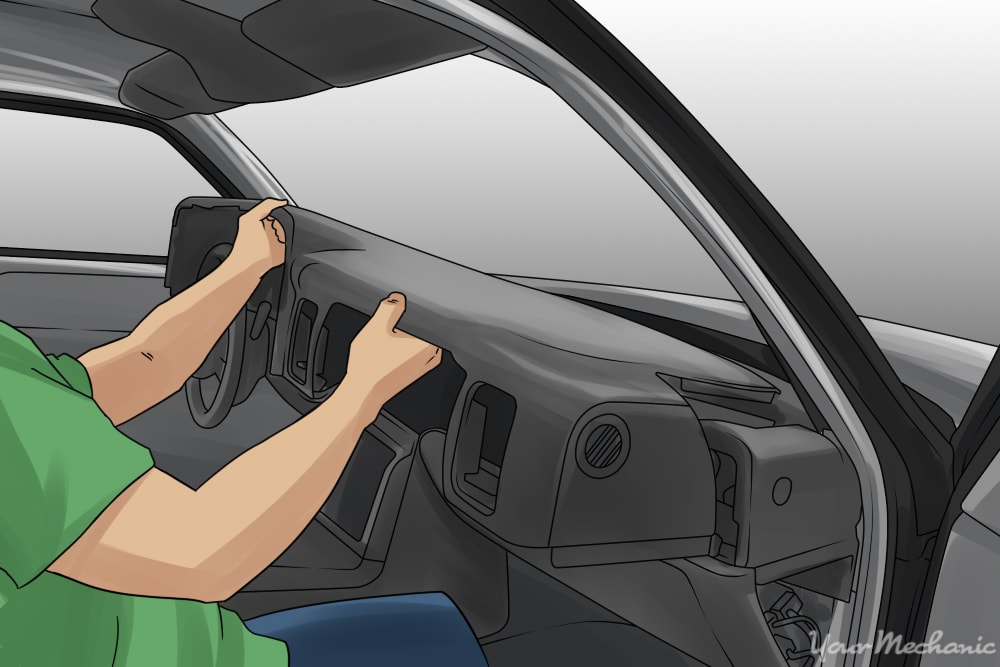
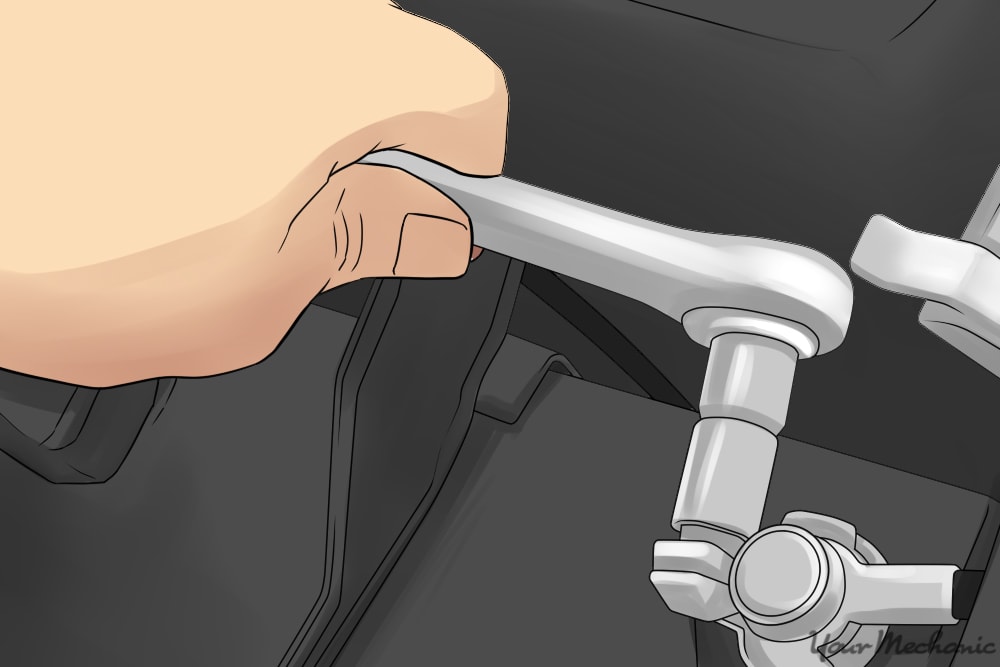
Step 7: Slide the dash forward and disconnect the wiring. Once all the screws are removed from the top section of the dash, slide it forward so you can access any electrical wiring for the driver’s side gauges and meters. Detach all of the wiring harnesses.
At this point, you should be able to remove the dashboard completely. Be very careful to ensure that nothing is still attached. Remove the dashboard slowly and pay attention to any resistance you might feel. If you do feel resistance, set the dash back in place and look for more connections.
Step 8: Store any pieces you won’t be painting. Once you’ve taken your dash out of the car, separate the pieces you don’t want painted and store them in a safe place away from the area in which you plan on painting.

Step 9: Inspect and clean the parts you want to paint. A preferred cleaning method uses rubbing alcohol and a clean microfiber cloth. If you don’t have rubbing alcohol, soapy water will do.
In either case, make sure your clean parts are completely dry before proceeding to the next step.
- Tip: If you are not taking the dashboard out of the vehicle, now is the time to seal off the parts of the interior you don’t want to paint. Additionally, if you have only certain sections on the dash you want painted, use painter’s tape to cover the spots you want to remain untouched.
Step 10: Gently roughen the surface of the plastic parts you want to paint. Use a scouring pad or 1500-grit sandpaper. The rougher surface will help the primer adhere.
Wipe off any small pieces that are left behind with a tack cloth.
Part 2 of 2: Painting the dashboard
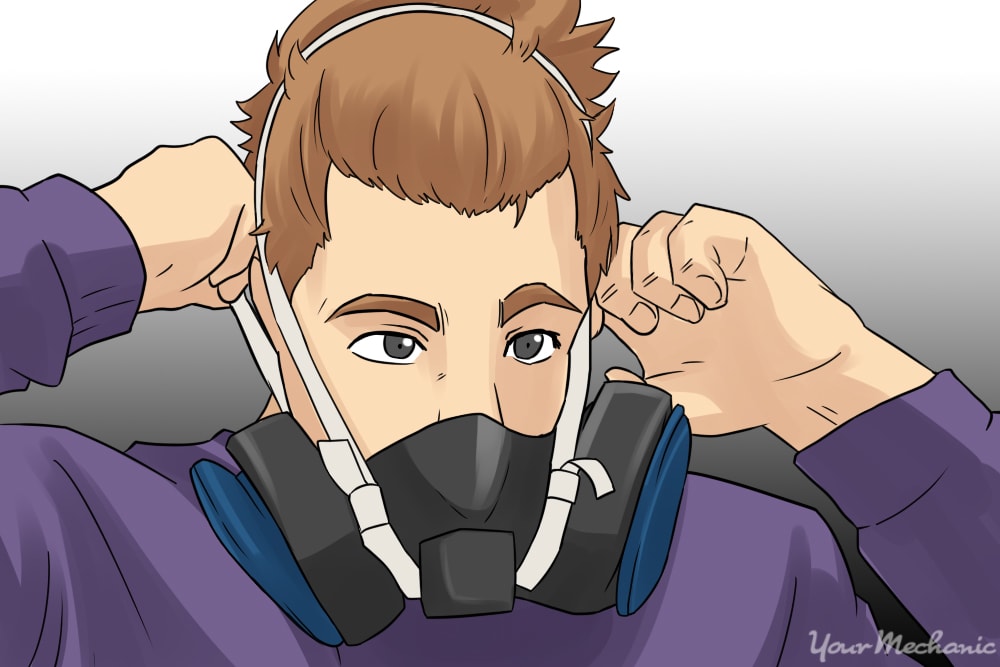
Step 1: Apply your vapor mask and make sure your workspace is well ventilated.
Step 2: Prepare the pieces you want to paint. Hang the accessories or pieces of the dashboard you want to paint from wire clothes hangers, or you can lay them on top of old newspaper.
Tip: If you’re painting in cold weather, it can help to warm the paint cans so the paint atomizes finer when it’s sprayed, resulting in a better paint job. To do this, stand them in a shallow bucket of warm water that reaches the middle of the cans.
Warning: Do not overheat the cans and risk exploding them; simply take the chill out of the can.
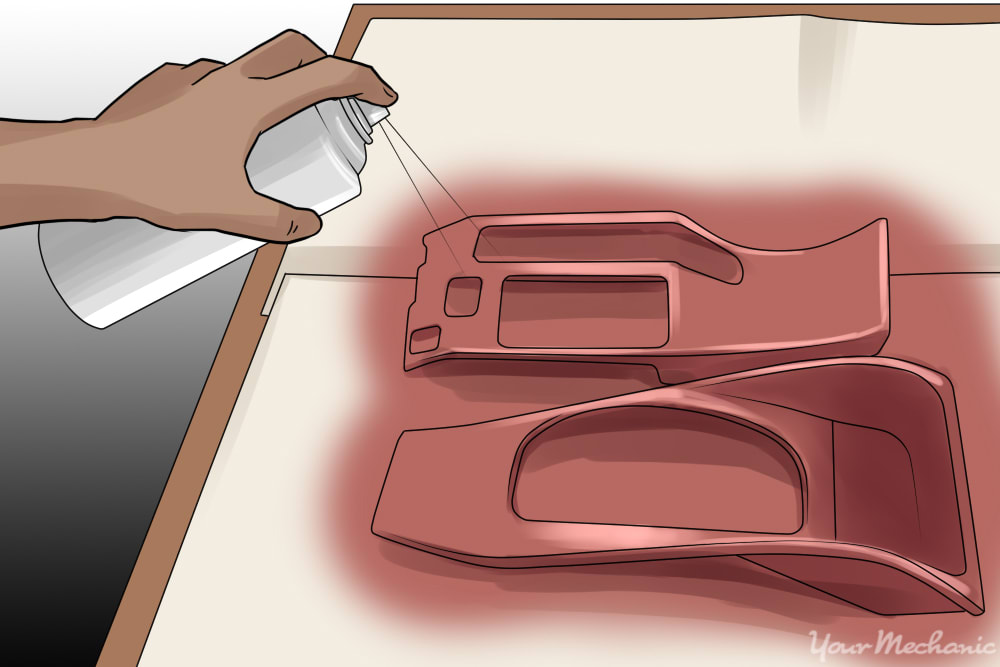
Step 3: Start painting. Give the cans a good shake before spraying.
Apply the primer using a smooth motion, with overlapping strokes. Let each coat dry for about five minutes before applying another coat. Spray three to four coats of primer.
Apply the base coats in the same way you applied the primer coats. Spray three to eight coats of base color. Let the paint dry for five minutes between coats.
If you choose to use a lacquer, apply it the same way you applied the primer and base. It’s not a necessity, but it will protect the base coat and it can add shine (if you use gloss). You will most likely need about four to five coats of lacquer.
- Warning: Make sure you’re painting well away from your vehicle to avoid spraying it. Do not use your finger to check if the paint is dry, you don’t want to smudge your work.
Step 4: Leave the pieces to dry for at least three to four hours. The parts need to dry completely before you polish them or try to refit the dashboard.
Once the pieces are completely dry, take off the painter’s tape and other protective layers and reassemble the dashboard to the car.
Customizing your vehicle’s dashboard requires diligence, patience, and a lot of thorough preparation so you can do the best possible work you’re capable of. It is just as important to prepare all necessary safety equipment and to work under safe conditions. If you cut any corners, you not only run the risk of doing a sub-par job or damaging the dashboard, but you might harm yourself in the process. As long as you don’t put yourself in a situation where you’re sacrificing quality and/or safety, you’re well on your way to great craftsmanship and a custom dashboard you can be proud of.
