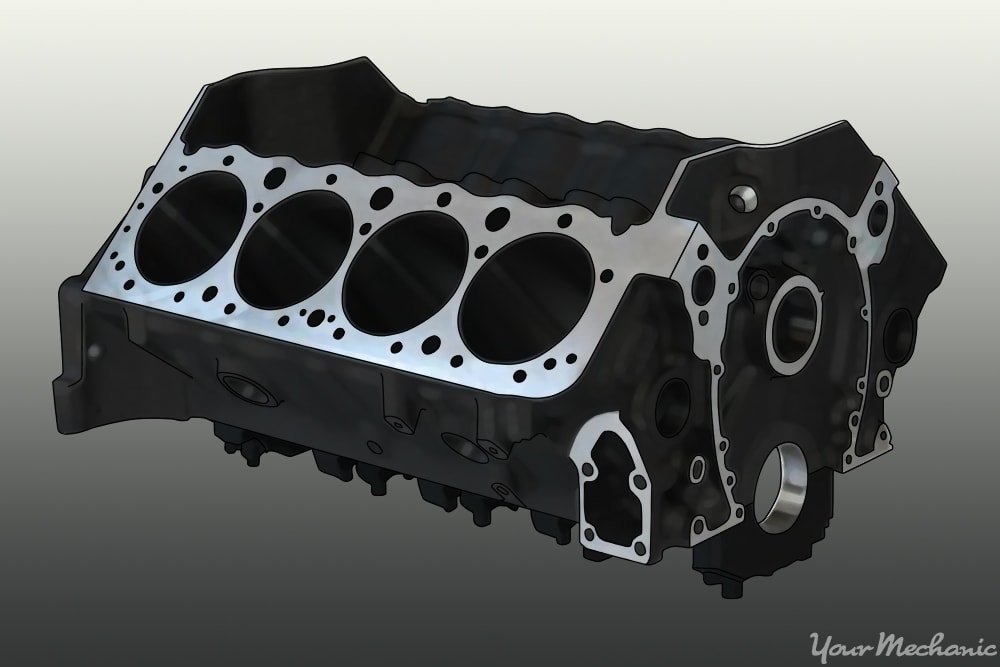
When you are rebuilding an engine, you’ll probably want to paint the engine block. It serves a few purposes including being clean and attractive in appearance, protecting from corrosion and rust, and offering a custom look, even matched with the car’s paint color or your color of choice.
Painting the engine block is best done when the engine is completely disassembled. If you paint the engine block while the cylinder heads, hoses, intake, and belt-driven parts are still attached, your finished product will be covered in overspray and you won’t be able to clean the block properly, so the paint will start to peel soon after due to poor adhesion.
Part 1 of 4: Disassemble the engine completely
Step 1: Remove all the bolt-on parts from the engine. Take off the power steering pump, water pump, air intake manifold, and all the pulleys.
Remove the timing cover, cylinder heads, and any remaining bolt on parts.
Step 2: Remove the crankshaft and pistons. Unbolt and remove all the pistons and connecting rods from the crankshaft and remove them from the engine block.
Remove the crankshaft main bearing caps and remove the crankshaft from the block. Eliminate the possibility of getting paint on integral internal parts which can flake off and cause damage later on.
Step 3: Completely drain the fluids and remove dirt. Turn the engine on all sides and let fluids drip out until they stop.
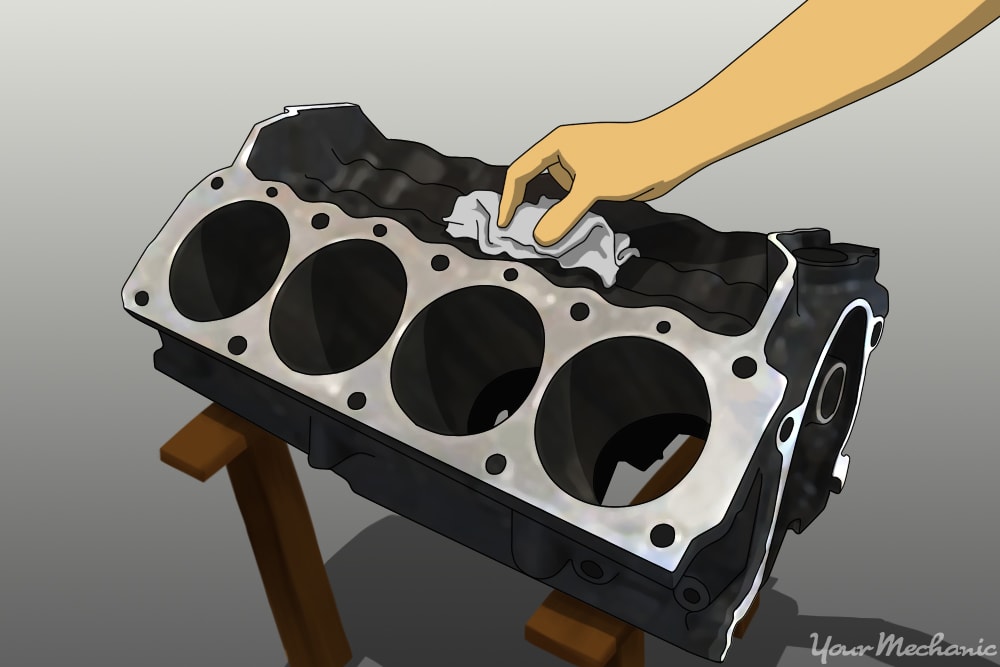
Use compressed air to force fluids out of spots they may not drain from. Wipe any loose oil from the outside with a shop rag. Scrape off any excess crust or dirt with a scraper or wire bristle brush.
Part 2 of 4: Degrease the engine
Your engine block needs to be completely free of all dirt, oils and grease. If it has any oil left on it at all, the paint won’t properly adhere to the metal properly.
Materials Needed
- Air compressor with blow nozzle
- Engine degreaser
- Stiff-bristled brush
- Water
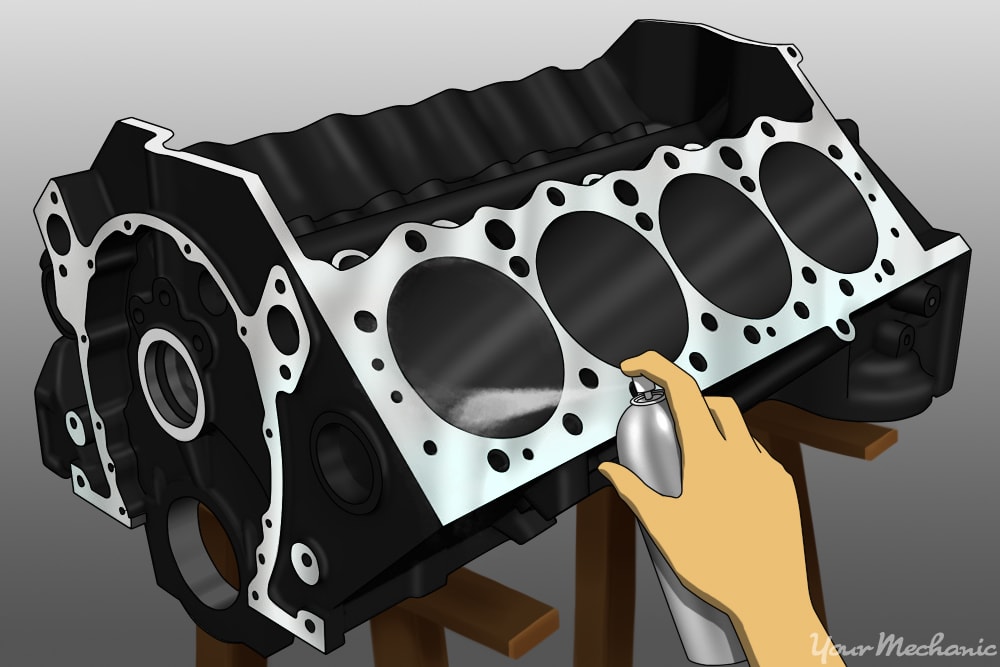
Step 1: Spray the engine with the aerosol cleaner degreaser. Completely coat the engine in degreaser spray, letting it soak according to the instructions on the can.
Step 2: Rinse the engine with clean water completely. Spray it with a garden hose or a pressure washer to remove the degreaser.
Step 3: Remove water from engine block. Immediately after rinsing, blow the water off the engine block with your air compressor.
Water left on the metal surface can cause corrosion or rust to form, especially if your block is cast iron.
Step 4: Check for grease. Check that all the grease and oil are gone from your engine’s exterior surface.
Step 5: Re-apply degreaser as needed. If there are spots that remain, re-apply degreaser to those areas.
You can agitate the grease with a small brush to remove it from the engine block. Rinse the engine with water again to remove any remaining degreaser and dry the engine with compressed air once more.
Part 3 of 4: Mask the internal engine parts
For the rest of the prep and painting, you don’t want to get material inside the engine’s cylinders, on mounting surfaces, or in oil or coolant channels, so cover any surface you don’t want paint material entering.
Materials Needed
- Masking tape
- Newspaper or plain wrapping paper
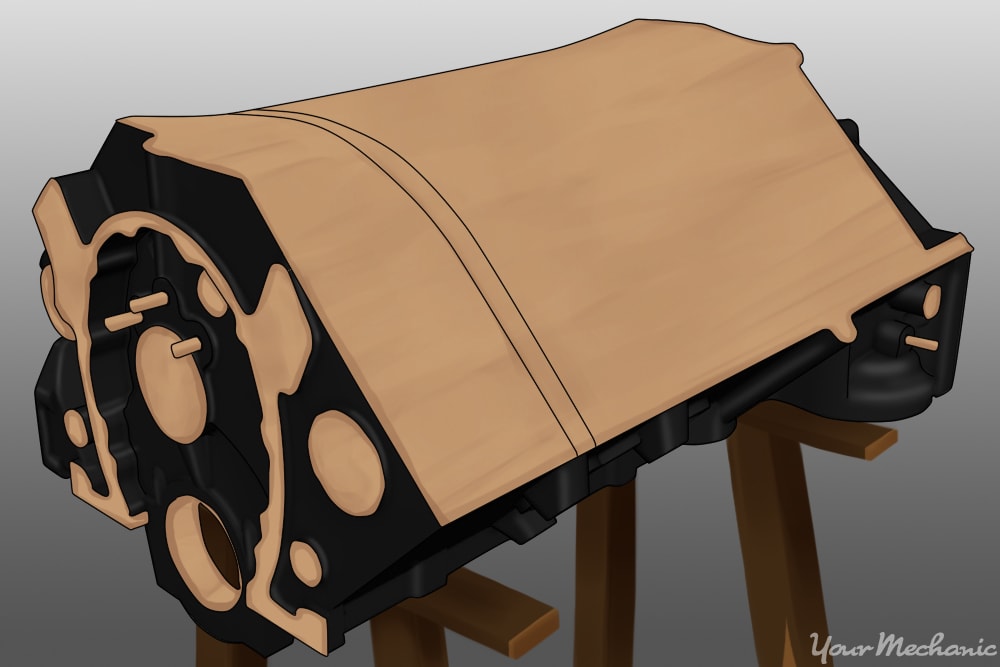
Step 1: Cover large areas with newspaper. The cylinder head mounting surfaces should definitely not be painted, so cover them with newspaper.
Use a double layer for added strength, and protection if one layer tears. Apply tape around the border of the paper, lining up perfectly with the edge of the cylinder head mounting surface.
If you do happen to have the tape go over the edge of the surface, don’t fold it down against the engine block, cut off the excess with a cutting blade. Cover the bottom end of the engine in the same way on the surface where the oil pan mounts.
Step 2: Cover any small bolt holes and studs. Use a small piece of tape or insert an old bolt into the hole to prevent paint from getting into the threads.
Wrap any manifold studs with masking tape that are not being removed and cover any fluid channels with tape or plug with a rolled-up piece of newspaper or cloth.
Step 3: Double check the engine. Check over the whole engine to make sure you can’t see any openings to the inside of the engine.
If there are any spots, cover the void with tape or newspaper.
Part 4 of 4: Clean old, loose paint from the engine surface
For paint to adhere to your engine block for the long haul, it needs to be cleaned of any paint that is currently loose or may come loose in the near future. Use a media blaster to remove loosened paint.
Materials Needed
- Air compressor
- Dust mask
- Eye protection
- Media blaster with hopper
- Soda media
- Spray bottle
- Vinegar
- Water
Step 1: Fill the hopper on your media blaster with media. Use a soda media to clean paint from your engine.
- Note: Soda media, essentially granular baking soda, is an excellent media for safely removing paint and corrosion from your engine block. It is abrasive yet soft enough not to damage critical internal engine parts should it get on them.
Step 2: Attach media blaster and turn on compressor. Attach your media blaster to your air compressor and turn on the compressor, letting the compressor charge with air.
- Warning: Make sure to put on your eye protection and dust mask.
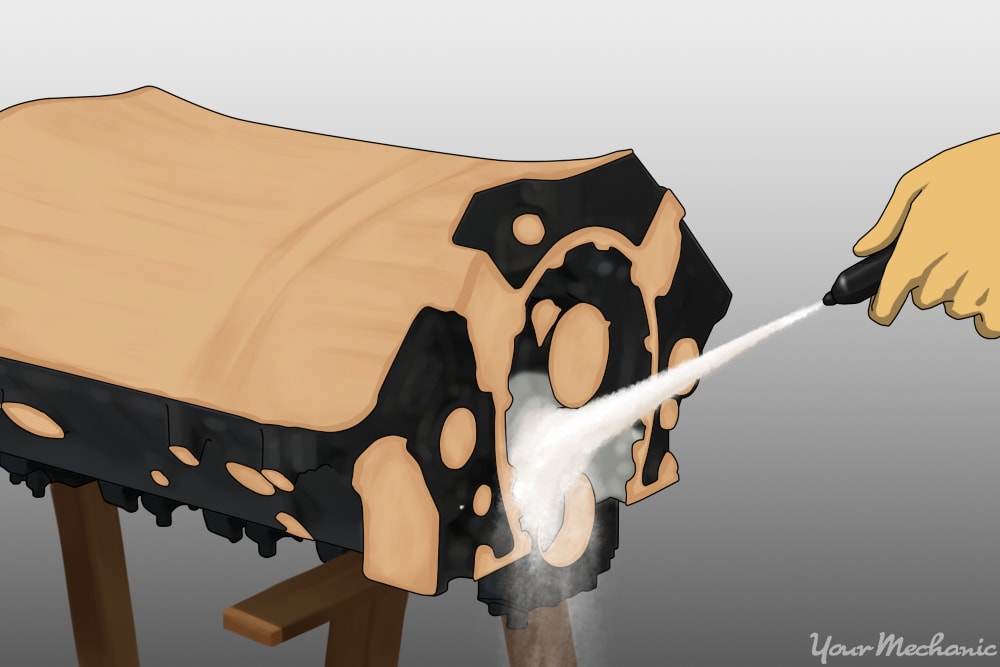
Step 3: Get started using the blaster on your engine. Point the nozzle of the media blaster at the engine block and pull the trigger.
The soda media will blast away loose paint and rust from the engine block, exposing the metal underneath.
Step 4: Use the blaster over as much of the engine as possible. Move the tip of the media blaster back and forth over the engine block, removing as much loose material as you can.
Stop occasionally if you need to let the air compressor recharge with air or refill the media hopper.
Step 5: Finish blasting. Stop when there is nothing left to remove or no more paint is coming off.
Step 6: Use vinegar on the engine surface. Fill a spray bottle with one cup of white vinegar and one cup of water.
Spray the whole surface of the engine block with the vinegar solution. There will be foaming action that occurs as the vinegar neutralizes the soda media.
- Warning: Be careful not to saturate the newspaper and masking tape.
Step 7: Blow the engine block surface dry with your air compressor. Once the engine block is dry, you are ready to paint the engine block.
- Warning: Don’t wait for more than a couple days to paint the engine block or you may have to media blast corrosion and rust from the surface again before you paint it. Just the moisture in the air will cause the cast iron to rust.
Painting your engine is a way to upgrade its appearance and protect if from corrosion down the road, but preparing it properly is an important first step to doing the job right. If you notice that your engine is not running properly, have one of YourMechanic’s certified technicians perform an inspection.