Over the years, engines have evolved in so many ways. Most of the changes or improvements that have been done revolve around creating better performance and fuel economy, without making the engine larger.
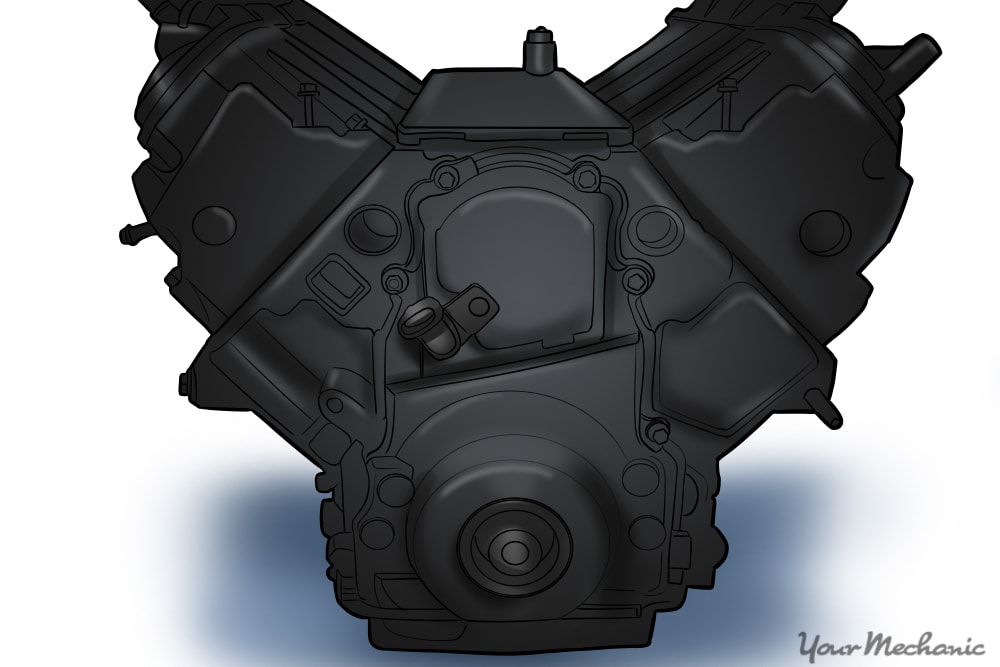
One of the biggest changes is in the camshaft configuration. Depending on your vehicle, it can have a camshaft located inside of the block, which is known as an overhead valve engine, or it may have a camshaft located over the top of the cylinder head, which is known as an overhead cam engine. Your engine may have one, two, or even more camshafts, depending on its design.
If you have a camshaft failure, it is important to know what type of engine that you have so that you know what type of repair you are up against. By far the most common engine configuration in today's engines is the overhead cam design. Knowing how these work and what it takes to replace a camshaft can help you to do a repair on your own, or, at the very least, can make you an informed consumer.
Part 1 of 2: Understanding what the camshaft does
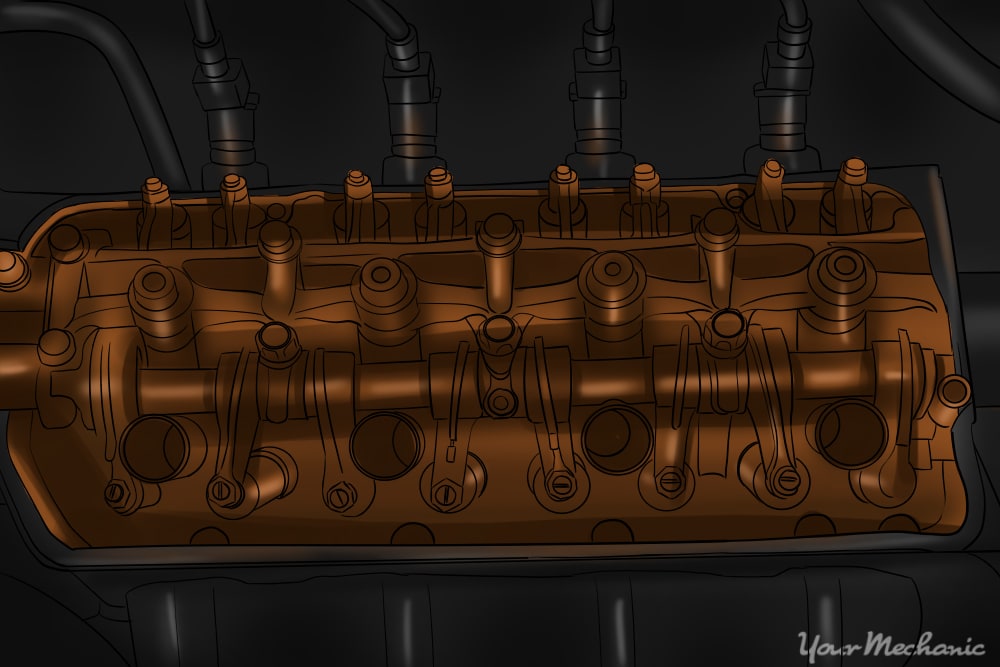
The camshaft in the engine is used to open and close the valves. The camshaft is driven by the engine crankshaft through the use of a belt or a chain that connects the two of them. As the crankshaft moves from the force of combustion in the engine it rotates which also rotates the camshaft. The camshaft and crankshaft must be in perfect timing for the engine to run properly. Modern vehicles also utilize variable camshaft timing which can change when the valves open and close based on engine RPM, which can maximize horsepower and fuel mileage. Typically a camshaft does not fail unless there is another serious issue with the engine - in which case the larger issue will need to be taken care of first.
You may also be looking into changing a camshaft of you are wanting to increase the performance of your engine. Some engines can benefit from camshafts that open the valves at different times and at different heights. This is not for every engine, so the process should be fully researched prior to changing a camshaft for performance reasons.
Part 2 of 2: Installing a new camshaft
Materials Needed
- Camshaft
- Hydraulic floor jack
- Jack stands
- Pry bar
- Ratchet w/sockets and extensions
- Repair manual (for your vehicle, showing cam timing marks and torque specifications)
- Torque wrench
- Wheel chocks
- Valve cover gasket
Step 1: Park your vehicle on a hard, level surface and apply the parking brake. Open the hood and allow the engine to cool.
Step 2: Place the wheel chocks around the rear wheels.
Step 3: Jack up the front of the vehicle. Use the floor jack on the manufacturer-suggested jacking point.
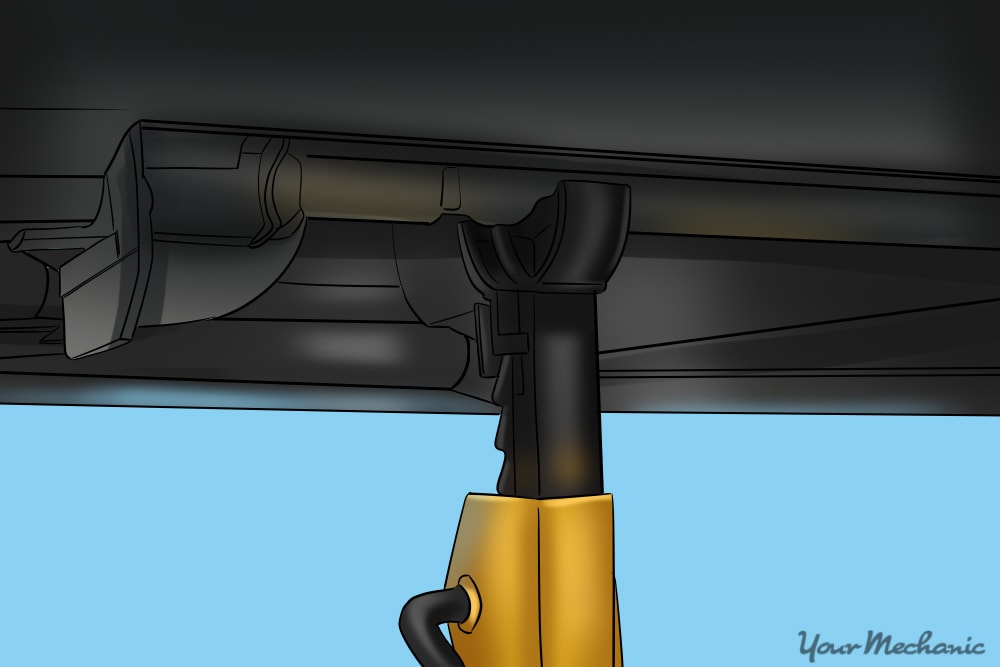
Step 4: Place the jack stands under the body pinch welds. Carefully lower the vehicle onto the jack stands.
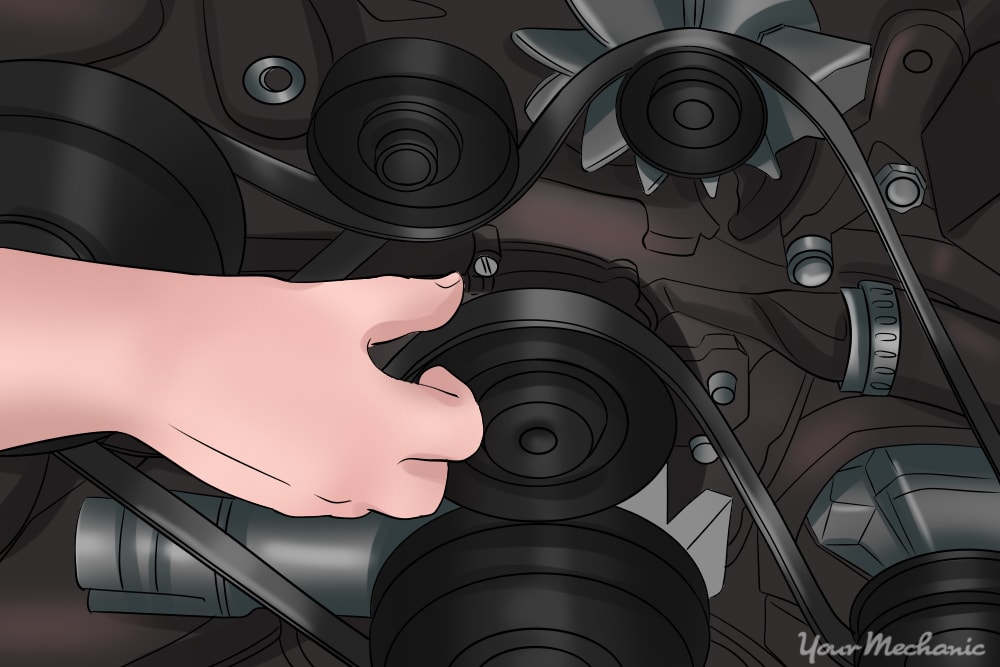
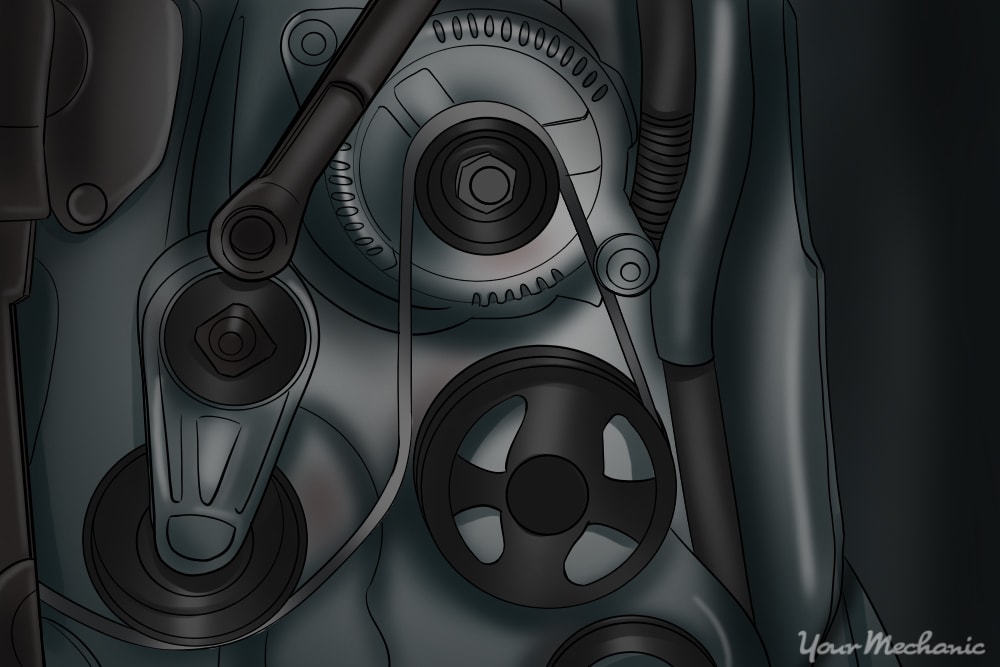
Step 5: Remove the engine drive belt. The method of removal will depend on which type of drive belt your vehicle has.

- Automatically adjusting serpentine belt: Locate the drive belt tensioner. Using the appropriate sockets and ratchet, rotate the belt tensioner until the belt is loose enough to remove it.
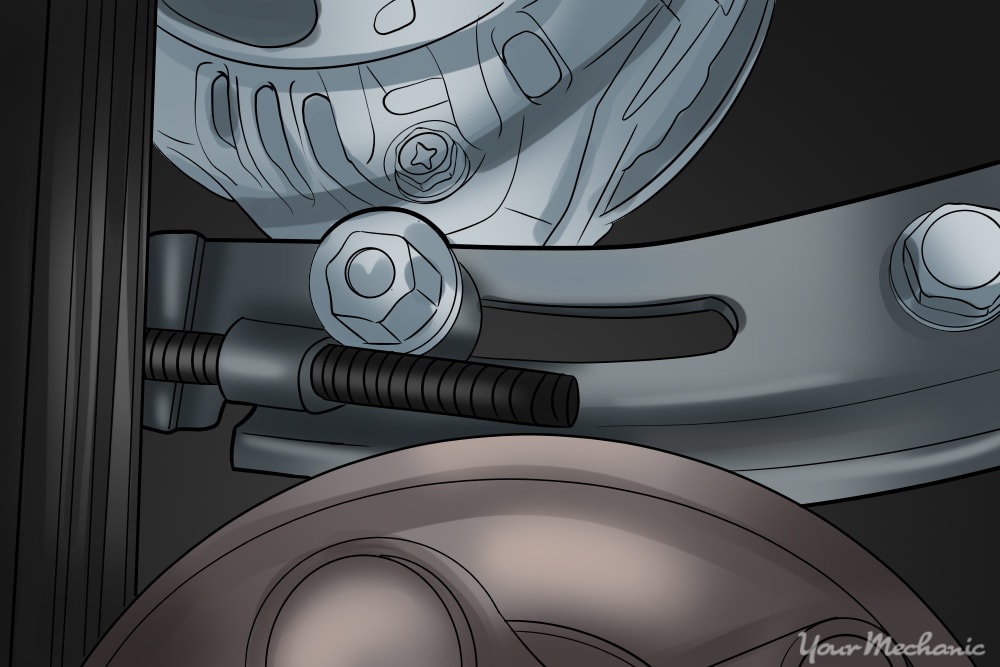
- Manually adjusted belt: Locate the mounting bolts on the engine accessories that will allow them to move. These are typically on brackets that are slotted. Loosen the bolts until the accessory moves and the belt becomes loose.
Step 6: Remove the timing cover. Remove the bolts securing the upper front timing cover to the engine and remove the cover.
- Note: Depending on the engine, you may need to perform Steps 7-9 prior to Step 6. If you find that the ignition coils of your engine are in the way of removing the engine’s timing cover, just come back to Step 6 once you have removed the ignition coils as described below.
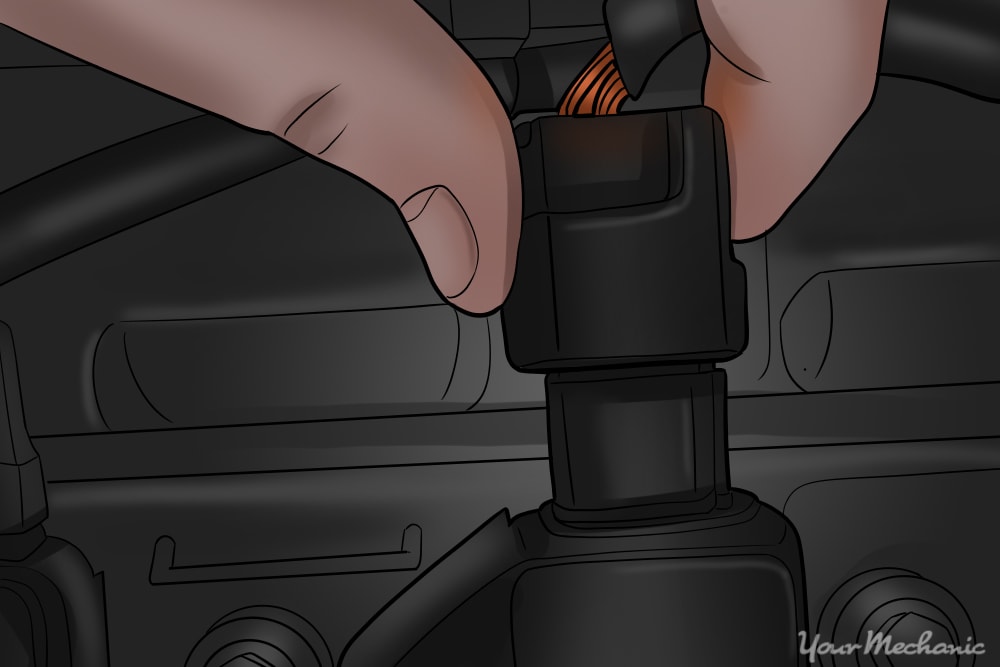
Step 7: Disconnect the connectors on the ignition coils. Do this by pressing down on the electrical retainer clip and pulling the connector off.
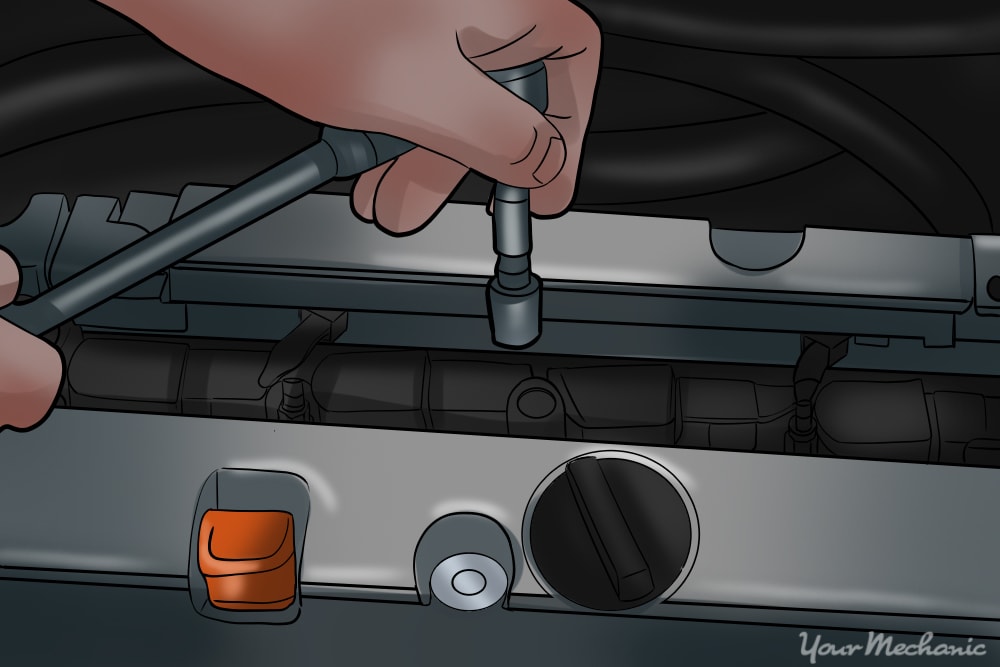
Step 8: Remove the ignition coils. Using the ratchet and the appropriate socket, remove the ignition coil retainer bolts. Then remove the ignition coils by pulling them straight up.
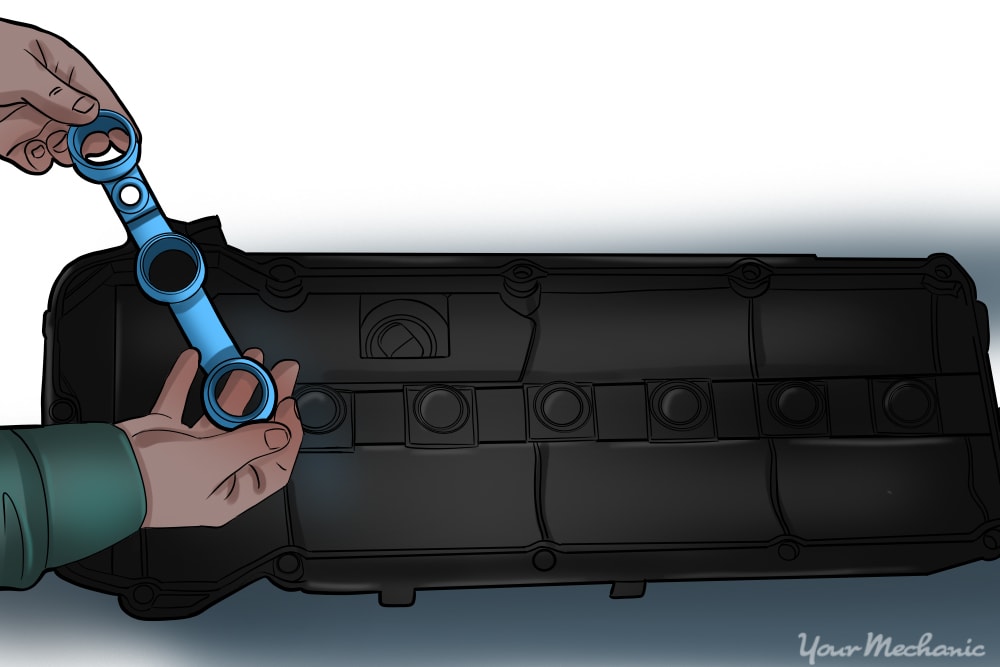
Step 9: Remove the valve cover mounting bolts and the valve cover. Discard the valve cover gasket.
- Tip: If the valve cover does not easily come off, you may need to pry on it gently with the pry bar.
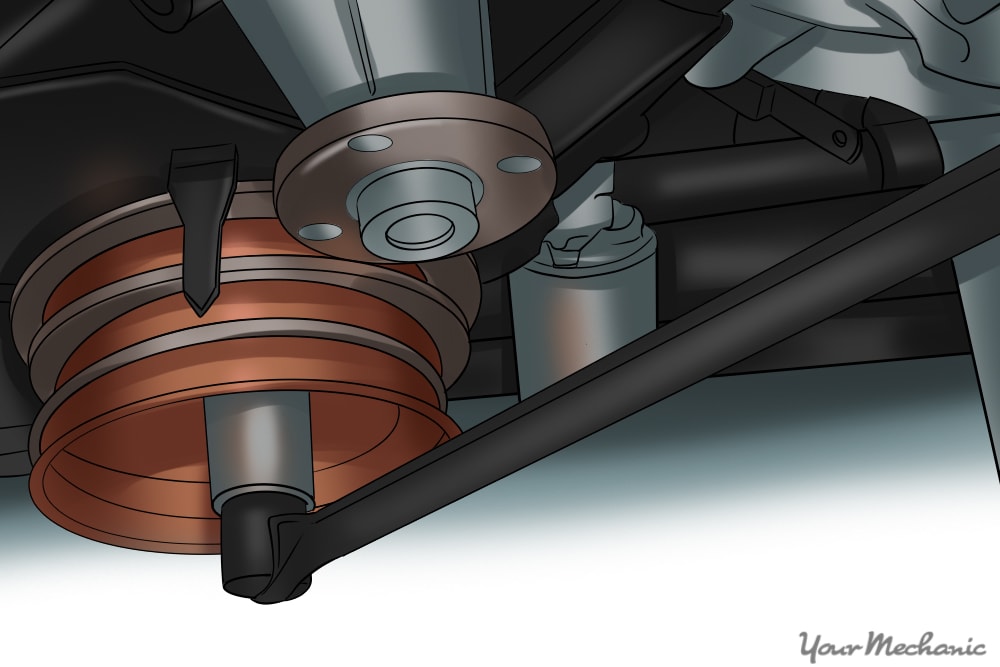
Step 10: Rotate the engine. Using the ratchet and the appropriate socket, rotate the engine using the crankshaft pulley center bolt until the camshaft timing marks line up.
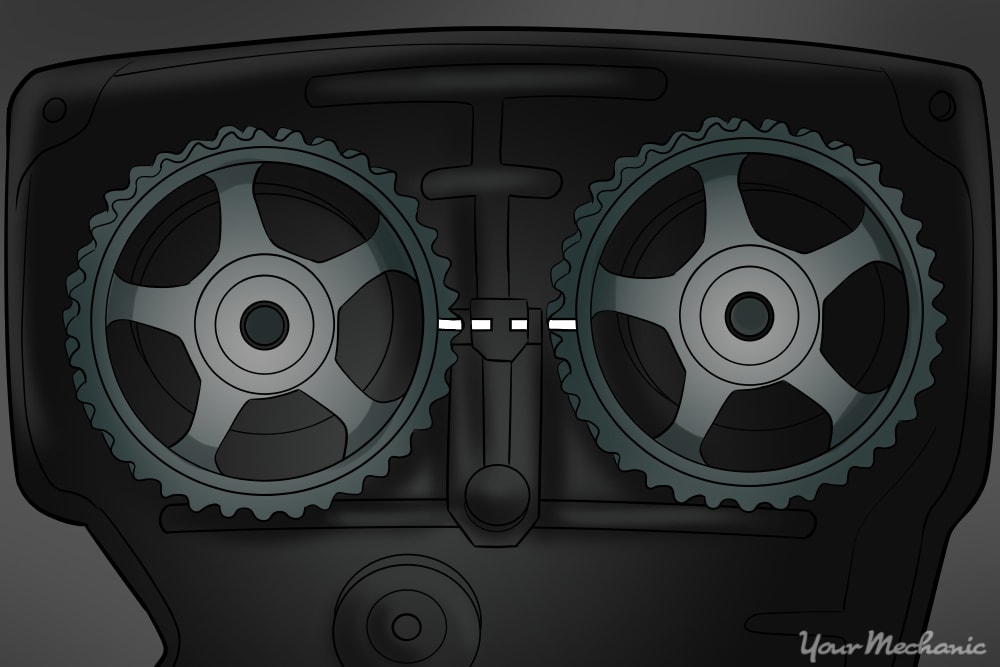
The camshaft timing marks should be aligned correctly before proceeding.
- Tip: Some engines will not have timing marks. Those engines require the use of special tools that will hold the crankshaft and camshaft in place during servicing, and you may need to enlist the help of a certified mechanic.
Step 11: Remove the timing belt. Using the ratchet and the appropriate socket, loosen the timing belt tensioner until the belt is loose enough to remove from the camshaft gear.
Tip: Some engines will require that the crankshaft pulley and the lower timing cover be removed in order to access the tensioner.
Warning: Once the timing belt is loosened and removed, do not allow the crankshaft or camshaft to rotate. If they do, the pistons can contact the valves and bend them - causing serious engine damage.
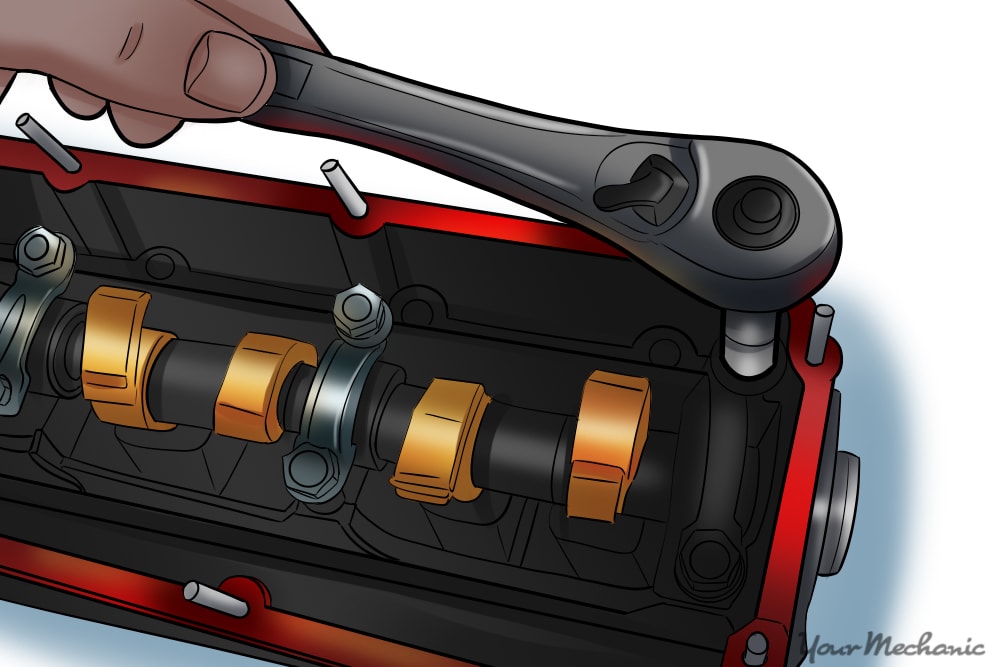
Step 12: Remove the camshaft bearing cap retainer bolts. Use the ratchet and the appropriate socket.
- Tip: Loosen the bearing caps slowly and evenly, starting in the middle.
Step 13: Remove the bearing caps and place them aside. Keep them in order, as they need to be reinstalled in the exact same position.
- Tip: Most of these caps will be numbered by position, and will have a small arrow on them which should point to the front of the engine when the caps are installed.
Step 14: Remove the camshaft by grabbing it and pulling it straight up.
- Warning: When removing the camshaft, you want to make sure that it does not fall, as it can damage the bearings in the cylinder head.
Step 15: Remove the camshaft gear. Using your ratchet and socket, remove the center bolt on the camshaft gear and remove the gear from the camshaft.
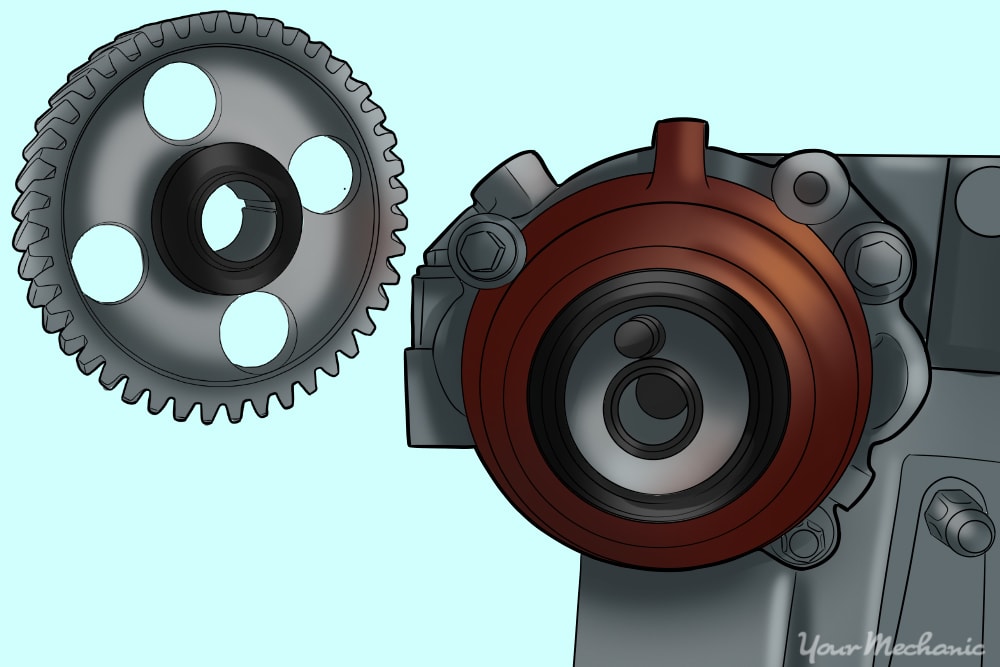
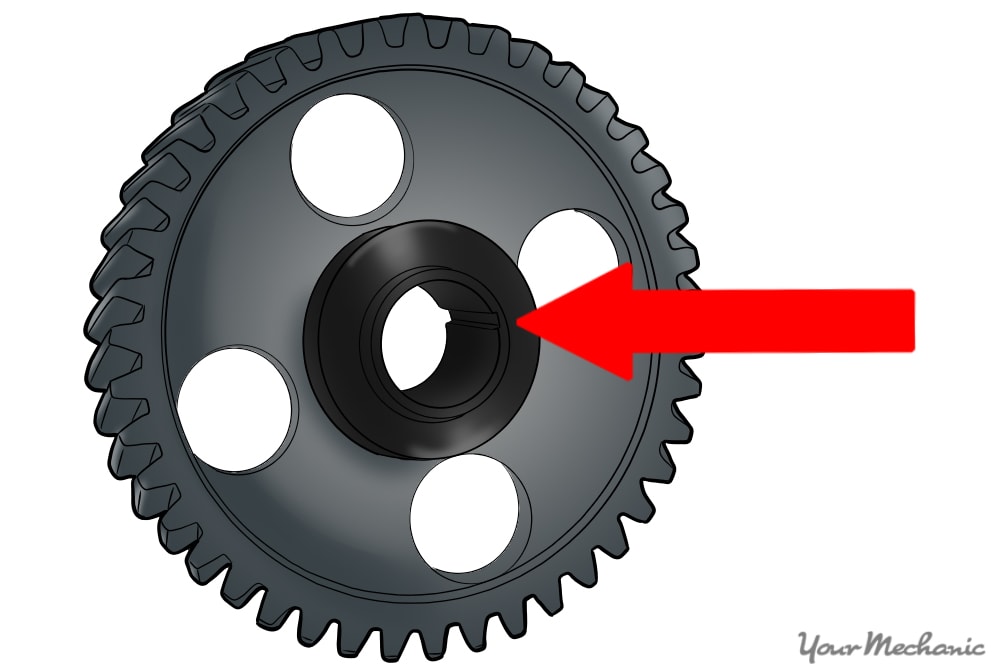
Step 16: Install the camshaft gear onto the new camshaft. Make sure that the alignment dowel aligns with the camshaft.
Step 17: Install the camshaft bolt. Torque it to manufacturer specifications.
Step 18: Install the camshaft onto the cylinder head. Make sure that you do not bang it against anything.
Step 19: Install the camshaft bearing caps back into their appropriate locations. Tighten the bolts by hand.
Step 20: Torque the bearing cap bolts. Using the torque wrench and the specifications from your manual, torque down the bearing cap bolts to manufacturer's specifications.
- Tip: On some vehicles, the torque procedure will require that you tighten the caps in different stages and in different positions.
Step 21: Realign the camshaft timing marks.
Step 22: Reinstall the timing belt onto the camshaft gear.
Step 23: Tighten the timing belt. Using the timing belt tensioner, tighten the timing belt until it has less than ½” of movement.
Step 24: Turn the engine to ensure correct camshaft alignment. Using your ratchet and socket on the crank pulley, rotate the engine several revolutions and then recheck the timing marks to make sure that they are aligned.
Step 25: Install the new valve cover gasket onto the valve cover. If your engine is equipped with spark plug tube seals, also replace those.
Step 26: Install the valve cover onto the engine. Install the mounting bolts, torquing them to manufacturers specifications.
- Note: On some engines, Step 27 will need to be performed before Step 26.
Step 27: Install the timing cover using its mounting bolts. Tighten them until they are snug.
Step 28: Install the ignition coils. Tighten their mounting bolts to manufacturer's specifications.
Step 29: Install the ignition coil connectors. Do this by pressing them into place until you hear them click.
Step 30: Install the engine drive belt. How you put the drive belt back on will again depend on which type of belt your engine is equipped with.
Automatically adjusting belt: Using your ratchet and socket, rotate the belt tensioner until you have enough movement to install the belt.
Manually adjusting belt: Install the drive belt and move the engine accessory using the pry bar until the belt is tight. While holding the tension on the belt, tighten the accessory mounting bolts.
Step 31: Lower your vehicle. Using the floor jack, lift your vehicle and remove the jack stand. Lower the vehicle to the ground.
Step 32: Check to make sure the engine is running properly. Start the engine and listen for any odd noises, and look for any leaks.
Once you install your new camshaft, you may need to go through a break-in procedure, depending on what the manufacturer recommends. This can be quite an extensive job for some vehicles - and if you do it incorrectly, engine damage can occur. If you are not comfortable with this repair, get some assistance from a certified mechanic - like one from YourMechanic - who can come to your home or office to perform this service.
