
Your car is made of several types of materials, though most of the parts that are for aesthetics are plastic. Plastic is used because it is easily molded to a desired shape and can be tinted to match the vehicle’s color. It can also be painted to match. Plastic parts range in purpose including:
- Close-out panels that block unsightly mechanical parts
- Molded plastic parts such as door panels for ease of assembly
- Smooth, painted components such as bumpers covers and interior trim
- Soft-touch plastics for attractive interior finishing
- Textured plastic parts
Plastic components can get dirty just like the rest of your vehicle. It could be dust, oils, or even food or drink that gets on the plastic. Plastic may need to be treated in a different way than other parts, depending on its composition and finish.
A general rule of thumb is painted plastic on the exterior of your car can be cleaned in the same fashion as the rest of your paint.
Textured plastic and interior plastic components need to be cleaned in a different way.
Method 1 of 2: Clean the textured plastic exterior parts
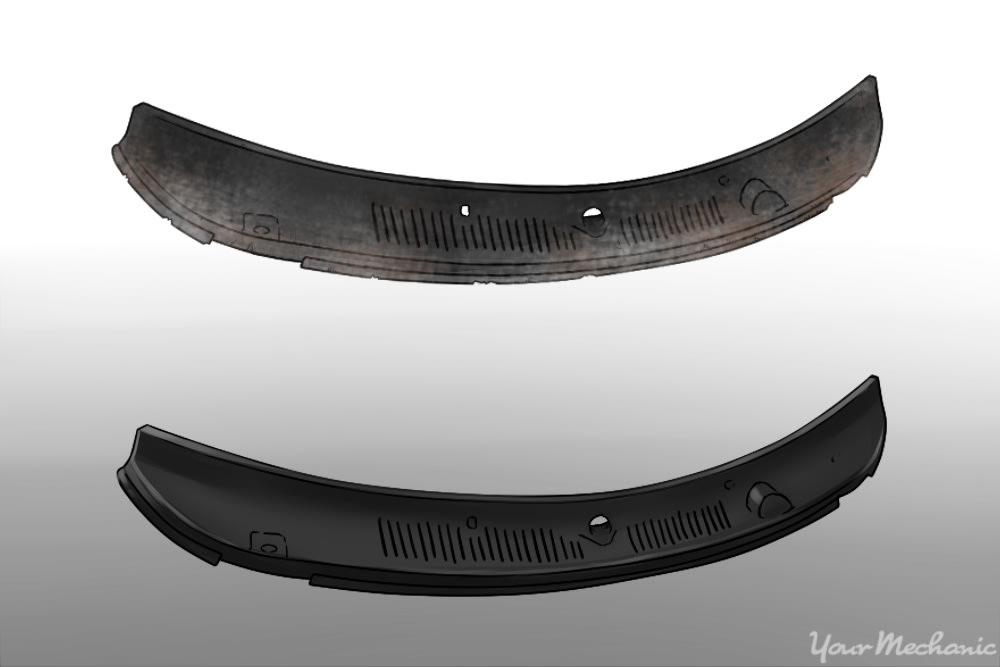
Textured black plastic parts on the exterior of your car can fade from their rich color, whether that is black, grey, or a tinted color to match your car’s paint. They often look cloudy or whitish, or a faded resemblance of the color they used to be. You can restore them to their original appearance easily.
Textured black plastic is used for parts such as:
- Mud guards
- Unpainted bumpers
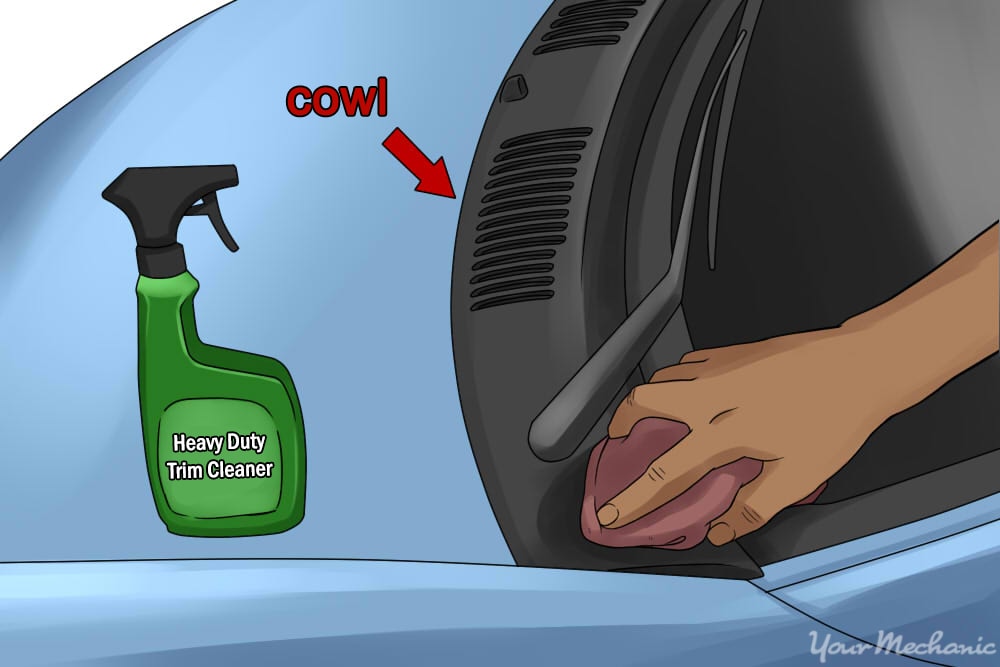
- Windshield wiper cowls
Materials Needed
- Clean lint-free cloth
- Plastic trim cleaner (recommended: Mothers Back-to-Black Heavy Duty Trim Cleaner)
- Trim brush or toothbrush
Step 1: Apply the cleaner. Apply a quarter-sized drop of trim cleaner directly to the plastic part.
Work in small sections, so don’t use a spot of cleaner larger than a quarter.
Step 2: Brush in the cleaner. Brush the cleaner into the trim with a small, plastic-bristled brush or toothbrush.
First spread the cleaner thinly over as large a section as you can with the brush.
Then, brush the wetted spot with the brush until the plastic underneath appears unfaded and even.
Step 3: Wipe the area dry. Wipe the spot dry with a clean, lint-free cloth, removing any remaining cleaner and dirt.
Step 4: Repeat until component is clean. Completely clean the textured plastic component using the same process over the whole part.
The end result will be a rich, deep-looking part, the same as when it was new.
Method 2 of 2: Clean interior plastic parts
The interior of your car is significantly more sheltered from the environment than the exterior. Typical problems that occur with interior plastic are:
- Cracks
- Dust buildup
- Soiling
Once a part is cracked, you are unable to restore it to its previous condition. You can, however, treat your interior plastic to prevent the majority of cracking and deterioration while you clean your car’s interior plastic. Look for a high-quality cleaner that also conditions the plastic.
-
Tip: Car cleaners that leave an oily shine may look good initially but collect dust and dirt quickly. Use a cleaner that doesn’t have an oily feel or shine after use.
Materials Needed
- Interior plastic cleaner (recommended: Kevian Clean Interior Defense Car Cleaner)
- Detailing brush or toothbrush
- Foam applicator pads
- Lint-free cloths or microfiber cloths
- Q-Tips
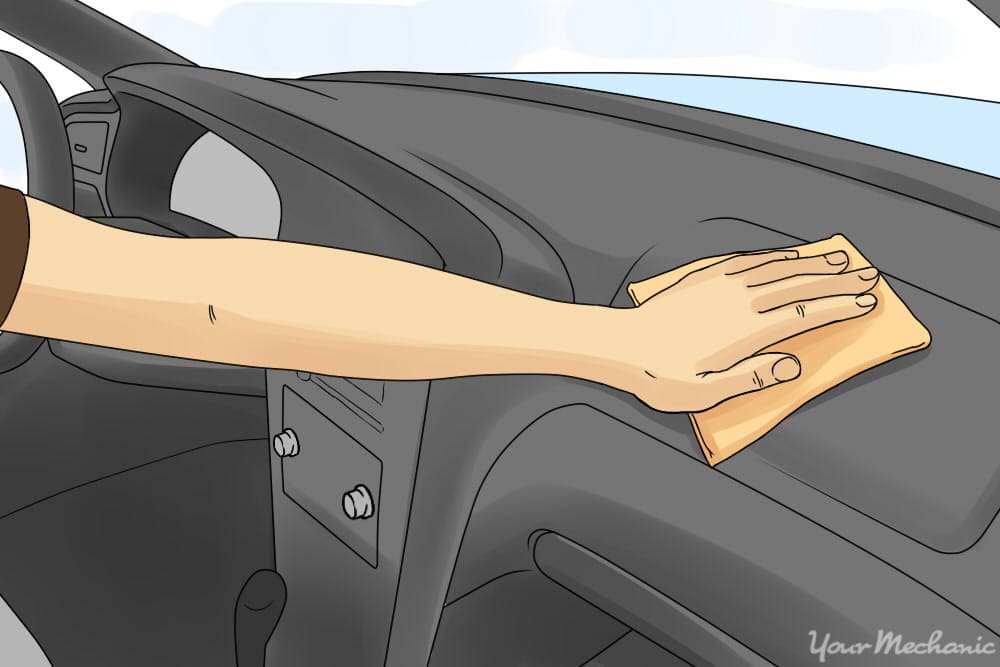
Step 1: Wipe down dusty surfaces. Use a lint-free cloth to wipe down all your car’s interior parts.
You’re looking to remove the bulk of the loose dust and dirt so your end result will be cleaner and streak-free.
- If the surfaces are heavily soiled, you may want to use a damp cloth to pick up more of the dirt initially.
Step 2: Spray plastic cleaner onto a foam applicator pad. If you spray directly onto parts like the dashboard or door panel, the mist will settle on your windows, making more work for you to clean your car later on.
- Get the applicator pad damp with cleaner.
Step 3: Wipe the interior plastic with the dampened applicator pad. Re-wet the applicator when you notice is doesn’t leave cleaner on the plastic.
Work with one area at a time. If you’re cleaning the dashboard, wipe it completely with cleaner, then proceed to the next step.
Step 4: Wipe the plastic trim dry with a lint-free cloth. This will remove the bulk of the moisture and leave a clean, dust-free surface.
Repeat for each area of plastic.
Step 5: Clean soiled crevices. There are seams and crevices wherever plastic parts meet up with another surface. Dirt collects in these areas frequently, making an otherwise clean car look a little shoddy.
Dip your detailing brush in the plastic cleaner or spray the brush with your cleaner.
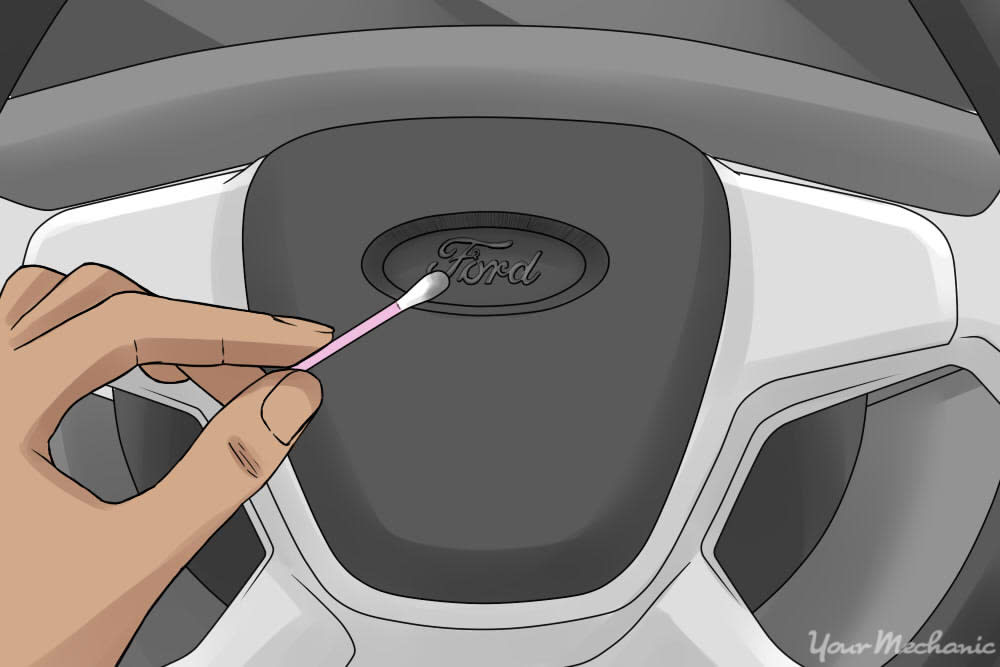
Work the bristles of the brush or a Q-Tip into the crevice in a back and forth motion.
Catch the dirt and cleaner that you brush out with a cloth.
Wipe as deeply into the crevice with your cloth to absorb any remaining cleaner.
- Tip: Clear plastic parts such as the instrument cluster or the radio display are best cleaned with glass cleaner just like you would for your windows.
Keeping the plastic parts of your car clean should be a part of your regular car maintenance routine. The better care you take of all the parts of your car, the better all the parts work together, and the longer they'll last.


