Although simple in nature, battery cables are one of the most important components of a vehicle’s electrical system. They serve as the main connection between the vehicle’s main source of power, the battery, and the vehicle’s starting, charging, and electrical systems.
Due to the operational nature of automotive batteries, battery cables are often prone to corrosion build up both internally and on the terminals. When corrosion builds up on the terminals or inside the wire, the resistance of the cable is increased, and conduction efficiency is reduced.
In more severe cases, if battery cables become too corroded, or their resistance becomes too high, one may run into electrical issues, usually in the form of starting problems or intermittent electrical problems.
As cables are usually relatively inexpensive, it is always recommended to replace them once they have become too corroded or worn out. In this step by step guide, we will go over how to inspect, remove, and install battery cables, using nothing more than a few basic hand tools.
Part 1 of 1: Replacing battery cables
Materials Needed
- Basic set of hand tools
- Battery terminal cleaning tool
- Battery cleaner
- Heavy duty diagonal cutters
- Replacement battery cables
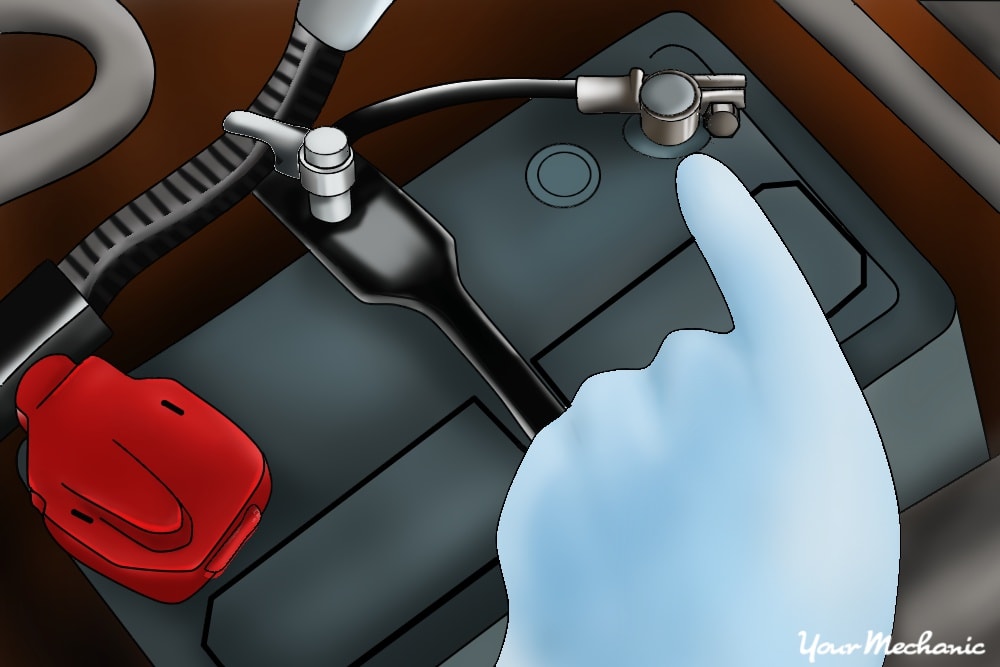
Step 1: Examine the battery’s components. Carefully inspect and examine the battery cables that you are going to replace.
Trace and follow both the positive and negative cables all the way from the battery terminals to where they connect onto the vehicle.
Identify the cables so that the correct replacement cables are obtained, or, if they are universal cables, that the new cables are of sufficient length to replace the old ones.
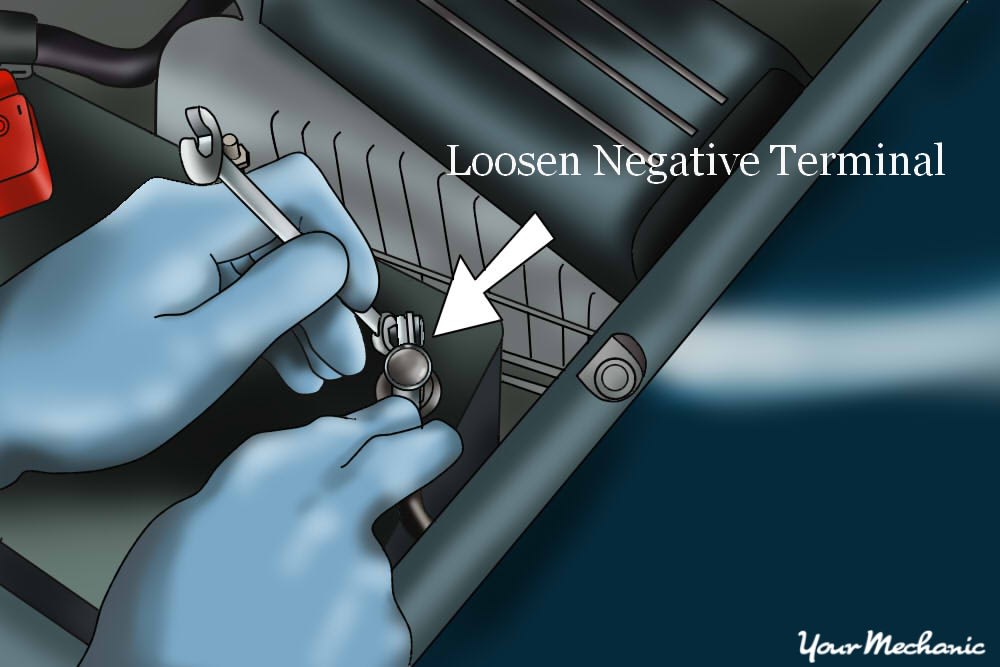
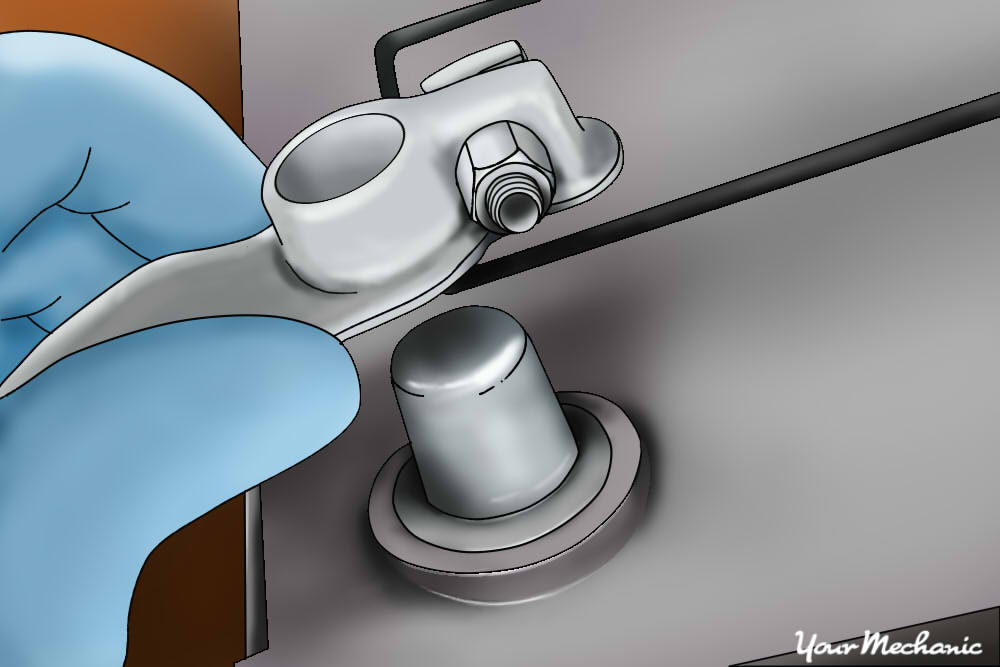
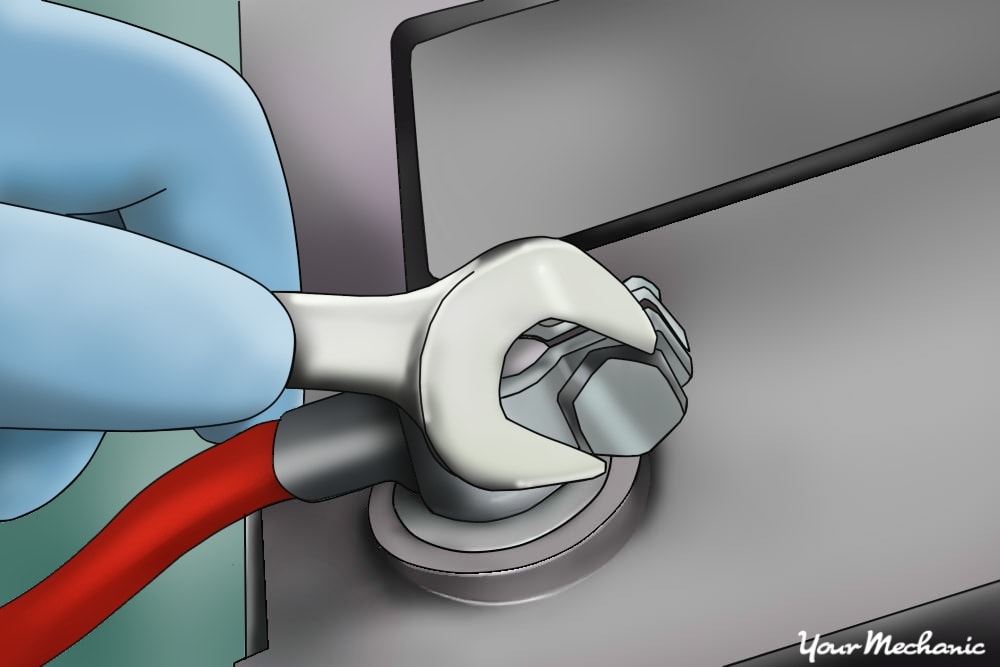
Step 2: Remove the negative battery terminal. When disconnecting an automotive battery it is standard practice to remove the negative terminal first.
This removes the ground connection from the vehicle’s electrical system and eliminates the possibility of any accidental electrical shorts or shocks.
The negative battery terminal is usually identified by a black battery cable, or by a negative sign marked on the terminal.
Disconnect the negative terminal and set the cable out of the way.
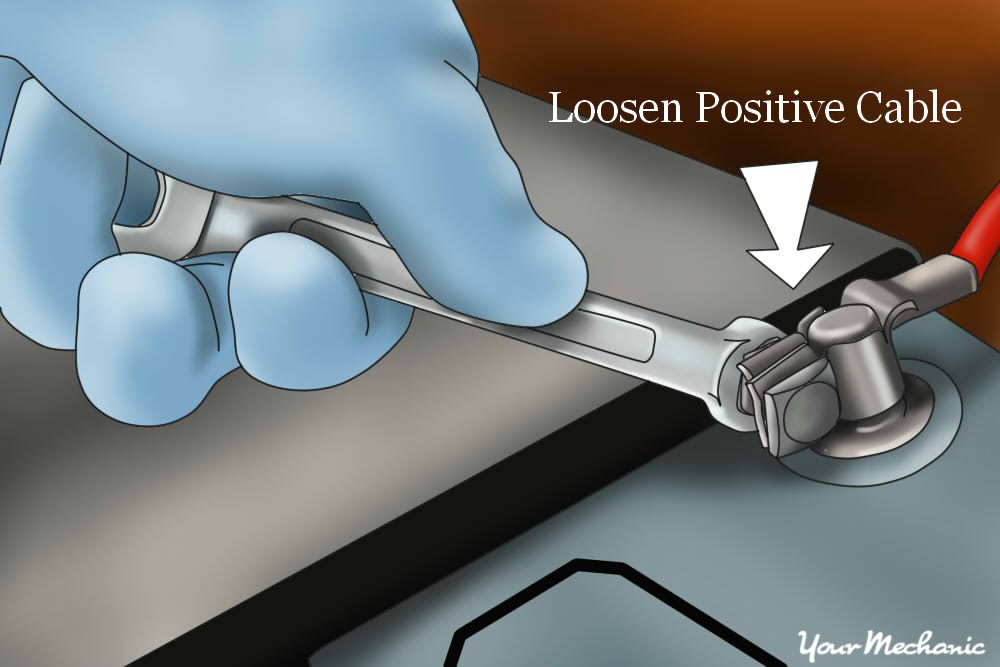
Step 3: Remove the positive terminal. Once the negative terminal is removed, proceed to remove the positive terminal in the same fashion as you removed the negative terminal.
The positive terminal will be opposite of the negative, connected to the post marked with a plus sign.
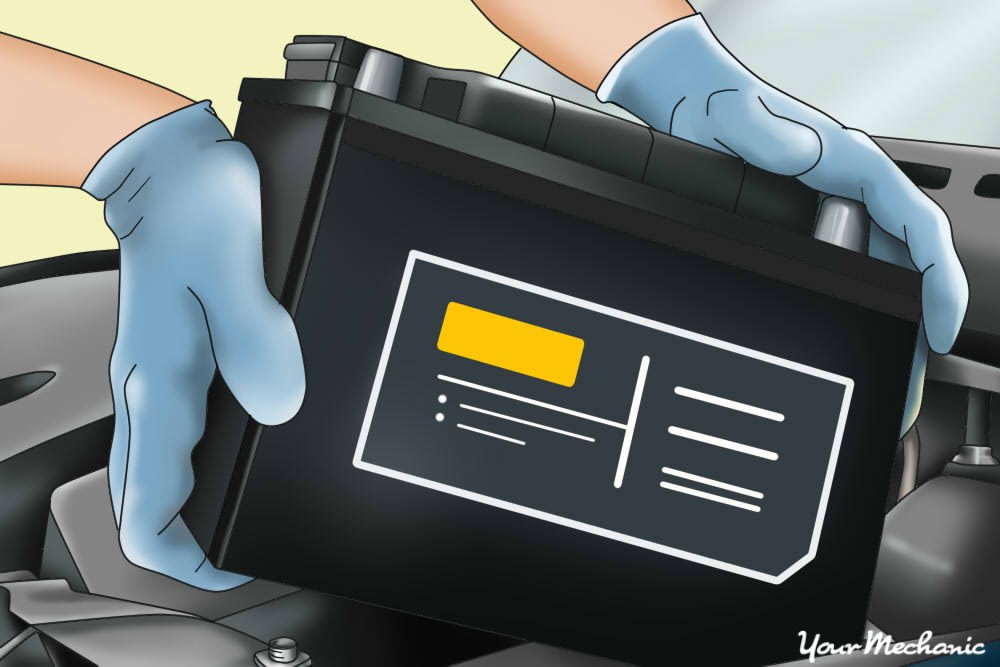
Step 4: Remove the battery from the engine. Once both cables have been disconnected, remove any securing mechanism at the base or top of the battery, and then remove the battery from the engine bay.
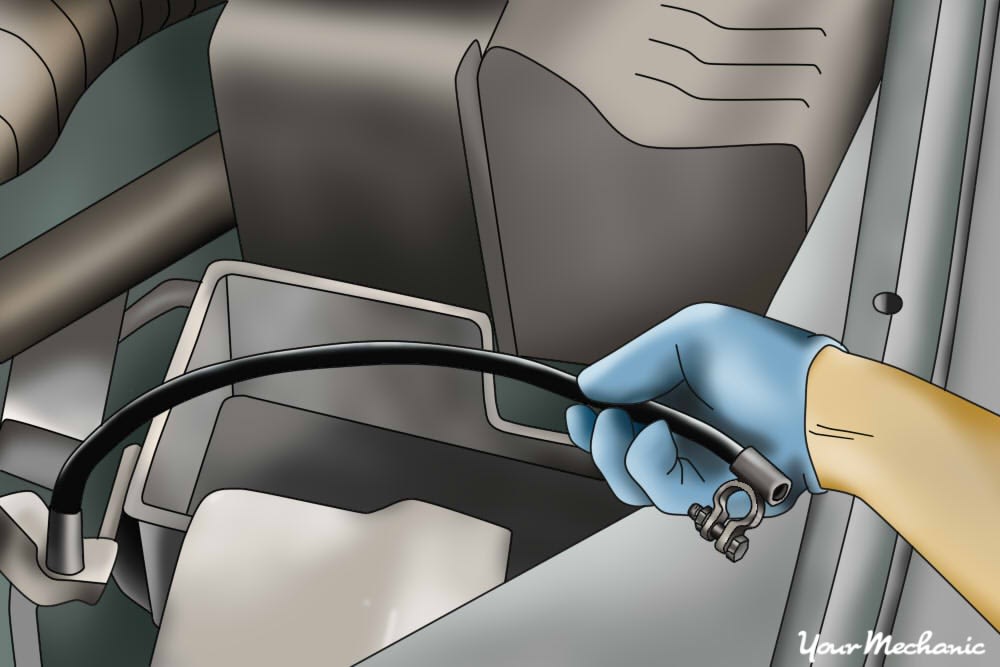
Step 5: Disconnect the battery cables. Once the battery has been removed, follow both battery cables all the way back to where they connect to the vehicle and disconnect them both.
Usually the negative battery cable will be bolted to the engine or somewhere on the vehicle’s frame, while the positive battery cable will usually be bolted to the starter or a fuse box.
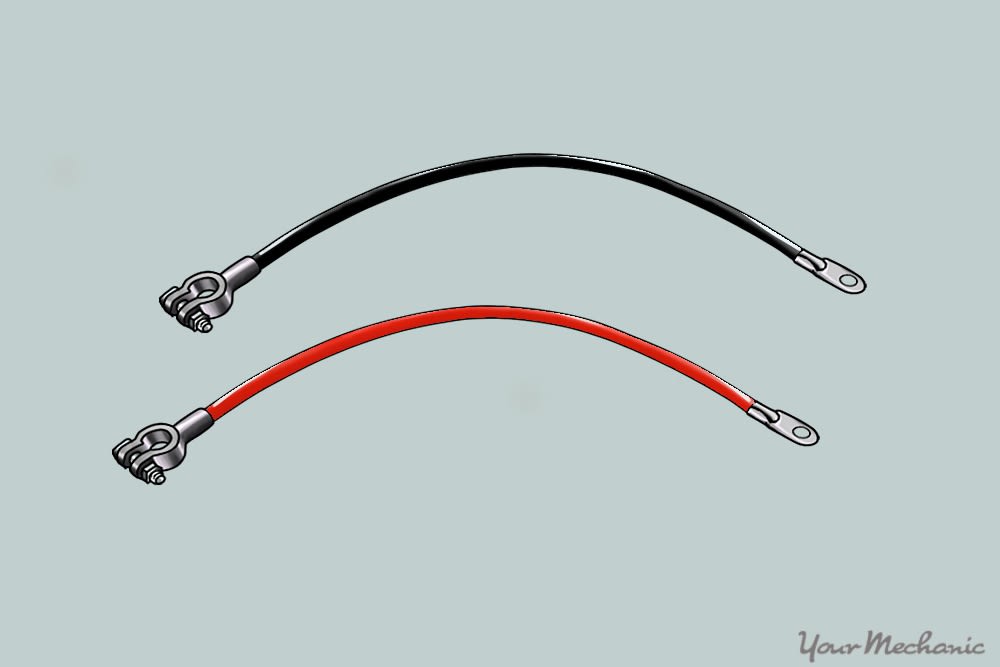
Step 6: Compare current cables with replacement cables. Once the cables are removed, compare them with your replacement cables to ensure that they are the correct replacements.
Make sure that they are of adequate length and have matching terminal ends, or ends that will work on the vehicle.
If the cables are universal, take this time to trim them to the correct length if necessary, using the diagonal cutters.
Also, remember to carefully examine both terminals and replace them with compatible ones if necessary.

Step 7: Install the cables. Once you have verified that the replacement cables will work with your vehicle, proceed to installing them in the same manner as they were removed.
When bolting the cables down, make sure that contact surfaces are both clean and free of any dirt or corrosion, and that you do not over torque the bolt.
Secure both cables to the vehicle, but do not connect them to the battery yet.
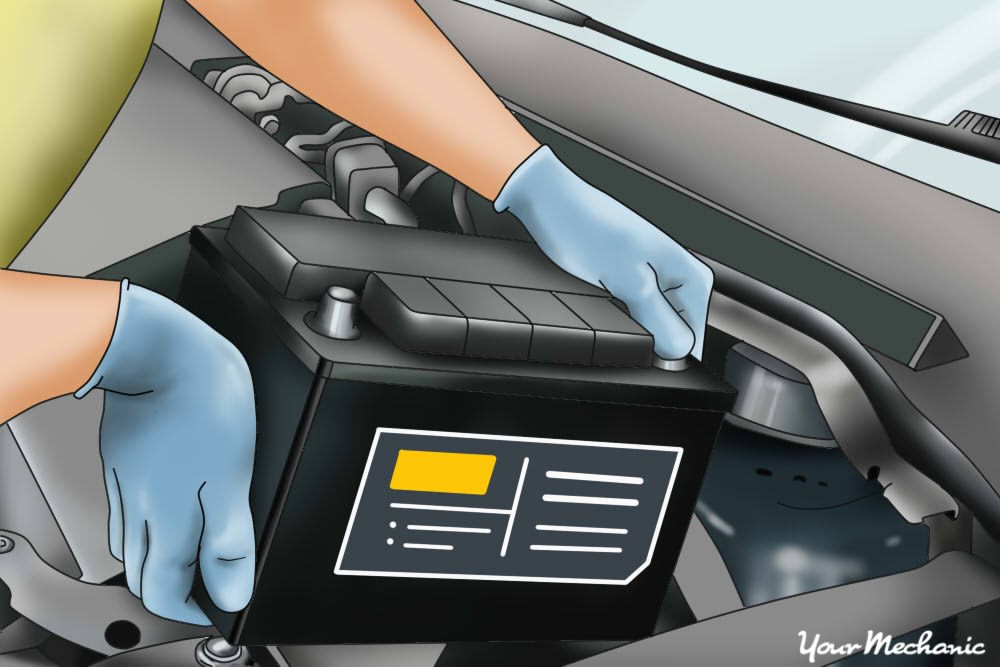
Step 8: Reinstall the battery. Use both hands to carefully place the battery back into the engine bay to reinstall it.

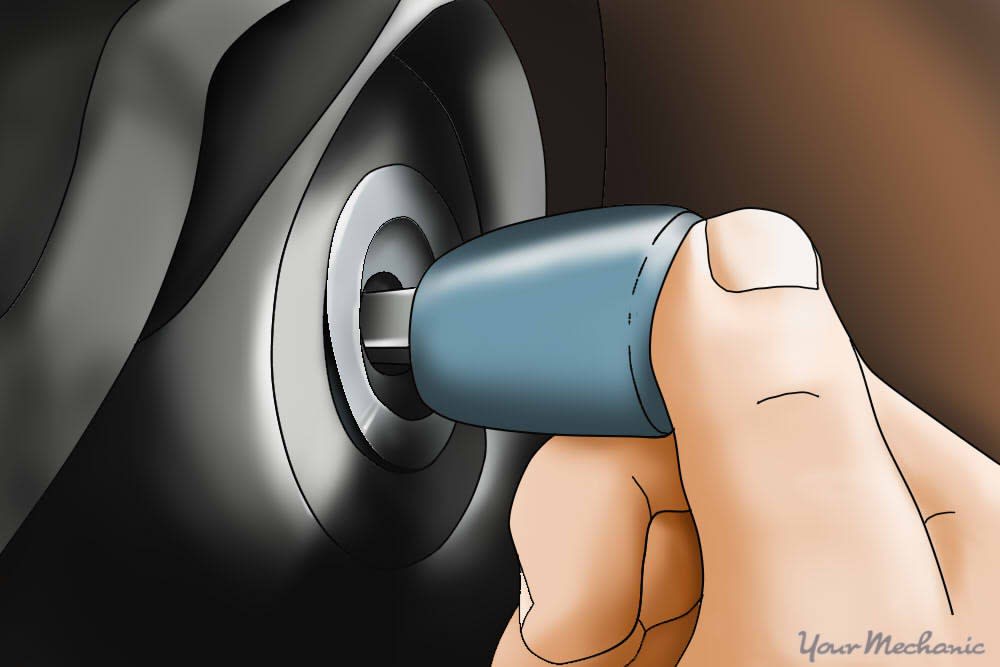
Step 9: Clean the battery terminals. Once the battery is installed proceed to thoroughly clean both terminals using the battery terminal cleaner.
Clean the terminals to the best of your ability, removing any corrosion that may be present to ensure the best possible contact between the posts and terminals.
- Tip: You can read more about properly cleaning your battery terminals in our article, “How to Clean Battery Connections.”
Step 10: Reinstall the battery cables. Once the terminals are clean, proceed to reinstalling the battery cables to their respective posts. Install the positive battery cable first, and then the negative.
Step 11: Test the vehicle. At this point the installation is complete. Turn the vehicle key to the ON position to make sure that there is power, and then start the vehicle to ensure that everything is working correctly.
In most cases, replacing battery cables is a very simple procedure that can usually be carried out with only a few basic hand tools. However, if you do not feel comfortable taking on such a task on your own, a professional technician, such as one from YourMechanic, can replace your battery cables at your home or office while you sit back and relax.
