Whether you are taking a short trip to the next town over, or heading out on long summer road trip, inspecting your car before you head down the road is a great way to make sure you get to your destination safely, without the inconvenience of a breakdown.
While it isn’t possible to inspect every vehicle system before taking off, you can check the major systems to ensure that there are no fluid leaks, the tires are properly inflated, the lights are working, and there are no warning lights illuminated.
Here are just a few things you should check before driving your vehicle.
Method 1 of 2: Inspect for everyday driving
Most of us are not going to perform all of these checks every time we drive our vehicle, but doing a quick inspection of the car on a regular basis, and a more thorough one at least once a week, will help make sure your vehicle is safe and not in need of service.
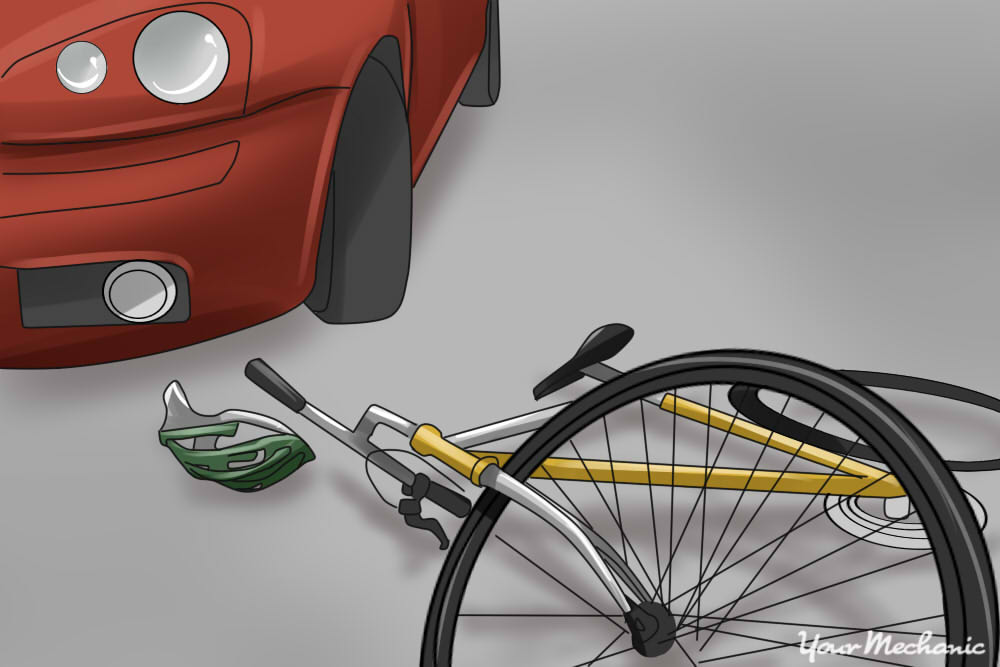
Step 1: Check the surrounding area. Walk around the vehicle, looking for any obstacles or objects that could damage the vehicle if you drive or back over them. Skateboards, bikes, and other toys, for example, can do serious damage to a vehicle if driven over.
Step 2: Look for fluids. Look underneath the vehicle to make sure there are not any leaking fluids. If you find a leak under the vehicle, identify it before driving the car.
- Note: Fluid leaks can be as simple as water from the air conditioning condenser to more serious leaks like oil, brake fluid, or transmission fluid.
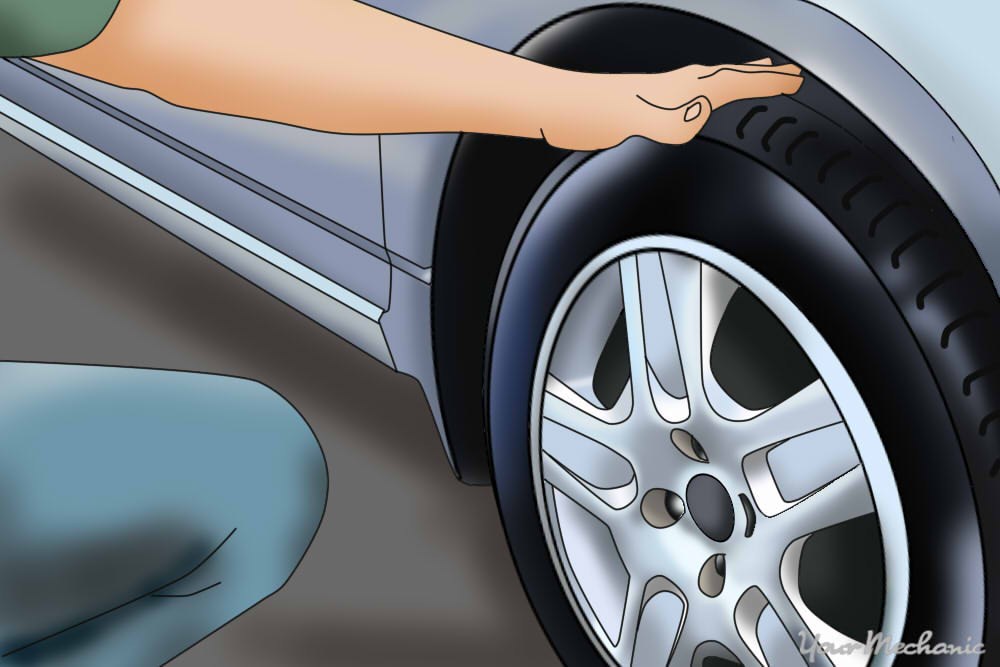
Step 3: Inspect the tires. Inspect the tires for uneven wear, nails or other punctures, and check the air pressure in all tires.
Step 4: Have tires repaired. If the tires appear damaged, have them inspected by a professional and repaired or replaced if necessary.
Tip: Tires should be rotated every 5,000 miles; this will extend their life and keep them in good working order.
Note: If the tires are underinflated, adjust the air pressure to the correct amount as listed on the sidewalls of the tire or in the user manual.
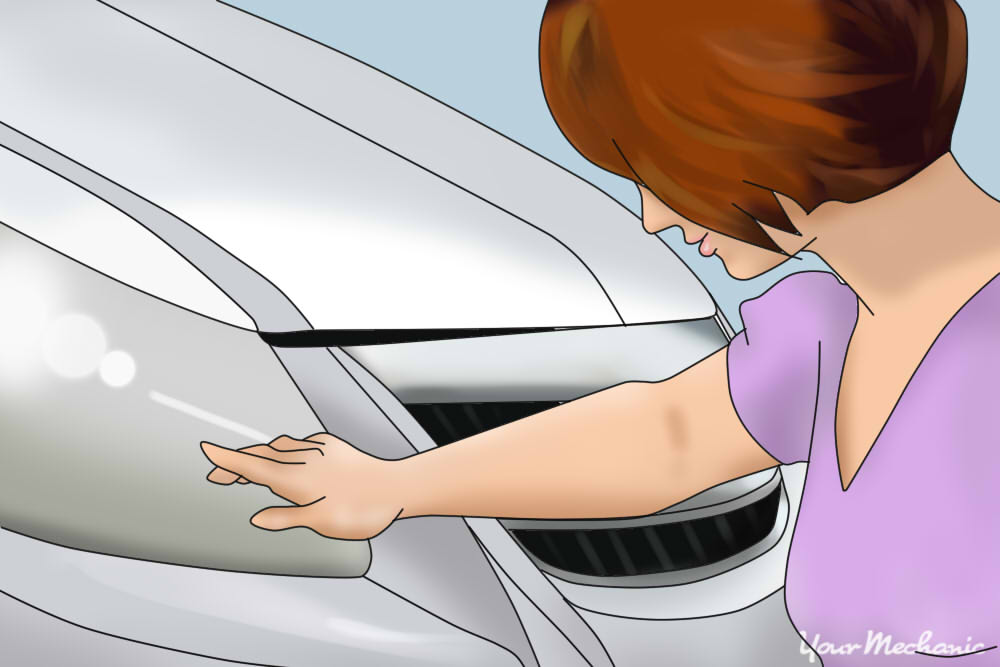
Step 5: Inspect lights and signals. Visually inspect all of the headlights, tail lights and turn signals.
If they are dirty, cracked or broken, they will need to cleaned or repaired. Extremely dirty headlights can reduce the effectiveness of the light beam on the road, making driving dangerous.
Step 6: Test the lights and signals. The lights, tail lights and brake lights should be tested and repaired if necessary.
If possible, have someone stand in front of and then behind the vehicle to verify that the lights are working correctly.
Activate both turn signals, the high and low beams, and put the car in reverse to make sure the reverse lights work as well.
Step 7: Examine the windows. Visually inspect the windshield, side windows, and rear window. Make sure they are clear of debris and are clean.
A dirty window can lead to reduced visibility, making it dangerous to drive.
Step 8: Check the mirrors. It is important to inspect the mirrors as well, making sure they are clean and properly adjusted, so that you are fully able to see your surroundings when driving.
Step 9: Inspect the inside of the car. Look inside the vehicle before entering. Make sure the backseat is clear and no one is hiding anywhere in the vehicle.
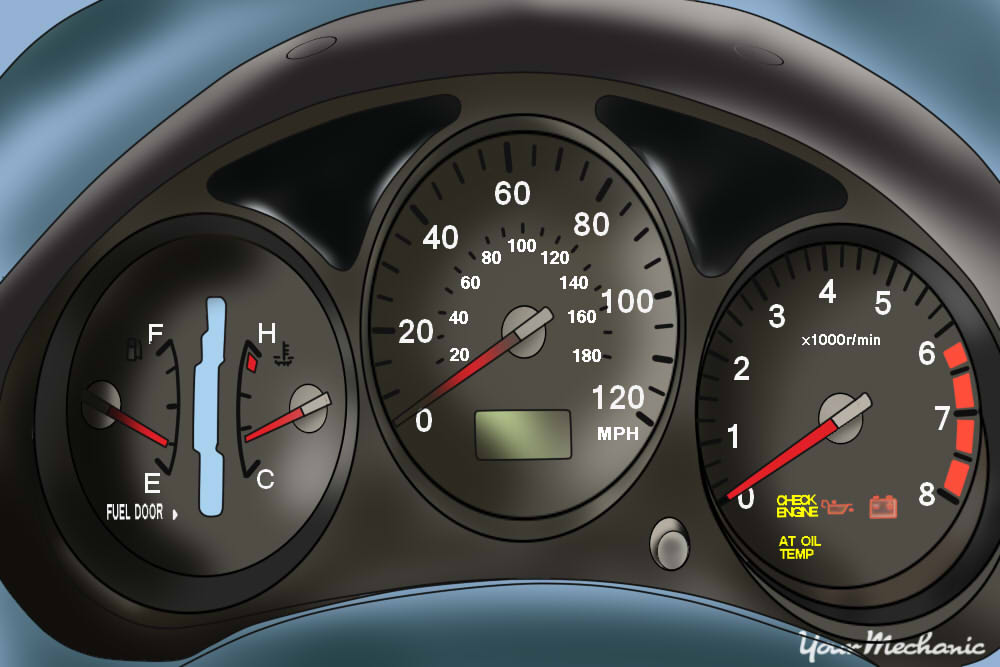
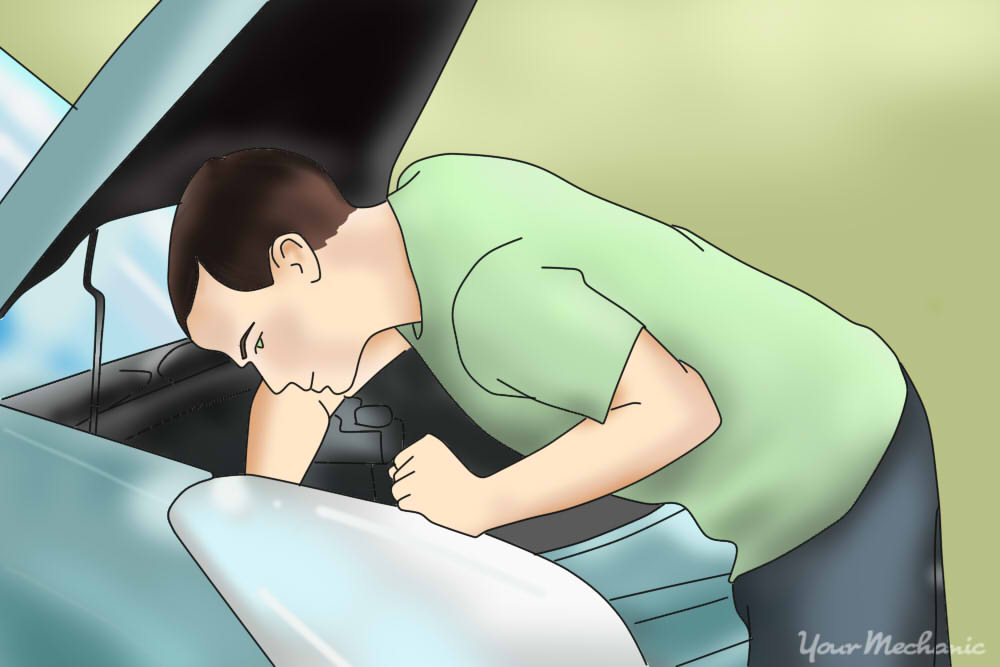
Step 10: Check warning lights. Start the vehicle and make sure there are no warning lights illuminated. Common warning lights are a low battery light, oil light, and the check engine light.
If any of these warnings lights stay illuminated after the initial engine start up, you should have the vehicle inspected.
- Note: Keep an eye on the engine temperature light as the engine warms up to make sure it stays in the acceptable temperature range. If it moves into the “hot” section of the gauge, it could indicate an issue with the cooling system, which means that the car should be inspected and repaired as soon as possible.
Step 11: Test the cabin systems. Check the air conditioning, heating, and defrosting systems before heading out for a drive. A properly working system will keep the cabin comfortable and will ensure that the windows can be defrosted and kept clear.
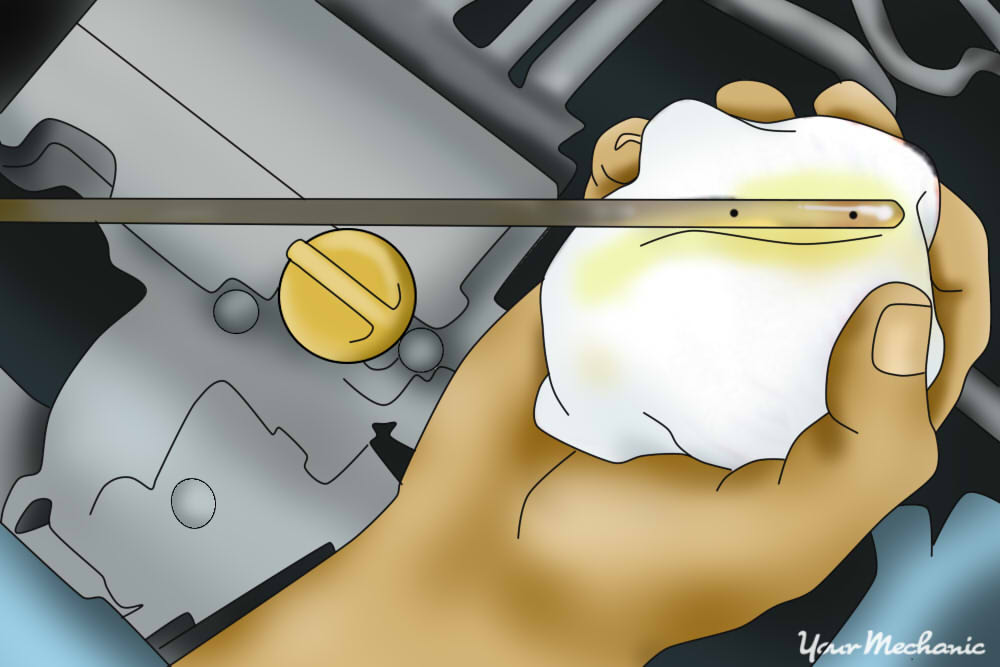
Step 12: Check fluid levels. Once a month, check the fluid levels of all essential fluids in your vehicle. Check the engine oil, brake fluid, coolant, transmission fluid, power-steering fluid and windshield wiper fluid levels. Top off any fluids that are low.
- Note: If any systems lose fluid on a regular basis, you should have that particular system inspected.
Method 2 of 2: Prepare for a long road trip
If you are loading up the vehicle for a long trip, you should give the vehicle a thorough inspection before driving on the highway. Consider having a professional mechanic inspect the vehicle, but if you decide to do it yourself, there are a few items to keep in mind:
Step 1: Check fluid levels: All fluid levels should be checked before you going on a long drive. Check the following fluids:
All fluid levels should be topped off if they are low.If you are uncertain on how to check these fluid levels, consult your owner’s manual or have one of YourMechanic’s mobile service professionals come to your home or business to perform an inspection.
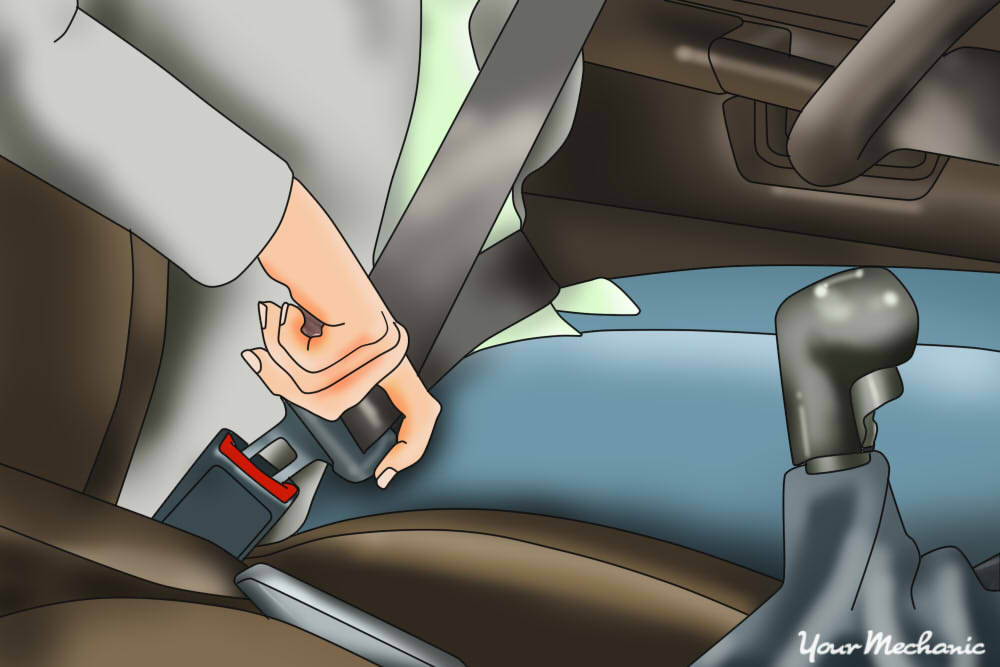
Step 2: Inspect seat belts. Check all seat belts in the car. Visually inspect and test them to make sure they work.
A malfunctioning seatbelt can be very dangerous for you and your passengers.
Step 3: Check the charge in the battery. Nothing can ruin a road trip like a vehicle that won’t start.
Check the battery in the car to make sure that it has a strong charge, the terminals are clean, and the cables are securely attached to the terminals. If the battery is old or has a weak charge, it should be replaced before taking a long trip.
- Tip: If the terminals are dirty, clean them with a baking soda and water mixture.
Step 4: Inspect all tires. Tires are especially important on a long road trip, so giving them an inspection is extremely important before you leave.
Look for any tears or bulges on the sidewall of the tire, check the tread depth, and ensure your tire pressure is within the proper range by referring to the owner’s manual.
Tip: Check the tread depth by inserting a quarter upside down in the tread. If the top of George Washington’s head is visible, the tires should be replaced.
Step 5: Examine the windshield wipers. Visually inspect the windshield wipers and test them to be sure they are fully functional.
Step 6: Assess the washer system. Verify the windshield washer system is working properly, and check the fluid levels in the windshield wiper fluid reservoir.
Step 7: Prepare a first-aid kit. Pack a first aid kit, which can come in handy for scrapes, nicks and even headaches.
Be sure to have items such as band-aids, bandages, antibacterial cream, pain relievers and motion sickness medicine, and epi-pens if anyone has a serious allergy.
Step 8: Get your GPS ready. Set up your GPS if you have one, and consider buying one if you don’t. Getting lost while on vacation is frustrating and can waste precious holiday time. Enter all of the spots you plan on visiting in advance so they are programmed and ready to go.
Step 8: Test your spare tire. Don’t forget to check the spare tire as this will come in handy in case of a breakdown.
The spare tire should be inflated to the proper pressure, usually 60 psi, and in great condition.
Step 9: Test your tools. Ensuring that the jack works and that you have a lug wrench is important because you will need them in the event of a flat tire.
- Tip: Keeping a flashlight in the trunk is a good idea and can be a big help during a nighttime breakdown. Check the batteries to make sure they are fresh.
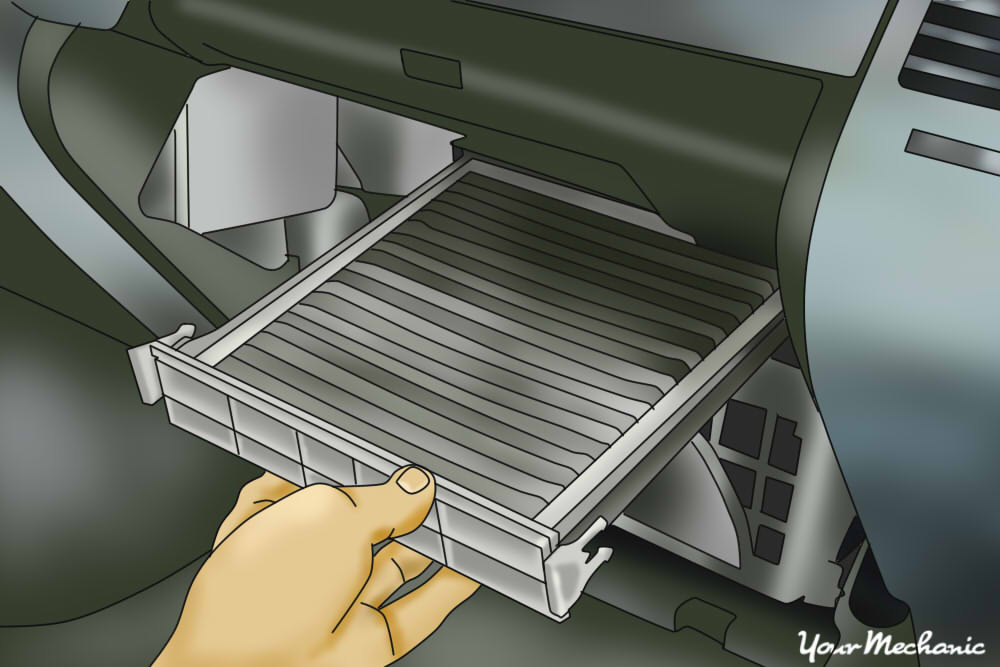
Step 10: Change air and cabin filters. If it has been awhile since your air and cabin filters have been changed, consider doing so.
The cabin filter will improve the air quality in the cabin and a fresh air filter will make sure that no harmful debris, dust, or dirt make their way into your engine.
- Note: While changing out a cabin air filter is not too difficult, one of our professional, certified mobile mechanics would be happy to come to your home or office to change your air filter.
Step 11: Verify your paperwork is in order. Make sure all of your vehicle paperwork is in order and in the vehicle.
If you get pulled over on vacation you want to make sure you have all the necessary paperwork. Have these in the car in an easy to access spot:
- Driver’s license
- Owner’s manual
- Proof of car insurance
- Roadside assistance contact number
- Vehicle registration
- Warranty information
Step 12: Pack your vehicle carefully. Long road trips usually require lots of luggage and additional gear. Check your vehicle's load capacity to make sure your cargo stays within the recommended limits.
Warning: Roof-top cargo boxes should be reserved for lighter items. Heavy top loads can make the vehicle harder to control in an emergency situation and can actually increase the chance of a roll over in an accident.
Note: A heavy load will reduce fuel efficiency, so make sure you calculate into your trip budget.
Inspecting your car before hitting the road will ensure that you have a safe and enjoyable road trip. Remember to do a quick vehicle inspection every day during your vacation before getting back out on the road, and be sure to keep an eye on fluid levels, especially if you are driving long distances on a daily basis. YourMechanic’s professionals can inspect and address any issues you come across, whether on the road or in your daily routine, and have detailed advice on how to properly maintain your car.
