Even owners who regularly clean and maintain their vehicles are not immune to wear on their headlights. As the vast majority of headlights are made of plastic, they require different care than other exterior surfaces of your car. Plastic headlights are especially prone to scratching and discoloration and will otherwise deteriorate more quickly than the rest of your car. This is why knowledge of proper cleaning techniques for headlights is important for keeping vehicles in tip-top condition.
- Note: Glass headlights are susceptible to their own unique problems. If your headlights are made of glass (which is most often seen on vintage models) you should leave anything beyond a standard washing to a professional because there is a risk of causing further issues without the proper knowledge and tools.
Taking proper care of your headlights is much more than cosmetic, as damaged lights also present a serious safety issue. Even dirty headlights, an easily remedied problem, greatly reduce night-time visibility for drivers and also increase the glare seen by others on the road. The worse the headlight damage, the great the incidence of accidents occurring from poor visibility.

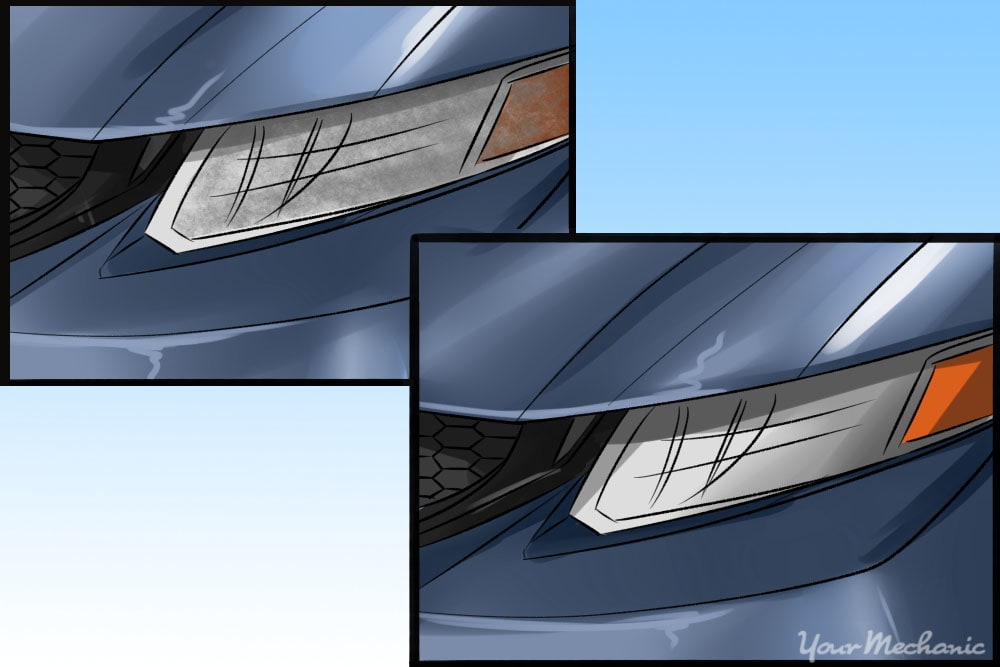
There is more than one method to restoring headlights to like-new condition, so you need to visually assess your headlights' appearance, first with the headlights off and again with them on, because the degree and angle of illumination can affect what damage is visible.
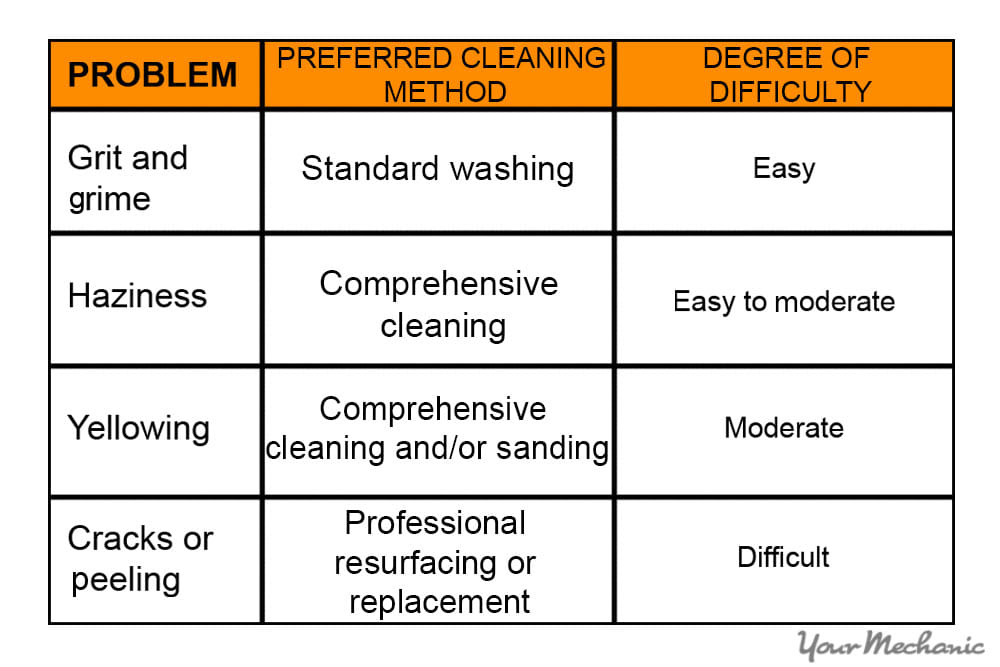
It is also advisable to do a quick cleaning with soapy water and a sponge or cloth, followed by a rinse, before inspecting your headlights to ensure you don't confuse dirt with more serious damage. Once clean, look for stubborn grit and grime, a hazy appearance, yellowing on plastic, and obvious cracks or peeling. The types of problems you note will determine how you should clean or restore them.
Part 1 of 4: Standard wash
A standard wash is just as it sounds. You can opt to wash your entire vehicle or just the headlights. This method removes surface dirt and particles that can mar the appearance of your lights and the amount of illumination they provide during night driving.
Materials Needed
- Bucket
- Mild detergent
- Soft cloth or sponge
- Warm water
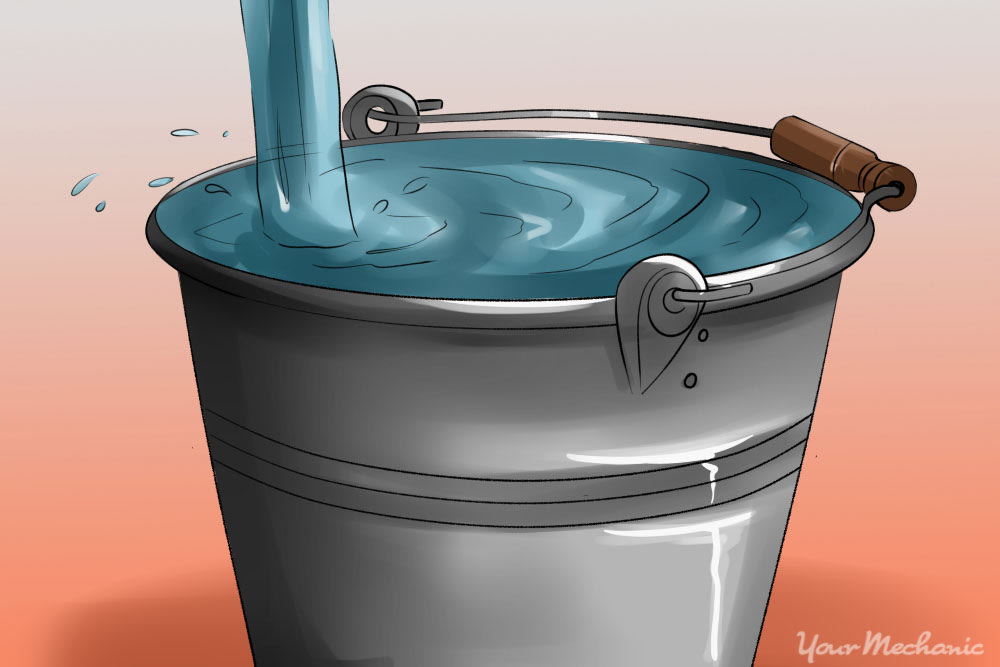
Step 1: Prepare a soapy water bucket. Prepare a soapy mix in a bucket or similar container using warm water and a mild detergent like dish soap.
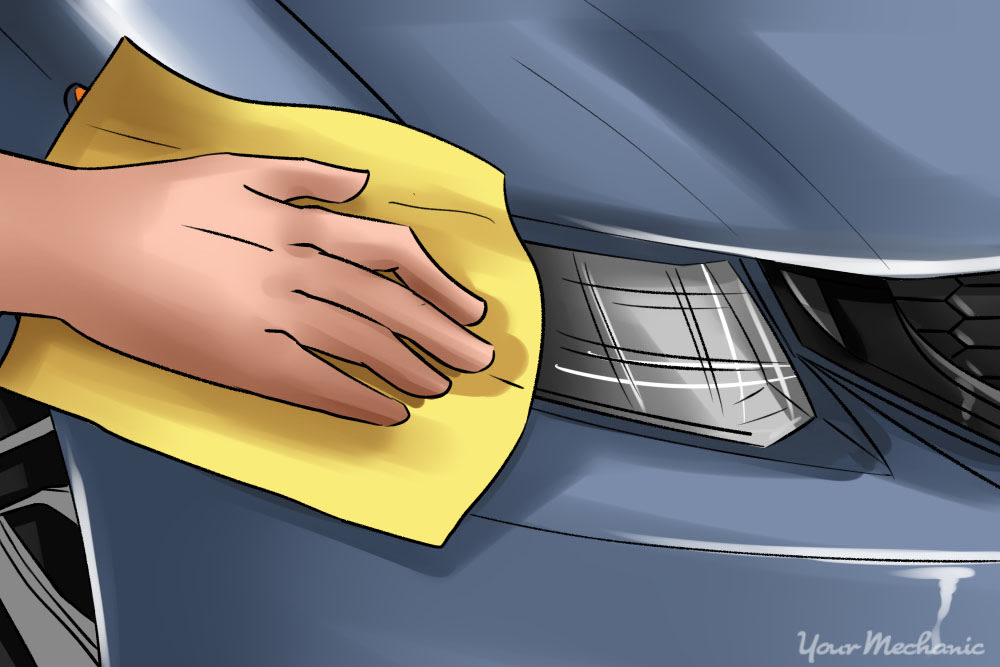
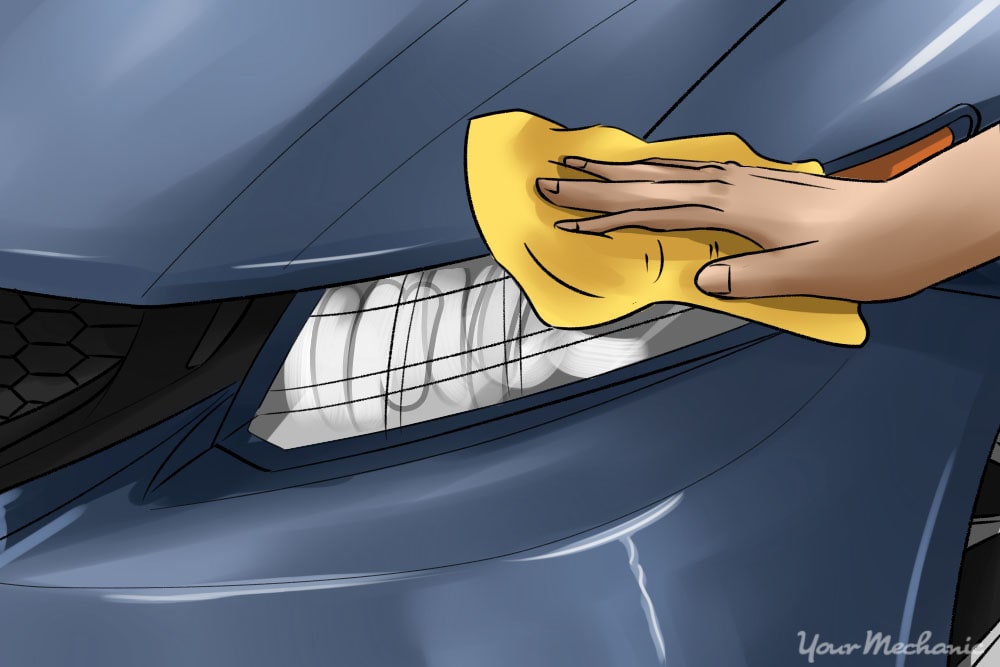
Step 2: Begin washing your headlights. Soak a soft cloth or sponge in the mix, then gently rub away grit and grime from the surface of your headlights.
Step 3: Rinse the car. Rinse with plain water and allow to air dry.
Part 2 of 4: Comprehensive cleaning
Materials Needed
- Painter's masking tape
- Polishing compound
- Soft cloths
- Water
If you observed hazing or yellowing on your headlights during your inspection, there is likely some corruption of the polycarbonate lens. This requires a more comprehensive cleaning, using a specialized cleaning product, known as a plastic polishing compound, to repair.
Polishing compounds are generally inexpensive and are virtually the same across brands. They all contain a fine abrasive that sloughs away imperfections on plastic surfaces without leaving scratches behind, much like a very fine sandpaper. In the case of yellowing, the further action of sanding your headlights' surface may be necessary if a more detailed cleaning does not fix the issue.
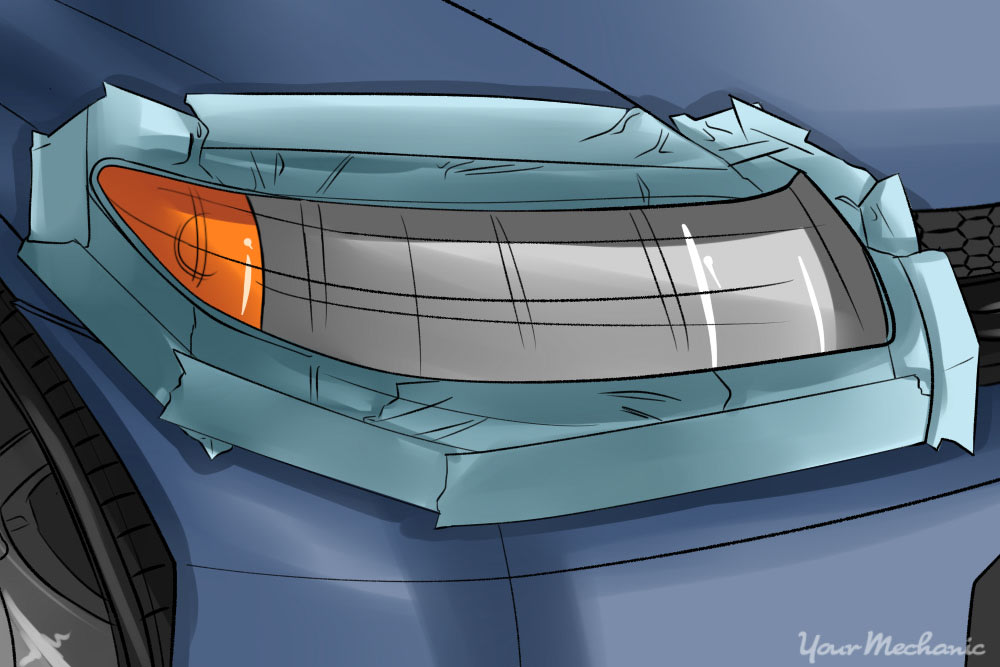
Step 1: Block off the surrounding area with tape. Tape off the areas surrounding your headlights because the polishing compound can damage paint and other surfaces (such as chrome).
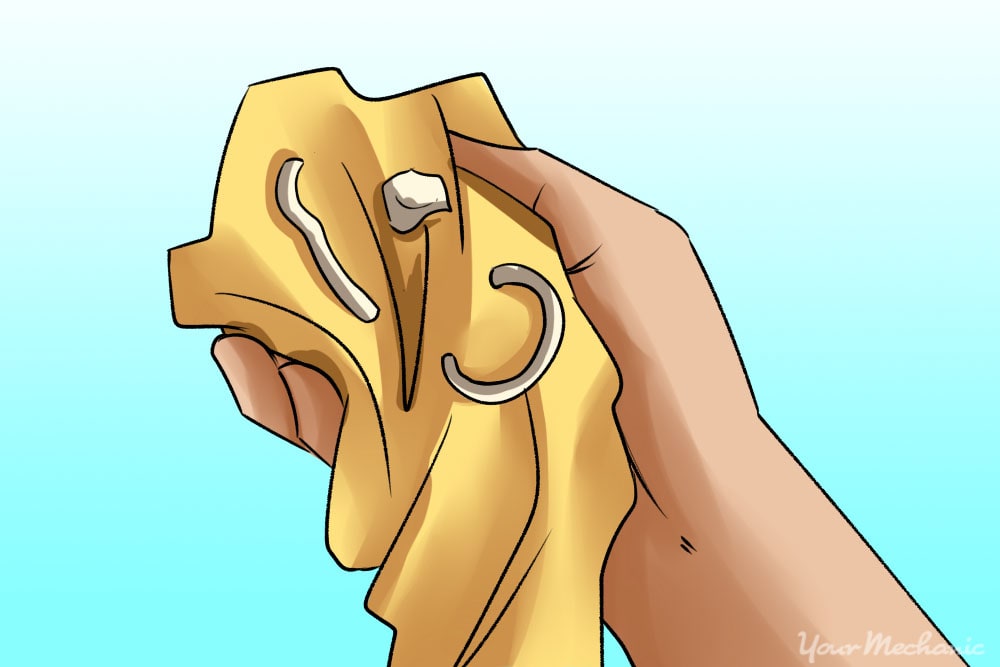
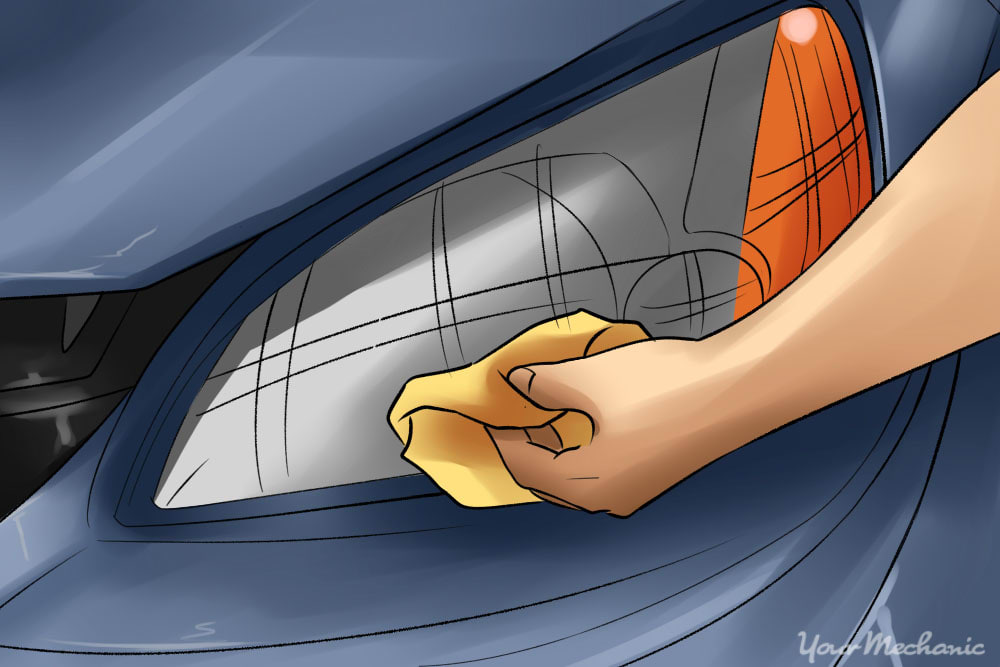
Step 2: Polish your headlights. Put a dab of polishing compound on your cloth, then firmly rub the cloth in small circles on your headlights. Take your time and add compound as needed - this will likely take 10 minutes per headlight.
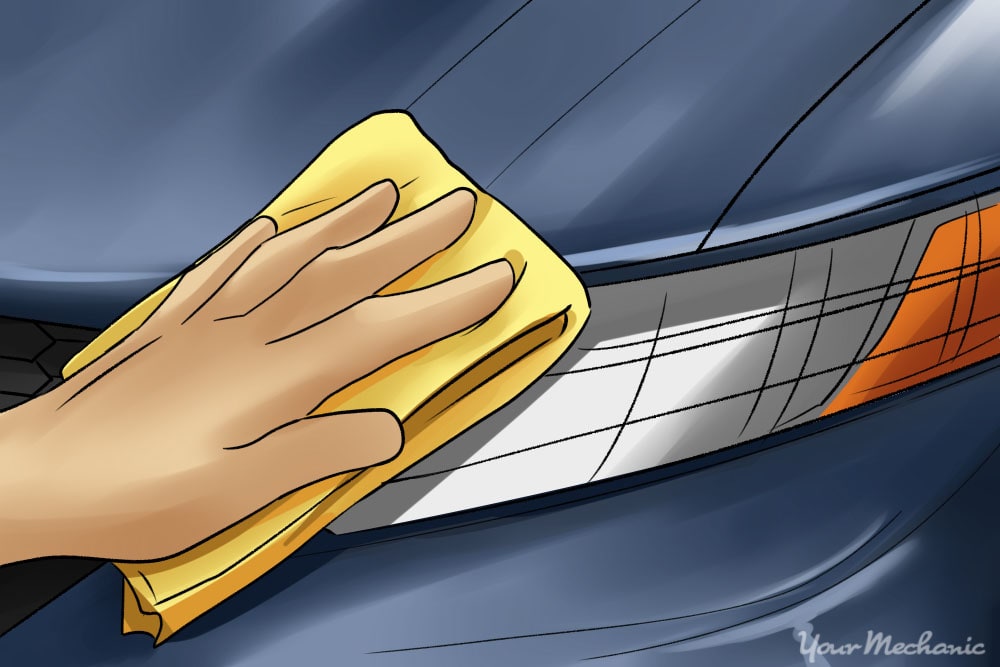
Step 3: Wipe and rinse excess compound. Once you have thoroughly polished your headlights, wipe any excess compound off with a clean cloth, then rinse with water. If this has not corrected the problem for yellowed lights, sanding will be necessary.
Part 3 of 4: Sanding
For moderate damage to the polycarbonate lens of plastic headlights, which results in a yellow tinge, sanding out the abrasions that cause this appearance will be necessary to achieve a like-new look. While this is something possible to do at home with kits containing the necessary materials available at most auto parts stores, you may want to ask a professional to help with this more difficult and time-consuming procedure.
Materials Needed
- Painter's masking tape
- Paste car wax (optional)
- Polishing compound
- Sandpaper (1000-, 1500-, 2000-, 2500-, up to 3000-grit)
- Soft cloths
- Water (cool)
Step 1: Protect surrounding surfaces with tape. As with a comprehensive cleaning, you will want to protect the other surfaces on your vehicle with painter's masking tape.
Step 2: Polish your headlights. Use the polishing compound on a soft cloth in a circular motion on your headlights, as described above.

Step 3: Start sanding the headlights. Beginning with your roughest grade of sandpaper (1000-grit), soak it in cool water for approximately ten minutes.
Firmly rub it in a straight, back-and-forth motion across the entire surface of each headlight.
Tip: Be sure to keep the surfaces wet throughout the procedure by periodically dipping the sandpaper in your water.
Step 4: Continue to sand from roughest to smoothest grit. Repeat this process using each sandpaper grade from roughest to smoothest until you have finished with the 3000-grit paper.
Step 5: Rinse off the headlights and let dry. Rinse all of the polishing compound off of your headlights with plain water and allow to air dry or gently dry with a clean, soft cloth.
Step 6: Apply car wax. To protect your headlights against further damage from the elements, you can then apply a standard car wax to their surfaces with a clean cloth, using circular movements.
- Afterwards, wipe your lights with another clean cloth.
Part 4 of 4: Professional resurfacing or replacement
If your headlights have cracks or peeling, it is possible to reduce the damage using the sanding method described above. This will not, however, completely restore them to pristine condition. Cracks and peels indicate serious damage to the polycarbonate lens of your headlights, and this will require professional resurfacing (at the bare minimum) to achieve a like-new look. For more extreme damage, replacement may be your only option.
The cost of resurfacing headlights can vary greatly, depending on the make and model of your vehicle. If there is any doubt as to whether the condition of your lights merits professional resurfacing or replacement, contact one of our certified mechanics for advice.