As soon as your car leaves the showroom floor, its exterior finish is exposed to a vast array of harmful substances and circumstances. Acid rain, bird droppings, dust and sand, and even sunlight can cause your paint job to wear and appear faded and dull. It can make a new car look old and weary within just a few short years.
Waxing your car is a regular maintenance step that doesn’t just keep it looking pretty -- it is a necessary procedure that extends the life of your vehicle. Waxing prevents paint peeling and corrosion on your car’s exterior that can cause it to be taken off the road years earlier than it would with proper care. It enhances the appearance of your car, which makes you feel proud as a car owner. It also looks better to anyone who is interested in your vehicle when it comes time to sell it, thus giving your car a higher resale value.
The process of waxing your car is much like the process of applying sunscreen to your skin. It protects the exterior from the harmful elements that can cause paint to fade or discolor. It also forms a protective barrier - a first line of defense - against corrosive bird droppings and road salt, allowing you time to clean it off your paint before it causes lasting damage. It is also quite effective as a rust prevention method, since water beads off the surface instead of sitting on the body panels.
Part 1 of 4: Choosing a wax
Materials Needed
- Bucket
- Car wash soap or mild dish detergent
- Clean cloths
- Microfiber cloth or chamois
- Power polisher - optional
- Road tar and grime remover
- Sponge
- Warm water
- Wax
There are several kinds of car wax on the market. The main difference is whether the product is synthetic or natural. Natural car waxes usually contain carnauba wax while synthetic car waxes can contain any number of ingredients or chemicals including polymers.
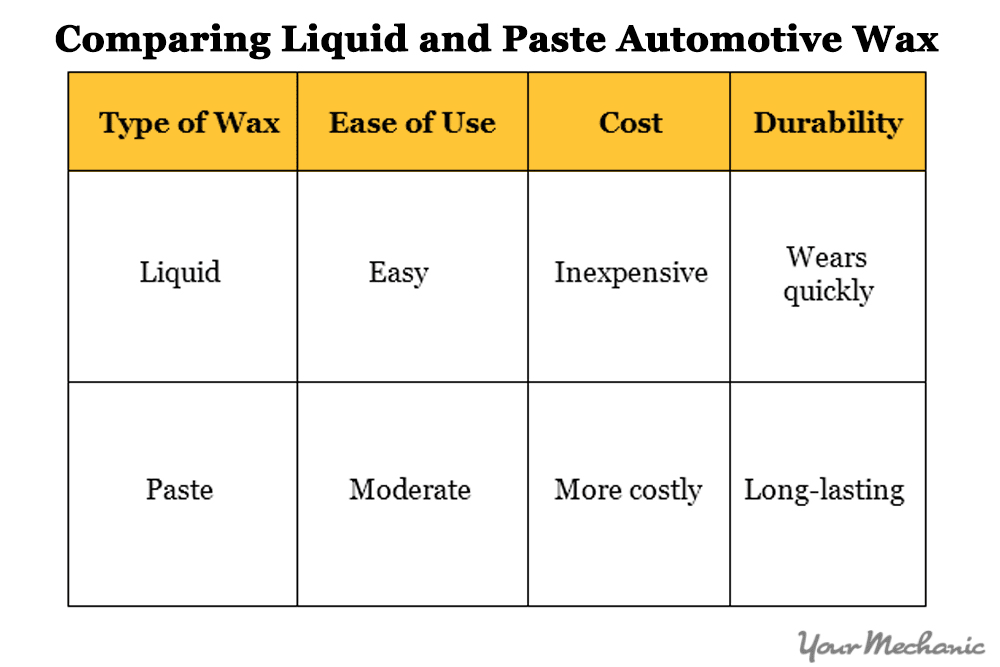
There are paste varieties and liquid varieties available for each. Paste waxes are more labor-intensive to apply yet tend to last longer. Liquid waxes are easy to apply to your paint but tend to wear off sooner than the pastes.
Step 2: Selecting a cloth. Another important consideration is the type of cloth to use to wipe your car down after the wax has dried fully.
- Tip: While any clean cloth will do the trick, microfiber cloths produce the best results. Microfiber is extremely gentle on your car’s painted finish, yet is quite capable of removing wax residue fully. They are washable and reusable, and are an excellent investment for many car-cleaning uses.
Part 2 of 4: Prepare the finish
Before applying wax to your car’s paint, it is extremely important that the paint surface is completely cleaned. Taking your car through an automated car wash will assist in removing most of the dirt and grime on the exterior, but a thorough hand wash is best before waxing your car.
Step 1: Wash your car. Completely wet your car’s exterior with clean warm water.
Using a bucket of warm water, the car wash, or dish soap, plus a clean cloth or sponge, gently wash the exterior to remove all dirt and dust.
Rinse the exterior of your vehicle until all the soap is removed. Dry your car with a clean microfiber cloth or chamois.
Step 2: Inspect the painted surface for any stuck-on spots. Check carefully for tree sap, road tar, or bird droppings.
Use your road tar and grime remover to spot-clean the area.
Soak a corner of a clean cloth with the cleaner and wipe the affected area in small circles with the tip of a finger. If there are lots of spots that require the use of road tar remover, it may be necessary to re-wash your car afterwards.
Step 3: Polish fine scratches you want removed.
If there are any small scratches in the paint that you would like to remove, now is the time. If you wax your car before polishing scratches you intend to remove, you will need to re-wax the spot you polish afterwards to protect it. To make the finish appear the same over the whole car, you will likely need to polish the whole car again.
If you polish any spots, wash your car once again before waxing it.
Part 3 of 4: Apply the wax

Step 1: Wipe the wax by hand onto your paint evenly. If you’re using a paste wax, apply some wax from the container onto a clean cloth and smooth the wax onto the paint.
If you’re using a liquid wax, you can apply the wax either to the cloth and wipe it onto the paint in the same fashion as the paste wax, or you can apply the wax directly onto the car. Use the cloth to wipe it around to achieve complete coverage.
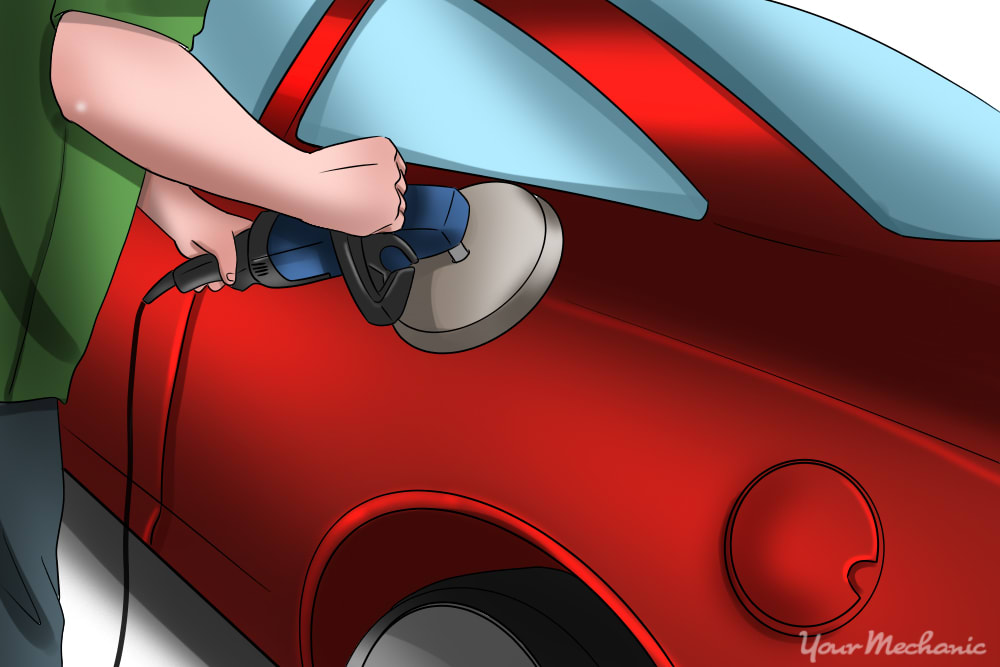
Step 2: Use a power polisher to apply the wax (optional). With liquid waxes, it is possible to use a power polisher to apply the wax. This is a professional method with a risk of permanently damaging the paint if done incorrectly, so careful operation is essential.
Using a spongy waxing pad on your power polisher, apply liquid wax to the painted panel. Turn the power polisher on slow speed and use the sponge applicator pad to spread the liquid wax over the whole panel. Hold the power polisher with two hands for steady control.
Keep the sponge pad turning as you spread the liquid wax, and hold the polisher so the flat spot on the sponge makes full contact with the painted surface.
- Note: Don’t apply pressure as you aren’t trying to “cut” into the paint or clear coat.
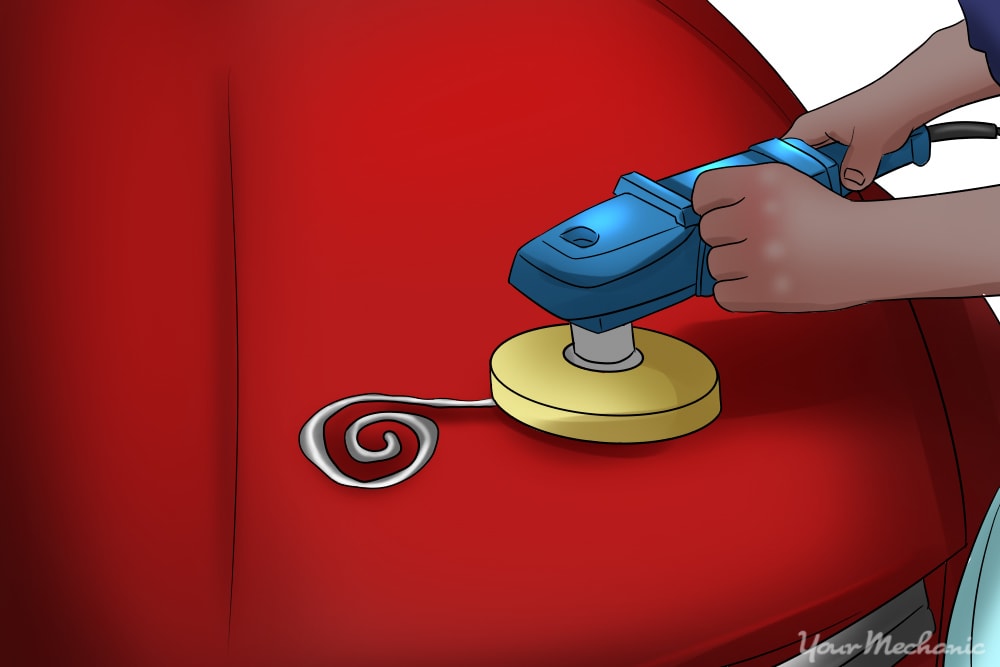
Step 3: Buff the wax. Apply wax onto your paint surface evenly in a circular motion. Once you have applied the wax to the car, use your clean cloth or power polisher to buff the wax in circular motions.Take your time to ensure complete, even coverage over the whole surface.
- Tip: Be careful not to get wax on textured plastic parts. It is difficult to remove and can cause a permanent hazy stain.
Step 4: Allow the wax to dry completely. Most paste waxes completely dry within about 30 seconds and most liquid waxes within a minute, depending how liberally the wax is applied.
Part 4 of 4: Removing the Wax Residue
When the wax dries, it leaves a hazy appearance on the paint. When touched, it crumbles or wipes off in a powdery form. If the wax is still wet or pasty to the touch, wait a little longer to remove it.
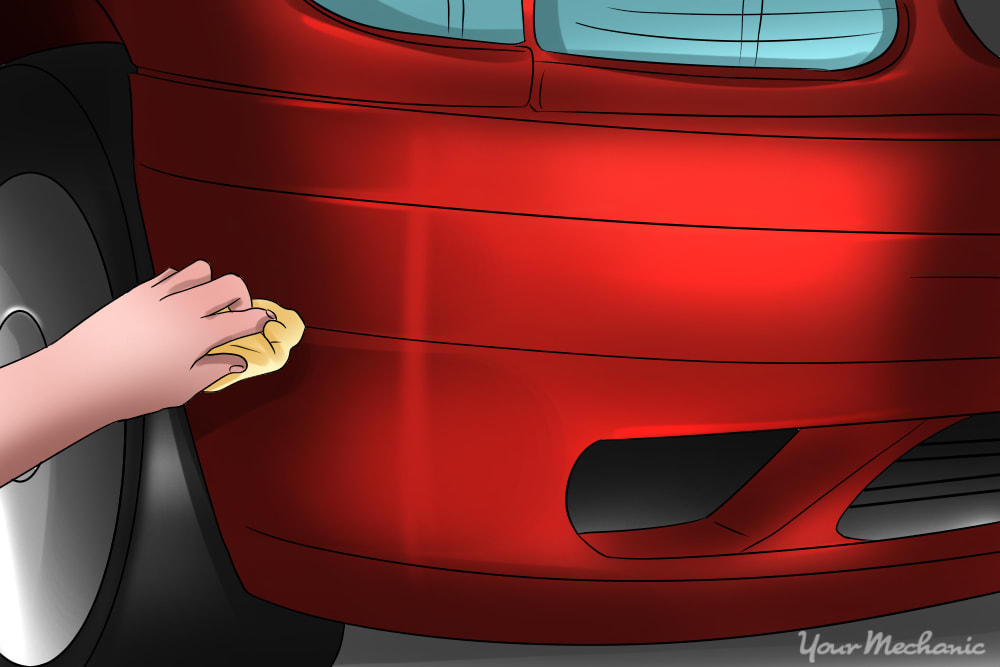
Step 1: Use a dry microfiber cloth to wipe the wax residue off the paint. Just like when you were applying the wax, use a circular motion to achieve the best streak-free results.

Step 2: Use a power polisher to remove the wax residue from the paint (optional). If you have a power tool to wax your car, you can use a clean waxing cloth on the head to remove the wax film from the paint. On slow to medium speed, move the power tool in circular motions over the painted surface until all the wax residue is removed.
- Tip: When using a power polisher to wax your car, be very careful around objects like wiper blades and arms. The polisher can catch on exposed parts and cause damage to your car and the polisher.
Step 3: Remove any wax from glass or plastic surfaces. Use clean, soapy water and a clean cloth to wipe any glass or plastic surfaces that have wax on them as soon as possible.
Step 4: Evaluate the car’s appearance. Determine if you have achieved a consistent shine over the whole vehicle, or if there are unsightly dull spots or areas you missed.
It may be necessary to apply a second coat if the paint was particularly faded or damaged. If so, follow the procedure again to coat your car with wax a second time.
If you are satisfied with its shine and appearance, your job is complete.
Wax reapplication should be done at least once per year, though the recommended interval for waxing your car is twice per year. Many products offer protection for up to a year, but it can be as little as a couple of weeks before the finish starts to wear off due to environmental effects like parking in direct sunlight, exposure to weather elements from being parked outside, and climate. If your car is exposed to these factors regularly, you may need to wax your car more often.
