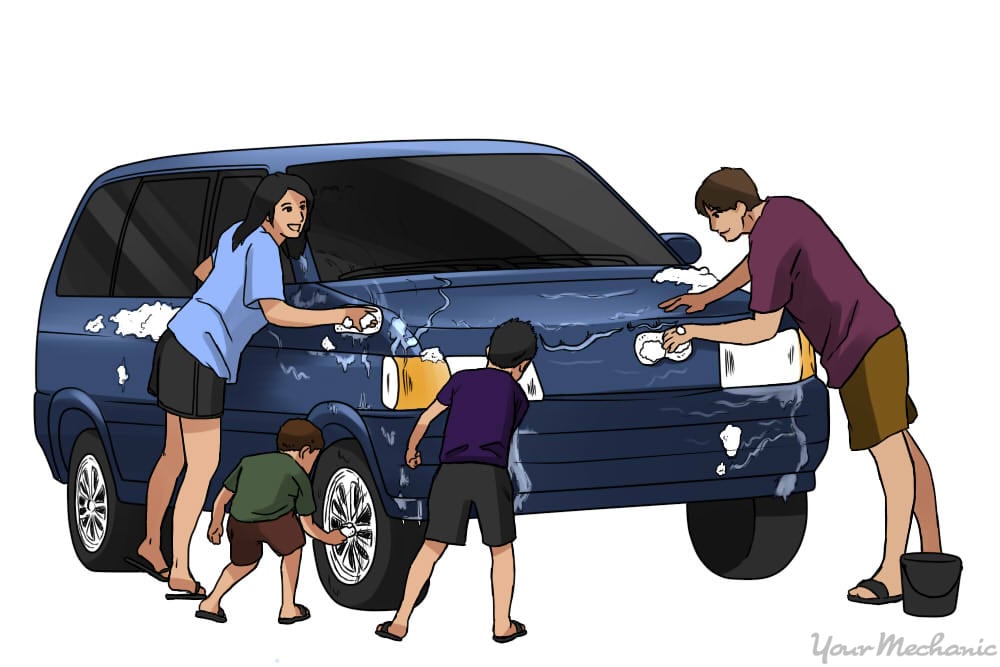
For some car owners it’s a pleasant summer ritual and a fundamental part of car ownership; for others it’s a necessary annoyance. And for a thousand high school clubs and booster squads around the country it’s an alternative to bake sales and raffles. The car wash seems to be woven into the fabric of our car culture but do you know how to do it right?
Part 1 of 3: Deciding if your car needs washing
So why do you need to wash your car at all? Some might answer “because it’s dirty” and be done with it, but there’s more than simple aesthetics at work. The fact is that keeping your car clean not only improves the look, it can make it last longer. Tar, tree sap, and bugs can stain your paint or harm the clear coat if they’re left on the car, and so can airborne chemicals that you can’t see. Acidic rain also leaves a damaging residue. Road salt, which can be present even in the summer, greatly accelerates rust and can damage paint. And caked on dirt can even reduce your fuel economy.
One variation of this question is “why wash your car yourself?” The answer to that one is personal: some car owners enjoy it, some don’t trust commercial car washes to do it right, and some simply don’t want to spend money for something they can do themselves.
But it’s worth remembering that in some places, particularly those that are experiencing droughts, it isn’t necessarily a good idea to wash your car yourself -- and it may even be illegal. Commercial car washes in such areas usually have water-recovery systems that enable them to be much more water-efficient than you can be with a hose and a bucket, so if you’re in a desert or a drought-stricken area please consider this factor. But otherwise, let’s get to washing!
Part 2 of 3: Getting ready
- Yourself: Dress appropriately, meaning in clothes that you don’t mind getting wet or dirty. Do not assume you can stay dry while washing a car.
Allow enough time, because hurrying through a car wash doesn’t work well. The amount of time varies depending on what you’re planning to do, but from setup to cleanup, a minimum of 30 minutes is about right for most people.
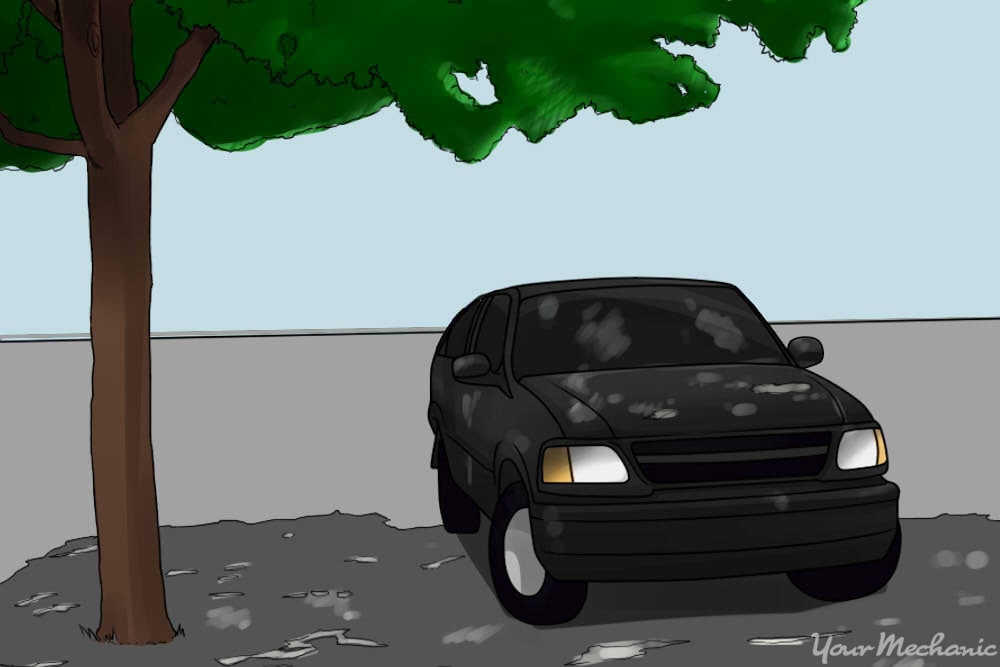
- Your car: If at all possible, try to park your car in the shade — no, a warm, sunny day is not the best time for a car wash. Make sure your windows are rolled up and your doors closed tightly (it’s remarkable how easy it is to forget this, and the consequences are, well, wet.)
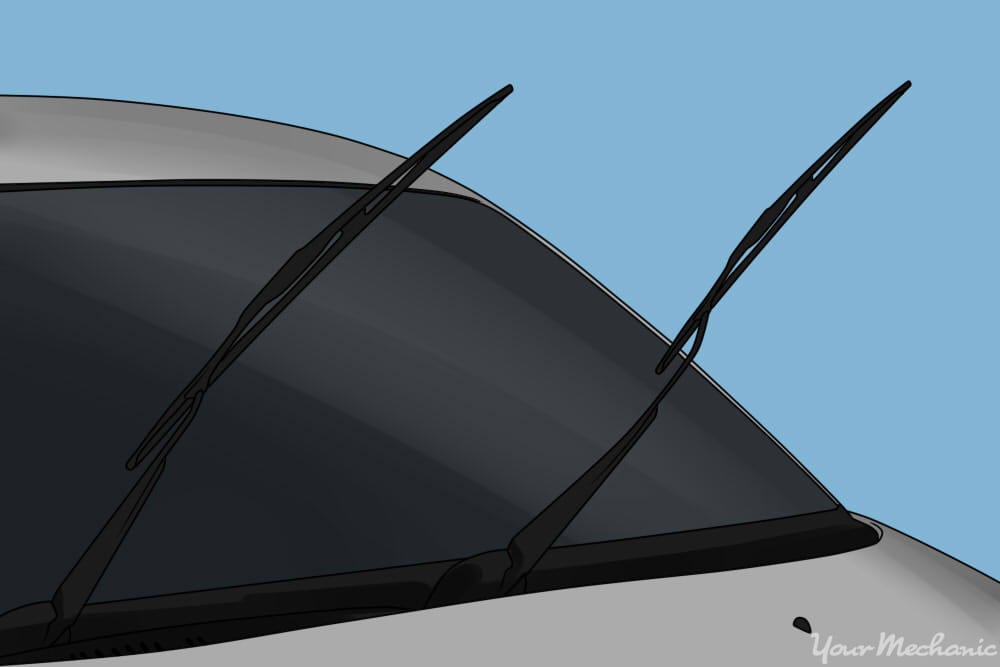
Fold the windshield wipers away the windshield so they’re sticking up in the air — there’s a point at which they’ll stay up.
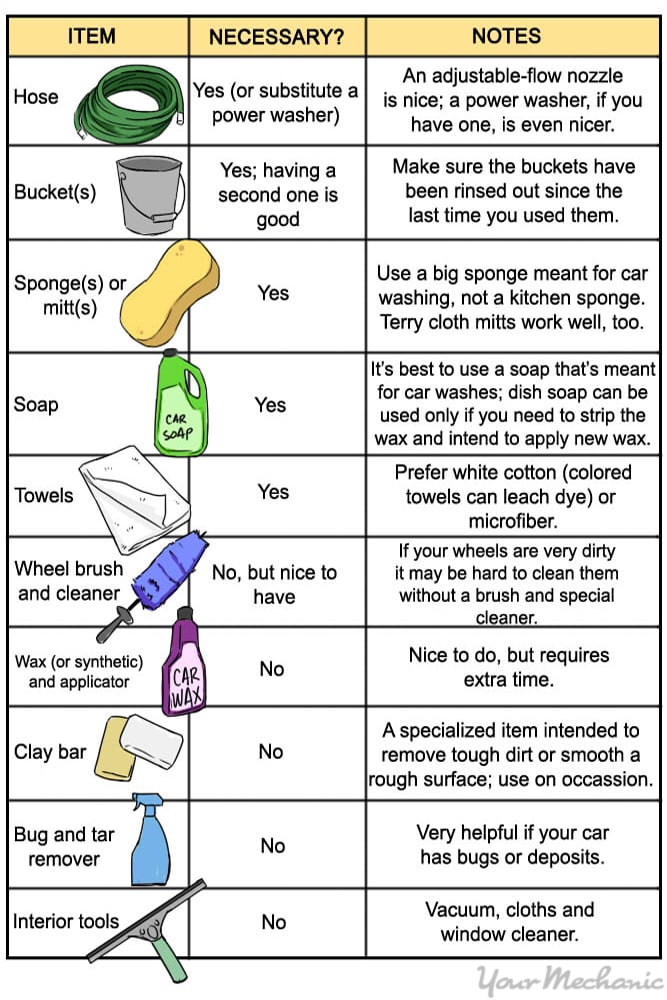
Materials Needed
- Bucket(s)
- Bug and tar remover
- Clay bar kit
- Cloths (chamois or synthetic)
- Hose
- Soap
- Sponge(s) or mitt(s)
- Towels
- Vacuum
- Wax (or synthetic) and applicator
- Wheel brush and cleaner
Window cleaner
Note: Do not use dishwashing soap as it can break down the finish of your car's paint.
If you’re going to be using a clay bar, read the manufacturer’s directions before you start, as misusing this sort of product can damage your finish. You’ll also probably want to read the directions on whatever wax you’ve gotten, if you’re doing that.
Now ready your buckets: fill one about halfway with water and soap, the other halfway with plain water.
Part 3 of 3: Washing your car
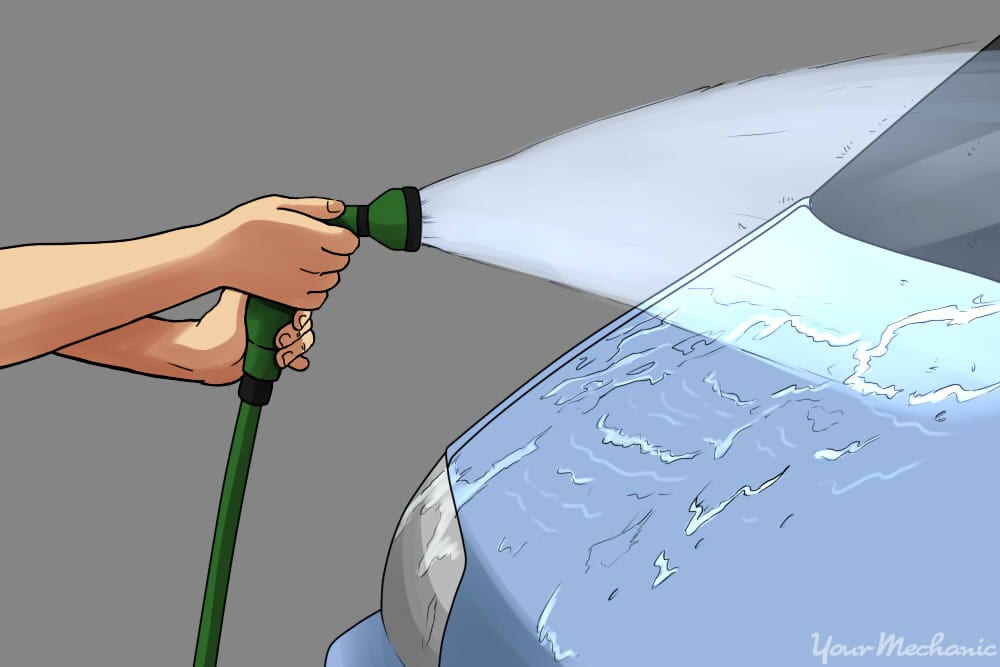
Step 1: Do an initial rinse. To start, rinse the entire car with a full stream. Do everything, paying particular attention to the wheel wells and the underside of the car, as you want to rinse off heavy accumulations of dirt and road salt. This step is one of the most important.
Step 2 (Optional): Use a clay bar. Now’s the time for the clay bar, if you’re using one. (If you’re not, don’t worry; most cars don’t need it and no car should be getting this treatment at every wash). Follow the directions carefully.
Rip off a small piece of clay and mold it into a flat shape.
Working in small sections, spray the clay bar lubricant so that every section is covered in clay lube.
Move the clay bar over your section going side to side or up and down.
Work on an area until all contamination is removed. You’ll know you’re done when the clay moves quickly across the paint.
Wipe off the excess clay lube with a clean cloth.
Repeat as necessary until the entire car is free of all contamination.
Step 3: (Optional): Attack bugs, sap, and other gunk. This step is listed as “optional” but if your car has bugs, tree sap, bird droppings, tar, or other sticky or tough to remove things on it, removing that stuff isn’t optional, it’s one of the most important part of the wash. Unfortunately it’s also a pain in the butt.
What you don’t want to do is scrub hard with an abrasive sponge or brush, as that’s a sure way to scratch your finish. Instead, soak the gunk with soapy water and let it stand for a couple minutes, then rub with moderate pressure with a soft sponge; this will suffice for many bugs and similar deposits. Be patient. Alternatively you can use a dedicated bug-and-tar remover; these really do work and are safer for your car’s finish then abrasives.
Note: If you’re using a clay bar, it will work well on gunk too.
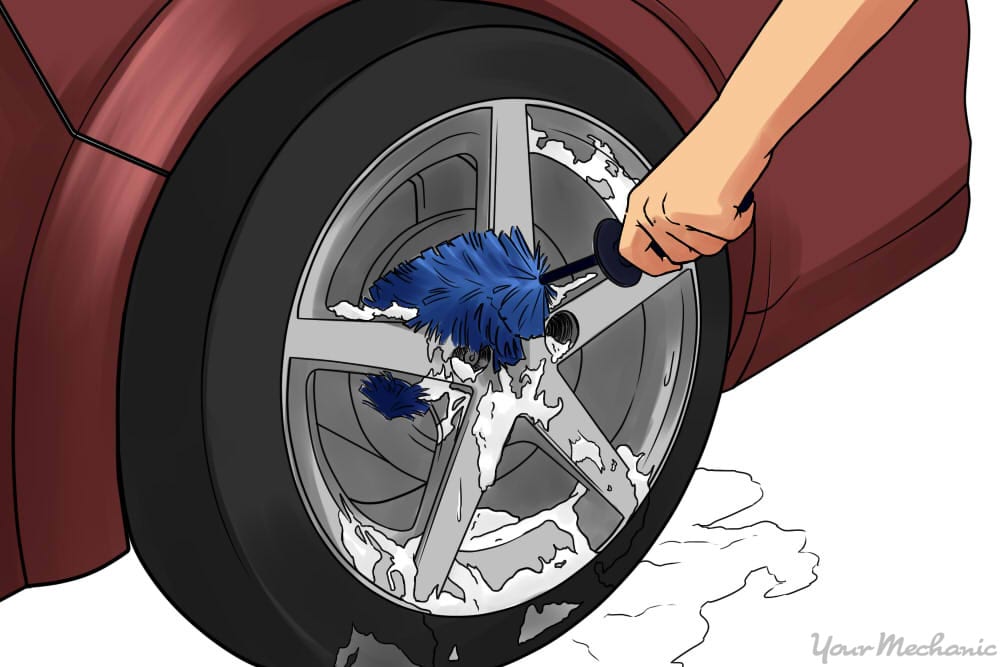
Step 4: Clean the wheels separately. Wheels can get particularly dirty, not just from road dirt but also from “brake dust,” which can be particularly hard to remove. If you have dedicated wheel cleaner now’s the time to use it; if not, at least try to attack each wheel with lots of soap and a small, stiff wheel cleaner brush to get into corners and tight areas. If you have neither of these you can include the wheels in the next step, but always be sure to rinse your sponge carefully before moving from wheels to paint.
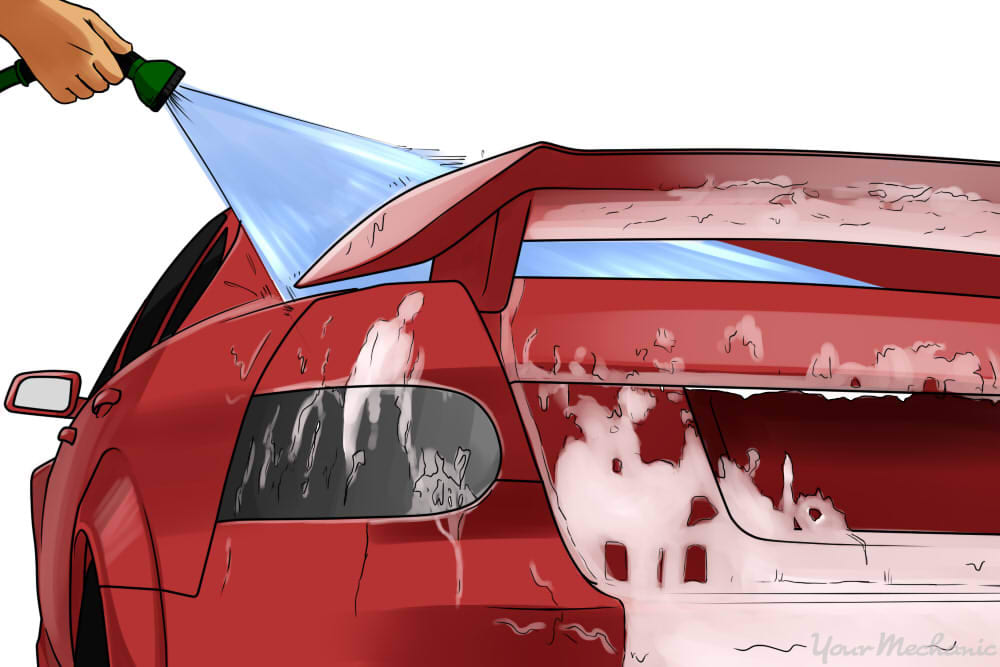
Step 5: Soap and rinse the car. Now it’s time for the overall wash. First wet down the whole car again if it’s dried (you’ll be trying to keep the entire car wet during this next step). Then pick a medium sized area such as a fender, and wash with a soapy (dripping wet is good) sponge. Use a back-and-forth motion rather than circles. Medium pressure is fine.
When the sponge gets dirty, rinse it out in the second bucket, then soap it up again in the first bucket.
After you’ve completed one area, rinse it. Use a hose, either without a nozzle or with a very wide pattern. Make very sure to rinse off all the soap. When you’re done rinsing, make sure the rest of the car is still wet and then move on to sponge off the next area.
When you’ve soaped and rinsed the entire car — painted panels, chrome, and glass — step back and make sure you didn’t miss any spots. Easy-to-forget parts include the roof, the radio antenna, and the side view mirrors.
Step 6: Dry the car. It’s possible to let your car air dry, of course, but you’ll be left with water spots. Much better is to dry it yourself. Break out your chamois (natural or synthetic) or towels (cotton or microfiber) and get to work drying the whole thing. You may have to work quickly, especially if it's a warm day, but remember that you can always wet part of it down again if you find that a panel has dried and has visible spots.
Step 7 (Optional): Wax the car. Wax (natural or synthetic polymer) isn’t strictly necessary but it does help protect your car’s finish from airborne chemicals, sap and other gunk, and even sun damage. Make sure the car is completely dry before you begin, and follow the manufacturer’s directions.
Step 8: Clean the interior. There’s no particular reason to clean your car’s interior at the same time as the exterior - except, of course, the joy of getting into a completely clean car. If you still the have energy after washing the outside, tackle the interior:
- Pick up your junk: For many people this is the step with the biggest effect. Get a wastebasket or bag and pick up any loose papers or other trash. Don’t forget the trunk.
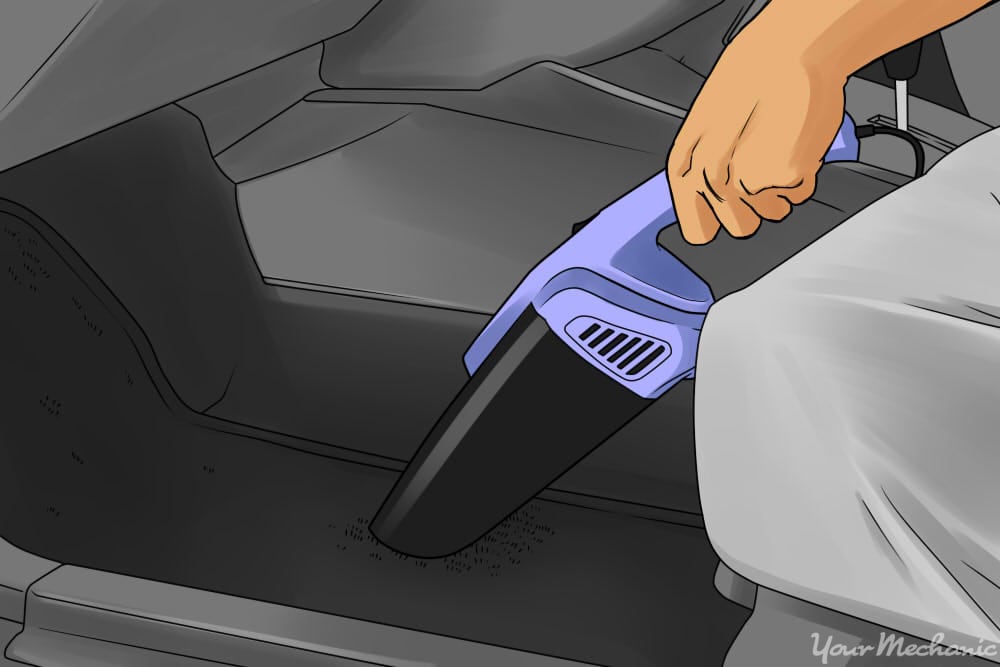
Vacuum the carpets: Ideally you will have a corded hand or shop vacuum for this step, as most cordless models simply can’t cut it for automotive carpets. Use a crevice tool to get underneath and around the seats.
Do the windows: Interior glass needs cleaning too. Use your favorite glass cleaner, whether commercial or plain old vinegar, and your choice of cloths — cotton, microfiber, or paper towel. The real key is to do all the glass, even the parts that are hard to reach; if you miss spots you’ll almost certainly notice them next time you’re driving.
Step 9: Clean up. You’re almost done! Rinse out your buckets, brushes, and sponges. Ensure that the hose is shut off, and put it away. Away, too, go all chemicals and implements. Most towels and mitts can be machine washed, preferably in a separate load from your clothes.
Now go for a drive in your clean car!
