Everyone has seen a fuel can, and most people have had the opportunity to use one. Every fuel-powered vehicle needs to be re-fueled at some point, and it can be difficult or impossible to bring every implement to the fuel station to top it up when it’s required.
You may need to get a fuel container, also known as a jerry can, filled at a fuel station because:
- The vehicle you are fuelling is for off-road use only
- Your car ran out of gas
- You need to refuel a chainsaw, lawnmower, or tractor at home
- You need to fill a fuel tank for an immovable implement like a generator
Whatever the reason, and whatever type of fuel you need - gasoline, diesel, or kerosene - the process to fill up and transport a jerry can is the same.
Part 1 of 2: Transporting a fuel can safely
Warning: Transporting a fuel can safely is crucial. Great care should be taken whether your fuel container is full or just has fumes in it because:
Gasoline is highly flammable
Diesel fuel and kerosene are highly combustible
Fuel spills in your vehicle are extremely difficult to get rid of
Fuel fumes can cause dizziness, vomiting, and a combustible environment that can cause injury or death
Step 1: Always fully secure the cap on the fuel can. Also secure the vent if the can is equipped with one.
If you transport a fuel container with one or both of the caps open, you run a risk of spillage and fumes entering your passenger compartment.
Step 2: Place the fuel can in the trunk of your car or in the bed of your truck. Avoid placing a fuel container in the passenger compartment of your car or truck, even if it is empty.
The gasoline vapors can expand in the fuel can and push into the passenger compartment.
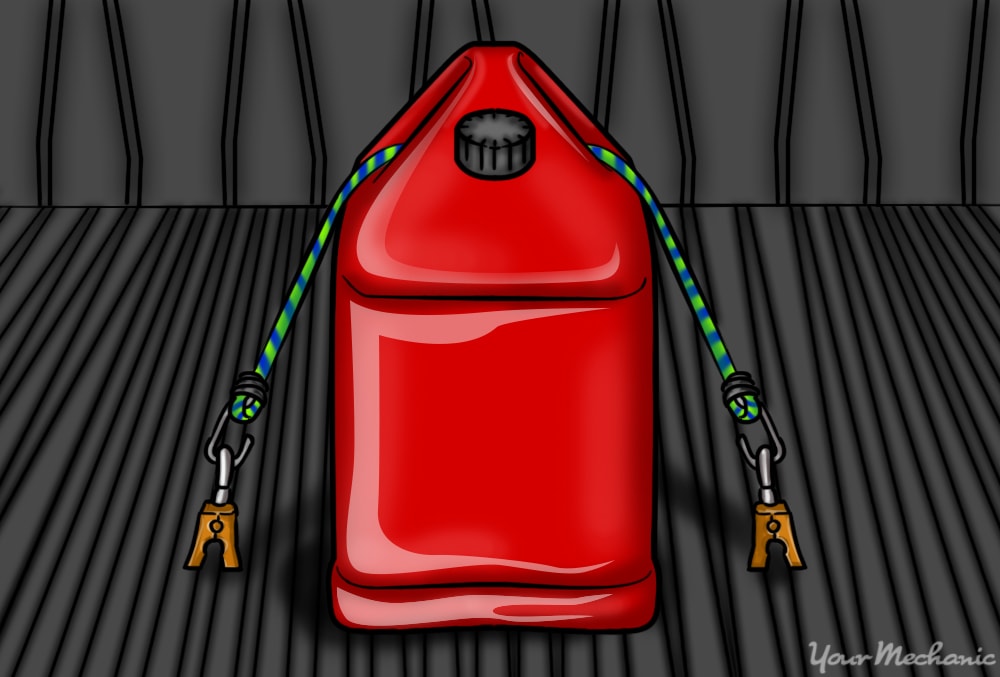
Step 3: Secure the fuel can upright. A fuel container should never be allowed to move around in your vehicle or tip on its side.
Use a bungee cord or net to make sure the fuel can stays upright. Secure the fuel can to the side of your trunk or truck box.
Step 4: Minimize the amount of time the fuel is in your vehicle. Fuel can be hazardous to your health and is an unnecessary risk to keep in your vehicle. Remove it as soon as you are able.
Part 2 of 2: Fill your jerry can safely
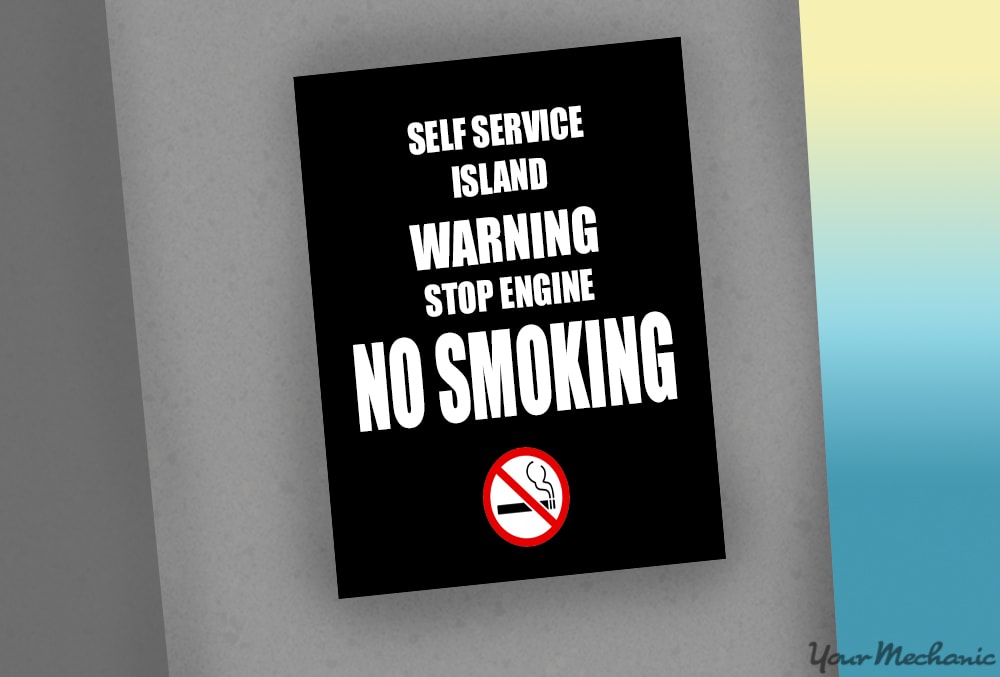
- Warning: Keep any heat sources such as open flame, lit cigarettes, or matches away from fuel containers of any kind. The fumes can ignite and cause injury or even death.
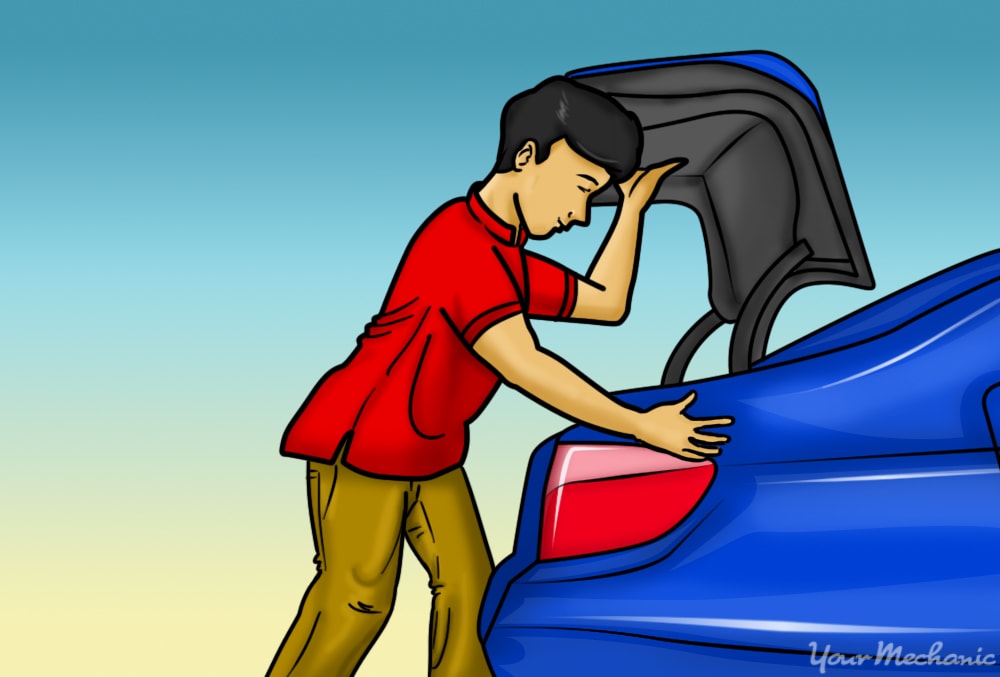
Step 1: Ground yourself. Before you touch the fuel container in your trunk or in the box of your truck, touch a metal part of your car.
This will discharge any static electricity you may have accumulated.
Step 2: Take the fuel container out of your trunk or truck bed. The fuel container must be on the ground to fill it up.
- Warning: If the fuel is in your trunk and it ignites accidentally, your car will be engulfed in flames. There is a chance for static electricity to discharge if you are fueling up a gas can in the back of your vehicle.
Step 3: Select your grade of fuel. Always match the type of fuel to the correct container color.
Red fuel cans are for use with gasoline only.
Yellow fuel cans are for use with only diesel fuel.
Blue containers are only for kerosene.
Tip: Do not mix or re-label containers. If you need a container for diesel or kerosene and you only have a red fuel can, buy the appropriate-colored fuel container for your application. You may know what is in the fuel can, but others may not.
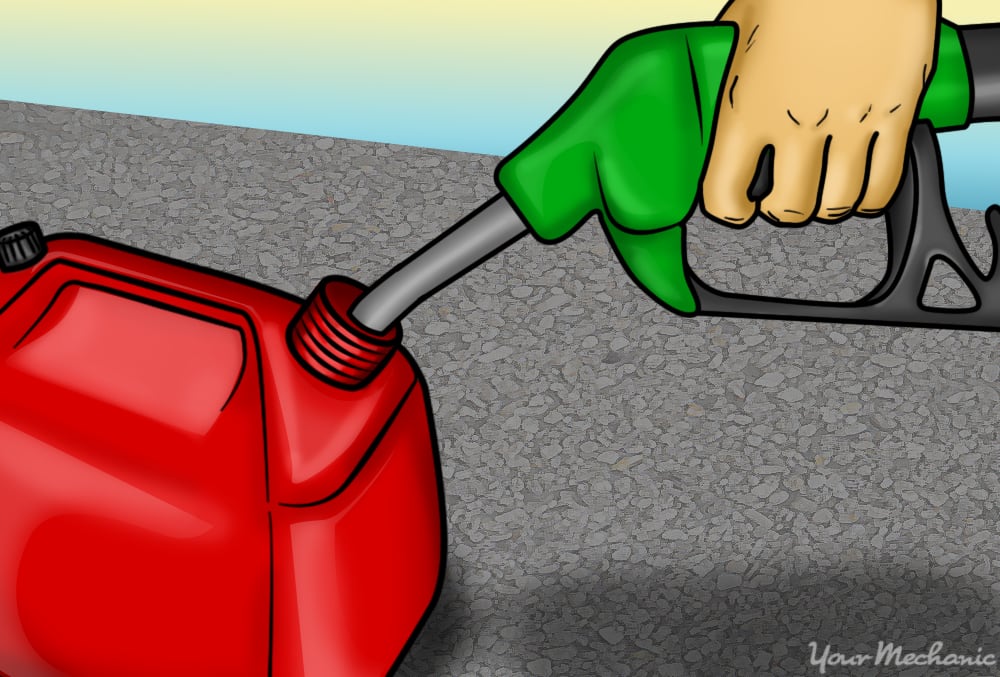
Step 4: Touch the fuel nozzle to the side of the fuel container. If static electricity does discharge and ignite the fuel vapors, it’s better if it is outside of the fuel canister than inside where it can explode.
Step 5: Put the nozzle into the fuel can and fill the container. Fill the fuel container only to the “full” line. If there isn’t a “full” line, fill it no more than 95% full.
This leaves an airspace for expansion and contraction, ensuring fuel doesn’t spill while you are transporting it.
Use a low to medium fill rate from the nozzle so you can control the nozzle easier. Don’t use the trigger lock on the fuel nozzle or you can easily overflow the container.
- Warning: Avoid inhaling the fuel vapors; they can make you dizzy or sick.
Step 6: Tighten the fuel cap tightly on the fuel container. If the fuel can has a vent cap also, tighten it completely.
Step 7: Put the fuel can in the trunk of your car or in the bed of your truck. Secure it to the side using a bungee cord, rope, or net to make sure it doesn’t tip over or slide around.
Make sure to remove the fuel can from your vehicle as soon as you possibly can. Knowing how to properly fill a fuel can will make it much easier for you to refuel your off-road vehicles or outdoor lawn implements. Following the steps listed above will ensure that you fill your fuel can in a safe manner.
