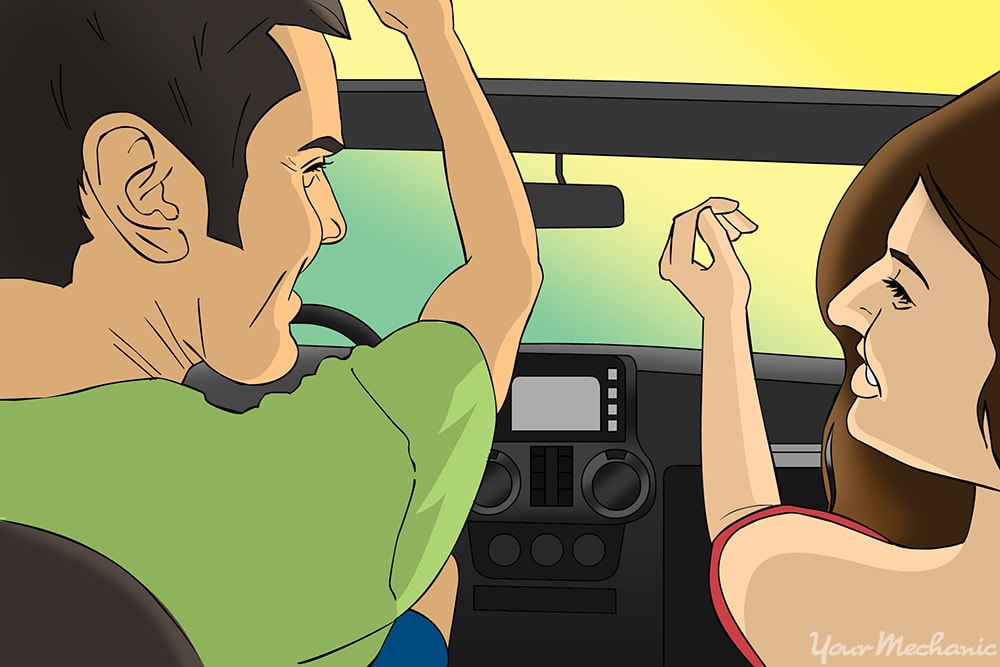

It’s true: summertime is fast approaching and gas prices are at a low that parts of the country haven’t seen for a decade. The season for road tripping with friends and loved ones is ripe.
Whether you want to take a short trip of a couple hundred miles, or you want to drive all the way across the country and back again, you will need to make sure your vehicle is in prime condition so you can arrive and return safely, with minimal hassles and/or road problems. You also need to be prepared for the trip just in case anything does go wrong on your journey. For this, always allow room in your budget for certain repairs - no matter how new or reliable your vehicle is.
Read the information below to learn how to perform routine inspections on your car to make sure you’re ready for a safe adventure.
Part 1 of 1: Perform many important routine inspections on your car before you leave
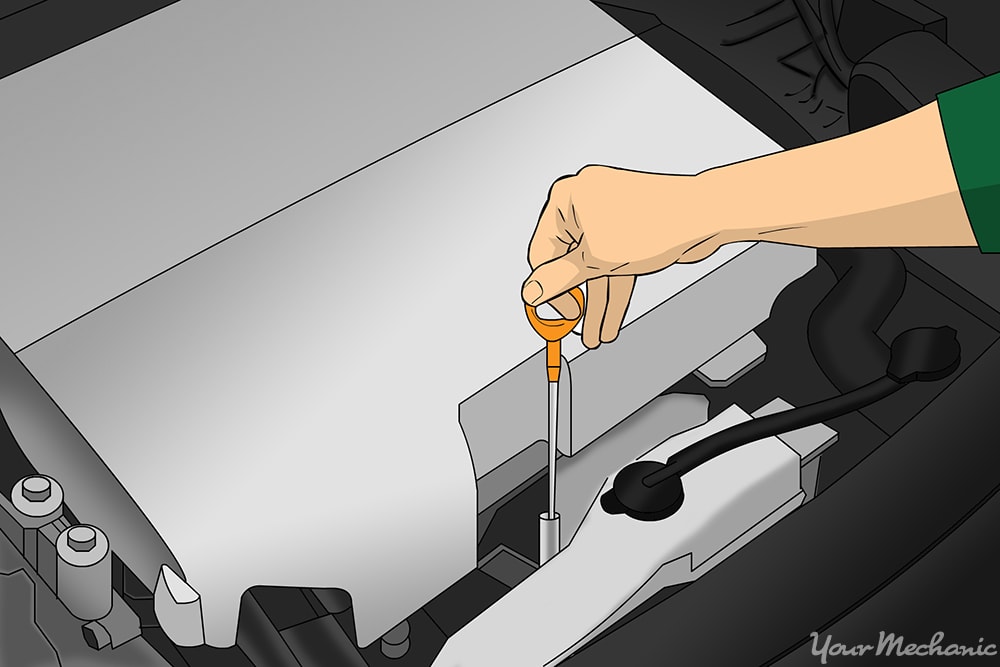
Step 1: Check engine fluids and filters. One of the first things you should do is check the engine fluids. Check the:
- Radiator fluid
- Brake fluid
- Engine oil
- Transmission fluid
- Wiper fluid
- Clutch fluid (for manual vehicles only)
- Power steering fluid
Make sure all the fluids are clean, and that they are full. If they are not clean, they need to be changed along with their respective filters. If they are clean but not full, top them off. If you need help knowing where the fluid reservoirs are located, check your vehicle manual.
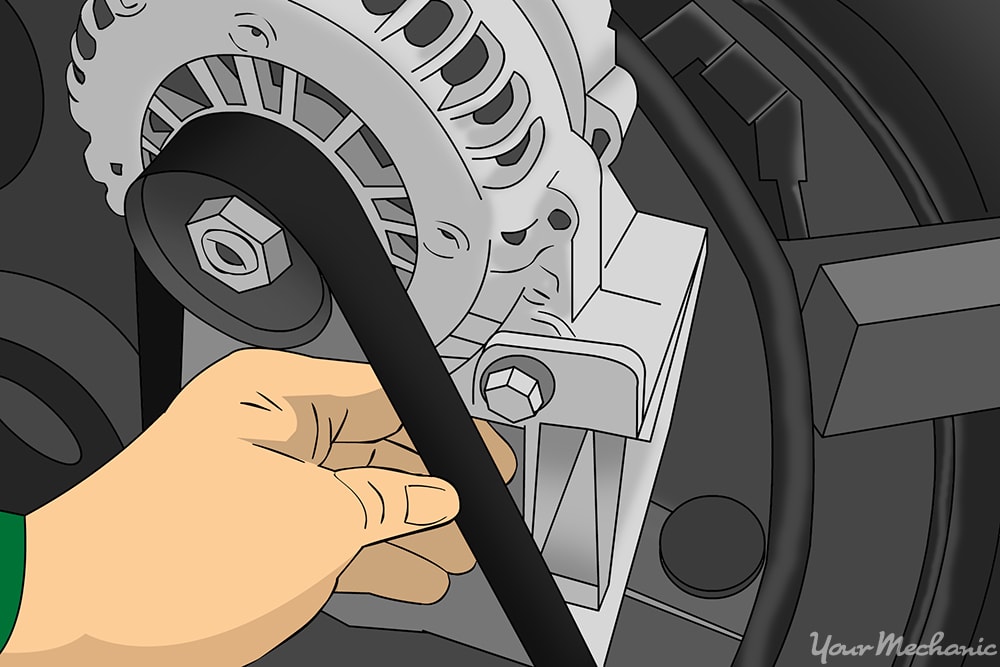
Step 2: Check the belts and hoses. While you’re under the hood, check the condition of any of the belts and hoses you can see, and inspect them for wear and leaks.
If you notice anything that seems worn out or is deteriorating, get the opinion of a professional mechanic and have any belts or hoses replaced before you set off on your trip.
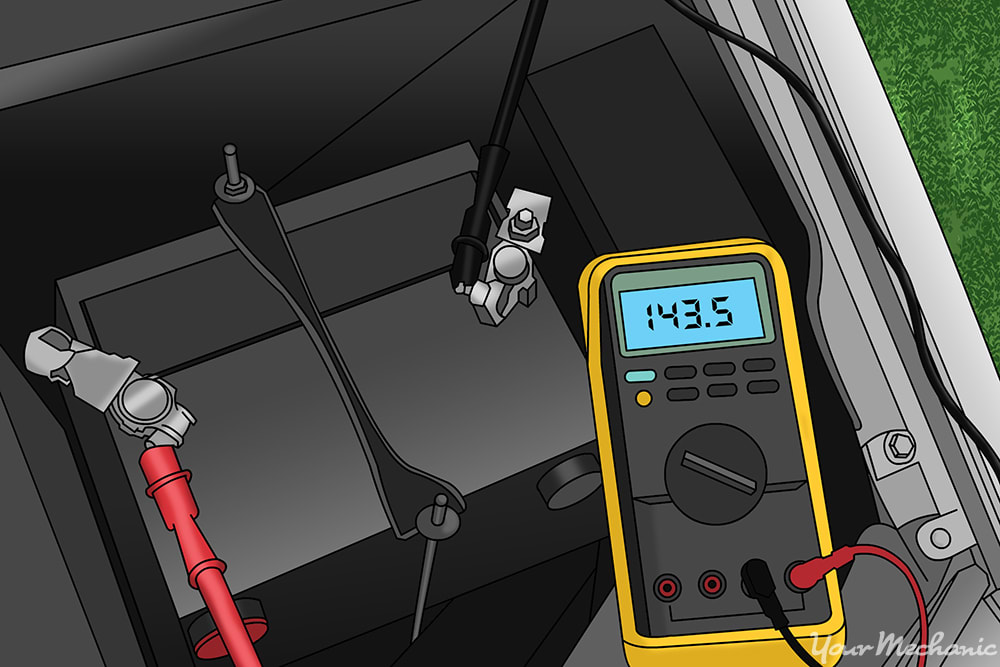
Step 3: Check the battery and terminals. Have the battery checked with a voltmeter if you don’t know how old it is, or if you think it’s becoming weak.
Depending on how long your road trip is going to be, you might want to have the battery replaced if the charge is dropping below 12 volts.
Check the battery terminals for corrosion and clean them off with a simple solution of baking powder and water until they are completely clean. If the terminals are damaged and deteriorating, or if there are exposed wires, have them replaced immediately.
Step 4: Check the tires and the tire pressure. Make sure you check the condition of your tires before you set off.
If you have tears or bulges in the side walls, you will want to get new ones. Also, if the tire tread is worn down you will also need to get them replaced.
This depends on how long of a trip you’re preparing for - and if your trip is long, you will want to have at least 1/12” of tread.
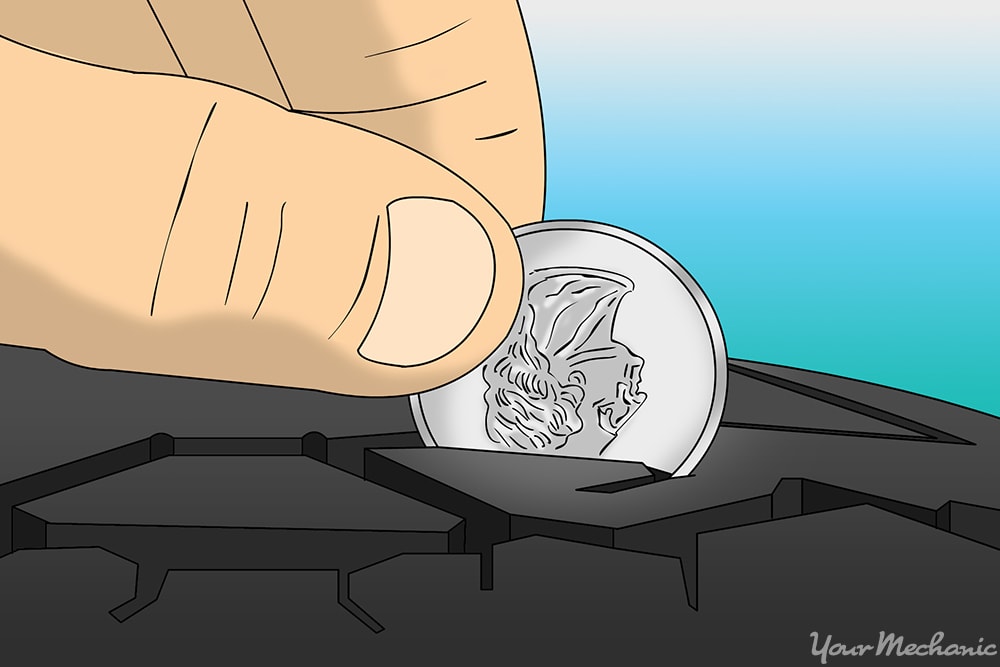
Check the tire tread depth by using a quarter:
- Stick George Washington’s head upside down between the tread.
- The tires need changing if you can see the top of his head (and even part of the text above his head).
- The least amount of tread you want to have left on your tires is about 1/16”. Any less than that, no matter how long your trip is going to be, you should change your tires.
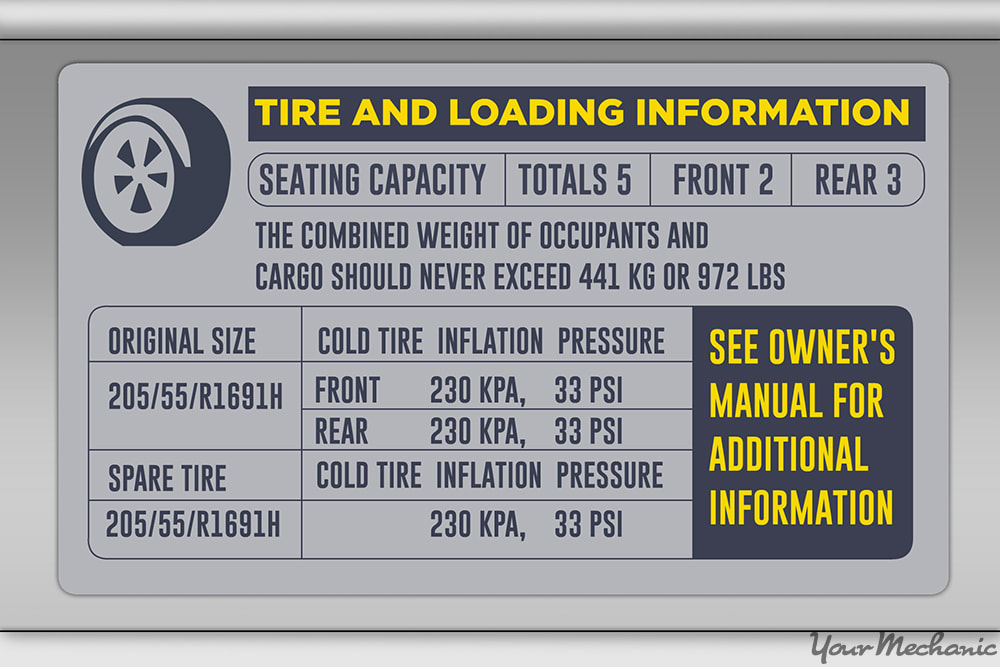
Check the tire pressure and make sure the pounds per square inch (PSI) reading matches the information posted within the driver’s side door jamb. Make sure you pay attention to the number that corresponds to the specific weather conditions as they apply to the current weather situation, and fill the tires accordingly.
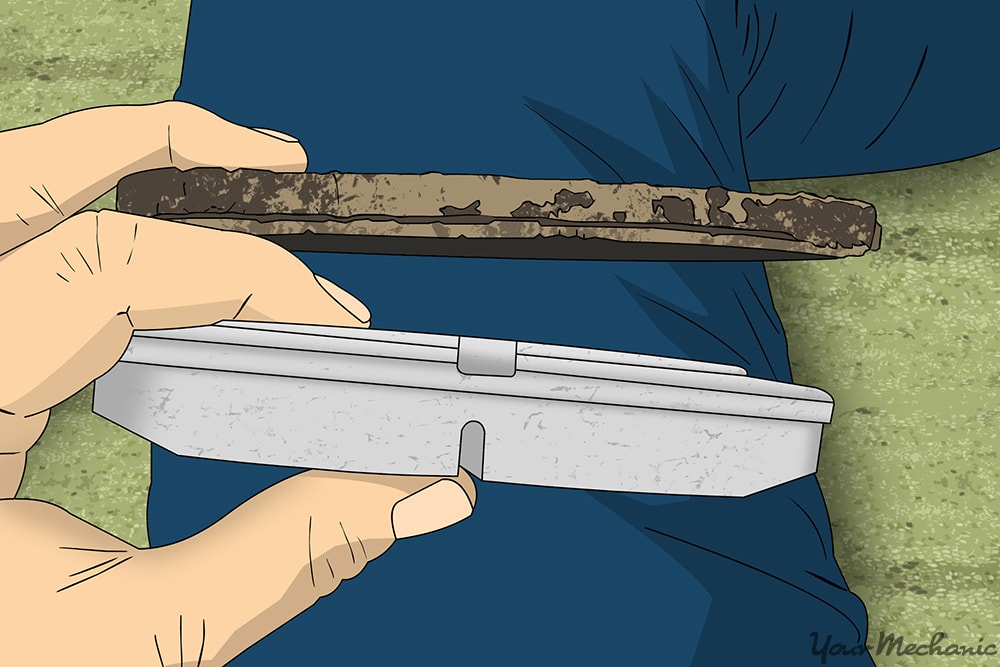
Step 5: Check the brake pads. If you’re not sure about the condition of your brake pads, or you need help determining whether or not you need to change them, contact a mechanic to have them inspected. Let them know more about your trip and how far you plan to be driving.
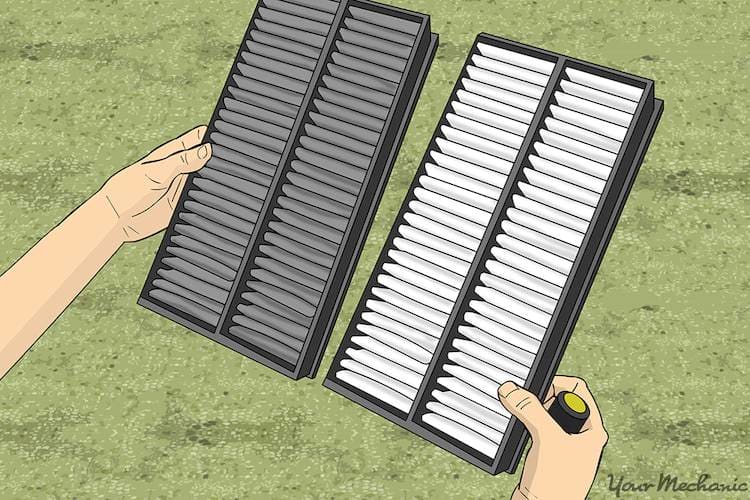
Step 6: Check the air filters. The engine air filter supplies your engine with clean air for optimum performance, and it can have an effect on fuel efficiency as well.
If the filter is torn, or looks particularly filthy, you might want to change it. Additionally, if your cabin air filters are dirty, you will want to change those as well to ensure you have quality air in the car while driving.
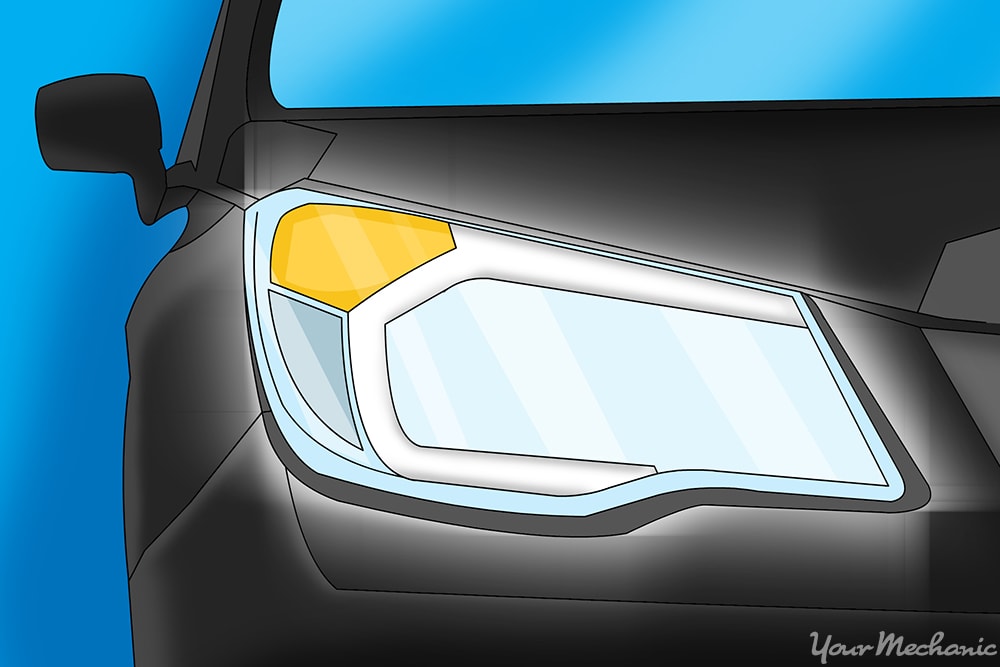
Step 7: Check all the lights and signals. Check that all your lights and signals are in good working order.
You might be stuck in high traffic situations where signaling and braking is important to warn other drivers around you of your intended movements.
For this step, it helps to have a friend around to make sure everything is working while you man the controls. If any light is out, change it immediately.
Step 8: Be sure you’re packing right: Make sure you’re not over-packing your car by checking the vehicle’s load capacity printed in the owner’s manual.
On some makes and models, the maximum load capacity number will be printed on the same plaque that holds tire pressure information, located within the driver’s side door jamb. This weight includes all passengers and luggage.
If you’re traveling with kids, make sure you have all the necessary entertainment gear to keep them occupied on the way, and that you have plenty of food and water for the journey, as well.
If you aren’t comfortable performing the above checks, have a professional mechanic from YourMechanic come out to inspect or service your vehicle before you embark on a road trip. One of our top rated mechanics will come to your home or office to service your car.


