It never fails - you’re in a rush and the kids are throwing a tantrum in the backseat. You go to start your car and all you hear is a clicking sound. Great.
You think the battery is your problem but you’re not sure. Understanding your car battery's condition helps you avoid those dreaded surprise breakdowns.
What is a Car Battery and What Does it Do?
A car battery starts your car, serving as its heart to initiate and power electrical functions.
It stores and supplies electrical energy to start the engine, power lights, operate the radio, and run other electronic accessories when the engine is not running. Essentially, it is the reservoir of power for your car. The battery releases a surge of energy to the starter motor, igniting the engine.
Once the engine is running, the alternator takes over, recharging the battery and supplying power to the vehicle's electrical systems. In essence, a car battery is a silent powerhouse that kick-starts your car and keeps all its electrical components running smoothly.
Fortunately, you can test your car battery using an inexpensive multimeter. With just a few simple steps, you can learn how to test your car battery with ease. There are many different things that can drain a car battery, so it’s important to take care of your car battery and know the symptoms for when your battery might be failing. This test will reveal your battery's state of charge.
Test the Battery
In order to safely and efficiently test your car battery, you need a couple of basic tools.
Materials Needed
- Safety glasses
- Protective gloves
- Digital multimeter
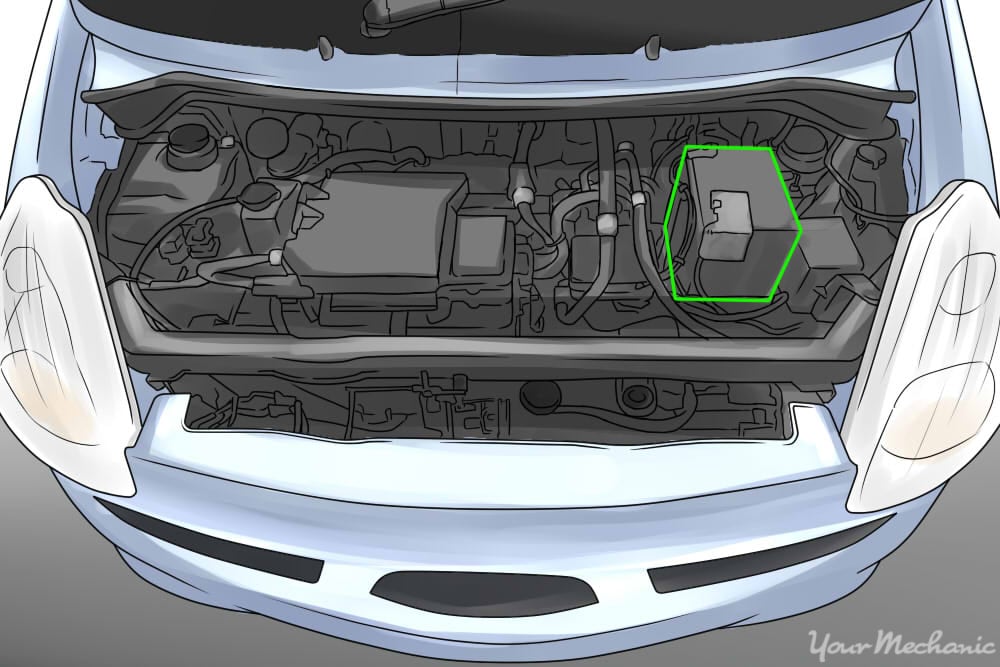
Step 1: Find the Battery
The first step is to locate the battery. Most batteries are under the hood near the fender. However, some manufacturers like to hide the battery in obscure places. They could be in the trunk, under the back seat - and some are even mounted in the wheel well!
If you can’t find your battery, consult your owner’s manual or do a quick search on your car model to reveal the location.
Step 2: Set Up Your Test Equipment
Turn the vehicle’s lights and ignition off, and have your materials ready.
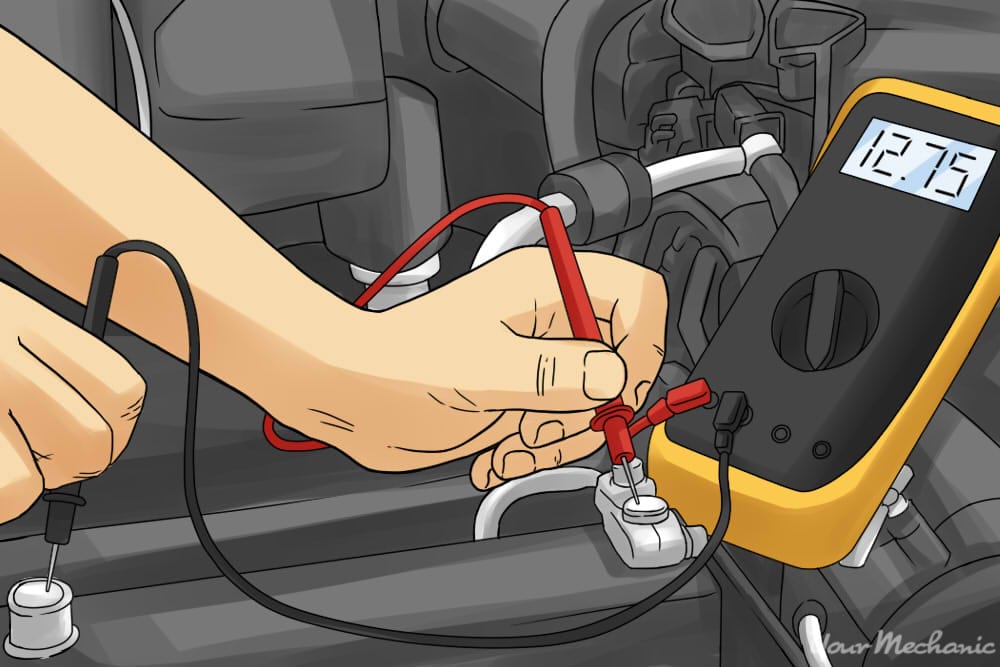
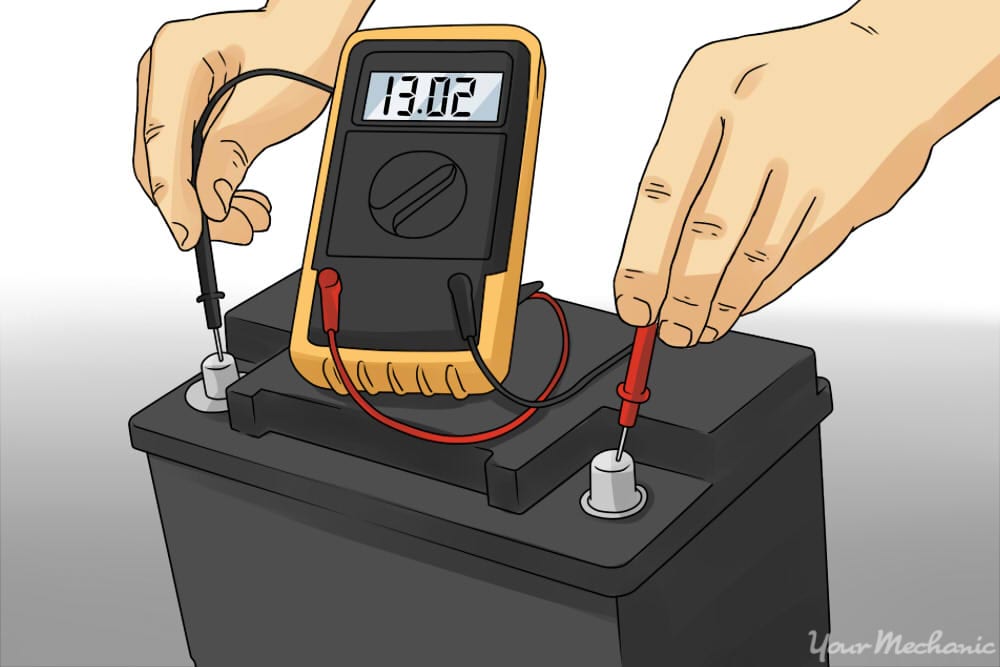
Touch the black multimeter lead to the negative battery cable and the red lead to the positive battery cable. No need to panic if you get the leads backward; you’ll just see a negative reading instead of a positive one. This is just a gentle reminder that the red goes to red and black goes to black.
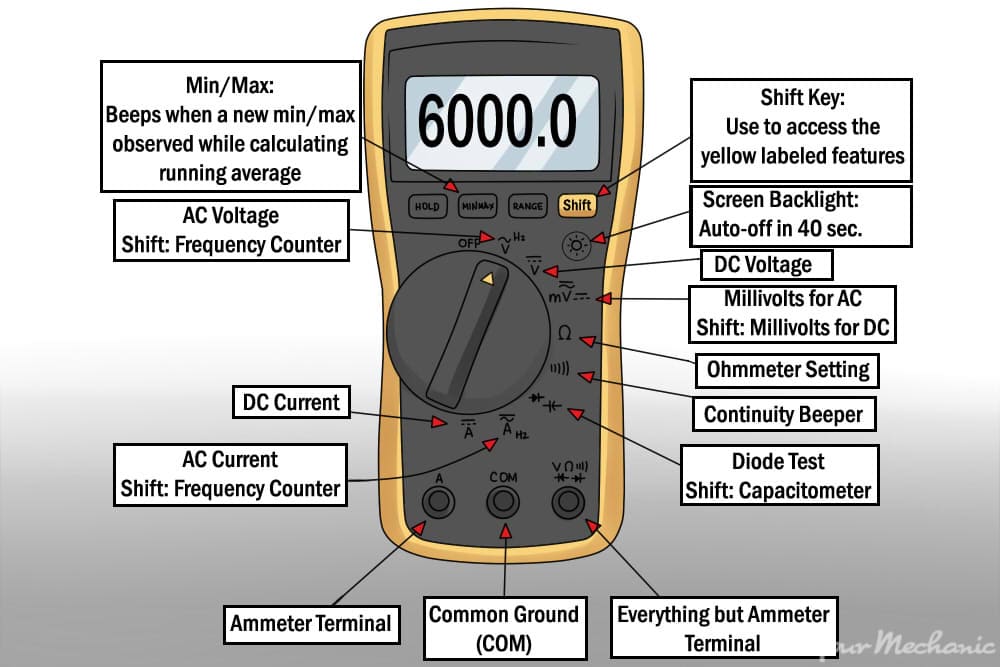
Turn your meter to the DC volts setting. This is the DC reading with the line above it. The DC reading with the squiggly thing (sine wave in technical terms) is AC voltage. This is not the setting you want unless you plan on testing household appliances. So, save AC for the washing machine.
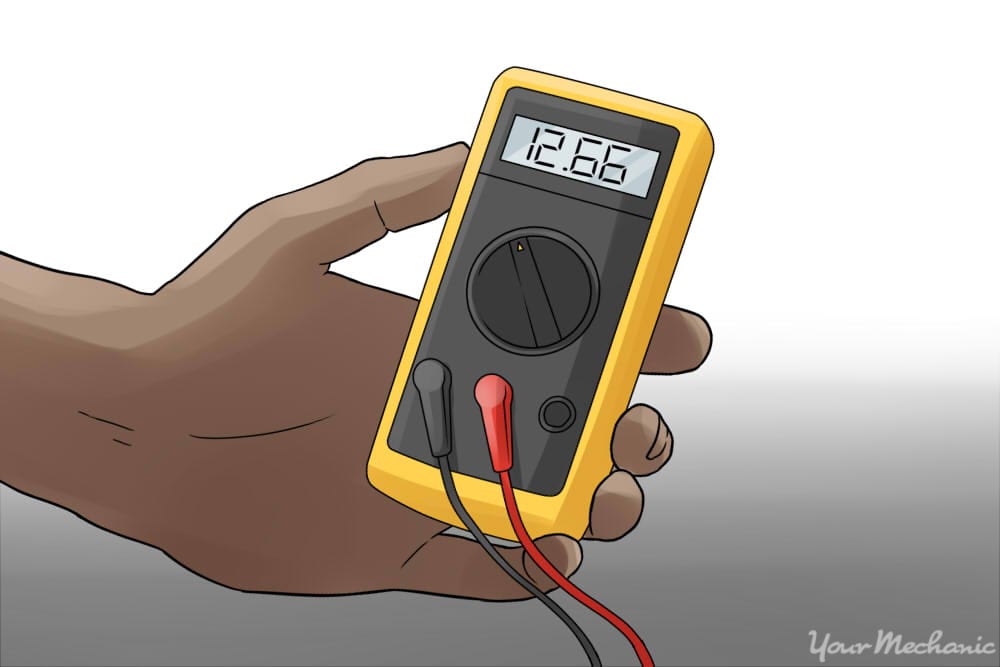
Step 3: Read the Test Results
Check the voltage reading on your screen.
Step 4: Interpret the Results
If your battery is greater than 12.45 volts it is sufficiently charged. Anything below that should be recharged and tested with professional test equipment.
- Note: A state of charge test does not indicate whether your battery is good or bad. It only indicates the current state of charge. A battery that has a low state of charge may still be good after it is recharged. A good battery is one that will hold a charge. A bad battery is one that will not.
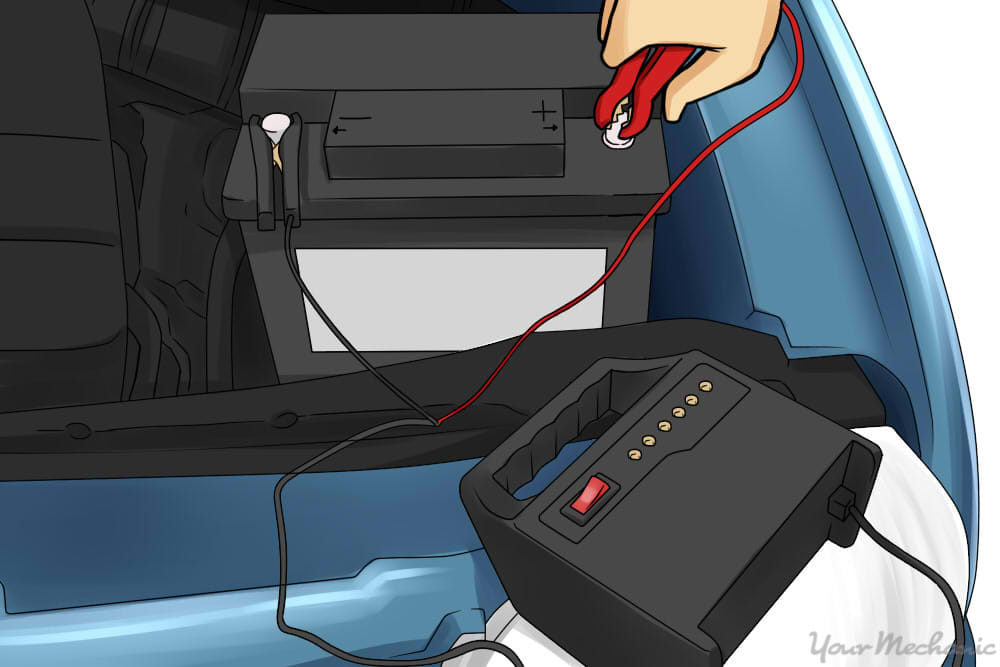
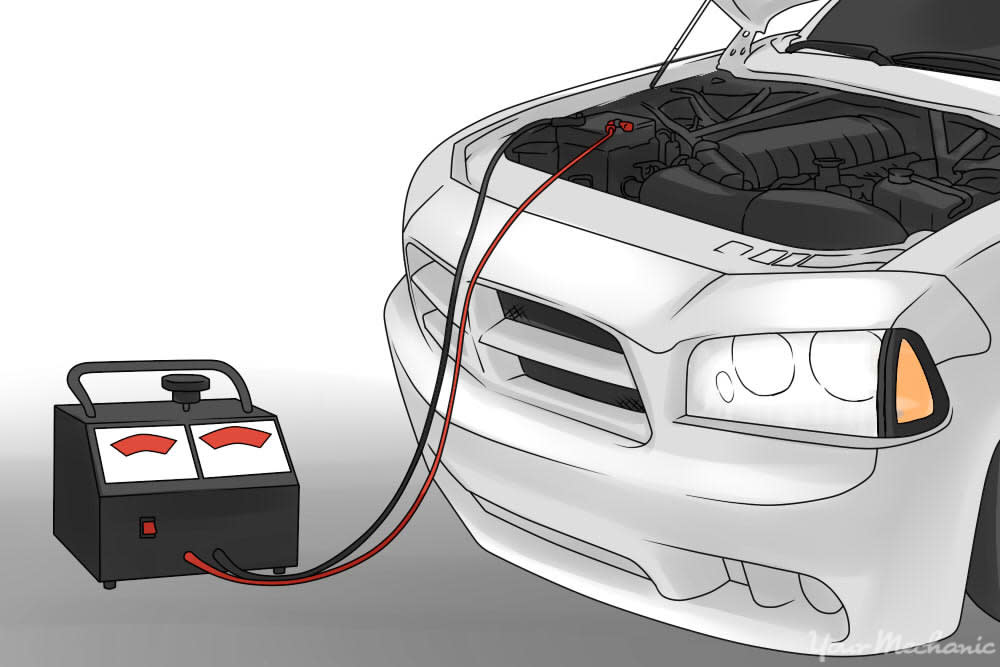
Step 5: Charge Your Battery
The next step is to recharge your battery and test it further if it has a low state of charge.
This can be done with a portable battery charger, or by charging your battery with the alternator. If you decide on the second option, you will need to jump your battery first. Then, drive the vehicle for 20 minutes or so at speeds greater than 40 mph. You can also remove your battery and have it charged at the auto parts store. Most will perform this service for free.
Step 6: Fully Test the Battery
Once the battery is fully charged, it can be tested to determine whether it is good or bad. Most auto parts stores will do this for free.
With an electronic tester: This test sends a frequency wave through the battery to determine the condition of the cells inside.
That’s it! Taking the time to test your car battery allows you to address potential vehicle issues with confidence. With the knowledge of your battery's health, you can now make informed decisions to ensure your vehicle starts reliably. Whether you choose the DIY approach with a multimeter or opt for professional assistance, understanding the state of your battery is valuable for any car owner.
So, the next time your car hesitates to start, you'll be well-prepared to diagnose and resolve the issue. If your efforts of testing and recharging your battery fail, the battery might be completely dead. In that case, you’ll need to get a battery inspection from a professional mechanic and will likely need to replace it. Make sure if you replace the battery yourself you dispose of the old battery properly. If you prefer the convenience of professional assistance, don't hesitate to reach out to YourMechanic and schedule a mobile mechanic to bring inspections to you wherever you are.