Whether you have a manual or an automatic transmission in your vehicle, the transmission fluid is one of the most overlooked fluids when it comes to maintenance. Forgetting to change this fluid can result in some serious issues such as slipping, hard shifting, or complete transmission failure. Simply following the manufacturer's recommended service interval can keep you from having a costly breakdown.
Automatic transmissions are complex and have many moving parts. Today’s vehicles can also be equipped with a CVT (Constant Variable Transmission), which has even more moving parts and smaller tolerances. The fluids that are used in these transmissions are designed to handle the high internal pressures and temperatures without losing their viscosity and lubricating abilities. They also contain detergents that allows the fluid to pick up debris from within the transmission and carry it to the filter. As the fluid breaks down from age and everyday driving, it loses its ability to accomplish these tasks causing the internal clutches and bearings to fail.
Manual transmissions are built much differently than automatic transmissions. Manual transmissions have a series of internal gears, bearings, and synchronizers that are used to allow the driver to shift gears. Most manual transmissions use a heavy petroleum-based oil for lubrication. As this oil breaks down, it loses its lubricating properties which can make it harder for the driver to get the transmission into gear and can cause bearing failure.
It is important to only use the manufacturer's recommended fluid in your transmission.
Part 1 of 4: Gathering materials and preparing the vehicle
Materials Needed
- Allen-head sockets
- Floor jack
- Fluid catch pan
- Fluid pump
- Funnel
- Jack stands
- Lint-free rags
- Ratchet with standard and metric sockets
- Torque wrench
- Transmission filter or transmission filter kit, if needed
- Transmission fluid
- Wheel chocks
Step 1: Gather the necessary materials. It is important that you purchase all of the necessary parts prior to doing the service. This will make the job much more efficient.
If you have a manual transmission, you will typically only need the recommended fluid. Most manual transmissions only require that the fluid be drained and then refilled.
If you have an automatic transmission, you may just need the fluid, but some have a transmission filter that must also be replaced. The filter may be internally or externally mounted.

An external filter is typically a spin-on filter just like an engine oil filter.
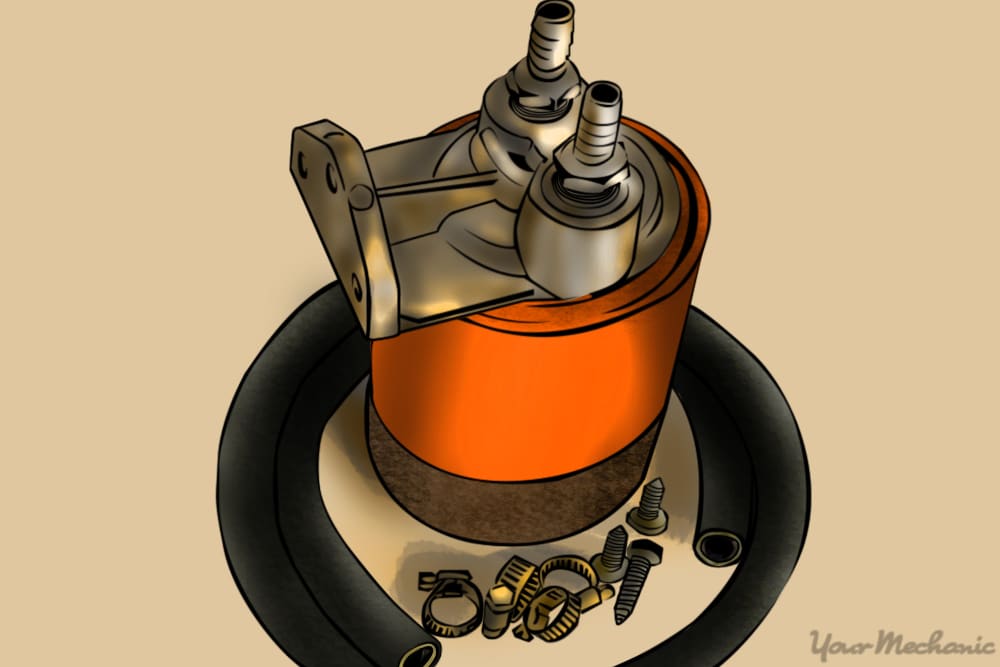
Most transmissions with a replaceable filter will require that the transmission pan be removed and replaced. For these types of transmissions, you will need to purchase a transmission filter kit which should include the filter and the transmission pan gaskets.
Step 2: Position and secure the vehicle. Park the vehicle on a hard, level surface and apply the parking brake.
Place the wheel chocks around the rear tires.

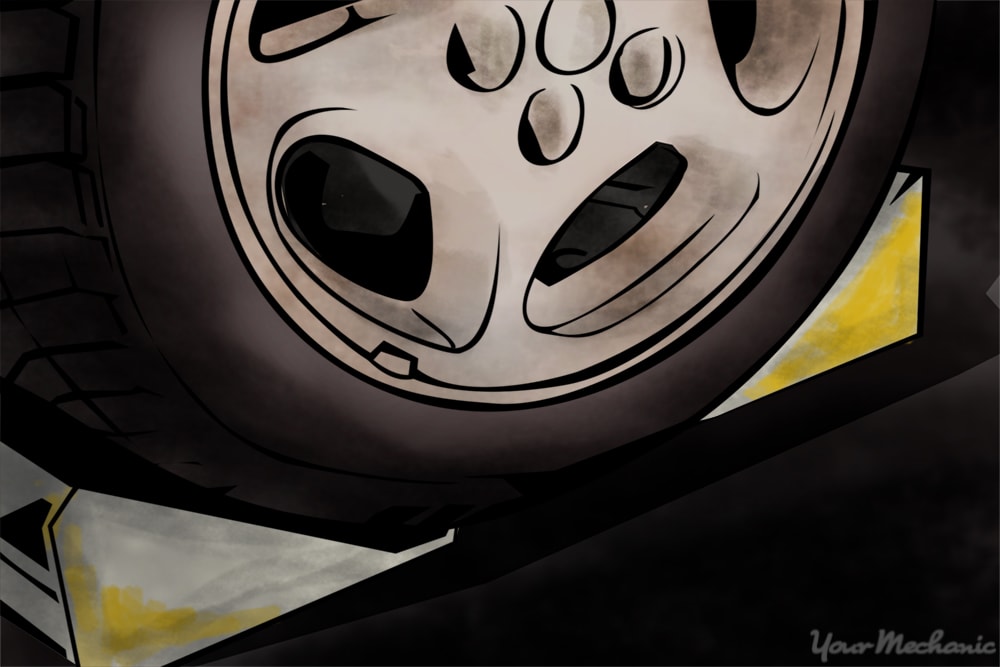
Step 3: Raise the vehicle. Using the floor jack, jack up the front of the vehicle, one side at a time, using the manufacturer’s suggested lifting points.
Place the jack stands under the vehicle at the recommended lifting points and lower the vehicle onto the jack stands.

Step 4: Open the hood. To allow access to the parts under the hood, raise the hood.
Part 2 of 4: Draining the transmission fluid
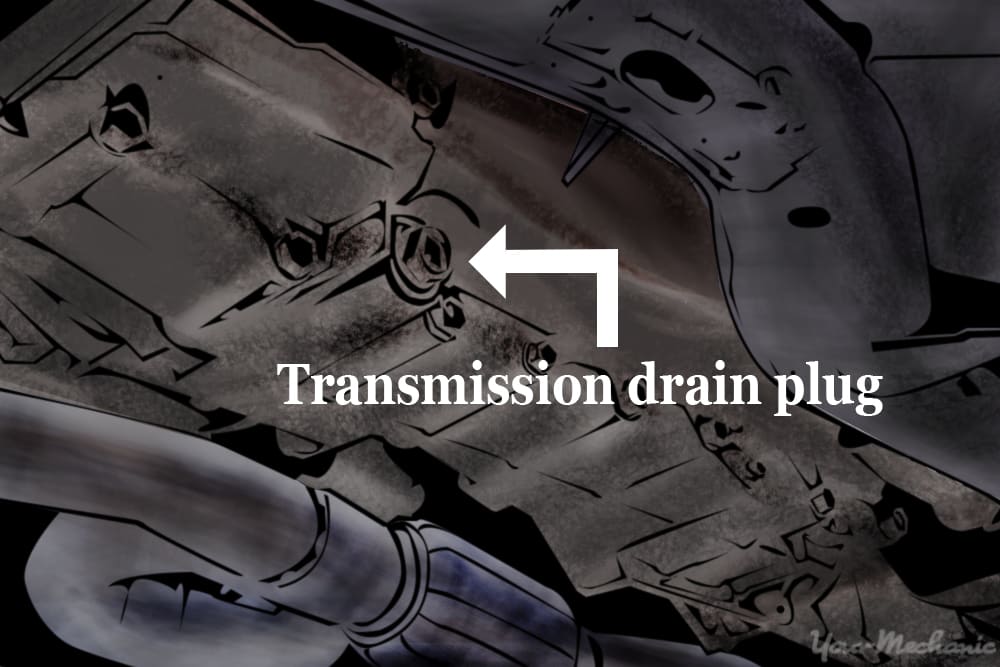
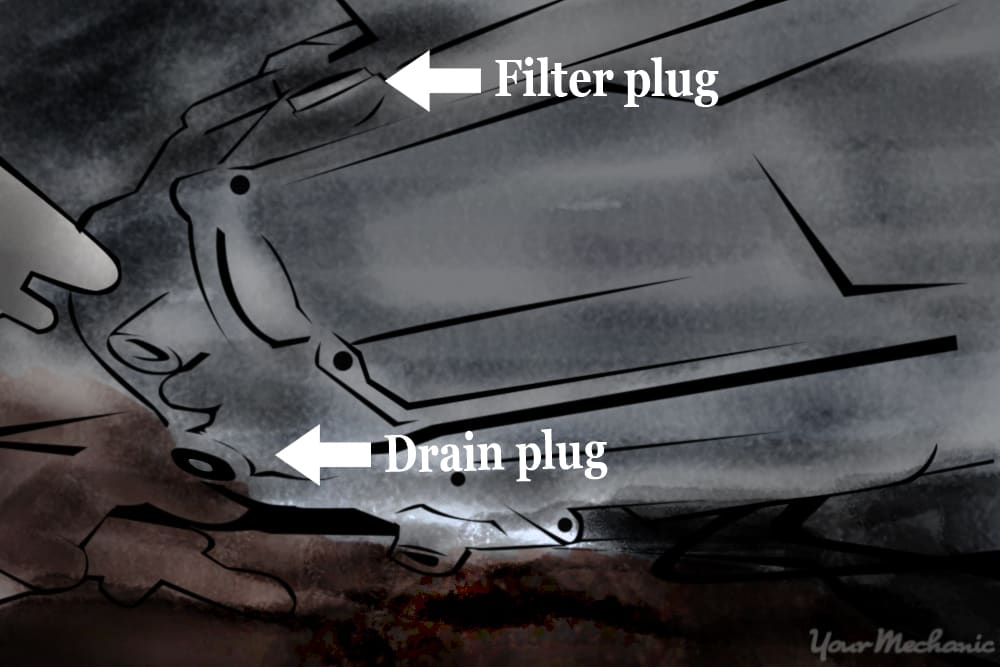
Step 1: Locate the transmission drain plug. If it is a manual transmission, it will typically have a large drain plug on the bottom of the transmission housing.
If it is an automatic transmission, it will either have a large drain plug on the housing, a drain plug on the transmission pan, or the transmission pan will need to be removed.
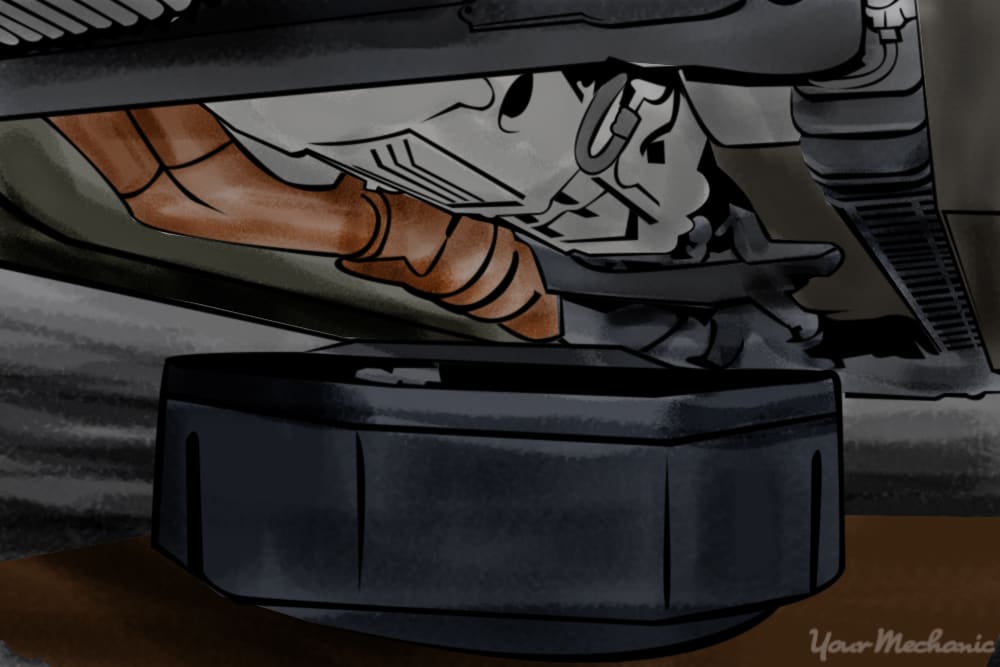
Step 2: Position the fluid catch pan. Place the fluid catch pan beneath the spot from which the fluid will be drained.
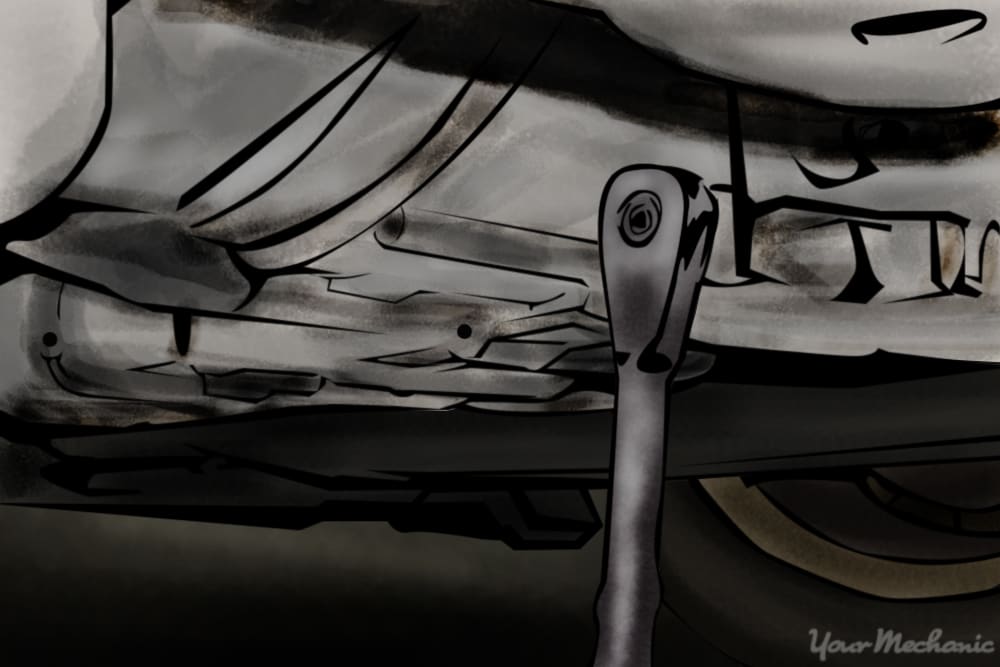
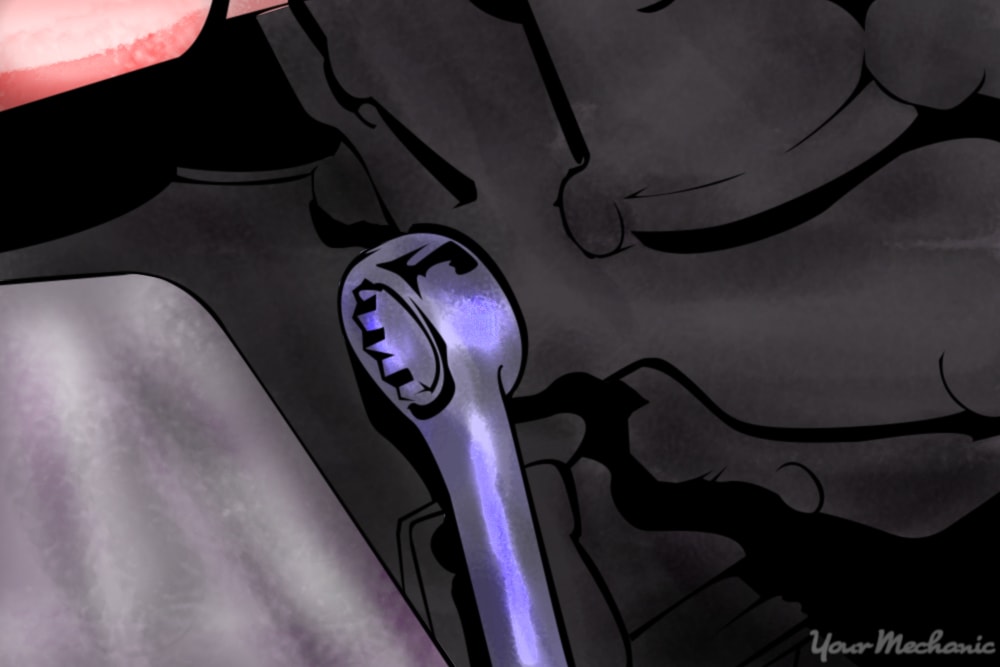
Step 3: Remove the drain plug. Using the ratchet and appropriate socket, remove the drain plug or the transmission pan.
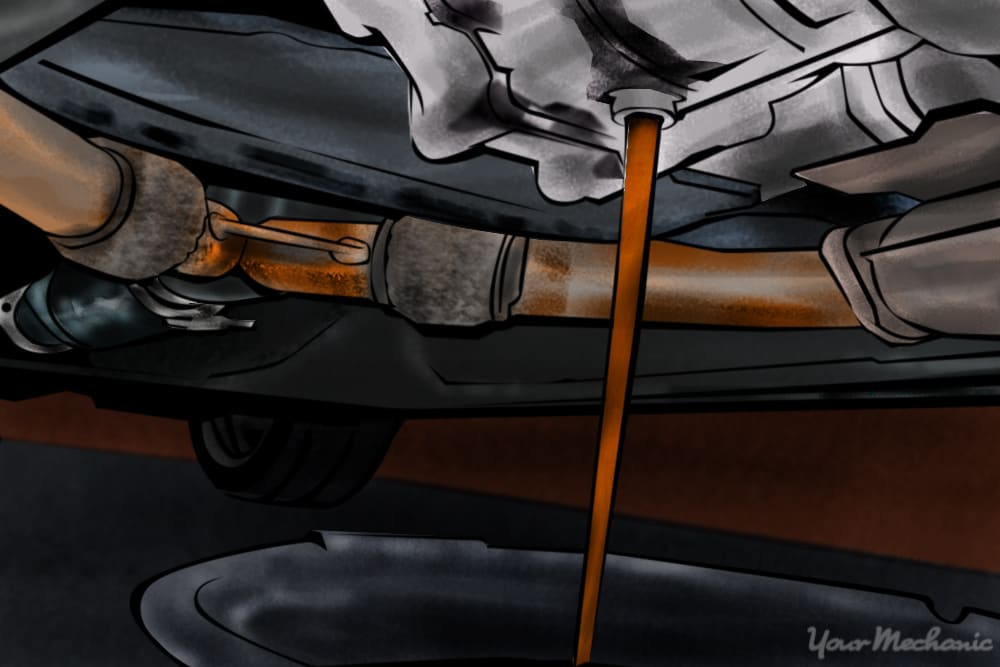
Step 4: Drain the fluid. Allow the fluid to drain until it slows to a trickle.
If you are removing the transmission pan, you will need to let the fluid drain prior to removing the pan completely. Once the pan is removed completely, the fluid will continue to drain for some time.
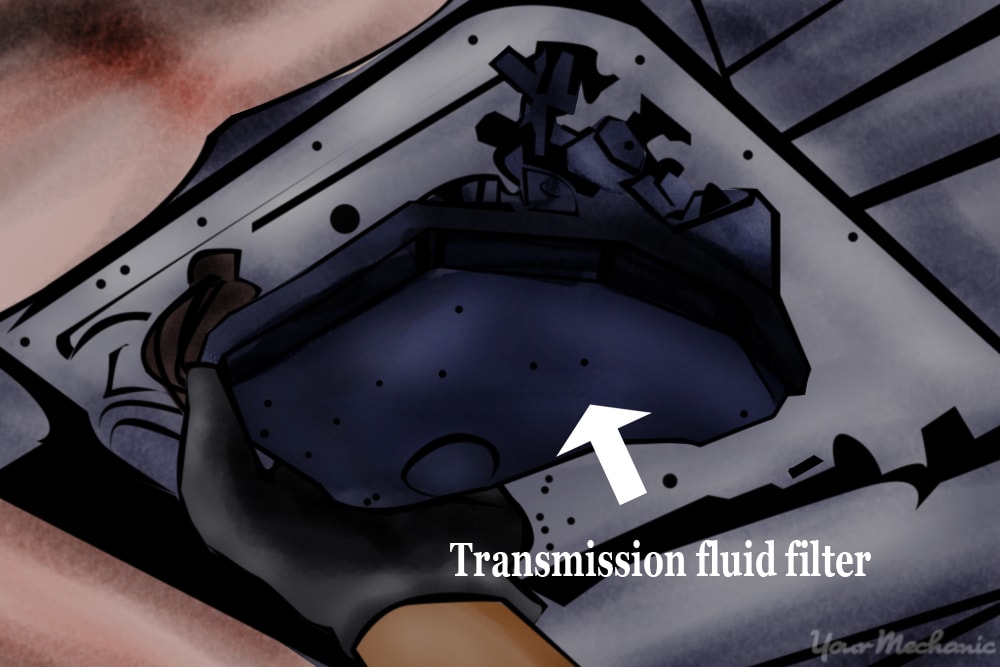
Step 5: Remove the transmission filter. If your vehicle is equipped with one, remove the transmission filter.
If the filter is in the pan it may have a bolt holding it in place. Remove any bolts from the filter and then pull the filter from the transmission.
- Tip: Once the filter is removed, more fluid will drain from the transmission, so you should keep the catch pan in place.
Part 3 of 4: Preparing to replace the transmission fluid

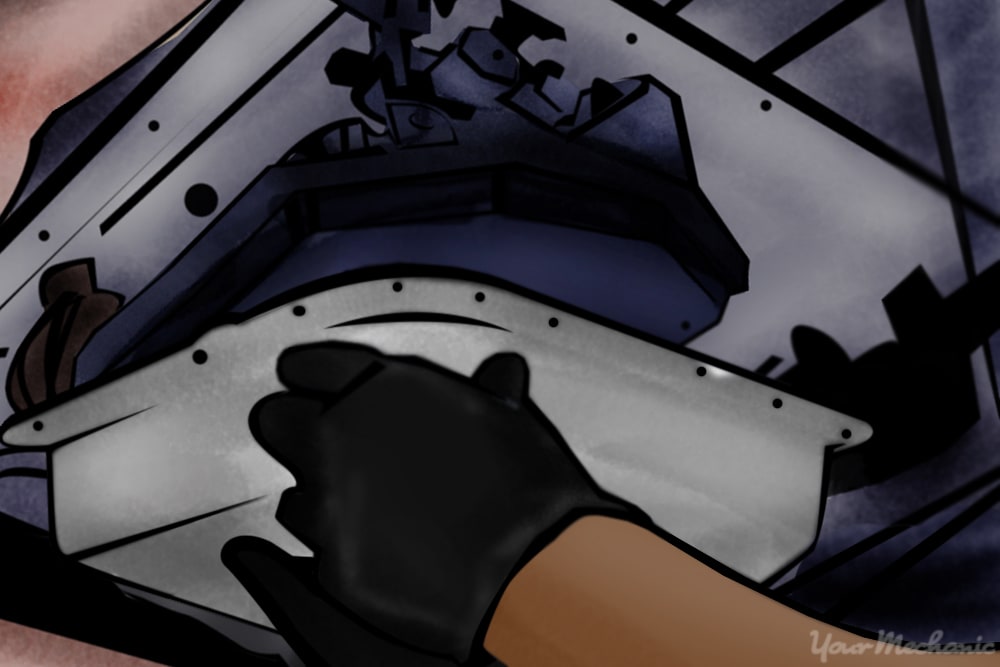
Step 1: Clean the transmission pan. If the transmission pan was removed, then clean it out with a lint-free rag..
If you only removed the drain plug, proceed to Step 4.
- Warning: If there is metal or other debris in the transmission pan, then that may be a sign of a pending transmission failure.

Step 2: Replace the transmission filter. If the transmission filter was removed, install the new filter working backwards from the way the old one was removed.
Step 3: Replace the transmission pan. If it was removed, reinstall the transmission pan using the gasket supplied in the transmission filter kit and torque it to the manufacturer’s specifications.

Step 4: Replace the drain plug. If removed, reinstall the transmission drain plug and torque it to the manufacturer’s specifications.
Part 4 of 4: Replacing the transmission fluid
Step 1: Find the transmission filler plug. If your vehicle is equipped with a manual transmission, locate the transmission filler plug.
If your transmission has a dipstick, proceed to Step 5.
- Tip: The transmission fill plug on most manual transmissions and some automatic transmissions is located on the transmission housing about half way between the bottom and the top of the transmission.
Step 2: Remove the filler plug. Using the ratchet and appropriate socket, remove the filler plug.
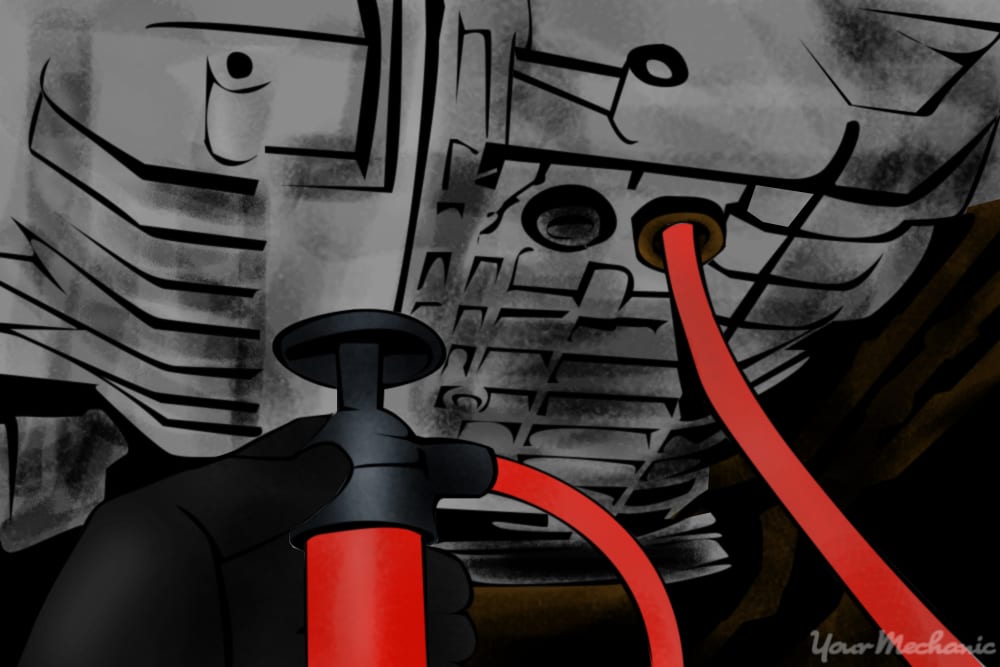
Step 3: Add the new transmission fluid. Add the manufacturer’s recommended fluid through the fill hole using the fluid pump.
- Tip: Most manufacturer’s recommend adding fluid into the filler hole until the fluid begins to come out indicating that it is full. It is important that you follow the manufacturer’s filling capacity when adding fluid into the transmission.

Step 4: Replace the filler plug. Reinstall the filler plug and torque it to specifications.
Step 5: Lower the vehicle. Use the floor jack to the lift the vehicle up off of the jack stands and remove the stands. Then use the floor jack to lower the vehicle to the ground.
If your vehicle does not have a dipstick, you can now proceed to Step 9.
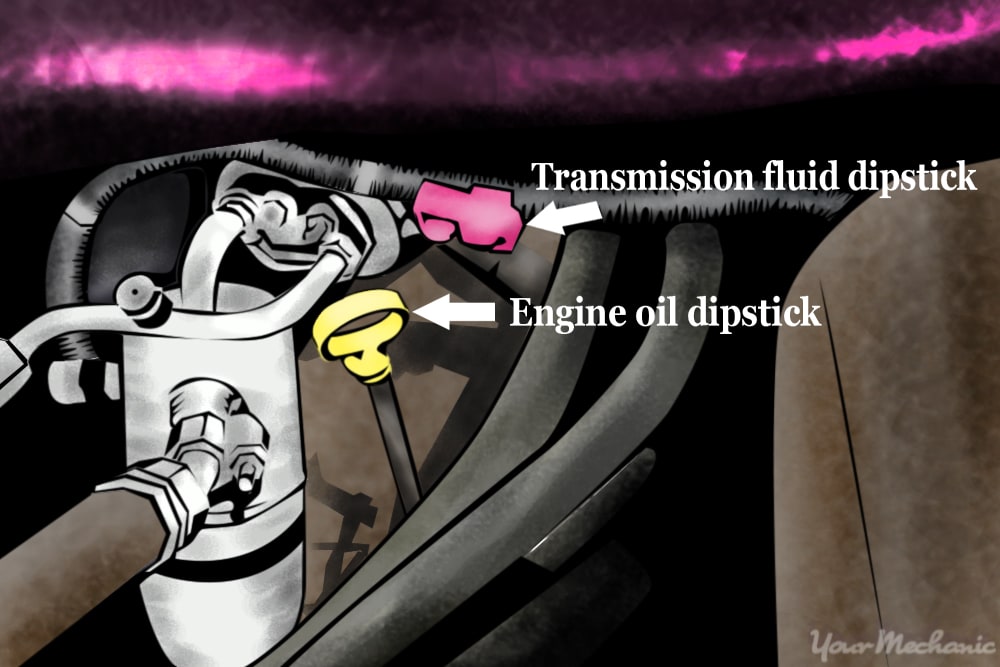
Step 6: Locate and remove the dipstick. Find and remove the transmission fluid dipstick. then install the funnel in its place.
- Tip: The transmission fluid dipstick will typically have a handle that is red in color.
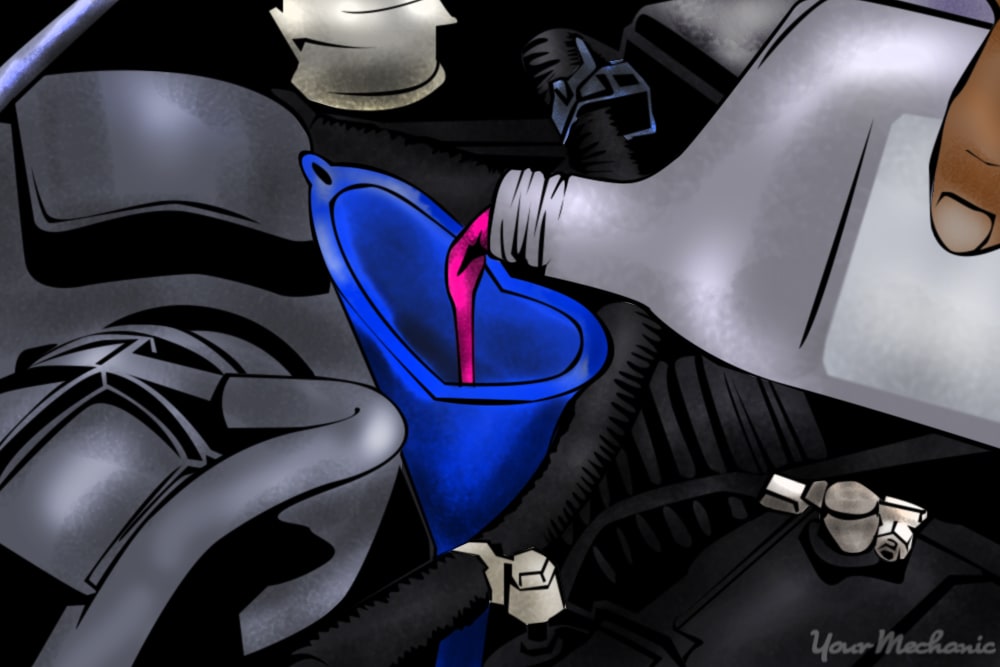
Step 7: Add the new transmission fluid. Add the specified amount of the manufacturer’s recommended fluid into the transmission.
- Tip: Add the fluid slowly to prevent it from “burping” and pushing the fluid back out.
Step 8: Shift through the gears. Start your vehicle and while you are holding the brake pedal, move the shifter through all of the gears. Only do this on vehicles with automatic transmissions and dipsticks.
Step 9: Check the transmission fluid. Most manufacturer’s recommend checking the transmission fluid with the vehicle running and in park, but you must follow your vehicle’s recommended procedure as it may be different.
Step 10: Check for leaks.
It may seem simple to service the transmission, but you must make sure to follow a few precautions to prevent any issues from occurring:
Only use the manufacturer’s recommended fluid.
If you have not serviced your transmission according to the recommended service intervals, you may want to have the transmission checked by a certified mechanic, such as one from YourMechanic. Servicing a transmission that has extremely old fluid in it can cause internal problems in the transmission.
Find out if your transmission is serviceable. Some transmissions are sealed and cannot be serviced. Other transmissions can only be serviced using a manufacturer-specific flush machine as there is no other way to add fluid into the transmission once it is drained.
If you’re not sure about how frequently to change your transmission fluid, you can look up your car to find out more about the recommended service intervals. But if your transmission is currently having problems, or if you are not comfortable performing the service yourself, you can always get assistance from a certified mechanic that can inspect and service your transmission for you.
