Professional mechanics understand the value of having the right tools for the right job. When it comes to removing bolts and nuts that might be secured tight or in hard to reach locations, using a ratchet and socket to complete this task is a choice most mechanics prefer. For those who may not know, a ratchet is a hand-held tool that works in conjunction with a socket (a round tool that fastens to a bolt or nut). It can be adjusted to turn clockwise or counter-clockwise to remove or tighten a bolt or nut.
The ratchet works by applying leverage during the removal or tightening of a bolt. As the mechanic turns the ratchet in the desired direction, the bolt or nut is turned in the same direction. However, when the mechanic can no longer spin the ratchet, he or she is able to reverse the direction of the ratchet handle without moving the bolt or nut. Essentially, this is similar to a loose sprocket on a bicycle that only moves the chain forward and is free to spin in reverse.
The free spinning motion of the ratchet is why many mechanics prefer to use this tool to remove bolts and nuts on a vehicle. It's more efficient and can save the mechanic from hitting their hands on potentially sharp objects.
Part 1 of 2: Knowing the different types of ratchets
There are several ratchets that mechanics can choose from, each with a specific function. In general, ratchets come in three different size options:
- 1/4" drive
- 3/8" drive
- 1/2" drive
There are also ratchets with swivel heads, different sized extensions and even swivels on extensions, allowing the mechanic to reach bolts and nuts on an angle. A good mechanic knows the value of keeping a full set of ratchets: shorter and longer for leverage, as well as different sized sockets in US standard and metric sizing. On the average, more than 100 individual pieces make up a full ratchet and socket set for uses on most US and foreign cars, trucks, and SUVs.
Part 2 of 2: Steps for using a ratchet on a car
The actual process of using the ratchet is rather simple; however the steps below will outline the typical thought process of selecting and using a ratchet for use on most cars, trucks, and SUVs.
Step 1: Examine the bolt or nut that needs to be removed: Before the ratchet is selected, the mechanic needs to factor in several facts about the bolt including its location, proximity to obstructing parts and the size of the bolt. In general, follow the steps below to determine what type of ratchet and socket combo is best to utilize.
Step 2: Determine the location of the bolt: If the bolt is hard to reach, use a ratchet with an extension so that you maintain leverage over the bolt.
Step 3: Determine the size of the bolt and select the right socket: Either refer to the service manual or physically inspect the bolt or nut that needs to be removed to determine the size of the socket.
Step 4: Secure the socket to the ratchet or extension: Always make sure that all connections snap together for safe use of a ratchet.
Step 5: Select the position and direction of the ratchet: If you need to remove a bolt, make sure the forced direction of the ratchet spins counter-clockwise. If you're tightening a bolt, spin clockwise. When in doubt, remember: "lefty – loosey; righty – tighty."
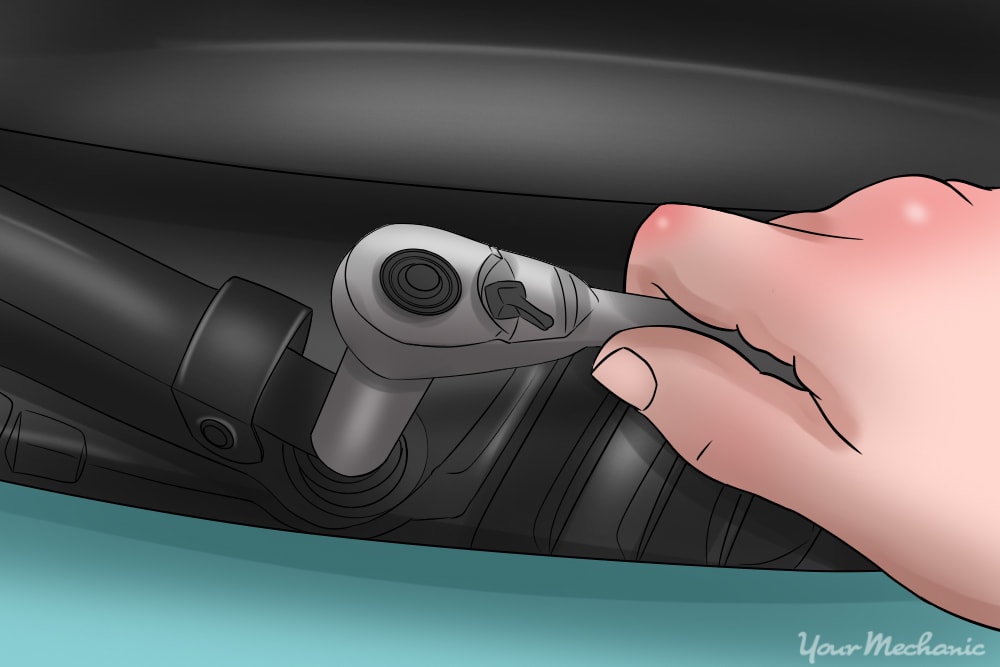
Step 6: Secure the socket and ratchet to the bolt and move the handle in the correct direction.
Once the socket has been secured to the bolt, you can spin the ratchet continuously until the bolt has been tightened or loosened. One thing to remember is that some bolts or nuts are secured together, they will require an equal-sized end wrench or socket/ratchet to hold the back end until the service has been completed.
