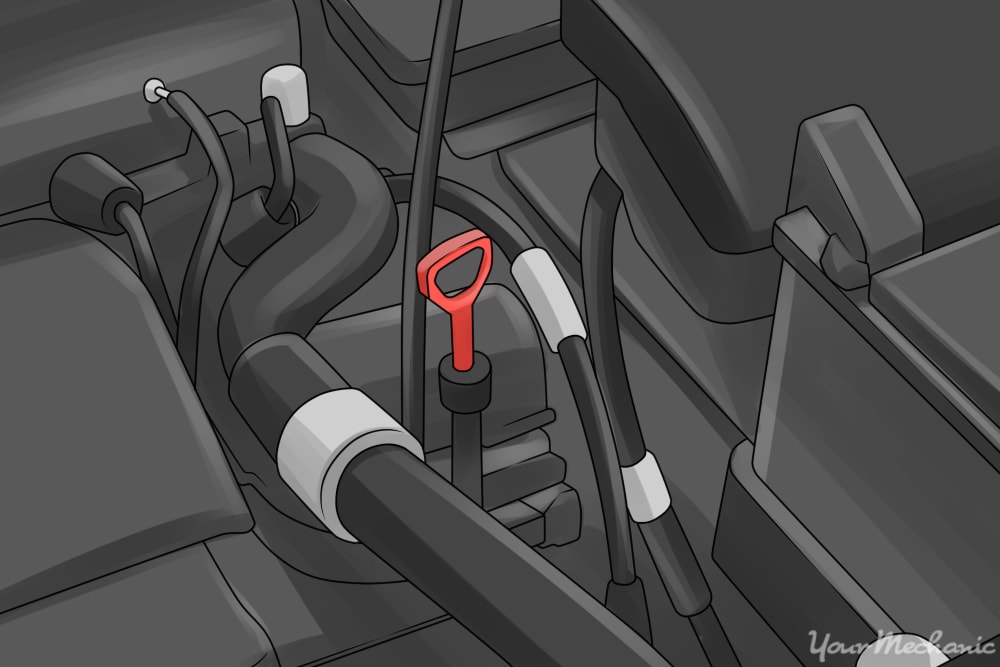

On automatic transmissions, several sensors, including the speed sensors, mass airflow sensors and throttle position sensor, contribute and input digital information to the powertrain control module (PCM) and the transmission control module (TCM) so that your car can make proper adjustments based on driver commands. Each time a gear change is needed, the car’s computer activates a transmission solenoid, which directs transmission fluid into the valve body to engage the right gear.
When the brakes are applied, the need to downshift is managed using the downshift solenoid. Failing downshift solenoids will cause RPMs to remain high instead of dropping when the brakes are applied. This can also cause pressure issues elsewhere and serve as a potential threat to the other fragile components of an automatic transmission.
Solenoids rarely fail intermittently. They typically work well or they don’t work at all. If you feel there is a problem with the downshift solenoid, you can replace it on your own.
Part 1 of 3: Prepare to remove the downshift solenoid
Materials Needed
- Drain pan for transmission fluid
- Jack
- Jack stands
- Needle nose pliers
- Ratcheting wrench
- Replacement downshift solenoid
- Replacement transmission fluid
- Rubber or nitrile gloves
Note: Use a clean drain pan to ensure that you do not mix the transmission fluid with other fluids.
Note: Always use rubber or nitrile gloves when working with transmission fluid.
Step 1: Disconnect the negative battery cable. When working on any electrical system in your vehicle, always disconnect the negative battery cable. Disconnect the black cable that is connected to your battery by a bolt. Unscrew the bolt, remove the cable from the battery terminal and set it aside, keeping it away from anything metallic.
Note: Any time you are working with the battery is a good time to check for damage. Look for damage to the battery, terminals, or bolts.
Tip: Any corrosion on the battery terminals can be easily cleaned off at this time. Use a wire brush to remove any corrosion. You can also use chemicals or more natural products to help dissolve the corrosion.
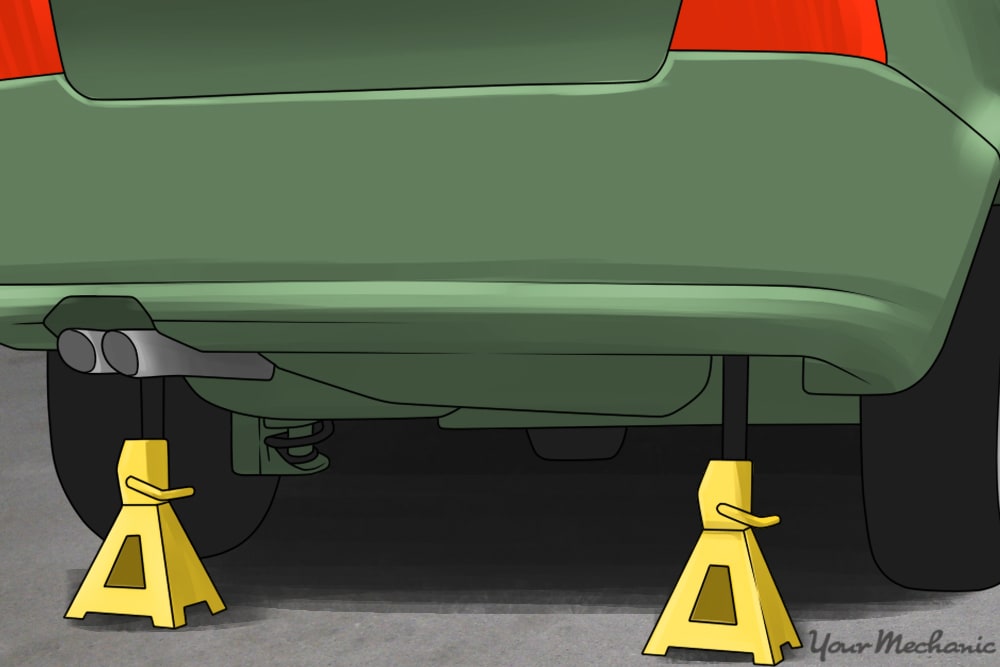
Step 2: Raise and secure the vehicle. Raise the vehicle using a jack on the end of the vehicle where the transmission is located. Secure the vehicle with jack stands.
- Note: It is good practice to put old tires, railroad ties, wood blocks, or other objects under load bearing parts of the vehicle. If the jack stands ever fail, or if the vehicle shifts off of the stands, doing this will give you a level of protection from the vehicle landing directly on top of you.
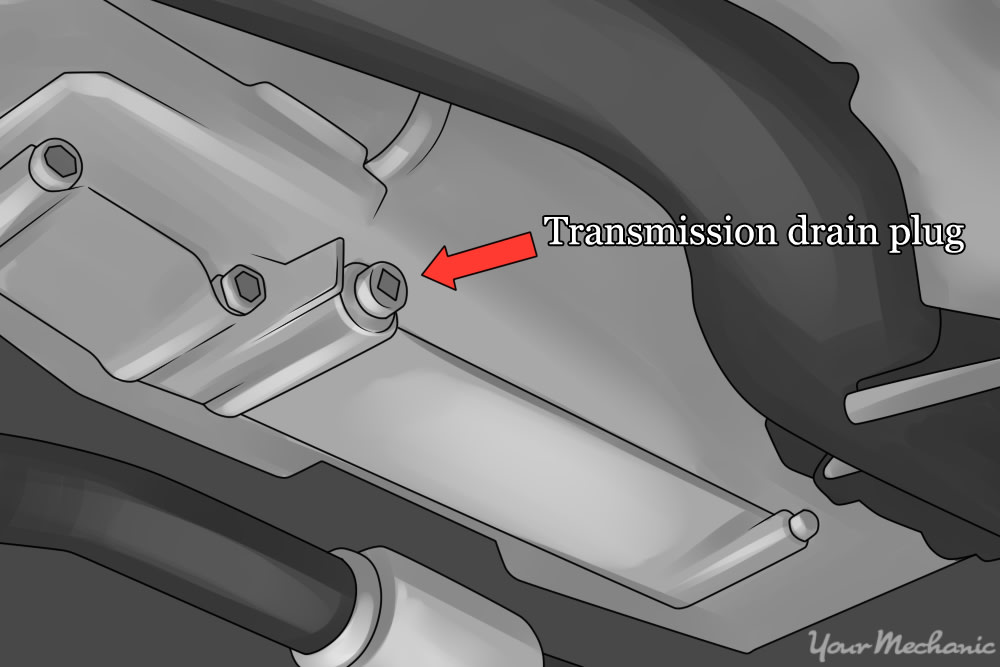
Step 3: Drain the transmission fluid. Remove the transmission fluid drain plug from the transmission pan. Allow almost all of the fluid to drain out.
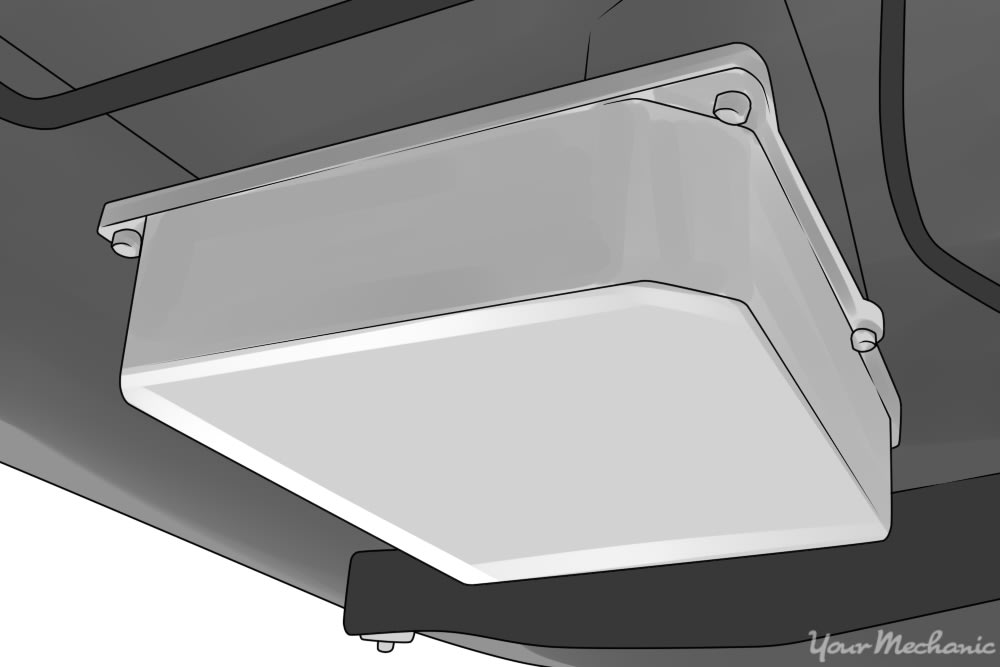
Step 4: Remove the transmission fluid pan. One by one, gradually loosen all the retaining bolts around the perimeter of the pan. This decreases any chances of damaging the bolts or their counterparts.
Remove the transmission fluid pan from the transmission.
Part 2 of 3: Remove the downshift solenoid
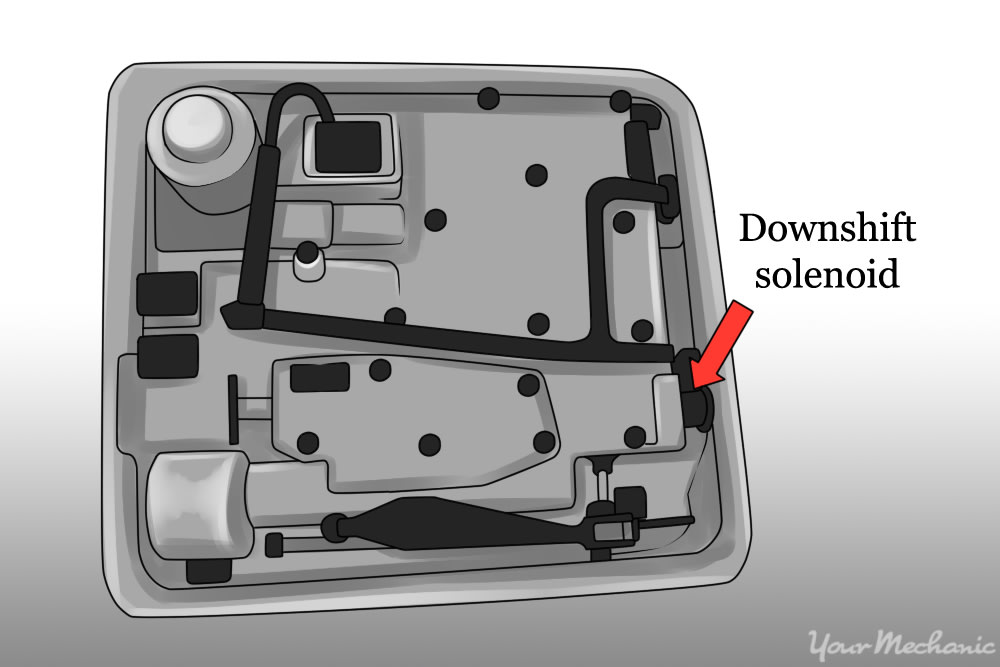
Step 1: Locate the downshift solenoid. The actual location of the downshift solenoid for your vehicle will vary by make and model. Refer to the owner’s manual for your vehicle or search online to find exact diagrams of the location of this solenoid for your specific vehicle.
Step 2: Disconnect wiring from solenoid. Disconnect the wiring terminal plugged into the damaged solenoid and set it aside. This should be a simple fastening device holding the wires into the solenoid designed for a quick disconnection.
Step 3: Remove the solenoid. At this point, the solenoid should be free from all restraints and should pull or twist out.
Part 3 of 3: Replace the solenoid
Step 1: Replace the solenoid. With the old solenoid removed from the vehicle, do a visual inspection to ensure that the replacement is going to fit properly. Wipe the surface of the solenoid’s seat if it is wet and insert the new solenoid in the same way that you removed the last one.
Step 2: Attach the wiring harness. Reattach the wiring terminal that you had set aside earlier and plug it into the downshift solenoid.
Step 3: Reattach the transmission pan cover. Align the holes on the transmission pan with the holes on the transmission. Start by bolting the corners of the pan, to secure it while installing. Again, one by one, start to screw in all the retaining bolts and gradually tighten them together. This ensure that nothing is damaged or strained.
Step 4: Refill the transmission fluid. Locate your vehicle's transmission fluid fill spout (often the dipstick spout) and refill using the amount of transmission fluid specified for your vehicle.
- Note: Some vehicles use a very specific transmission fluid according to the manufacturer’s preference. Refer to the owner’s manual to determine the type of transmission fluid recommended by the manufacturer.
Step 5: Test the transmission function. With the vehicle reassembled, and transmission fluid topped off, start the vehicle and allow it to idle in park for one minute. This gives the vehicle time to circulate the transmission fluid.
Test drive the vehicle in an open area with low traffic. Look for proper downshifting while braking and proper upshifting while increasing in speed.
Downshift solenoids are a critical part of automatic transmissions. Without a functioning set of solenoids, your vehicle's transmission will perform poorly and you also risk damaging other components in your transmission.
Transmissions can be tricky, especially automatic transmissions. If you are not comfortable with performing this process on your own, you can always get a certified technician from YourMechanic to replace the downshift solenoid and perform a transmission fluid service for you.


