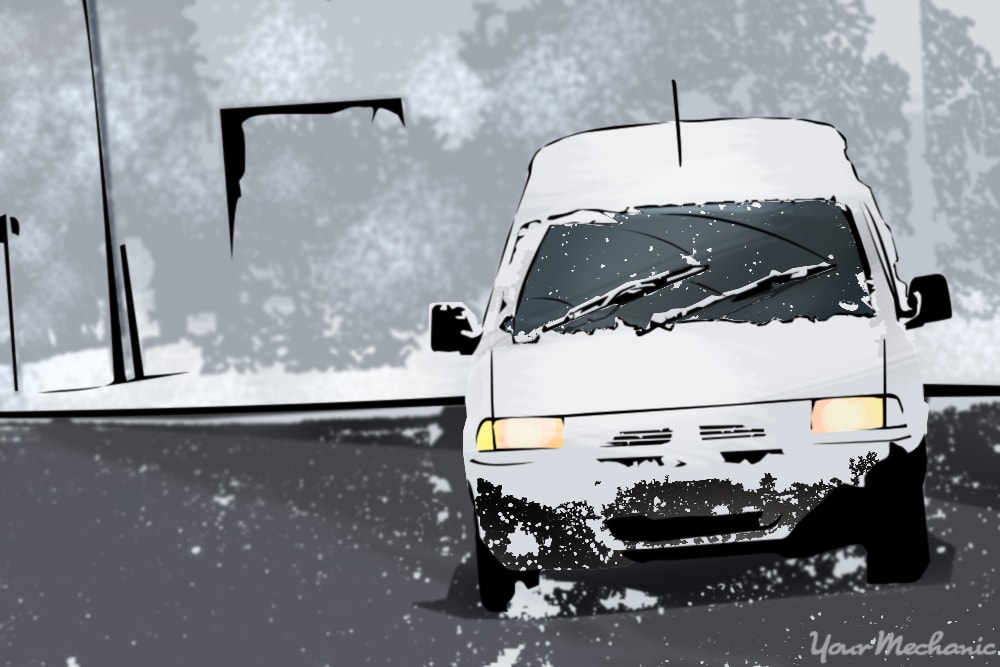
Preparing your car for winter driving conditions is extremely important no matter where you live. Winter is a challenging time of year to be a motorist with treacherous road conditions, cold temperatures, and a higher likelihood of breakdowns or problems with your car. Being prepared for winter driving will make the cold season easier to bear.
As important as it is to be prepare your car for winter, it is just as important to adjust your own behavior. Your awareness levels should be heightened, and your defensive driving skills should be honed and ready for anything that might come your way. You will need to take extra caution while turning and passing other vehicles, especially if road conditions are slippery and dangerous, which means paying extra attention to outside temperatures.
The first line of defense against hazardous conditions during the winter is probably always going to be the quality and condition of your vehicle, and the ways you go about inspecting your car and adjusting things accordingly are most likely going to be determined by where you live. Follow the simple steps below to know how to prepare your vehicle for safe driving during the winter.
Part 1 of 6: Stocking an emergency kit in your car
You should never drive in extreme and dangerous conditions, like blizzards, storms, or extreme subzero temperatures, or any condition that might leave you stranded in a low traffic area.
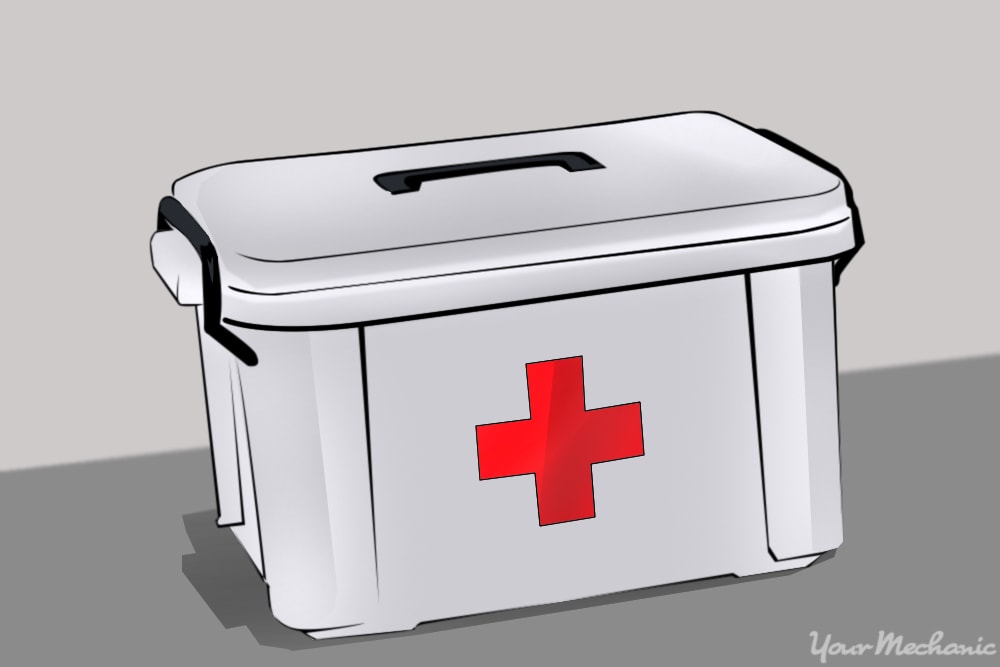
If you live in a rural area and/or in an area with extreme weather conditions and you absolutely must drive, however, before the winter temperatures arrive, assemble an emergency kit to keep in your car. This kit should contain non-perishable or reusable items, especially because you are going to do everything possible to prevent a situation in which you would need to use it.
- Tip: Before you leave on a journey through winter road conditions, make sure a family member or friend knows where you’re going and how long it should take you to get there so that they can notify someone if they think something has gone wrong. Also, make sure your cell phone is fully charged before you leave, and bring a car charger with you just in case.
Materials Needed
- Blanket or sleeping bag
- Candles and matches
- Clothing layers
- First aid kit
- Flares or emergency light sticks
- Flashlight with extra batteries
- Food items
- Jumper cables
- Sand bags
- Shovel
- Storage container
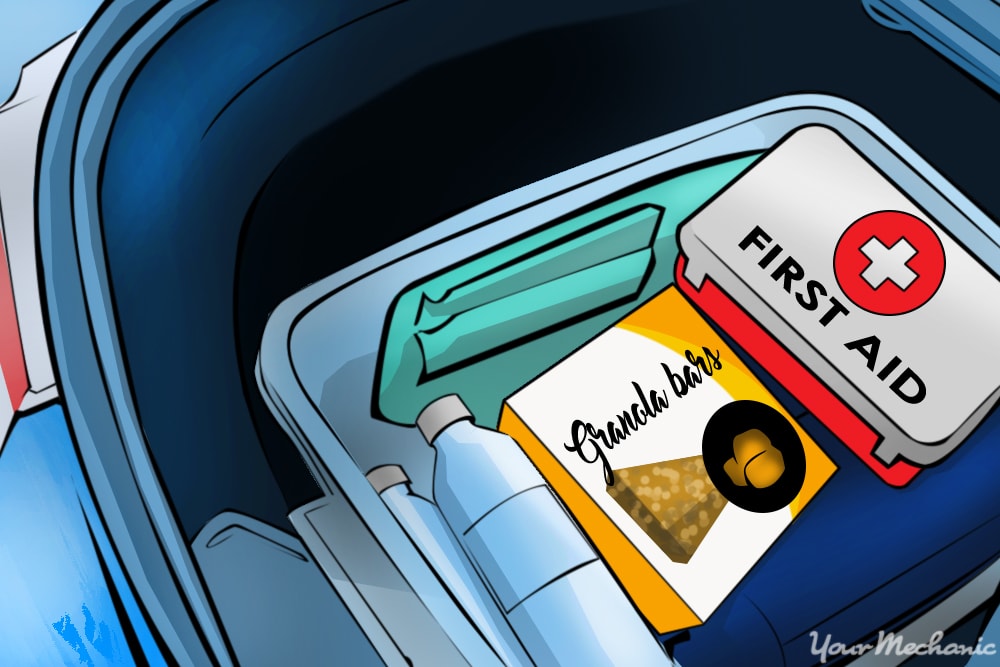
- Water bottles
Step 1: Find a storage container to put in your trunk. Milk crates, boxes, or plastic bins are good choices.
Pick something large enough that your whole kit, minus the shovel, will fit inside.
Step 2: Organize the kit. Put the items that are least likely to be used on the bottom.
This would include the blanket, candles, and a change of clothing.
Step 3: Make essential items easily accessible. Put the food items and water bottles in an accessible spot, as well as the first aid kit.
The food items should be changed out annually so that’s why it is important to keep them easily accessible. Good food items to store in your car are granola bars and fruit snacks or anything that can be eaten cold or even frozen.
The first aid kit should be packed on top so that it can be easily grabbed in the event of an emergency.
- Warning: There is a high likelihood of the water bottles freezing in your trunk. In an emergency, you may need to thaw them with your body heat in order to drink them.
Step 4: Stow your safety kit. Place your winter safety kit in your trunk or hatch, stowed where you can access it in an emergency.
Put the lightweight, durable shovel in your trunk beside the kit.
Part 2 of 6: Checking your engine coolant
Your engine’s coolant, or antifreeze, needs to be able to withstand the coldest sustained temperature you will see in your climate. In northernmost states, that can easily be -40°F. Check your coolant and change it if the coolant mixture isn’t strong enough to withstand the cold.
Materials Needed
- Catch pan with spout
- Coolant tester
- Engine coolant
- Pliers
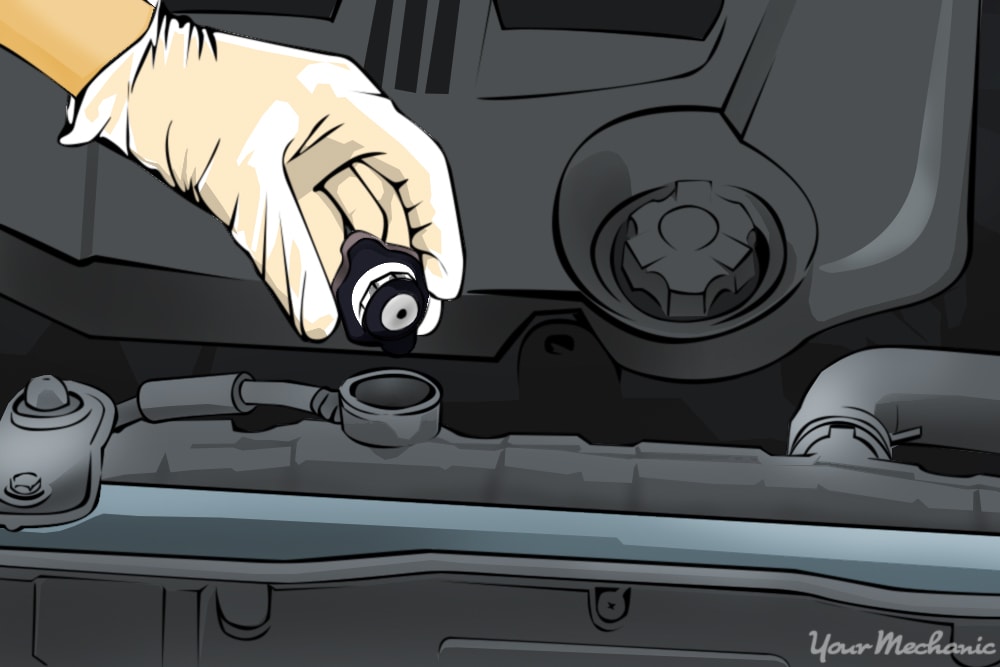
Step 1: Remove the radiator cap or coolant reservoir cap. Some vehicles have a cap on the top of the radiator while others have a pressure cap on the reservoir bottle.
- Warning: Never open your engine’s cooling system cap or radiator cap when the engine is hot. Serious burns can occur.
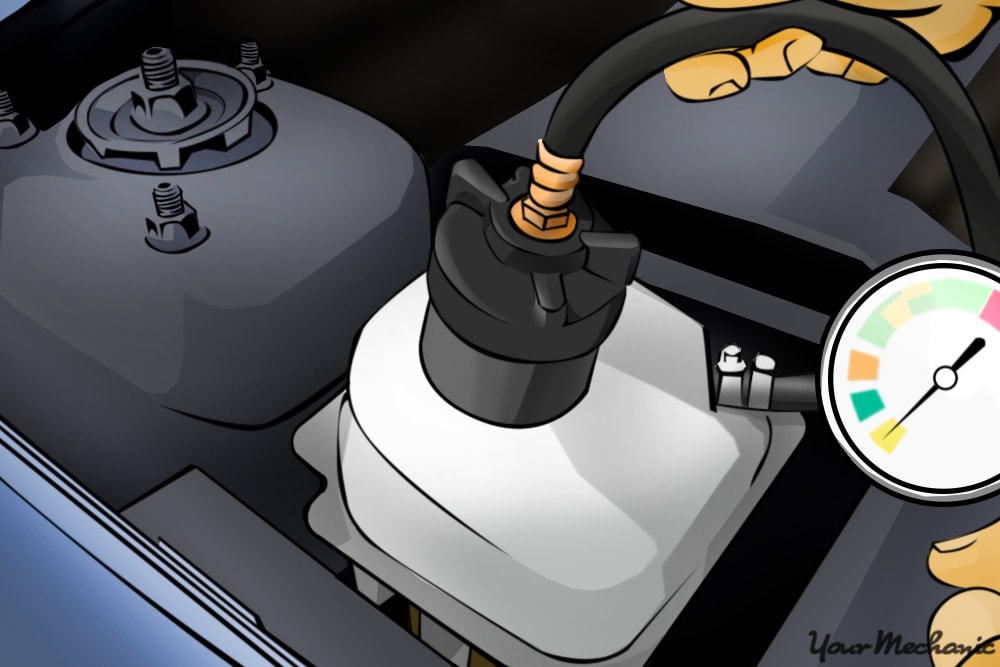
Step 2: Insert the hose. Put the coolant tester hose into the coolant in the radiator.
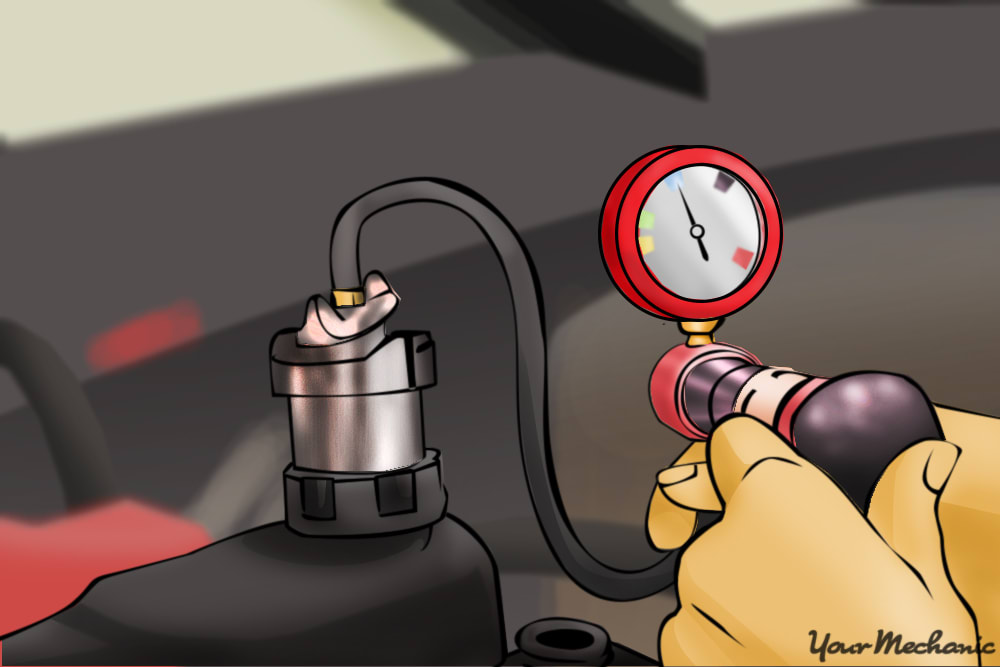
Step 3: Squeeze the bulb. Squeeze the rubber bulb to expel the air inside the tester.
Step 4: Release your pressure on the rubber bulb. Coolant will be drawn through the hose and into the coolant tester.
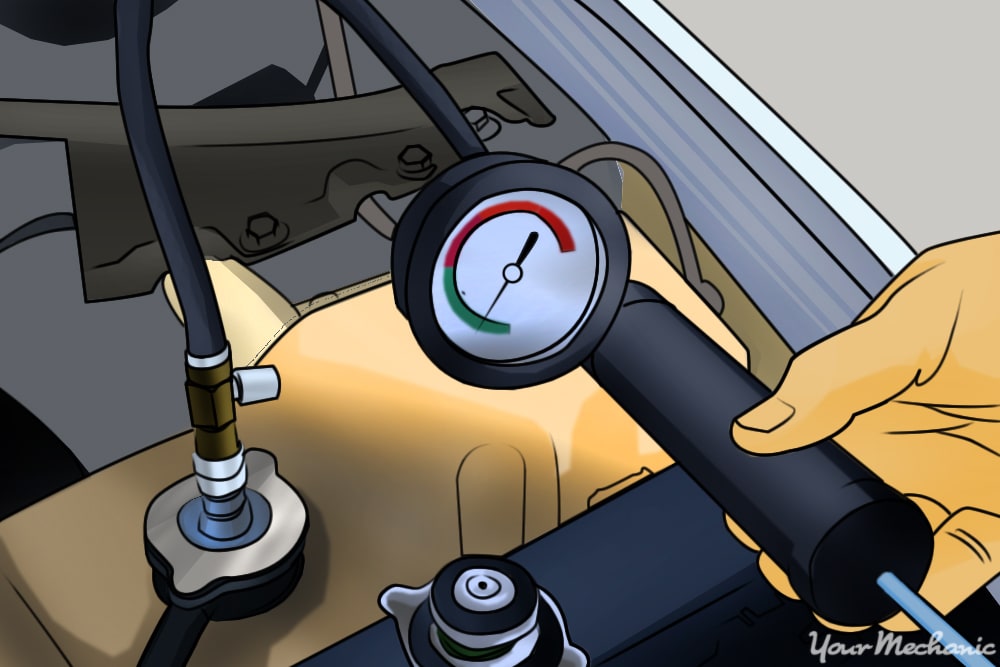
Step 5: Read the temperature rating. A temperature rating will be displayed on the dial of the coolant tester.
If the rating is warmer than the coldest temperature you will likely see this winter, you will need to change your engine coolant.
If the temperature rating is at or colder than the coldest expected temperature, your coolant will be fine for this winter and you can skip ahead to Part 3.
- Tip: Check your coolant temperature rating annually. It will change depending on coolant top-offs and deterioration over time.
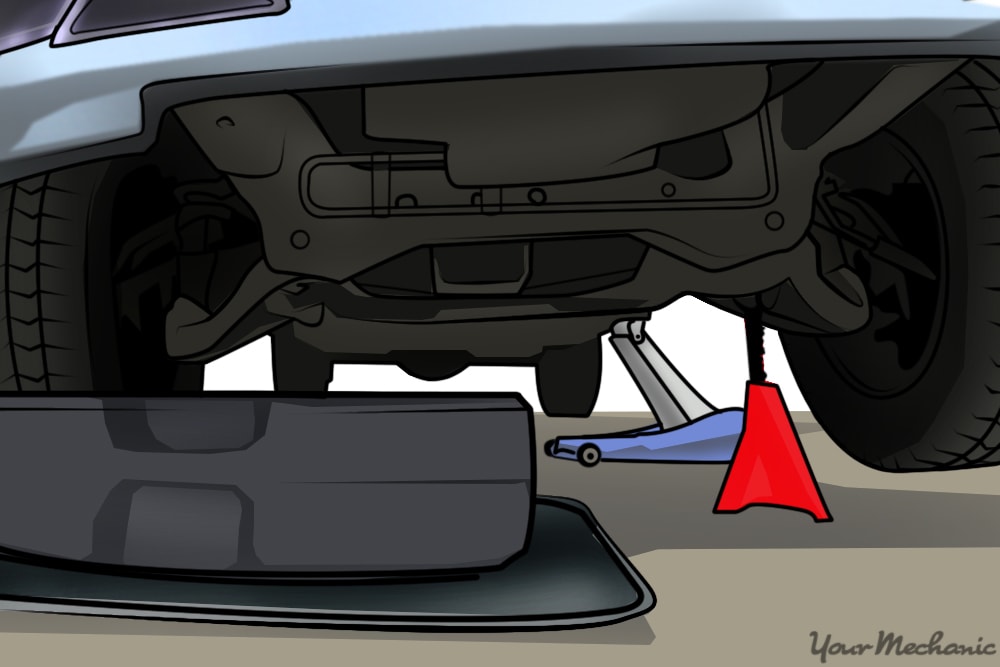
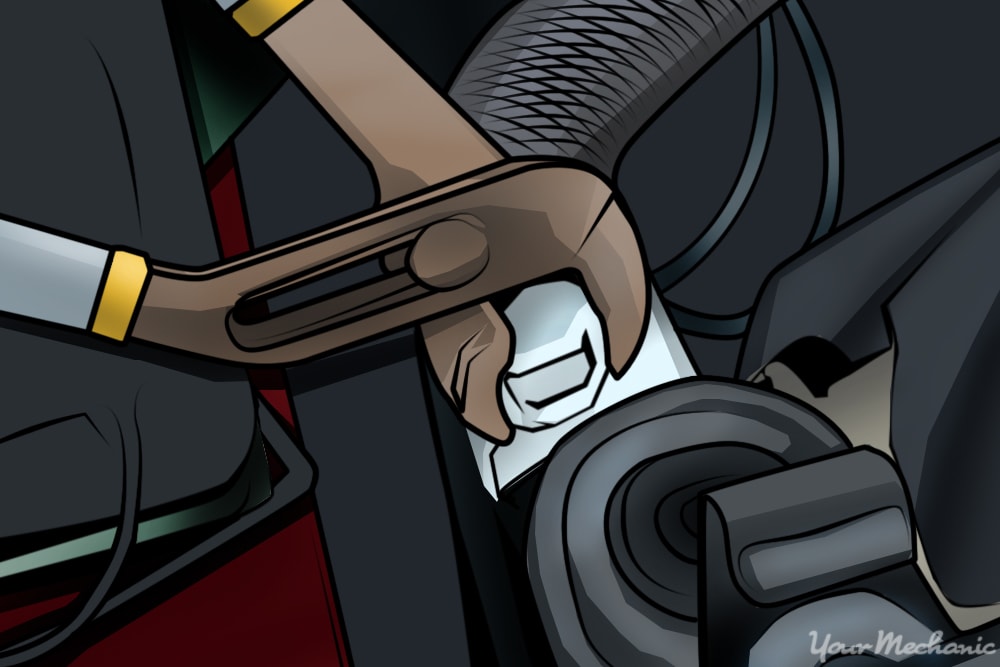
Step 6: Position your catch pan. If your coolant is not adequate, you will need to drain it by first sliding a catch pan under your car.
Line it up with the draincock in the radiator or the lower radiator hose if your radiator doesn’t have a draincock.
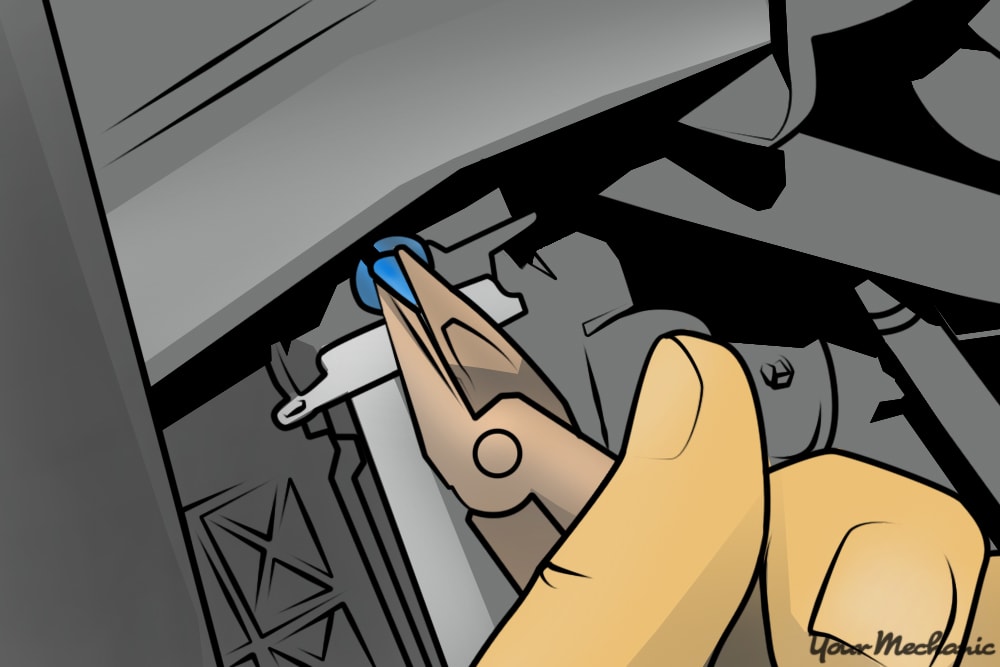
Step 7: Remove the draincock. Unscrew the draincock or remove the spring clamp from the lower radiator hose with your pliers.
A draincock will be located on the engine side of the radiator, at the bottom of one of the side tanks.
Step 8: Release the radiator hose. You may have to wiggle or pry the lower rubber radiator hose off of the radiator outlet.
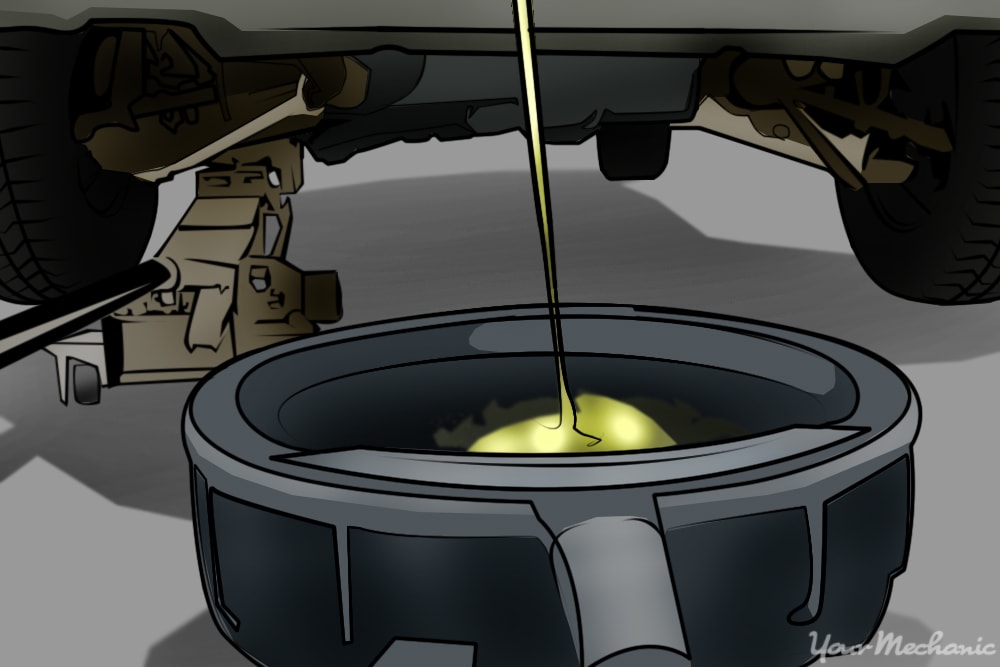
Step 9: Catch the coolant that drains out with your pan. Be sure to catch all of the draining coolant, letting it drain until it stops.
Step 10: Reinstall the draincock and radiator hose, if applicable. Make sure the draincock is tightened completely to seal it.
If you had to remove the radiator hose, reinstall it, making sure that it is fully seated and the clamp is inserted back in place.

Step 11: Fill the cooling system. Fill the tank with the proper amount and strength of coolant.
Using a premixed coolant to be sure of its qualities, fill the radiator completely through the fill cap. When the radiator is full, squeeze the radiator hoses and the heater hoses to push any air bubbles out of the system.
- Warning: Trapped air can form an airlock, which can cause your engine to overheat, causing extensive damage.
Step 12: Start the engine with the radiator cap off. Run the engine for 15 minutes or until it’s at operating temperature.
Step 13: Top off the coolant. As air purges from the system, top off the coolant level.
Step 14: Reinstall the cap and test drive your vehicle. Place the radiator cap back on the system and then drive your car for 10-15 minutes.
Step 15: Park your car. After the test drive, park your car and let it cool down.
Step 16: Recheck the coolant level. Recheck the coolant level once the engine has completely cooled down and top it off as required.
Part 3 of 6: Preparing your windshield washer system
Your windshield washer system is crucial when the temperature drops and the roads get snowy and slushy. Make sure your windshield wipers are in good working order and service them as needed. If your windshield washer fluid is summer fluid or water, it doesn’t have antifreeze properties in it and can freeze in your washer fluid reservoir. If your washer fluid is frozen, you won’t be able to clear your windshield when it gets dirty.
A good rule of thumb for cold climates is to use winter washer fluid year-round and never operate your washer fluid pump when the reservoir is empty.
Materials Needed
- New wiper blades if needed
- Winter washer fluid
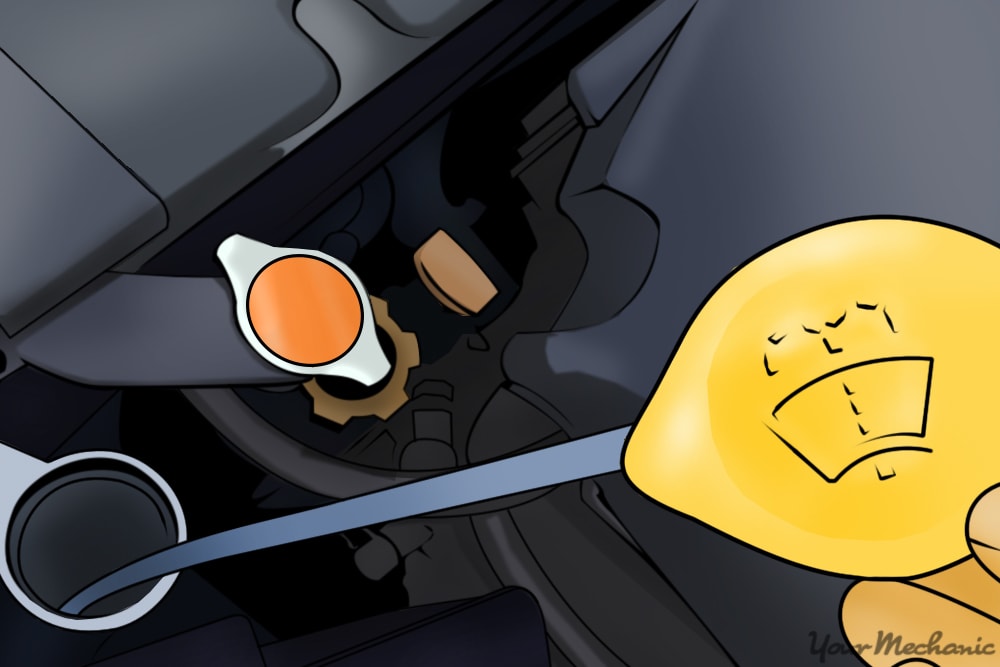
Step 1: Check your washer fluid level. Some washer fluid reservoirs are hidden in a wheel well or behind a shield.
Typically these reservoirs will have a dipstick in the filler neck.
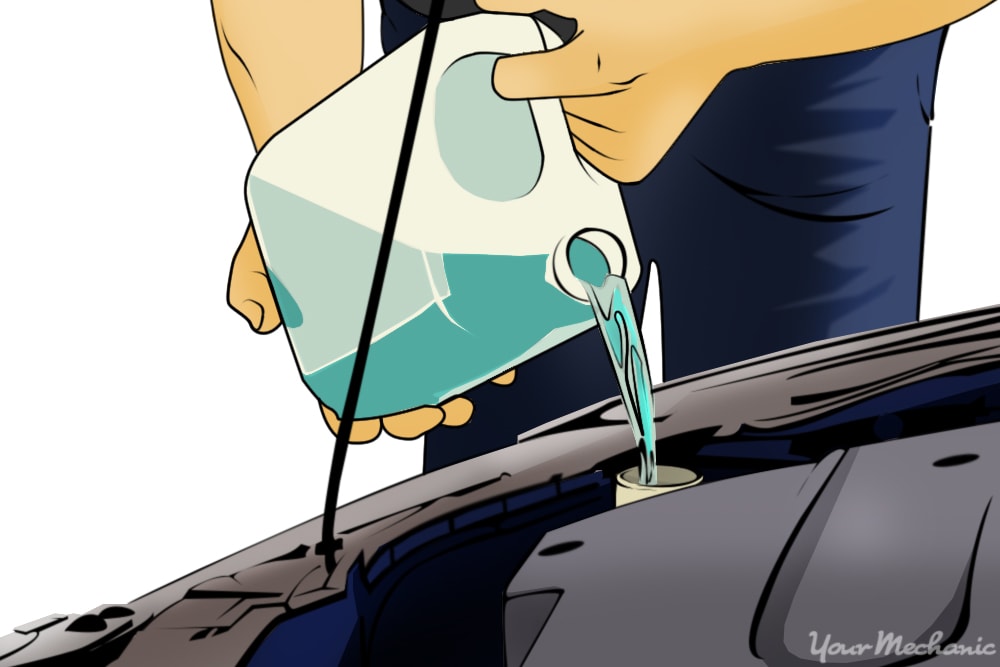
Step 2: Top off the fluid level. If it is low or nearly empty, top off your washer fluid reservoir with winter washer fluid.
Use washer fluid that is rated for temperatures at or colder than the temperatures you expect to experience during the course of the winter.
Step 3: Empty your reservoir if needed. If the washer fluid is nearly full and you aren’t sure if the fluid is suitable for cold weather, empty your washer fluid reservoir.
Spray your washer fluid repeatedly, pausing for 15 seconds between sprays to let the washer fluid pump cool down. It will take quite a while to empty the reservoir in this fashion, as much as a half-hour or more if the reservoir is full.
- Warning: If you spray continuously to empty your washer reservoir, you can burn out your washer fluid pump.
Step 4: Fill your reservoir with winter washer fluid. Once the reservoir is empty, fill it with winter washer fluid.
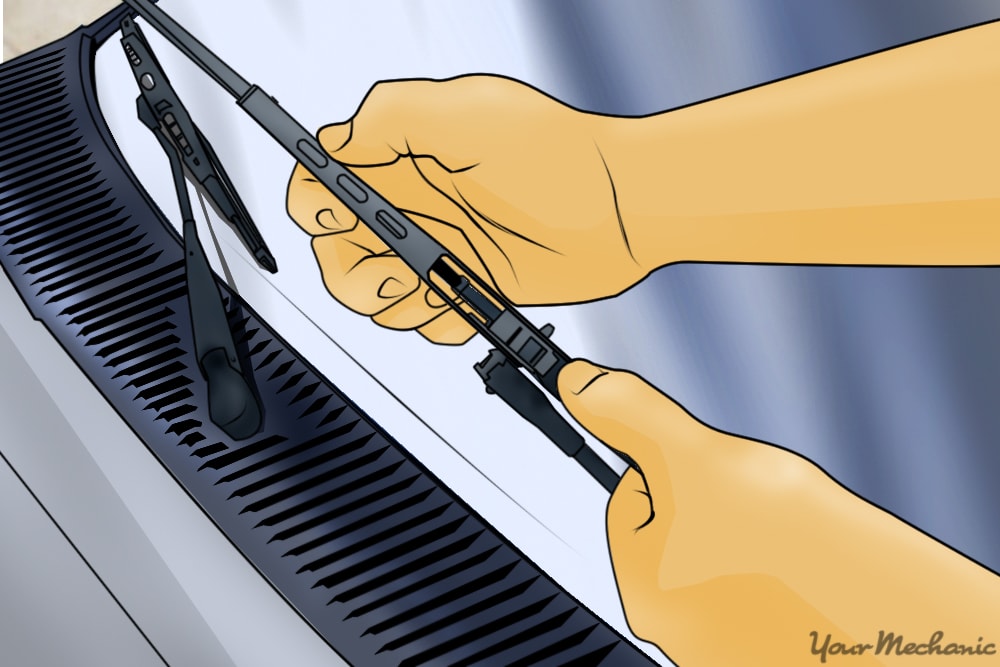
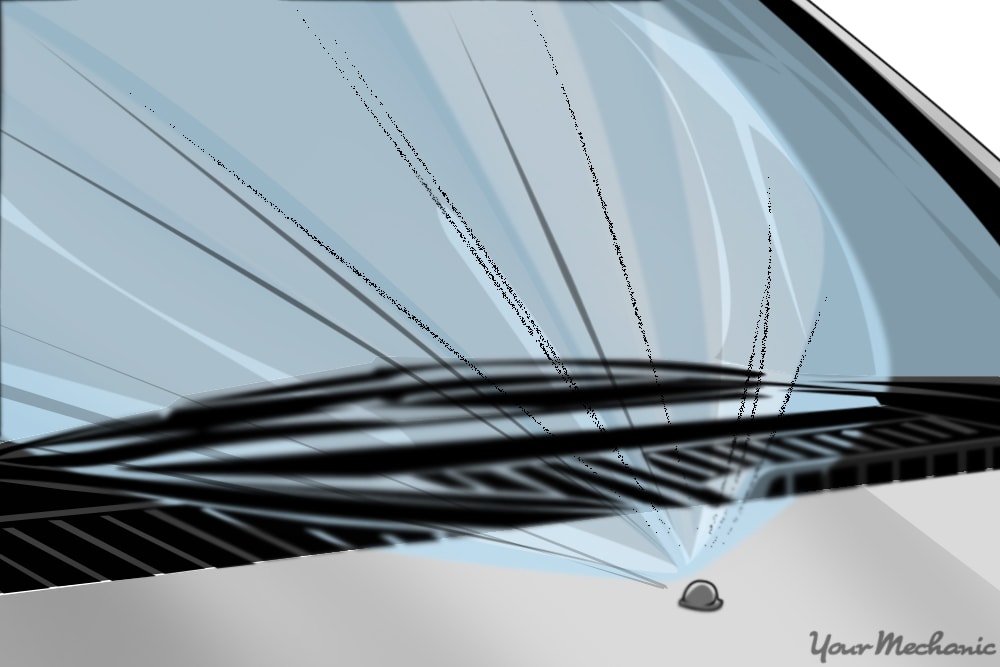
Step 5: Check your wiper blade condition. If your wiper blades are torn or leave streaks, replace them before winter.
Keep in mind that if your wiper blades are working poorly in summer weather, the effect increases exponentially when snow and ice enter the equation.
Part 4 of 6: Performing routine maintenance
While you may not think of performing regular maintenance as part of winterizing your vehicle, there are significant added benefits of doing so before the cold weather hits. Besides just checking to make sure that the heater and defroster are working inside the car, you should also touch on each of the following steps.
Material Needed
- Engine oil
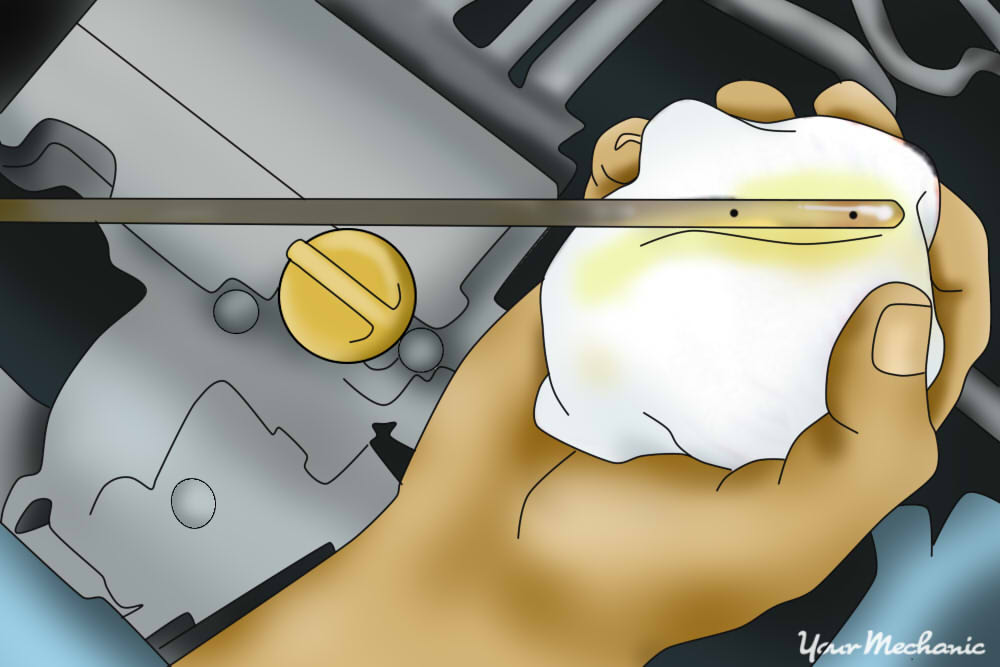
Step 1: Change your engine oil. Dirty oil can be trouble during the winter, so make sure you have the oil changed before the colder months, especially if you live in extreme winter conditions.
You don’t want rough idling, reduced fuel economy, or sluggish engine performance, which can put stress on the engine, potentially contributing to engine problems down the road.
Draining your engine oil also removes moisture that has built up in the crankcase.
Use synthetic, synthetic-blend, or cold weather oil in the particular grade your vehicle requires as indicated on the oil filler cap. Clean oil allows internal engine parts to move more freely with less friction, making cold starts easier.
Have a certified mechanic change your oil for you if you aren’t comfortable doing it yourself.
- Tip: If you’re having the oil changed by a mechanic, the oil filter should be changed as well. Have the mechanic also check the condition of the air filters and the transmission fluid and corresponding filters in the same service.
Step 2: Check your tire pressure. In cold weather, tire pressure can be dramatically different than during the summer. From 80°F to -20°F, the tire pressure can drop around 7 PSI.
Adjust the tire pressure to the recommended pressure for your vehicle, which is written on the driver’s door placard.
Low tire pressures can affect your car’s tracking in the snow and decrease your fuel efficiency, but don’t overinflate your tires as you will have reduced traction in slippery conditions.
With fluctuating winter temperatures, make sure you check the tire pressure often — at least every two to three weeks — since maintaining good tires that are inflated to the optimum pressure is one of the best ways to remain safe on the road during the winter.
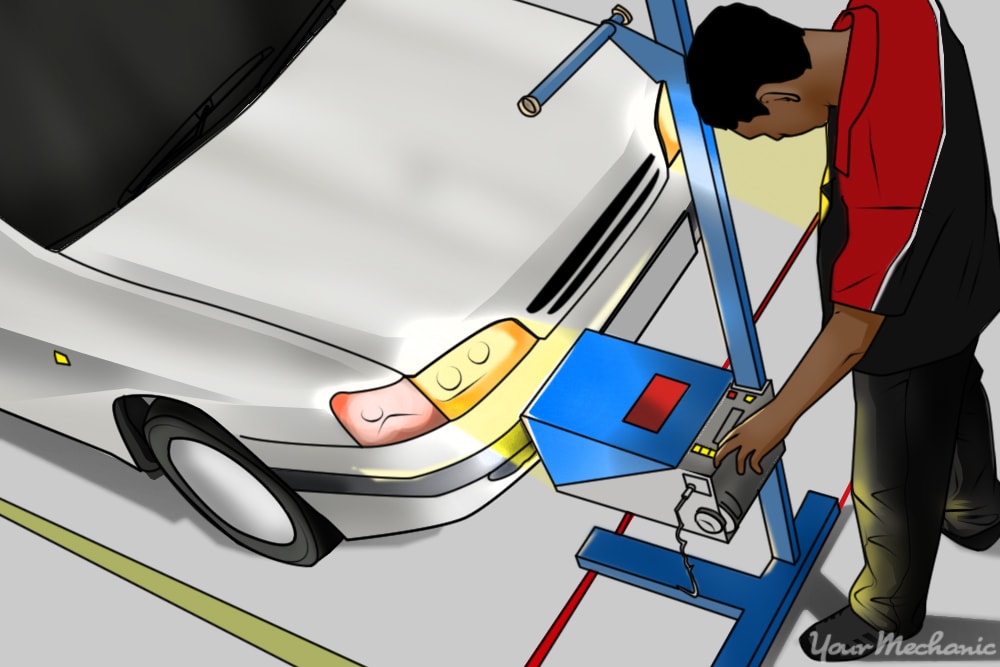
Step 3: Check your lights. Confirm that all your lights are operational.
Check the turn signals, the headlights and their different brightness levels, the marker lights, the fog lights, the emergency lights, and the brake lights to ensure everything works, and have any replaced as needed. Many accidents can be avoided with working lights as these help other drivers discern your location and intentions.
- Tip: If you live in extreme weather conditions, always make sure all your lights are free of snow and ice before you drive, especially in foggy, snowy, or other reduced visibility conditions, or at nighttime.
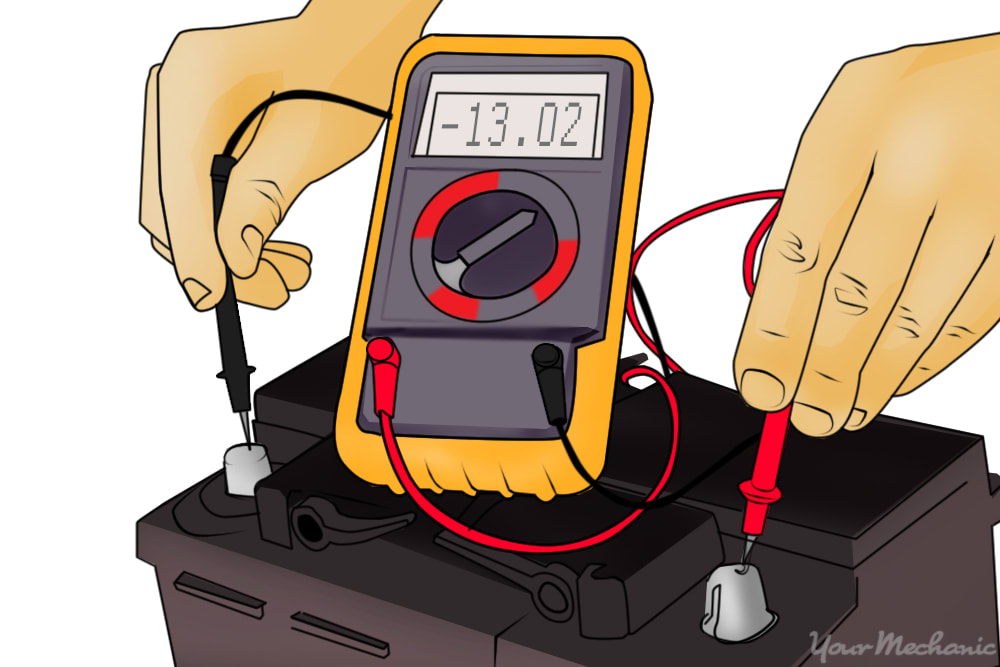
Step 4: Check your car’s battery and electrical components. Though not necessarily part of your regular maintenance routine, it is important to check the condition of the electrical components under your hood, especially the battery, because cold weather can be very hard on the battery’s charging capacity.
Check the battery cables for wear and corrosion, and clean the terminals as necessary. If there is wear on the terminals or the cables, replace them or have a mechanic replace them for you. If there are any loose connections, make sure you tighten them. If your battery is aging, make sure you test the voltage or have the voltage level checked. If the battery is reading in the 12V range, it is losing its charging power.
You must keep a close eye on it under cold conditions, and if you live or drive in more extreme temperatures, consider having it replaced before winter starts.
Part 5 of 6: Using the right tires for your conditions
Step 1: Consider winter tires. If you drive in a climate that sees a cold, snowy winter for three or more months of the year, explore the possibility of winter tires.
Winter tires are made of a softer rubber compound and don’t firm up the same way all-season tires do. There are more sipes, or lines, in the tread blocks to enhance traction on slippery surfaces.
Summer or all-season tires lose effectiveness at temperatures below 45°F and the rubber becomes less pliable.
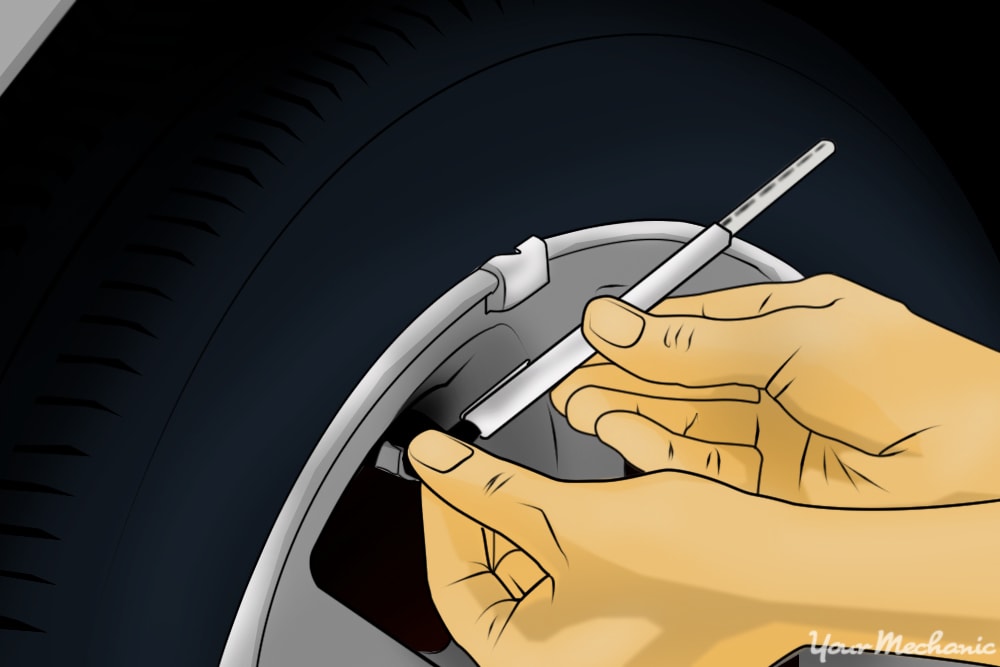
Step 2: Determine if you already have winter tires. Check for a mountain and snowflake icon on the side of your tire.
This icon indicates that a tire is good for use in cold weather and in the snow, whether it is on a snow tire or an all-season tire.
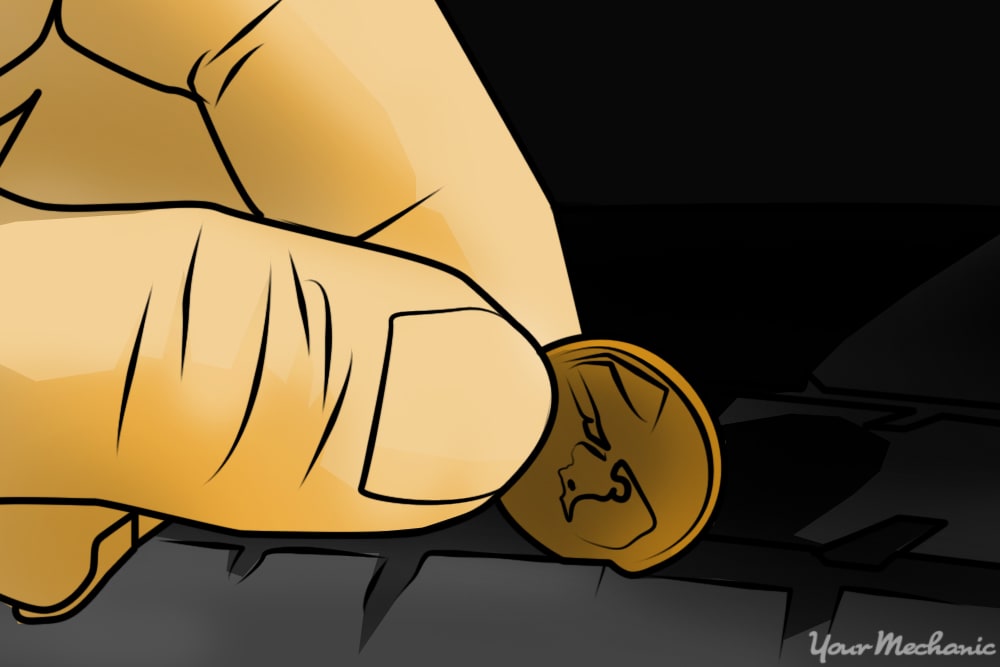
Step 3: Check your tread depth. The minimum tread depth to operate your car safely is 2/32 of an inch.
This can be measured by inserting a penny with Lincoln’s head upside down between the tread blocks of your tire. If the top of his head is visible, the tire needs to be replaced.
If any part of his head is covered, the tire still has life left. The more tread depth you have, the better your traction will be in the winter.
- Tip: If a mechanic is checking the tires for you, make sure they check the condition of the brakes as well.
Part 6 of 6: Storing your car in the winter
Cold, wet weather can do damage to your car’s paint, especially if you live in an icy or snowy area where road salts are used often. Keeping your car sheltered will reduce damage caused by road salts, help prevent fluids from losing their viscosity or freezing, and keep ice and snow off of your lights and windshield.
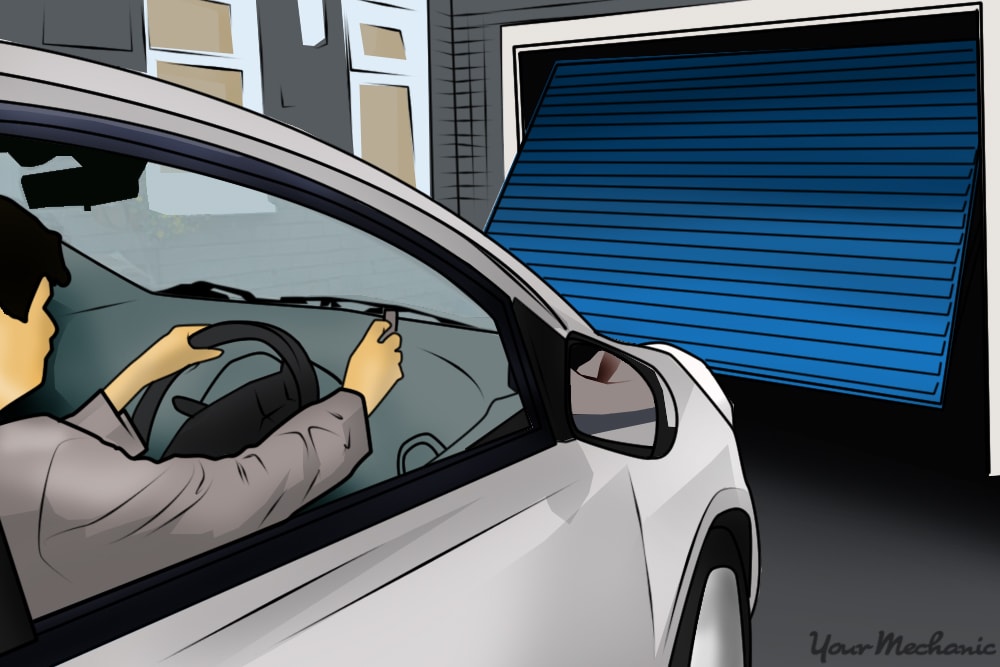
Step 1: Use a garage or carport. If you have an indoor shelter for your car, make sure you store your car there whenever it is not in use.
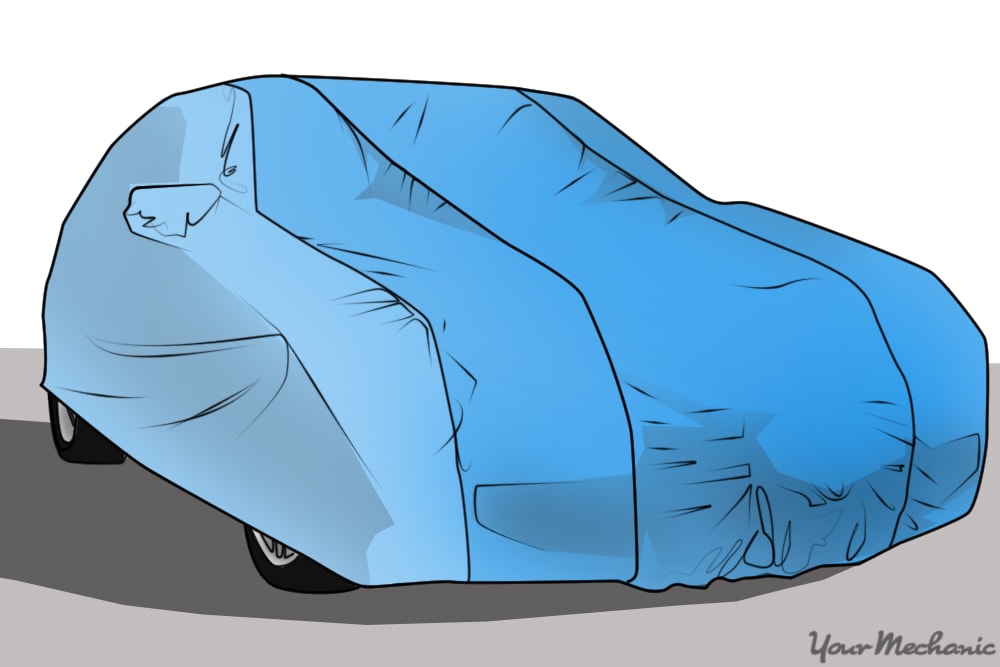
Step 2: Get a car cover. If you do not have access to a garage or carport for your car during the winter, consider the benefits of purchasing a car cover.
Preparing your car for winter is essential to keeping you safe while driving and in the event of a breakdown. This is especially important if you live in a rural area and/or an area where winters are long and harsh. If you need any advice on how specifically to winterize your vehicle, you can Ask a Mechanic for quick, detailed advice that can go a long way to getting you ready for winter.
