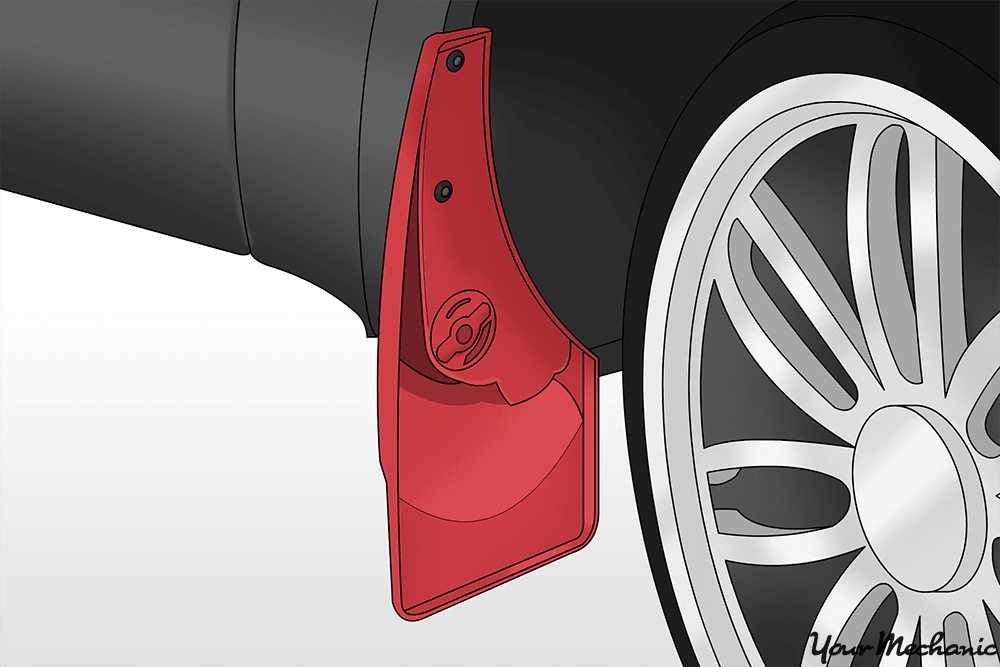
Mud guards can be a very useful addition to any vehicle that potentially may drive off-road, since rocks, mud, and snow thrown from a tire may damage a vehicle’s body or suspension components. Mud guards typically sit behind the wheels of the vehicle to deflect any debris that is thrown while driving on loose terrain. This article will review some of the options available for those who wish to add mud guards to their current vehicle, as well as a rundown of some common installation methods.
Part 1 of 3: Knowing the options
For the sake of this article, we’ll divide mud guards in two two groups, custom and universal. From these two groups, we can also divide further into guards that need to be attached with a drill and those that do not. We’ll look at a few different options to see how these groups overlap.
Step 1: Decide how heavy-duty you need your mud guards to be. Casual off-roaders may not need the same protection as drivers who frequently off-road.
If you plan on driving off-road or in more extreme weather conditions frequently, you may want to invest in heavier-duty mud guards.
Step 2: Decide whether you want custom guards or universal ones. As you can guess, universal guards are going to be less expensive, but may not fit as nicely as custom guards.
Guards that are custom fit for your vehicle are going to be the most effective at stopping potentially harmful debris from kicking up into your wheel well or into other body components.
Step 3: Shop around for the best price. Different websites may offer different prices depending on the kind of mud guard you’re looking for.
For example, custom Husky Liners mud guards for a 2012 Jeep Wrangler are priced the same whether you buy them from Husky Liners itself, or JC Whitney. As you research, you might find that you can get a better deal shopping on one website versus another.
Part 2 of 3: Installation of mud guards without drilling
WeatherTech and Gatorbacks offer mud guards that do not require you to drill holes through your vehicle’s body. Full installation instructions for the WeatherTech system are available online, and instructions come with the Gatorbacks product; however, to supplement those instructions, we’ve included some helpful tips for those who may have some concerns about attempting this installation on their own.
Materials Needed
- Allen wrench (included in kit)
- Nut driver or ratchet and socket set
Step 1: Park your vehicle on level ground before installing the mud guards. For your own safety, always assume a vehicle will roll or run away when working underneath or around the wheels.
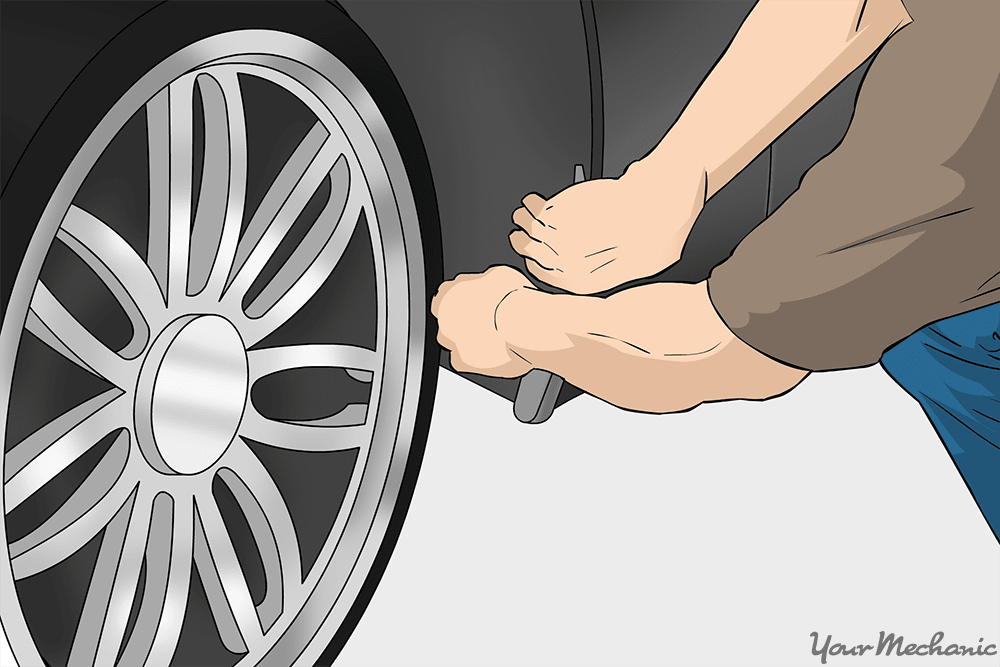
Step 2: Turn the wheel in the in direction of the side you’re working on. This can create more space for you to work in.
For example, if you are working on the front left wheel, you’d turn the wheel to the left and vice versa.
Step 3: After installation, pull gently on each mud guard to ensure it is secure. Also be sure to firmly tighten any fasteners that were used in assembly.
Part 3 of 3: Installation of mud guards with drilling
Other mud guards will require you to drill holes in the vehicle for assembly. Following are some general installation instructions - however, you should be sure to consult any specific installation instructions that come with the product you purchase.
Materials Needed
- Drill with 1/8” drill bit
- Screwdriver (Phillips)
Step 1: Wash the area into which the mud guards will be drilled. Because you are drilling through the paint, primer, and body, you may be creating an area for rust to form if the area surrounding these new holes is not cleaned properly.
Step 2: Make sure you have enough clearance to properly install the mud guards. Even though you may have bought mud guards customized to your vehicle, you should still check to make sure they fit nicely.
Custom mud flaps may not work properly if a vehicle has been lifted or has been fitted with larger tires. Poorly fitting mud guards may wear down quicker than ones that fit properly, and may not protect as well.
Step 3: Mark spots on the fender where the holes will be drilled. Use your mud guard as a template.
Custom mud guards typically indicate where the hole should be drilled to ensure a nice fit.
Some vehicles come with pre-marked spots to drill when attaching mud guards. Be sure to use the vehicle’s pre-marked spots when installing any new mud guard that requires a drill.
-
Tip: If you’re having difficulty marking your fender, have a friend hold the mud guard while you make your marks.
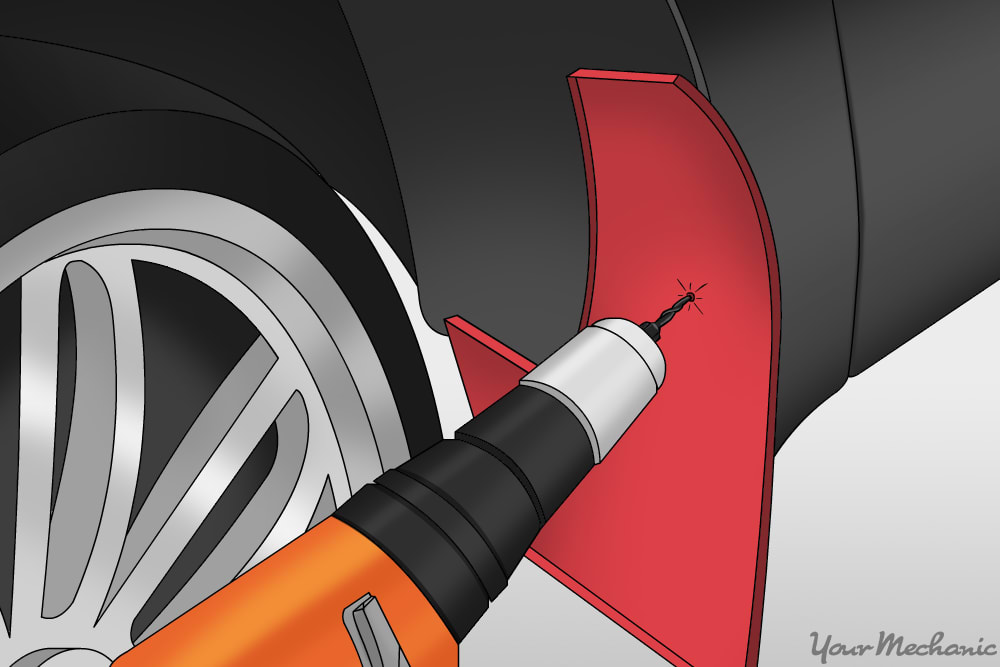
Step 4: Drill holes in each of the spots you have marked. The mud guard should be set aside for this step.
Apply constant pressure to the back of the drill to make sure the bit is pushed straight through the fender.
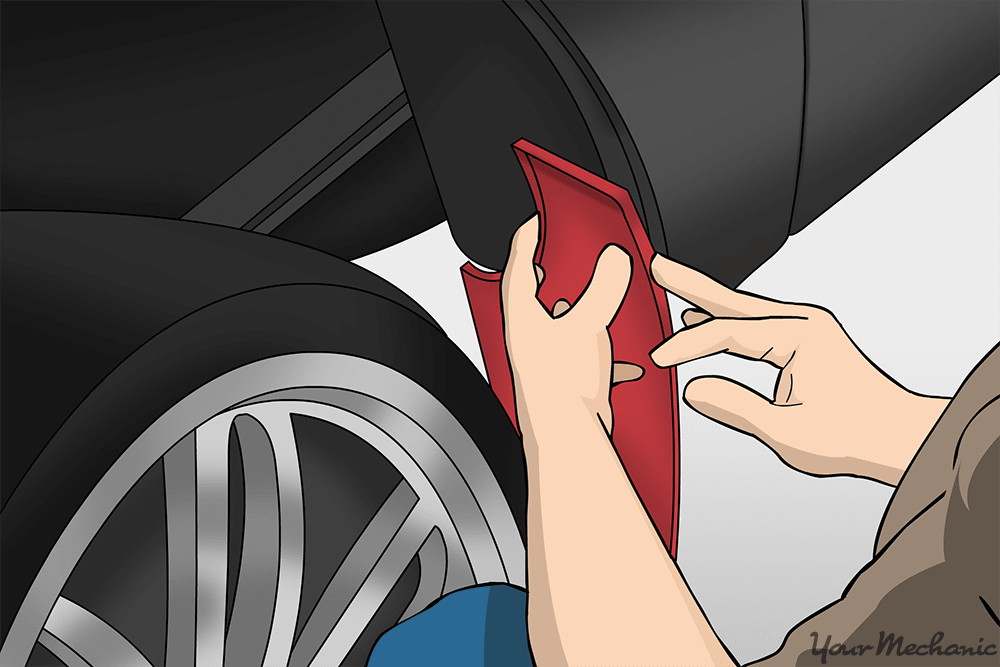
Step 5: Using the included fasteners, attach the mud guard to the fender. Be sure not to tighten any of the screws until each one is attached and you can check for a good fit.
- Note: Some mud guards, like the Husky Liner, include a thin film to help protect the paint on the inside of the fender. Be sure to follow any included instructions when attaching a paint-protecting film.
Adding mud guards to a vehicle that will be driven on a variety of terrain types can go a long way toward extending the life of body panels and suspension components. Mud guards can also help add style to a vehicle, especially if you purchase the guards with a vehicle logo.
