
Usually the phrase "car wash" brings to mind a big conveyor belt of brushes and sprayers, but often self-service car washes just look like a big empty garage with a high-pressure sprayer. They are certainly not particularly inviting, and many people avoid them entirely because they simply do not know how they work. Many self-service car washes are unmanned, and the directions on how to operate the sprayer are often faded and difficult to read, especially at night.
Once you know how to operate a self-service car wash, then you can start to appreciate the advantages they offer. They are generally less expensive, and their hours are usually much more accommodating. Automated car washes can also damage small parts on the outside of a vehicle such as antennas and spoilers, and that risk alone can turn people to the world of self-service car washes.
Part 1 of 1: Using a self-service car wash
Step 1: Park the car. Pull your car into the garage-like bay and position it directly down the middle. If there is a spot marked out on the floor to park, use that as a guide.
Make sure there is enough room to walk all around the vehicle. In addition, make sure to check and see if your vehicle is close enough to the sprayer to wash both sides.
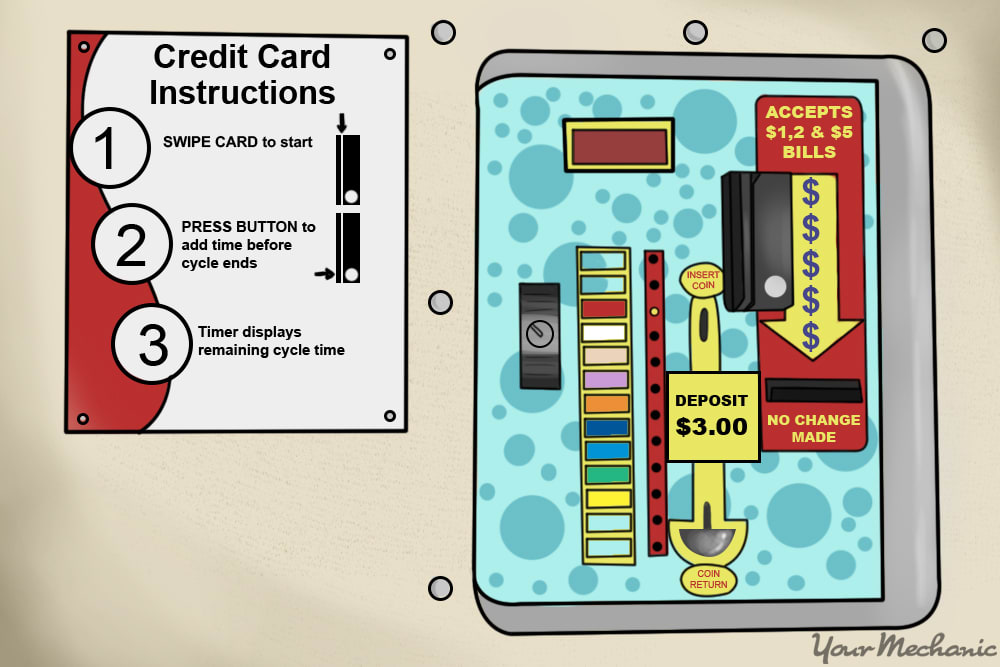
Step 2: Know the appropriate payment method. Be prepared to pay for the wash. While this step seems simple enough, some machines take cash, some take cards, and some only take quarters. Make sure you are prepared to wash the car and put money into the machine.
If the machine uses a credit or debit card, follow the steps closely to avoid charging more than once. Avoid using the machine if it looks suspicious, especially if it is the credit card type.
- Note: If the machine only takes quarters, there may be a change machine in the vicinity of the bays, but it is best to bring your own.
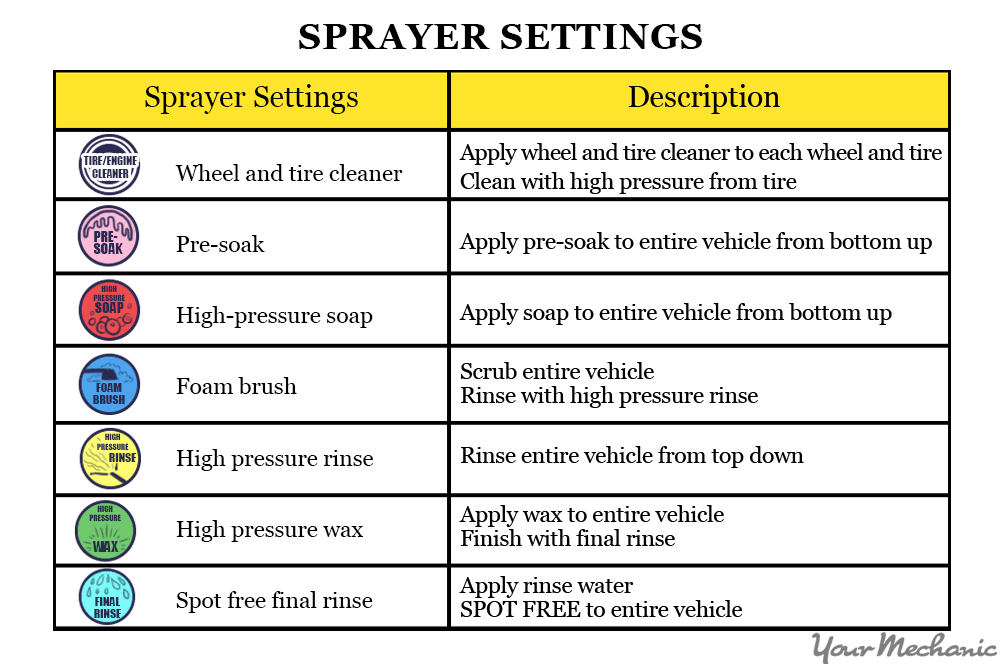
Step 3: Learn the sprayer settings. Some sprayers are extremely basic, having only one or two different power settings. Others are more advanced, and may offer a sequence of different washes for properly washing your car.
The basic settings are as follows, though some car washes add more in between:
Wash: This setting gets all of the easily removed dirt and grime off of the vehicle.
Soap: Soap cleans more deeply than water can and can thoroughly remove dirt, salt, grease, and other debris from the road that is deep in the car’s surface.
Rinse: In this setting, all of the soap is rinsed off of the car so that it can drive away cleaner than ever.
Note: Some car washes have a “pre-wash” and a “wax” setting. If this is the case, note that the pre-wash is done before the wash, and waxing is the last step.
Step 4: Remove any interior parts you may want to wash. Once you have a handle on how the sprayer works and how much the wash will cost, lay out anything from the interior that you want to wash on the ground next to the vehicle.
This may include the floor mats, ash tray, or removable storage compartments.
Step 5: Put money into the machine. Now you are ready to put money into the machine and begin washing.
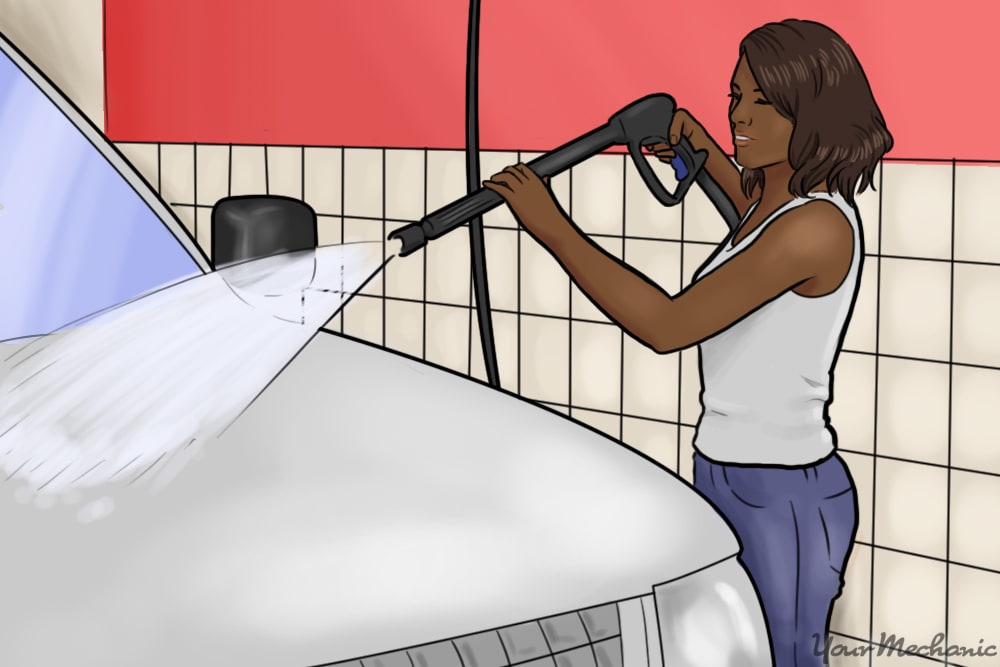
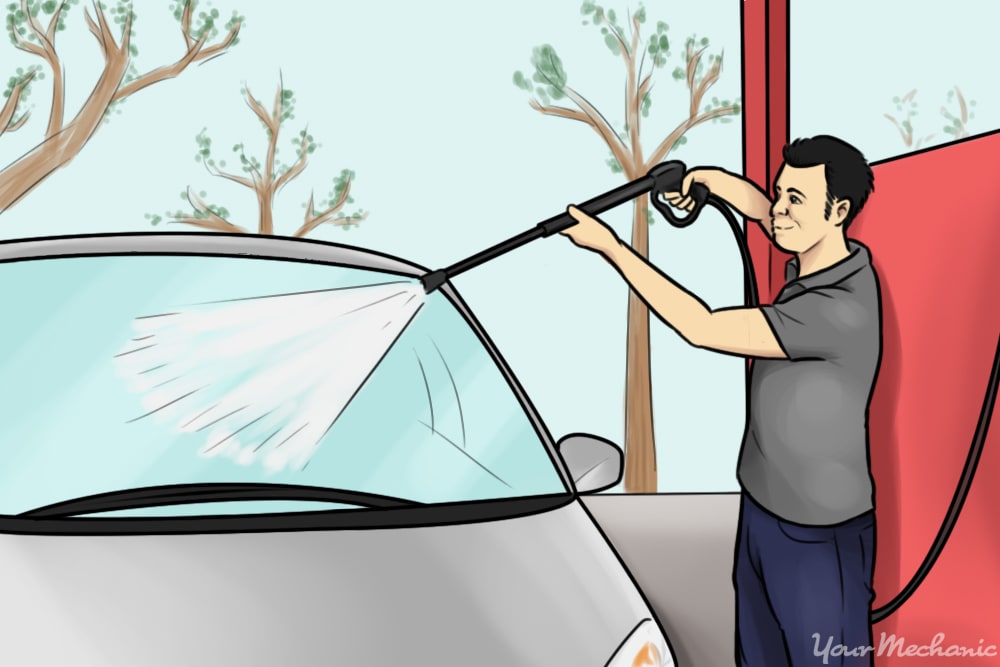
Step 6: Begin washing the car. Use the “pre-wash” setting — or “wash” if there is no “pre-wash” setting — and spray down the whole car from top to bottom.
Point the sprayer away from yourself and stand back a reasonable distance, usually 3-5 feet, from the vehicle.
Be sure to wash each side and to get water into the wheel wells and on the underside of the vehicle. Also rinse off any interior pieces on the ground.
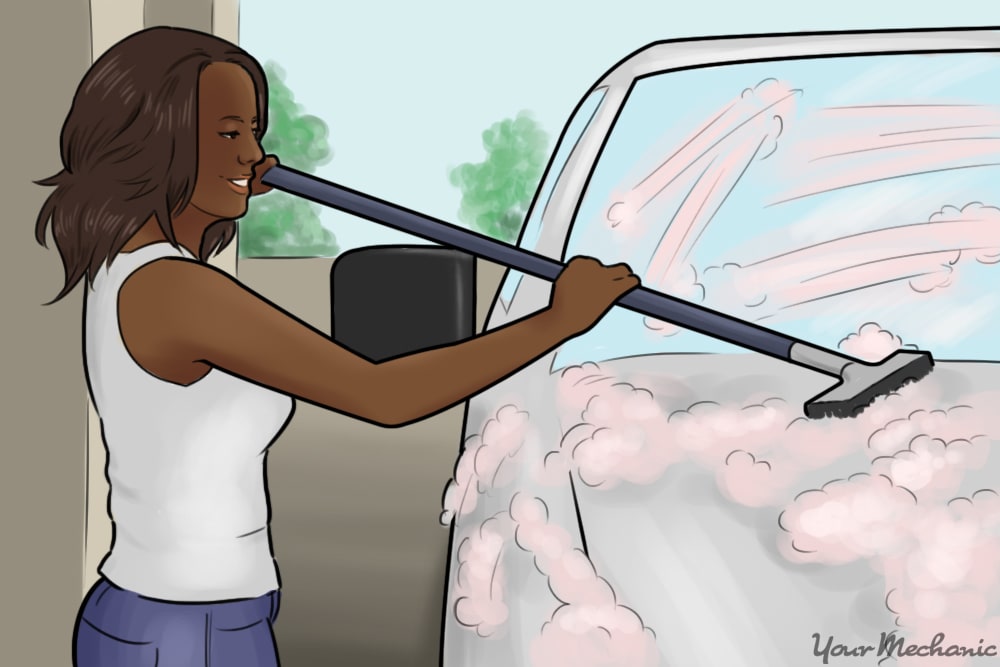
Step 7: Cover the car in soap. Once everything is wet, go ahead and set the machine to either “wash” or “soap,” depending on what step the machine says to do next (different brands may phrase the stages differently!). Cover the car, top to bottom, in suds.
If the interior pieces are particularly dirty, they can be covered in soap too. Do a couple of passes over the car to make sure it is as soapy as possible.
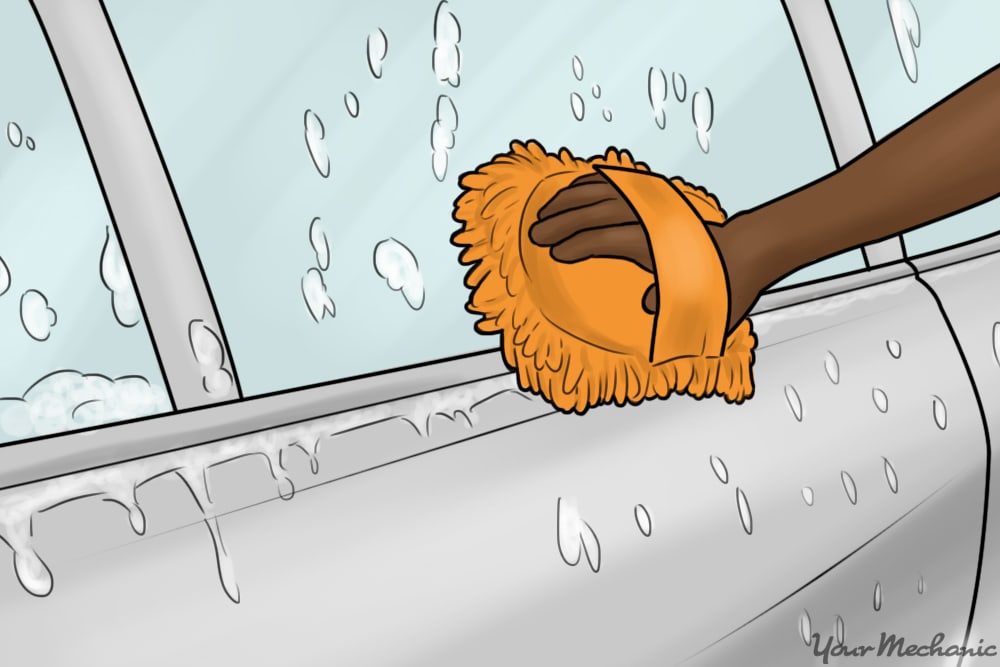
Step 8: Wipe the car down with a sponge. Many car washes will have a foam sponge there, ready to use.
If this is the case, rinse the sponge very thoroughly before wiping the car down with it, as there may be dirt and sand stuck in the sponge that could scratch the paint. It is better to bring your own or buy a fresh one, but obviously that is not always practical.
Scrub the whole car down, making sure to go over every spot at least once.
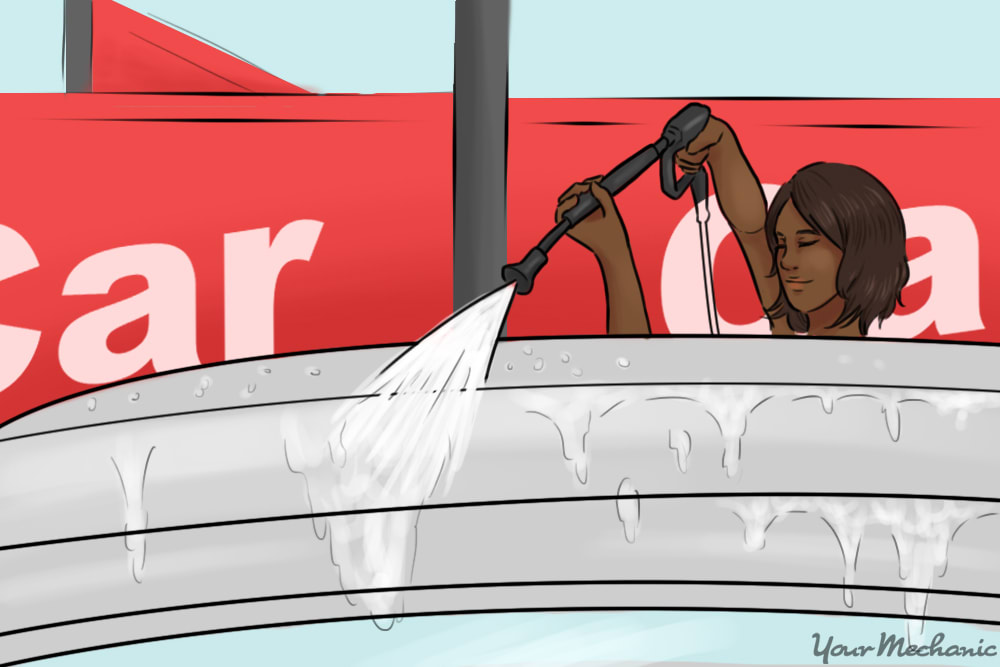
Step 9: Rinse the soap off of the car. Now you can set the machine to “rinse.” This setting just sprays water from the sprayer, so thoroughly wash off all of the soap from the vehicle’s surface and from the interior parts on the floor.
- Tip: Go over everything two or three times to ensure the soap is washed off, otherwise the soap can make little spots on the paint that make the car appear dirty.
Step 10: Wax the car (optional). If the machine has a “wax” setting that does not cost extra, it is a good idea to spray the vehicle down while on this setting.
While usually unnecessary, the wax setting coats the vehicle with a fine layer of wax that acts to protect the surface of the paint.
If it costs extra, it is probably not worth the added cost unless the paint is really in distress. Someone washing a lot of salt or coarse dirt off of their paint may want the wax spray.
- Warning: Do not spray wax onto any interior pieces.
Step 11: Use the full time that the sprayer allows. Always use the entire duration of the time that the sprayer allows (it will shut off automatically when it’s done), and use any extra time to rinse everything down thoroughly.
Step 12: Dry any interior parts. Be sure to dry interior parts off before placing them back into the vehicle.
Once you know your way around one self-service car wash, you’ve pretty much learned them all. There are slight differences, but the basic idea is the same. Keep in mind that regular washing and waxing helps maintain a vehicle’s paint, and peeling paint severely hurts the value of a car.


