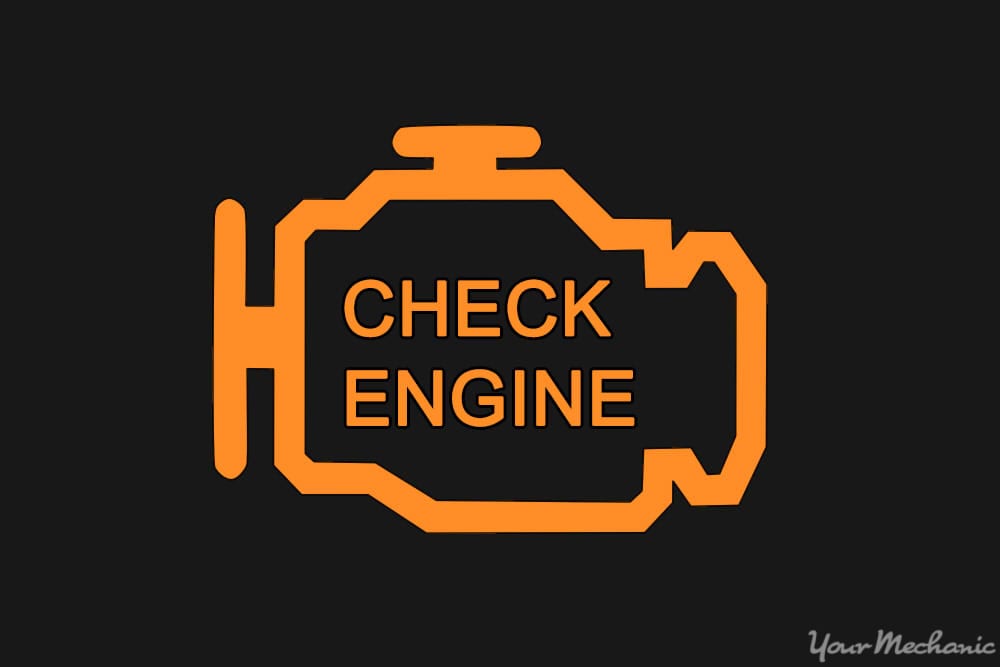

There are many warning lights that can illuminate on your dashboard. They can be indications of a pending failure in any number of your vehicle's systems. The Check Engine Light is the main indicator used by your vehicle's computer to warn of a pending or current problem within the powertrain. Many people ignore their warning lights, and over time this can cause more costly damage to the vehicle. Knowing some of the common symptoms that turn on the light and how to reset it can help you to avoid more serious problems.
Part 1 of 6: Why the Check Engine Light comes on
The Check Engine Light can come on for any number or reasons. When your vehicle's onboard computer detects something is not right, it illuminates the light. This can be an indication of a minor or major problem.
Symptom 1: The Check Engine Light comes on solid, but the vehicle is running fine. This can be caused by anything from a sensor that is reading incorrectly to a loose gas cap.
If your car is running fine but the light comes on many times, it is still fine to drive. It is important to have the vehicle checked out as soon as you have a chance.
Symptom 2: The Check Engine Light comes on and the vehicle is showing signs of problems. This means that the computer is detecting an issue within the powertrain, and that it is affecting the way that the vehicle performs.
This can also be caused by a sensor failure, but it can be something more serious or can indicate that a part - such as a fuel pump - may be failing. You should get the vehicle to a shop right away.
Symptom 3: The Check Engine Light is on and is flashing. When the Check Engine Light flashes, that indicates a very serious problem.
Most of the time this is a sign that there is an engine misfire. When the Check Engine Light illuminates and flashes then the vehicle should not be driven any further, as serious damage can occur.
Part 2 of 6: Preparing to reset the Check Engine Light
Before attempting to diagnose a Check Engine Light, it is important to properly inspect the vehicle first and have the necessary tools. You should inspect the fluid levels and top them off. Once the fluids are checked you can move to diagnosing the vehicle.
Materials Needed
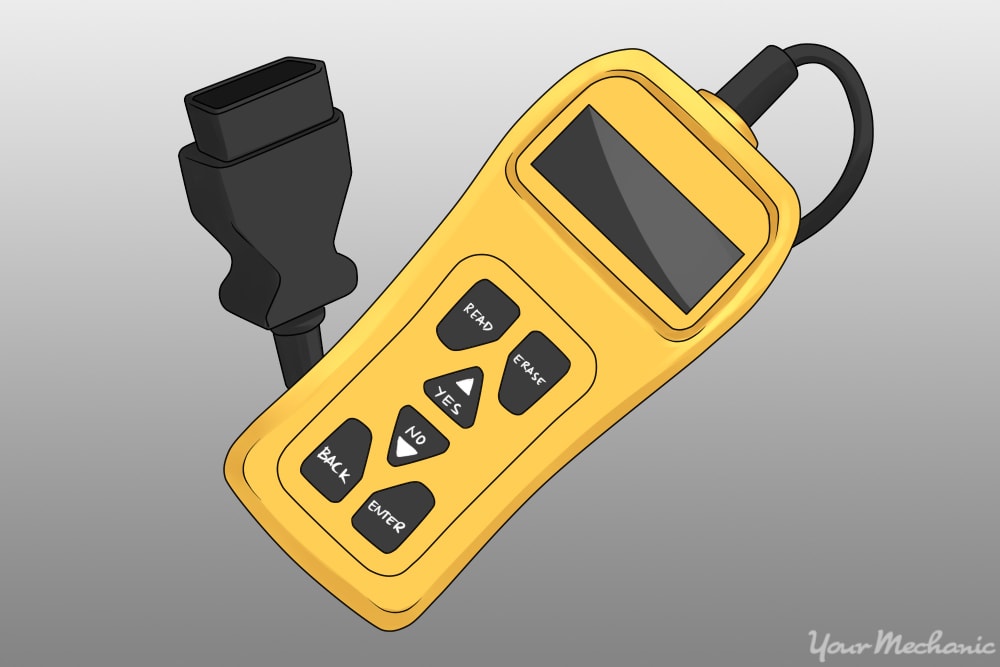
- Computer scan tool or code reader
- Repair manual with trouble code descriptions
Part 3 of 6: Scanning for codes
Step 1: Park your vehicle and turn the engine off.
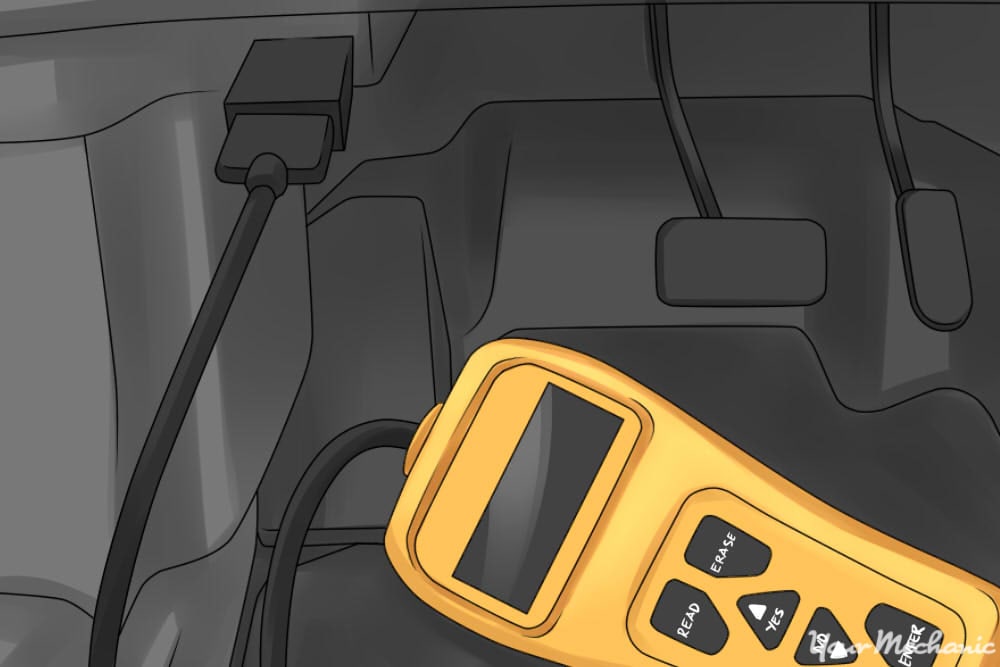
Step 2: Locate the data link connector (DLC). The DLC is located under the driver side of the dash.
Step 3: Plug your scan tool into the data link connector.
Step 4: Turn the ignition on. Once the ignition is turned on, the scan tool should begin to try and connect to the computer.
- Tip: If the scan tool does not connect, then there may be a power loss to the data link connector. Many vehicles use the cigarette lighter fuse to power the connector, but you need to refer to a wiring schematic if there are power issues.
Step 5: Follow the prompts on the scan tool. This will allow you to scan the computer for codes.
Step 6: Record the codes that you retrieve in order to repair the vehicle.
Part 4 of 6: Fixing the problem
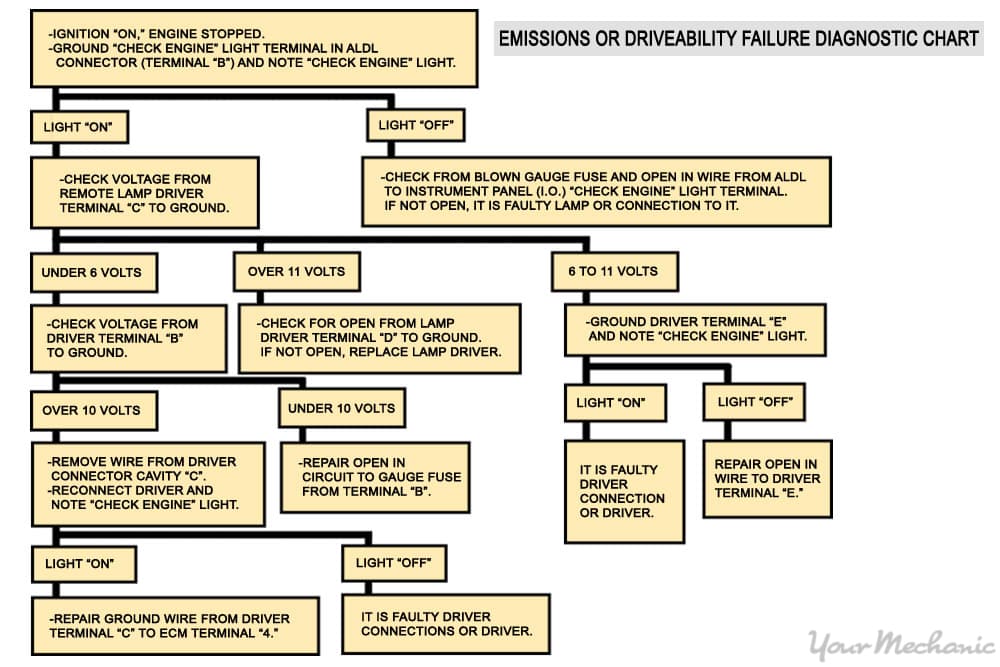
The vehicle’s computer gives out trouble codes according to what it sees as a problem. These codes are indications of the area that the problem is in, but they are not a true diagnosis of the problem. Depending on the codes that you retrieve, it is important to follow the manufacturer’s diagnostic tree to locate and repair the problem. This will keep you from replacing any parts that are not in need of replacing.
Example: A code P0301 is generally a code for an engine misfire on the number one cylinder. Following a diagnostic flow chart will run you through a series of steps to be able to diagnose why this problem is occurring.
It is important to repair the problem before clearing the codes from the system. Failure to do this can result in repeated problems and possible extensive damage to the vehicle's powertrain.
Part 5 of 6: Clearing the Check Engine Light
This should only be done once any and all repairs are done.
Step 1: Install the computer scan tool.
Step 2: Turn the ignition on. Do not start the engine.
Step 3: Proceed to the clearing or erasing menu on the scan tool. Follow the prompts on the scan tool’s screen to get to the menu.
Step 4: Erase or clear the codes.
Step 5: Remove the scan tool and test drive the vehicle. If the Check Engine Light comes back on, then there is still an issue with your car.
Part 6 of 6: If the Check Engine Light returns
The Check Engine Light can come back on within minutes, days, weeks or months. A Check Engine Light that comes back on is an indication of a more in-depth problem. If the problem is a reoccurring issue, then a professional diagnostic must be done. A certified mechanic from YourMechanic will diagnose the Check Engine Light by performing more complicated tests using a digital multi-meter, as well as a computer scan tool that has the ability to see all of the sensor inputs.


