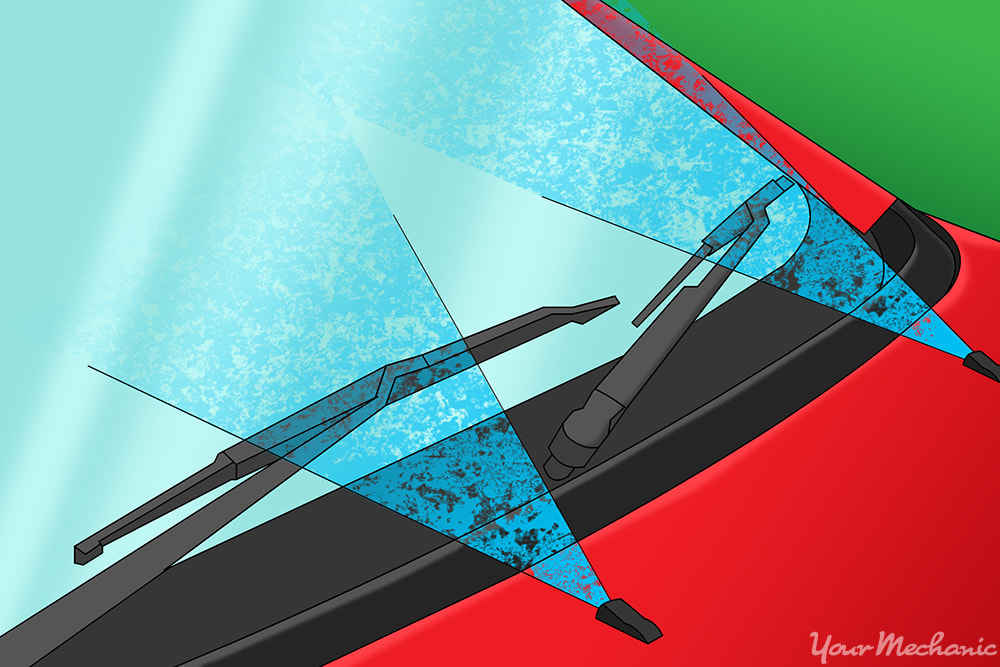

A windshield washer nozzle is designed to spray washer fluid (a fluid mixed with water and methanol) in a directional mist onto the windshield. Some washer nozzles are mounted on the hood and some are mounted on the arms of the washer blades. Most washer nozzles are mounted on the body between the hood and the windshield.
When you operate a nozzle sprayer switch, there should be washer fluid spraying out onto the windshield. If a washer nozzle is broken, then the washer fluid will not spray a hard mist but rather come out like a running faucet hose with no restrictions. You may also see washer fluid leaking from the nozzle.
Materials Needed
- Butt connectors
- Flashlight
- Flat head screwdriver, medium
- Needle nosed pliers
- Side cutters
- Wire crimpers
- Wire strippers
Part 1 of 2: Removing the windshield washer nozzle
Step 1: Remove the washer nozzle line. Using needle nosed pliers, carefully remove the line from the washer nozzle. Depending on the washer nozzle setup, it may located by the firewall, on the back of the hood, or on the wiper arm.
- Note: If the nozzle is on the wiper arm, you must first lift the wiper arms off the windshield in order to remove the line.
Step 2: Remove the nozzle. Use a medium flat head screwdriver to push in the tabs on the washer nozzle and pop out the nozzle. If the nozzle is retained by a screw, unscrew it first and then the nozzle will come off.
- Note: Some vehicles may have a hood protector. You will need needle nosed pliers and a flat head screwdriver to remove the protector so you can access the windshield washer nozzles.
Step 3: Remove the heater (if applicable). If your windshield wipers have heaters, remove the harness attached to the washer nozzle. If the harness has no disconnect plug, you will have to use side cutters and cut the wires.
You will need wire strippers to strip off the coating from the wires to show bare wires. This will help with installing the new washer nozzle.
Part 2 of 2: Installing the new windshield washer nozzle
Step 1: Attach the nozzle. Pop in the new washer nozzle into the same place you removed the old one from. This will be either be on the vehicle body, on the back of the hood, or on the wiper arm.
- Note: If you had to remove a hood cover, you will need to reinstall the cover. The cover clicks back onto the hood, or you may need to install screws into the hood to secure it.
Step 2: Attach the line onto the new washer nozzle. If the line had a retaining clamp, use needle nosed pliers to put the retainer clamp back onto the line. Install the screw into the washer nozzle if you had to remove a screw.
Step 3: Reattach the heater harness (if applicable). Connect the harness to the washer nozzle. If you had to cut the harness to remove the washer nozzle, then use wire strippers to strip the wires on the new washer nozzle.
Step 4: Reconnect the heater harness wires. If you had to cut the wires, use butt connectors with heat shrinking tubes to connect the harness wires to the washer nozzle. To do this, get two butt connectors for the size of the wires. Use a wire crimping tool to crimp the wires to the butt connectors. Pull on the wires to make sure that they will not come apart.
Step 5: Test the nozzle. Turn the ignition to the accessory or run position. Operate the windshield washer nozzle switch or lever. Watch the fluid coming out of the nozzle. The washer fluid should spray a strong mist onto the windshield.
If you have heated washer nozzles, operate the heater on the nozzle. Use a raytek gun to check the temperature of the nozzle. The nozzle should heat up as the washer fluid is spraying out of it.
If the windshield washer nozzle continues to malfunction after replacing it, then there may be an issue with the windshield washer nozzle, or a possible electrical issue with the washer nozzle motor. If the problem persists, then seek help from one of the certified mechanics at YourMechanic, who can replace the windshield washer nozzle and diagnose any problems.


