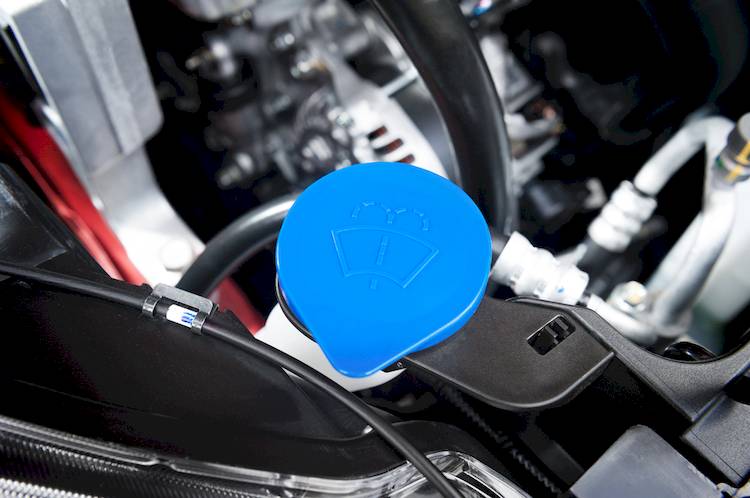
A windshield washer reservoir is designed to hold the washer fluid that cleans the windshield. The reservoir is made of a hard plastic that is resistant to ethanol and ethylene glycol (antifreeze). The washer reservoir can handle many types of environments, but only when the reservoir has washer fluid in it all the time. When the washer fluid runs out and the reservoir is dry for many months, the plastic walls begin to deteriorate from the inside and crack. Also, the mounting holes tend to break over time as the vehicle vibrates and loosens the bolts that hold the reservoir to the vehicle. These situations can create holes that will cause the windshield washer to fail, meaning that your car will not be able to carry any washer fluid.
Materials Needed
- Boxed end wrenches
- Butt connectors
- Flashlight
- Flat head screwdriver, medium
- Gallon of windshield washer fluid
- Needle nosed pliers
- Nine-volt battery saver
- Protective gloves
- Ratchet with metric and standard sockets
- Side cutters
- Tire iron
- Torque wrench
- Wheel chocks
- Wire crimpers
- Wire strippers
Method 1 of 2: Replacing the windshield washer reservoir in vehicles made before 1996
Step 1: Remove the reservoir bolts. Locate the washer reservoir under the hood. Remove the bolts that secure the washer reservoir to the fender or body of the vehicle.
Step 2: Remove the connection to the washer pump. If there is a harness plug on the washer pump, then remove the plug. If there is no harness plug on the washer pump, then use side cutters and cut the wires.
Step 3: Remove the washer fluid line from the reservoir. If there is a clamp, you will need to use needle nosed pliers to remove the clamp and line.
Step 4: Pull the washer reservoir from the vehicle. Remove the washer pump from the reservoir. Keep the pump and discard the reservoir.
Step 5: Install the new washer reservoir. Install the washer reservoir onto the fender or body in the engine compartment.
Step 6: Plug in the harness to the washer pump. If you had to cut the wires, you will need to strip the wires with a wire stripper to the harness and to the pump. Insert two butt connectors with heat shrink tubing and crimp the wires to the butt connectors.
Step 7: Install the washer fluid line to the reservoir. If you removed a clamp, you will need to use needle nosed pliers to install the clamp and line.
Step 8: Refill the washer fluid. Get a gallon jug of washer fluid. Pour the fluid into the reservoir and fill it up.
- Note: If the washer fluid is concentrated, you will need to follow the directions on the bottle to mix the washer fluid with distilled water.
Method 2 of 2: Replacing the windshield washer reservoir in vehicles made after 1996
Step 1: Install a nine-volt battery saver into your cigarette lighter. This will keep your computer live and keep your settings current in the vehicle. If you do not have a nine-volt battery saver, you can complete the replacement without it; this just makes it easier.
Step 2: Disconnect the battery. Take the ground cable off the battery’s negative terminal, disabling the power to the ignition system and windshield wiper system.
- Note: It is important to protect your hands. Make sure to put on protective gloves prior to removing any battery terminals.
Removing the washer reservoir from the upper engine compartment along the fender
Step 1: Remove the bolts. Locate the washer reservoir. Remove the bolts that secure the washer reservoir to the fender or body of the vehicle.
Step 2: Remove the harness plug. Remove the harness plug connected to the washer pump.
Step 3: Remove the washer fluid line from the reservoir. If there is a clamp, you will need to use needle nosed pliers to remove the clamp and line.
Step 4: Pull the washer reservoir from the vehicle. Remove the washer pump from the reservoir. Keep the pump and discard the reservoir.
Step 5: Clean the contacts. Clean the contacts on the harness plug and the contacts on the washer pump.
Removing the washer reservoir from the wheel well or lower fender under the vehicle
Step 1: Loosen the lug nuts. Use a tire iron to loosen the lug nuts on the tire and wheel that you need to take off. Make sure you leave the nuts on the wheel studs.
Step 2: Raise the vehicle. Using a floor jack that is recommended for the weight of the vehicle, lift the vehicle at its specified jacking points until the wheels are completely off the ground.
Step 3: Place the jack stands. The jack stands should go under the jacking point locations. Then lower the vehicle onto the jack stands.
For most modern cars, the jacking points for jack stands will be on the pinch weld just under the doors along the bottom of the car.
Step 4: Remove the tire and wheel from the fender well you are working on. You may have to remove the inner fender to access the washer reservoir.
Step 5: Remove the bolts. Remove the bolts that secure the washer reservoir to the fender or body of the vehicle.
Step 6: Remove the harness plug. Remove the harness plug connected to the washer pump.
Step 7: Remove the washer fluid line from the reservoir. If there is a clamp, you will need to use needle nosed pliers to remove the clamp and line.
Step 8: Pull the washer reservoir from the vehicle. Remove the washer pump from the reservoir. Keep the pump and discard the reservoir.
Step 9: Clean the contacts. Clean the contacts on the harness plug and the contacts on the washer pump.
Installing the new windshield washer reservoir
Step 1: Reinstall the pump. Install the washer pump into the new washer reservoir.
Step 2: Install the washer reservoir onto the fender or body in the engine compartment. Secure the reservoir with the bolts you removed.
Step 3: Reconnect the harness. Plug in the harness to the washer pump.
Step 4: Install the washer fluid line to the reservoir. If you removed a clamp, you will need to use needle nosed pliers to install the clamp and line.
Step 5: Refill the washer fluid. Get a gallon jug of washer fluid. Pour the fluid into the reservoir and fill it up.
- Note: If the washer fluid is concentrated, you will need to follow the directions on the bottle to mix the washer fluid with distilled water.
Step 6: Put the tire and wheel onto the wheel studs. Put on the lug nuts and use a tire iron to spin on the lug nuts hand tight.
Step 7: Lower the vehicle. Using a floor jack that is recommended for the weight of the vehicle, lift the vehicle at its specified jacking points until the wheels are completely off the ground.
Remove the jack stands and keep them far away from the vehicle. Lower the vehicle until all four wheels are on the ground. Pull out the jack and put it aside.
Step 8: Torque the lug nuts. Use a torque wrench to torque the lug nuts to specs.
Step 9: Reconnect the battery. Reconnect the ground cable back onto the battery’s negative terminal. Remove the nine-volt battery saver from the cigarette lighter if you used one. Tighten the battery clamp up tight to ensure that the connection is good.
- Note: If you did not have a nine volt battery saver, you will have to reset all of the settings in your vehicle, like your radio, electric seats, and electric mirrors.
Step 10: Test the new reservoir. Check the bottom of the reservoir where the pump is with a flashlight to see if any washer fluid is leaking out. Operate the washer lever or switch and verify that the washer fluid is transferring from the washer reservoir to the washer nozzles.
If the windshield washer reservoir continues to leak after replacing the washer reservoir, then there may be other issues present. If the problem persists, then you should seek out help from one of the certified mechanics at YourMechanic, who can replace the windshield washer reservoir and diagnose any other problems.