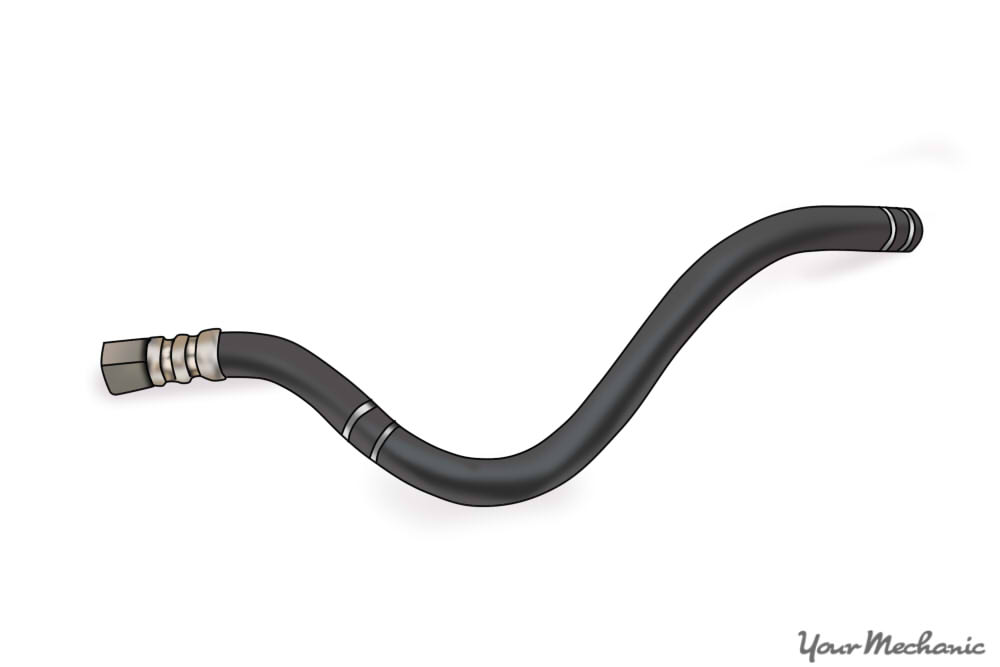
Vehicles with computer systems and injector management systems come with fuel return hoses. Fuel return hoses are usually made of plastic known as carbon fiber and are low pressure.
They are designed to transfer the unused fuel from the fuel rail back to the fuel tank. Gasoline engines use 60 percent of the fuel and return 40 percent of the fuel back to the fuel tank. Diesel engines use 20 percent of the fuel and return 80 percent of the fuel back to the tank.
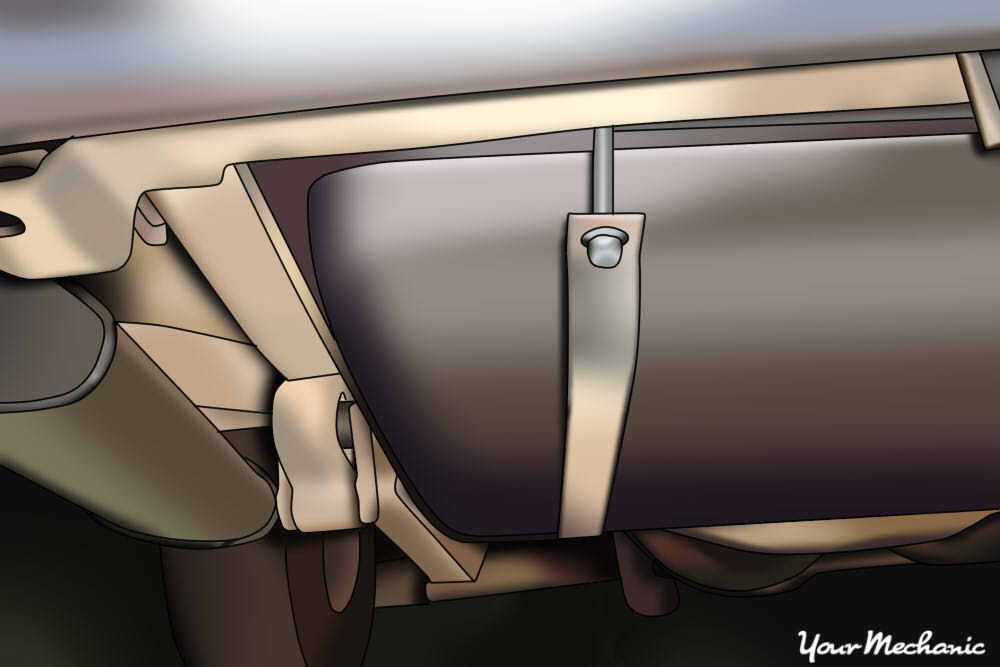
Fuel return hoses can vary in size and length. The size determines how much fuel needs to be returned and also determines the type of fuel pump used. For high flow fuel pumps, a large fuel return hose is required to prevent damage to the fuel rail. Some fuel return hoses will run along the frame of the vehicle and go straight to the fuel tank with little as possible bends.
Other fuel return lines have many bends and may be longer than normal. This helps the fuel cool down prior to entering the fuel tank. Plus, the heat transfer rate is higher since the hose has a plastic design.
This type of hose is very durable and can hold up to 250 pounds per square inch of pressure. However, plastic hoses are subject to breakage if the hose moves. Most of the plastic hoses have a quick disconnect fitting to attach other plastic hoses or even rubber hoses.
Symptoms of a failing return hose include a flooded carburetor, leaking fuel, or the smell of gas around the car. Replacing the fuel hoses on your vehicle is going to take time and patience, and it could require getting underneath the car depending on what hose you are replacing.
There are several engine light codes related to the fuel hose on vehicles with computers:
P0087, P0088 P0093, P0094, P0442, P0455
Note: It is recommended that you replace the fuel hoses with original manufacturer equipment (OEM). Aftermarket fuel hoses may not align up, may have the wrong quick disconnect, or may be too long or short.
Warning: Do not smoke around a vehicle if you smell fuel. You are smelling the vapors which are very flammable.
Part 1 of 4: Verifying the condition of the fuel hose
Materials Needed
- Combustible gas detector
- Flashlight
Step 1: Check for leaking fuel in engine compartment. Using a flashlight and a combustible gas detector, check for any leaking fuel in the engine compartment.
Step 2: Check for leaking fuel on return fuel hose. Grab a creeper and go under the vehicle and check for any fuel leaking on the return fuel hose.
Take the combustible gas detector and check the connections of the fuel return hose to the fuel tank for any vapor leaks.
Part 2 of 4: Removing the fuel return hose
Materials Needed
- Allen wrench set
- Boxed end wrenches
- Breaker bar
- Drip pan
- Flashlight
- Flat tip screwdriver
- Floor jack
- Fuel hose quick disconnect kit
- Fuel resistant gloves
- Fuel transfer tank with pump
- Jack stands
- Needle nose plyers
- Protective clothing
- Ratchet with metric and standard sockets
- Safety glasses
- Thread locker
- Torque wrench
- Torques bit set
- Transmission jack
- Wheel chocks
Step 1: Park your vehicle on a flat, hard surface. Make sure that the transmission is in park (for automatics) or in 1st gear (for manuals).
Step 2: Place wheel chocks around the tires. In this case, the wheel chocks go around the front tires since the rear of the vehicle will be lifted up.
Engage the parking brake to the lock the rear tires from moving.
Step 3: Install a nine volt battery saver into your cigarette lighter. This will keep your computer live and keep your settings current in the vehicle.
If you do not have a nine volt battery saver, that is okay.

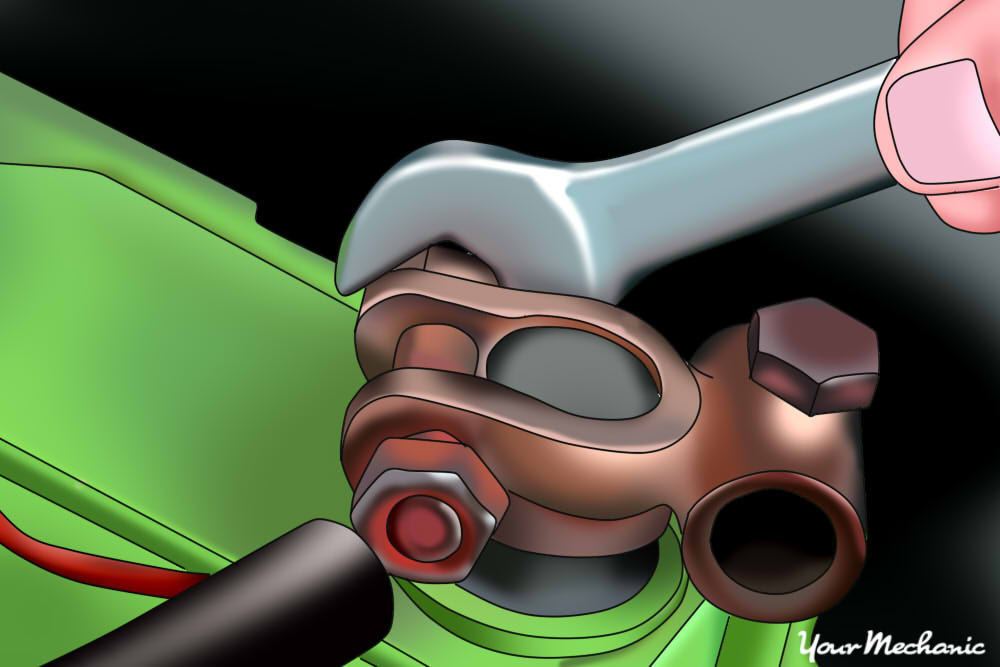
Step 4: Open the vehicle’s hood to disconnect your battery. Take the ground cable off of the battery’s negative post disabling the power to the ignition system and fuel system.
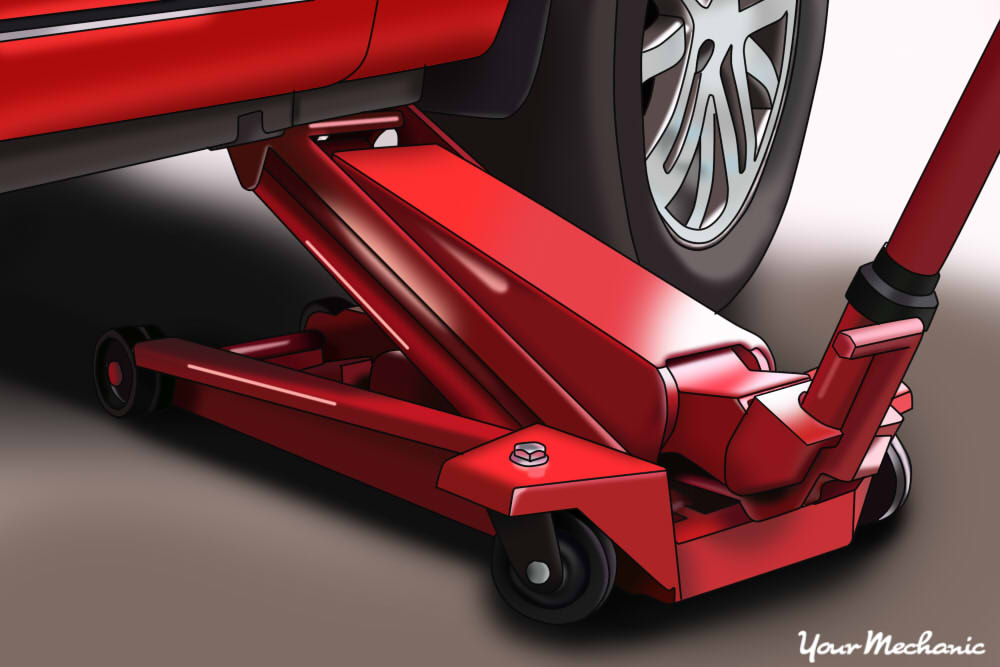
Step 5: Raise the vehicle. Using a floor jack, lift under the vehicle at its specified jacking points until the wheels are completely off the ground.
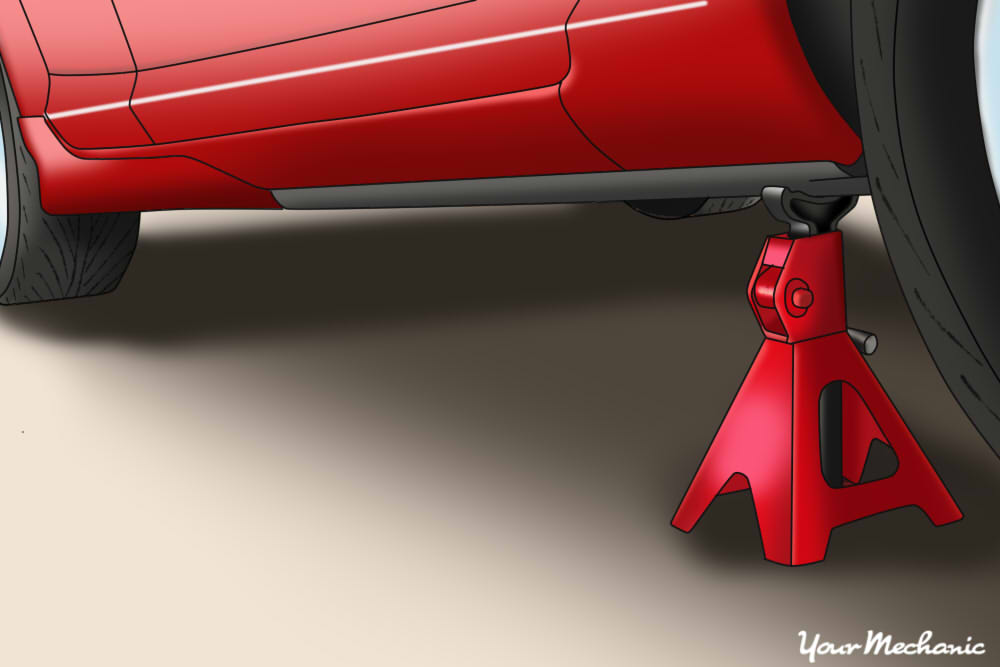
Step 6: Place the jack stands. Place the jack stands under the jacking point locations and lower the vehicle onto the jack stands.
For most modern cars, the jacking points for jack stands will be on the pinch weld just under the doors along the bottom of the car.
Step 7: Locate the fuel hose that is damaged or leaking. Use a fuel hose quick disconnect tool to remove the fuel return hose from the fuel rail.
Step 8: Remove the fuel return hose. Use a fuel hose quick disconnect tool and disconnect and remove the fuel return hose.
Remove it from the fuel return hose extension behind the engine along the firewall, if the vehicle is equipped with one.
- Note: If you have rubber or flex hoses on the fuel supply hose, fuel return hose, and vapor hose, it is recommended you replace all three hoses if only one hose is damaged.
Step 9: Go under the vehicle and remove fuel plastic line from the vehicle. This line may be held up by rubber grommets.
- Note: Be careful when removing plastic fuel lines for they may break easy.
Step 10: Remove the fuel tank straps. Place the transmission jack under the fuel tank and remove the straps.
Step 11: Open the fuel neck door. Remove the mounting bolts to the fuel filler neck.
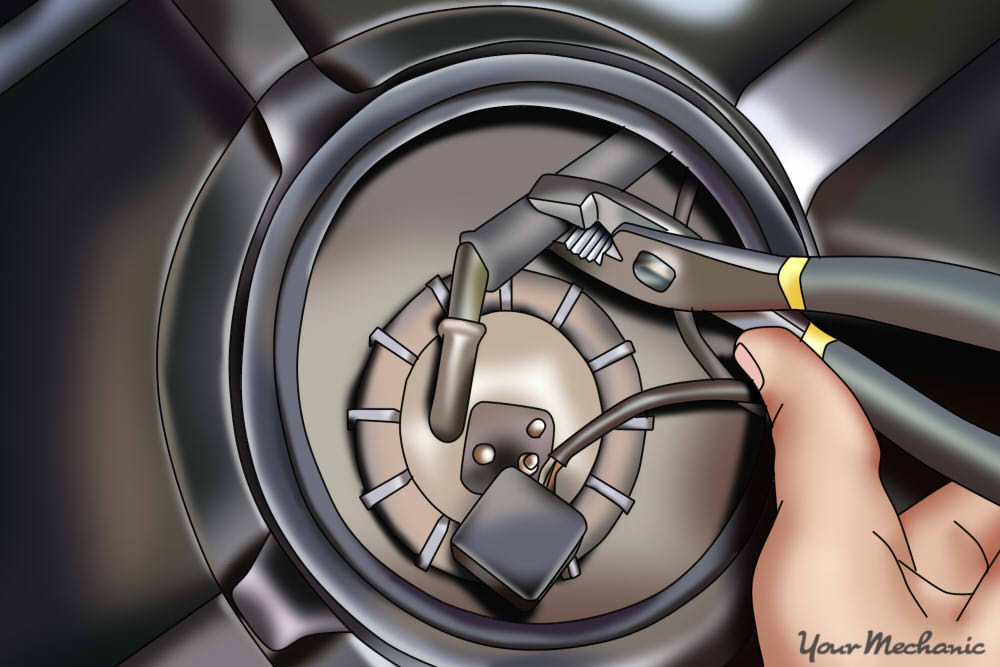
Step 12: Remove the plastic fuel return hose. Lower the fuel tank far enough to use a quick disconnect tool to remove the fuel hose from the fuel tank.
Place a drip pan under the fuel tank and remove the fuel hose from the fuel tank.
If you are removing all three lines, then you will need to remove the vapor hose from the charcoal canister and the supply fuel hose from the fuel pump with a quick disconnect tool.
- Note: You may have to disconnect the other fuel lines to get to the fuel line you are replacing
Step 13: Install hose onto the tank. Get the new fuel return hose and snap the quick disconnect together onto the fuel tank.
If you are installing all three lines, then you will need to install the vapor hose to the charcoal canister and the supply fuel hose to the fuel pump by snapping the quick disconnect together.
Step 14: Raise up the fuel tank. Align the fuel filler neck so it can be mounted.
Step 15: Open the fuel neck door. Install the mounting bolts to the fuel filler neck.
Tighten the bolts finger tight then 1/8 turn.
Step 16: Hook up the fuel tank straps. Put the threadlocker onto the threads of the mounting bolts.
Tighten the bolts up hand tight and then 1/8 turn to secure the straps.
Step 17: Attach fuel hose and line. Remove the transmission jack and snap the quick disconnect on the fuel hose onto the fuel line behind the firewall in the engine compartment.
Step 18: Attach fuel hose and line on other end. Attach other end of the fuel return hose and snap the quick disconnect together onto the fuel return hose.
This is located by the firewall. Do this only if the vehicle is equipped with one.
Step 19: Snap the quick disconnect together from the fuel return hose to the fuel rail. Check both connections to ensure that they are sealed tight.
If you had to remove any brackets, be sure to install them.
Part 3 of 4: Checking for leaks and lowering the vehicle
Material Needed
Step 1: Reconnect the battery. Reconnect the ground cable back onto the battery’s negative post.
Remove the nine volt battery saver from the cigarette lighter.
Step 2: Tighten the battery clamp up tight. Ensure that the connection is good.
- Note: If you did not have a nine volt battery saver, you will have to reset all of the settings in your vehicle, like your radio, electric seats, and electric mirrors.
Step 3: Turn the ignition key on. Listen for the fuel pump to activate and turn off the ignition after the fuel pump stops making noise.
- Note: You will need to cycle the ignition key on and off 3 to 4 times to ensure all the fuel lines are full of fuel.
Step 4: Check all of the connections for any leaks. Use a combustible gas detector as well as sniff the air for any fuel odors.
Step 5: Raise the vehicle. Using a floor jack, lift under the vehicle at its specified jacking points until the wheels are completely off the ground.
Step 6: Remove the jack stands. Keep them far away from the vehicle.
Step 7: Lower the vehicle to where all four wheels are on the ground. Pull out the jack and put it aside.
Step 8: Remove the wheel chocks. Put them aside.
Part 4 of 4: Test drive the vehicle
Step 1: Drive the vehicle around the block. During the test, go over different bumps allowing the fuel to slosh around inside the fuel return hose.
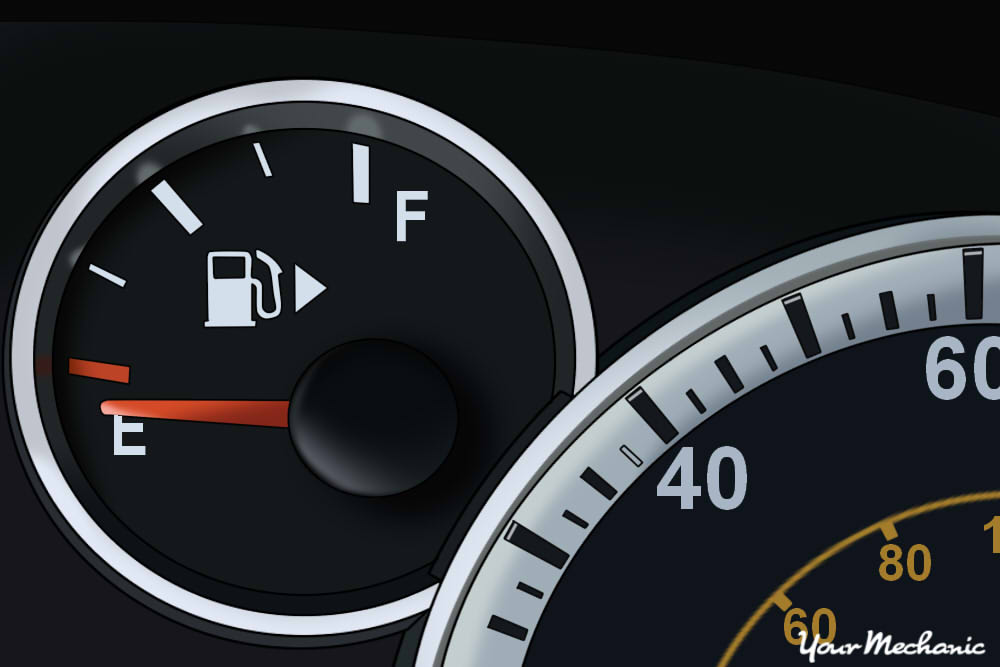
Step 2: Monitor the dash. Look for the fuel level or for any engine light to appear.
If your engine light comes on after replacing the fuel return hose, then there may be further diagnosis of the fuel system needed or a possible electrical issue within the fuel system. If you have any questions, be sure to Ask a Mechanic for some quick, helpful advice.
