
The coolant system in today's modern vehicle is designed as a closed loop system. Coolant is placed into the radiator and is circulated through the engine block to absorb heat from the metal pieces inside the engine. After the coolant reenters the radiator, it is circulated through multiple chambers to cool it down and repeat the circulation process. As coolant gets hot, it expands and may overflow from the radiator. The coolant overflow reservoir is designed as a relief chamber that stores the extra coolant. The surge hose connects the radiator to the overflow reservoir, which makes it vital to the operation of your vehicle.
One of the indicators that there is a problem with the surge tank hose is when the vehicle overheats. Other signs include coolant leaking near the radiator cap, or the coolant level sensor light coming on.
Part 1 of 1: Replacing the surge tank hose
Materials Needed
- Combination wrench set and extensions
- Coolant collection pan
- Engine coolant
- Flat blade screwdriver
- Locking pliers
- Replacement surge tank hose
- Replacement surge tank hose clamps
- Safety equipment including safety glasses and gloves
- Socket wrench set (verify standard or metric before starting the job)
- Work light
Warning: Anytime you work on the coolant system, the potential of being burned is very high. Coolant can maintain a temperature near boiling for a very long time and will burn your skin if exposed. This job should ONLY be completed when the engine is cold and has not been running for a minimum of one hour. Make sure you wear safety glasses and gloves to protect your hands from hot coolant if the engine is not cold.
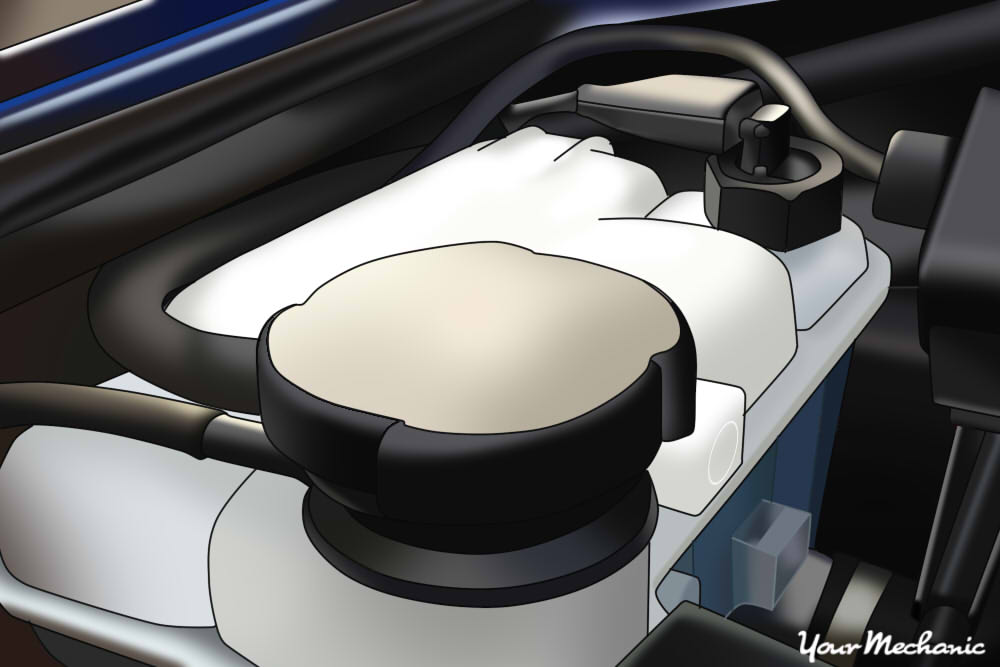
Step 1: Locate the coolant reservoir. The coolant reservoir or surge tank should be located on the top of the engine compartment, typically on the passenger side. Make sure you verify that this is the coolant reservoir and not the windshield washer reservoir, as the two are often next to each other.
Once you find the coolant surge tank, locate where the surge tank hose is connected. This will usually be on top of the surge tank and is sometimes attached to the tank right below the cap.
Step 2: Remove the bolts or hose clamps securing the surge tank hose to the surge tank. Once you locate the hose, remove the hose clamps or bolts that secure the hose to the tank. On most vehicles, the hose clamp will be a pinch-style hose clamp.
To loosen this type of hose clamp, take a pair of pliers and pinch the top clamps. This will spread the hose clamp so you can slide it backwards and remove it from the male fitting on the surge tank itself.
Step 3: Remove the surge tank hose from the tank. Once you've removed the hose clamp that secures the surge tank hose to the top of the surge tank, slide the clamp off the lip where the hoses are attached to the tank. Before you remove the hose, place a few shop rags underneath the hose and surge tank fitting as fluid will leak out when you remove it.
Take a flat blade screwdriver and insert the blade in between the hose and the surge tank fitting. Press the hose upward to loosen the connection. Gently slide and wiggle the hose loose from the male fitting on the surge tank.
Step 4: Follow the surge tank hose to the radiator. After you've removed the surge tank hose from the tank, follow the hose to determine if other parts need to be removed in order to correctly remove and install the new surge tank hose.
In some cases, there will be extra hose clamps that secure this hose from the radiator to the surge tank. In order to access them, you may have to remove an engine cover. If needed, remove the engine cover by following the instructions in your service manual.
Step 5: Remove the surge tank hose from the radiator. After you've followed the surge tank hose from the overflow tank to the radiator and have disconnected it from any other support clamps next to the engine or along the firewall, you'll be ready to remove the hose from the radiator. Most vehicles have the hose connected to the radiator with a screw-type hose clamp.
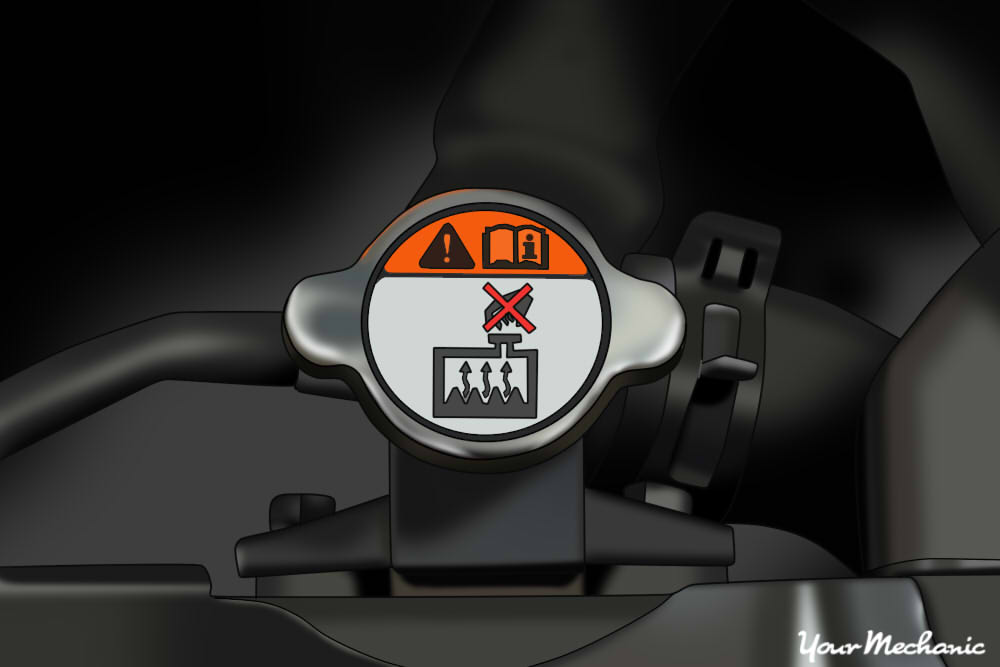
Check to make sure the engine is cold. Unscrew the radiator cap to relieve pressure. Using a screwdriver or the right sized socket, loosen the hose clamp. Slide the hose clamp off the male fitting and about six inches back. Carefully pry the hose off the male fitting on the radiator. Remove the surge tank hose from the vehicle.
Step 6: Install the new surge tank hose on the radiator. The best way to prepare your new hose for installation is to place the correct new hose clamps on the ends of the hoses first. Follow these guidelines, but refer to your service manual for exact instructions.
Slide the new hose clamps on both the radiator end and surge tank end of the surge hose. Spray a small amount of penetrating oil inside the surge tank hose. This will help it slide onto the male fitting on the radiator and coolant reservoir much more easily and reduce potential damage to the new hose.
Install the new surge tank hose on the radiator male fitting. Slide the new hose clamp onto the male fitting portion where the new surge hose is installed on the radiator. Tighten the hose clamp fitting on the radiator connection.
Step 7: Run the new surge tank hose exactly where the old one was located. On many vehicles, the surge tank hose is clamped to supporting clips underneath the engine cover, along the side of the firewall, or on the passenger side fenders. Make sure to reinstall the new surge hose onto those same support clips (if any) until you reach the surge tank.
Step 8: Slide the clamps and surge tank hose onto the surge tank male fitting. Using the same method as in step 6 above, install the new hose onto the male fitting on the surge tank. If you have teeth clamps, use a pair of pliers to close the teeth of the clamp, slide the clamp to the base of the tank and release the pliers to close the clamp securely. If you have a screw type clamp, place the clamp on the base of the tank and tighten.
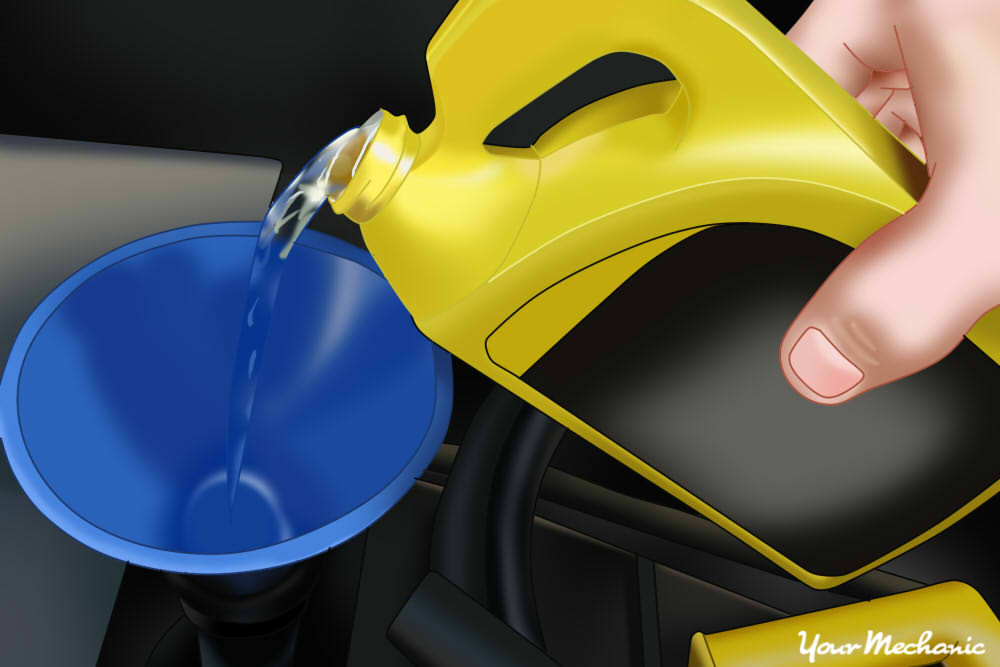
Step 8: Fill the coolant reservoir. If your vehicle required you to drain some radiator fluid before completing this job, you'll need to refill the radiator with coolant. Each manufacturer has individual recommendations on the type of coolant that should be used as well as how high to fill the reservoir. Make sure you fill the reservoir to the top of the full indicator line before starting the vehicle.
Step 9: Check with the manufacturer about priming the coolant system. In some cases, your vehicle’s coolant system will need to be primed to avoid bubbles or air pockets inside the coolant lines. Make sure to check with your vehicle manufacturer to find out if this is the case and prime the system as recommended before starting the vehicle.
- Warning: Many newer cars, trucks and SUVs have coolant systems that require a priming step. This is unique and specific to each vehicle manufacturer, so it's vital that you contact your automotive manufacturer and receive the precise process for priming the coolant system. Failure to do this will often result in air bubbles being trapped in the coolant system and cause overheating problems.
Step 10: Check for leaks. Start the vehicle and let it warm up to operating temperature. Check for any leaks from the surge tank hose, or from any coolant lines or petcocks you removed to drain any fluid.
Step 11: Check the dashboard lights. Check to see if the check engine or low coolant level light is illuminated. If it is, turn off the engine and check the coolant level inside the reservoir. If the light is on, the coolant reservoir should be empty. Fill it with coolant and restart the engine to ensure the light goes off.
Step 12: Test drive the vehicle. Make sure to drive the vehicle until you hear the radiator fan come on. Once you do, return home while keeping an eye on the engine temperature.
Step 13: Recheck the coolant level. Once the vehicle has cooled for a minimum of one hour, check the coolant level inside the reservoir and fill if needed.
If you've read this instructional article and are not 100% confident in completing this job on your own, contact a professional and local ASE certified mechanics from YourMechanic. They have the right knowledge, experience and tools to complete a surge tank hose replacement job at the location of your choice.