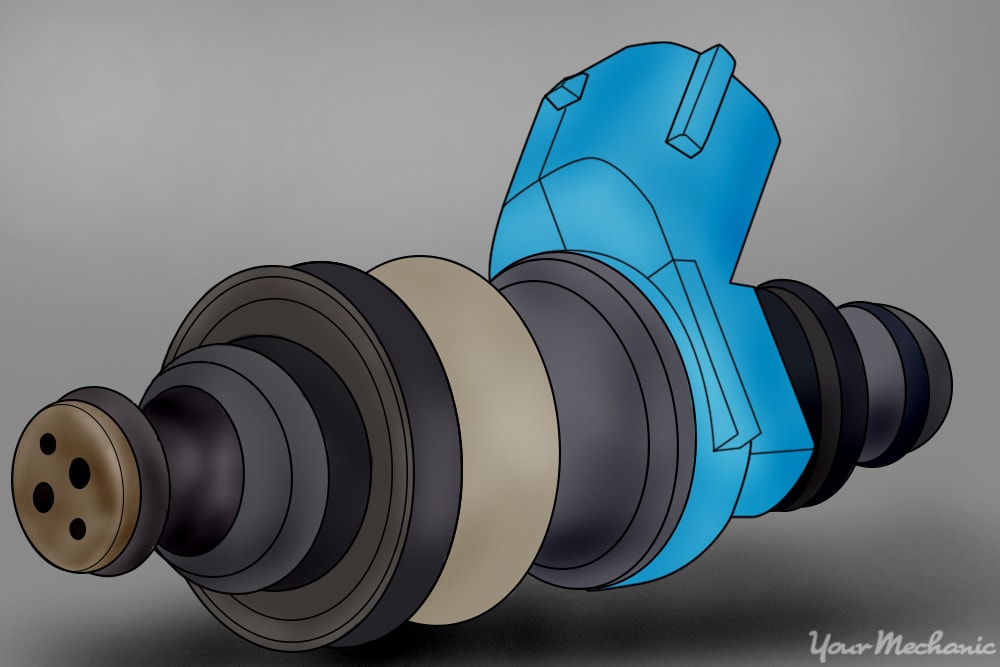
All modern vehicles with injection systems use indirect injection. A fuel pump pushes fuel under pressure from the fuel tank to the engine fuel rail. Depending on the particular system, the fuel is sprayed into either the inlet manifold or the inlet port. This works much like the spray nozzle from a spray bottle, ensuring that the fuel comes out as a fine mist, known as atomization. The fuel mixes with the air passing through the inlet manifold or port and the fuel/air mixture enters the combustion chamber.
Some cars have multi-point fuel injection where each cylinder is sprayed by its own injector in an intake port. This type of system is complex and can be expensive. It’s more common to have single-point injection where a single injector feeds all the cylinders, or to have one injector to every two cylinders.
Performance vehicles have direct fuel injection where each cylinder is sprayed by its own injector directly on top of the cylinder in the combustion chamber. This is common on vehicles with hemispherical cylinder heads.
There are two types of fuel injectors on vehicles: continuous injection and timed injection. Continuous injection is where the fuel is squirted into the inlet port always as the engine is running. The injector simply acts as a spray nozzle to break up the fuel into a fine spray; it doesn’t actually control the fuel flow. The amount of fuel sprayed is increased or decreased by a mechanical or electrical control unit; in other words, it is just like turning a tap on and off.
Timed injection, or pulsed injection, is where the fuel is delivered in bursts to coincide with the induction stroke of the cylinder. As with continuous injection, timed injection can also be controlled either mechanically or electronically.
Some vehicles use multiple fuel injectors for each cylinder. Cold start injectors are used to help aid the combustion when starting vehicles in cold climate weather conditions. Cold start injectors are usually located on the intake runner rather than the intake port. Pre-injectors are designed to help aid in the main injector for more performance. This is when the operator presses the accelerator pedal to the floor causing the secondary injector to spray. This allows more fuel to mix into the combustion chamber creating more power.
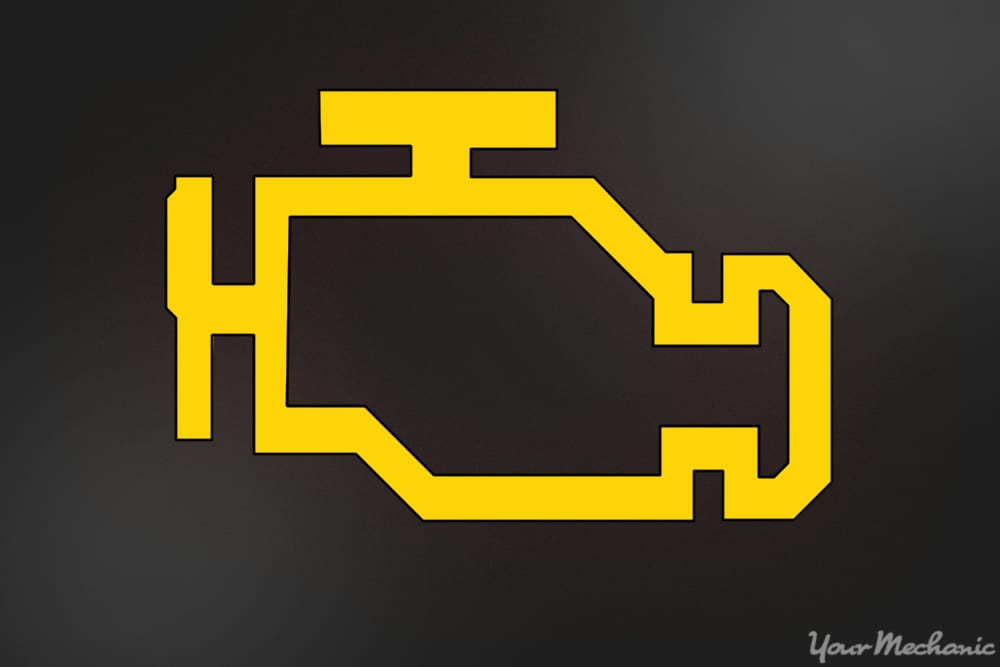
A bad fuel injector manifests itself in a number of ways, whether in engine performance issues or the smell of fuel in the car, or even a sign as simple as a check engine light.
The following are engine light codes related to the fuel hose on vehicles with computers
P0087, P0088, P0170, P0171, P0172, P0173, P0174, P0175, P0213, P0214
- Note: It is recommended to replace the fuel injectors with original manufacturer equipment (OEM). Aftermarket fuel injectors may produce more or less power that specified for the vehicle. Also, aftermarket fuel injectors may have different electrical connections making the vehicles harness not match up.
Part 1 of 6: Verifying the condition of the fuel injector condition
Step 1: Start the engine. Check the dash for any engine lights and listen to the engine operation for any cylinders not firing correctly.
Feel for any vibrations during engine operation.
Step 2: Shut the engine off and open the hood. Check for any wiring that may be broken or damaged around the injectors.
If your vehicle has individual injectors per cylinder and you can disconnect them, start the engine and disconnect one injector at a time. This is a test procedure called a cylinder cut out test, allowing you to determine if the disconnected injector causes the engine to become rough running or develop no change. If there is no change, then the injector was not working.
Part 2 of 6: Removing the fuel injector
Having all of the necessary tools and materials prior to starting the work will allow you to get the job done more efficiently.
Materials Needed
- Allen wrench set
- Boxed end wrenches
- Drip pan
- Flashlight
- Flat tip screwdriver
- Floor jack
- Fuel hose quick disconnect kit
- Fuel resistant gloves
- Jack stands
- Protective clothing
- Ratchet with metric and standard sockets
- Safety glasses
- Torque wrench
- Torque bit set
- Wheel chocks
Step 1: Park your vehicle on a flat, hard surface. Make sure that the transmission is in park (for automatics) or in 1st gear (for manuals).
Step 2: Place wheel chocks around the rear tires. In this case, the wheel chocks go around the front tires since the rear of the vehicle will be lifted up.
Engage the parking brake to the lock the rear tires from moving.
Step 3: Install a nine volt battery saver into your cigarette lighter. This will keep your computer live and keep your setting current in the vehicle.
If you do not have a nine volt battery saver, that is okay.

Step 4: Open the vehicle’s hood to disconnect your battery. Take the ground cable off of the battery’s negative post disabling the power to the ignition system and fuel system.
On an older vehicle before 1988:
Step 5: Remove the air cleaner element from the top of the throttle body. Remove the harness from the injectors.
Unscrew the mounting bolts to the injector retainer bracket and remove the bracket.
Step 6: Pull out the injectors from the throttle body. Clean the throttle body with non-abrasive cleaner and wipe out the injector body housing with a lint free cloth.
On vehicles from 1988 to today:
Step 7: Remove the engine cover it there is on on top of the engine. Using a quick disconnect tool, disconnect the fuel rail from the fuel lines.
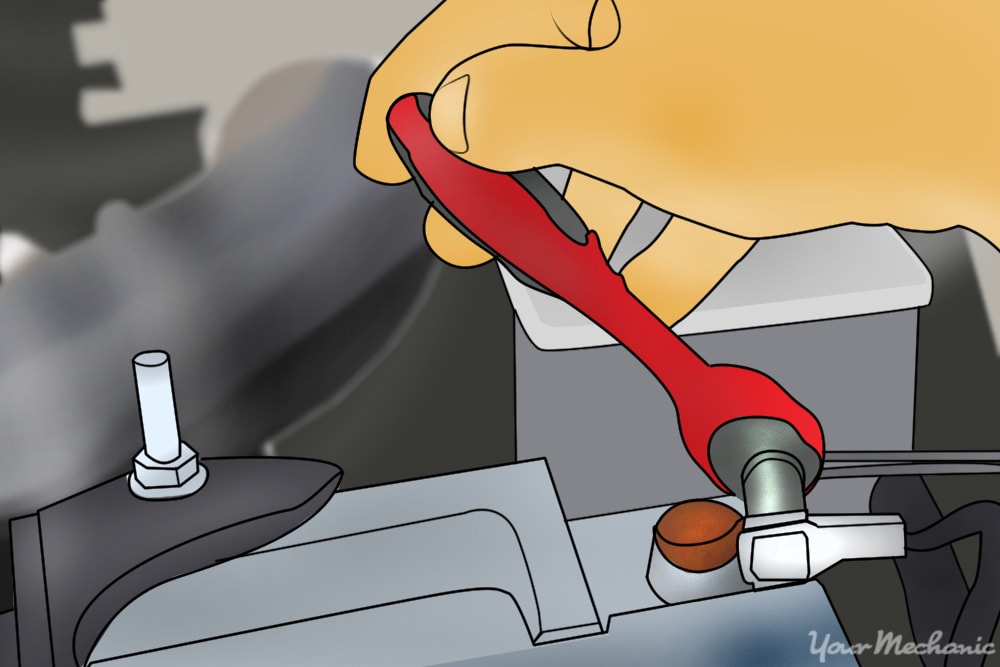
Step 8: Unscrew the mounting bolts that secure the fuel rail onto the engine.
- Note: If your engine has an intake on the engine that is transverse mounted or overlaps the fuel rail, you must remove the intake before removing the fuel rail.
Step 9: Pull up on the fuel rail Remove the rail off the injectors.
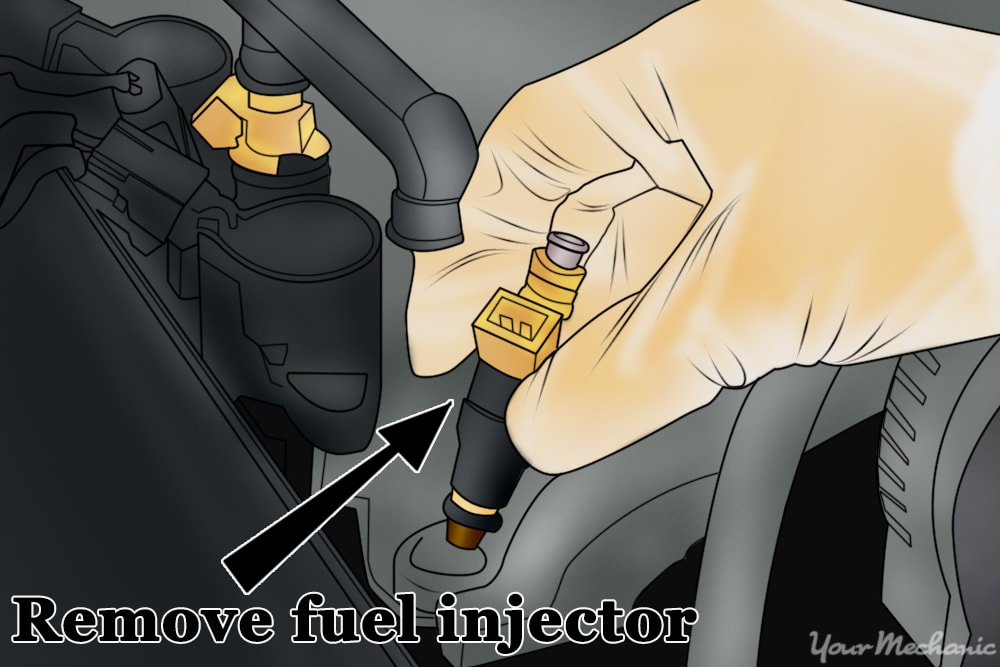
Step 10: Pry up on the injectors. Using a small pry bar, lightly pry up on the injectors and pop them out of the intake ports.
Clean the ports with non-abrasive cleaner and wipe them out with a lint free cloth.
Part 3 of 6: Installing the new fuel injector
- Allen wrench set
- Boxed end wrenches
- Drip pan
- Flashlight
- Flat tip screwdriver
- Fuel hose quick disconnect kit
- Ratchet with metric and standard sockets
- Torque wrench
- Torque bit set
On older vehicles prior 1988:
Step 1: Install the new injectors into the throttle body. Install the injector retainer bracket and screw the bolts down hand tight.
Tighten the retainer bracket bolts 1/8 turn from the center to the outside.
Step 2: Hook up the harness to the fuel injectors. Install the air cleaner housing and element onto the top of the throttle body.
On vehicles from 1988 to today:

Step 3: Install new o-rings onto the new injectors. Place the injectors into the intake ports and slightly push them down into place.
Step 4: Install the fuel rail onto the injectors. Screw in the mounting bolts all the way down to hand tight and turn additional 1/8 turn to secure the bolts.
If you had to remove the intake, make sure that you install new intake gaskets or o-rings when putting the intake back on.
Step 5: Snap the fuel rail and fuel line connections together. Install the engine cover and snap into place.
Part 4 of 6: Checking for leaks
Material Needed
Step 1: Open the vehicle’s hood. Reconnect the ground cable back onto the battery’s negative post.
Remove the nine volt battery saver from the cigarette lighter.
Step 2: Tighten the battery clamp up tight. Ensure that the connection is good.
- Note: If you did not have a nine volt battery saver, you will have to reset all of the settings in your vehicle, like your radio, electric seats, and electric mirrors.
Step 3: Turn the ignition key on. Listen for the fuel pump to activate and turn off the ignition after the fuel pump stops making noise.
- Note: You will need to cycle the ignition key on and off 3 to 4 time to ensure all the fuel rail is full of fuel.
Step 4: Use a combustible gas detector. Check all of the connections for any leaks and sniff the air for any fuel odors.
Part 5 of 6: Finishing the job
Step 1: Raise the vehicle. Using a floor jack, lift under the vehicle at its specified jacking points until the wheels are completely off the ground.
Step 2: Remove the jack stands. Keep them far away from the vehicle.
Step 3: Lower the vehicle to where all four wheels are on the ground. Pull out the jack and put it aside.
Step 4: Remove the wheel chocks. Put these aside.
Part 6 of 6: Test drive the vehicle
Step 1: Drive the vehicle around the block. During the test, listen for any engine cylinder not firing correctly and feel for any vibrations.
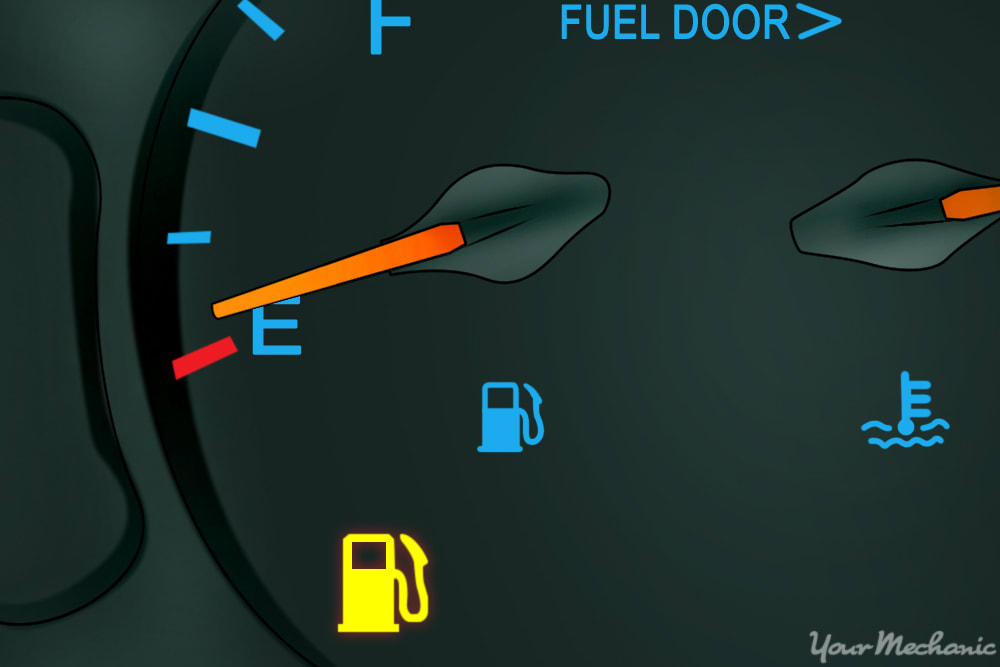
Step 2: Monitor the dash for the fuel level and for any engine light to appear.
If your engine light comes on after replacing the fuel injectors, then there may be further diagnosis of the fuel system needed or a possible electrical issue within the fuel system. If the problem persists, then you should seek out help from one of YourMechanic’s certified technicians who can inspect the fuel injectors and perform a replacement.
