Ignition distributors are used in gasoline engines to provide a properly timed, high voltage to the spark plugs. A gasoline engine cannot run on gas and air alone. The engine must have a way to ignite the gas and air that enter the engine’s combustion chamber. To do this, a spark plug is threaded into an area of the combustion chamber and high voltage is sent to the plug from an ignition coil. This creates a spark which ignites the air and fuel creating an explosion which heats the air and forces the piston down, creating power.
The distributor is used to distribute the high voltage from the coil to the appropriate spark plug, at the correct time. A distributor may need to be removed from an engine as part of a repair procedure or require replacement due to a mechanical problem such as a worn distributor gear or broken distributor shaft. In this guide, we will cover the steps required to remove, replace and retime the ignition distributor.
Part 1 of 4: Taking apart the battery cable
Materials Needed
- Combination wrenches
- Masking tape
- Permanent marker
- Repair manuals
- Socket set with ratchet
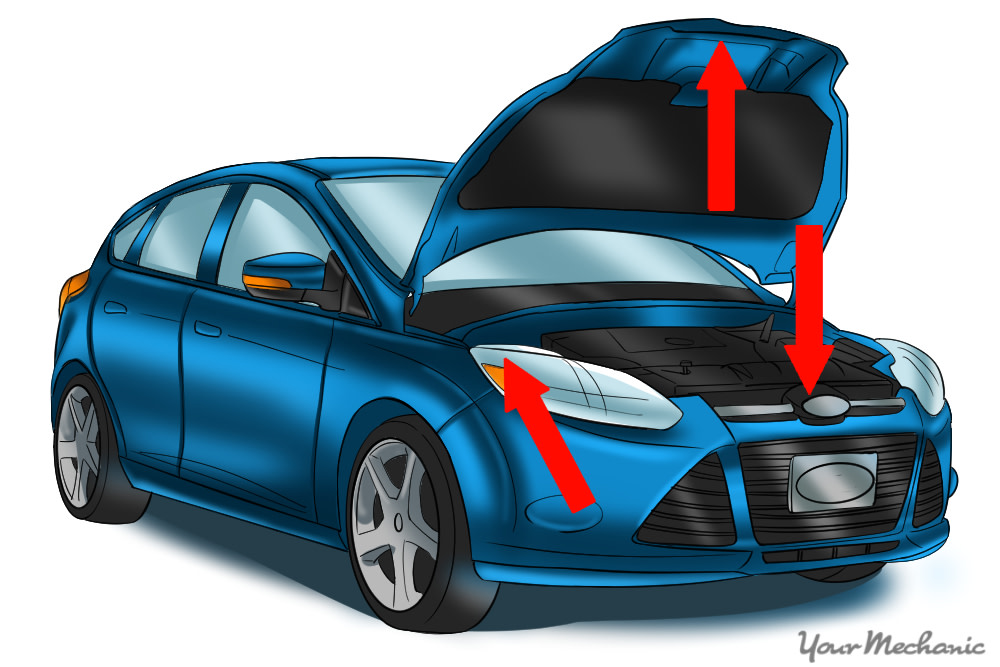
Step 1: Disconnect the negative battery cable. Before you remove a distributor you should disconnect the negative battery cable so that no one can crank the engine while you complete the procedure.
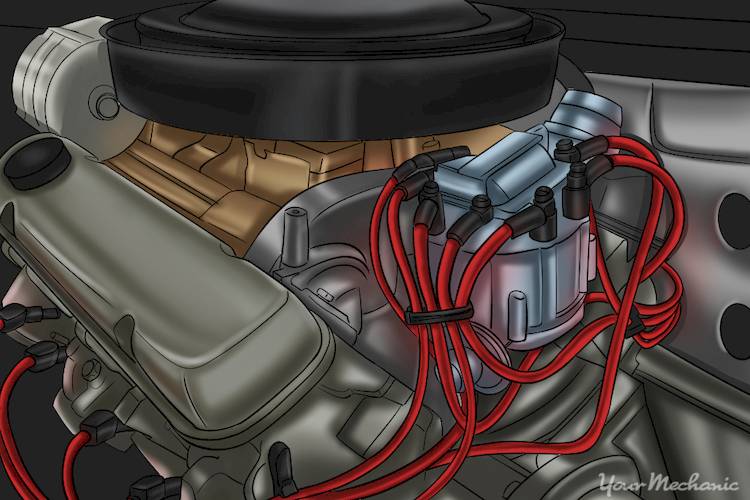
Step 2: Locate the distributor. You will need to locate the distributor. It is commonly located on the top of the engine block in either the front, or rear of V-6 and V-8 engines, or on the side of the block on 4 and 6 cylinder engines.
The distributor has a plastic cap with spark plug wires coming out of the top of the cap. Each of these wires goes to a corresponding cylinder spark plug and must be in the correct position for the engine to run.
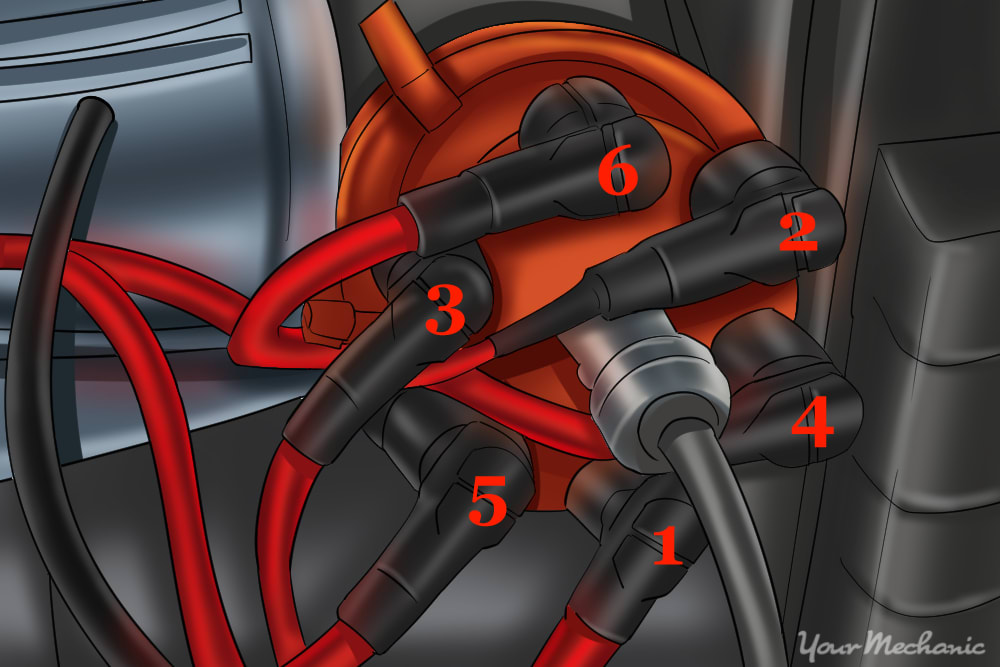
Step 3: Mark spark plug wire position. You can use popular service information repair manuals for the vehicle or the cylinder numbers printed on the spark plug wires.
Identify the engine cylinders and mark each wire on the distributor by using masking tape or a permanent marker. Label each wire’s corresponding cylinder number so that they can be installed in the correct order.
-
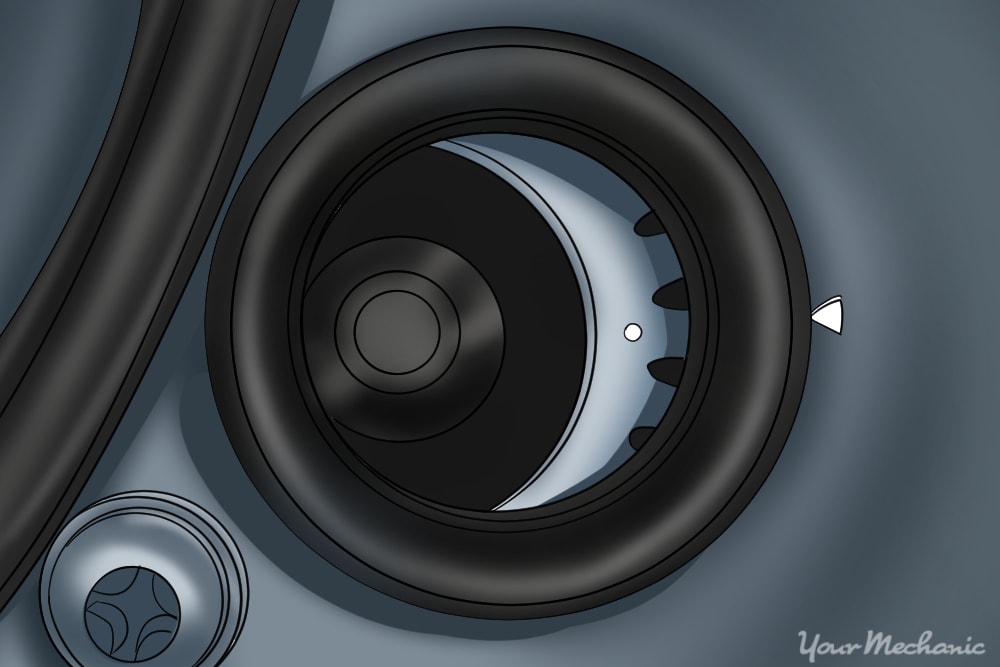
Tip: If there is an arrow indicating rotation on the cap, make sure you note which direction the numbered wires should be installed on the cap.
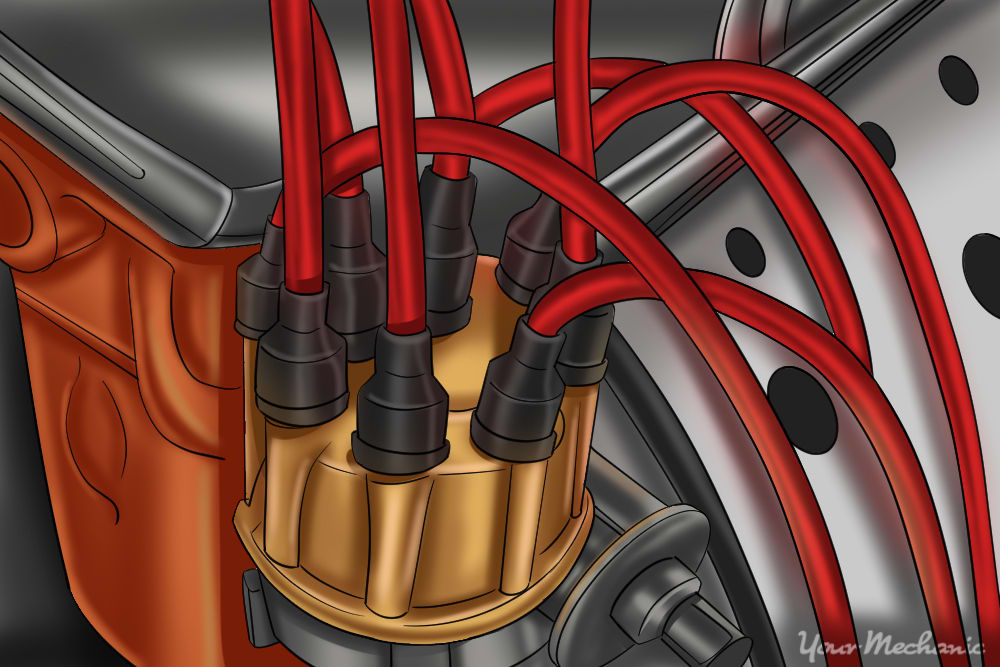
Step 4: Remove the distributor cap. Distributor caps are typically held in place by clips or screws.
Either disconnect the clips or turn the screws to release the cap from the distributor.
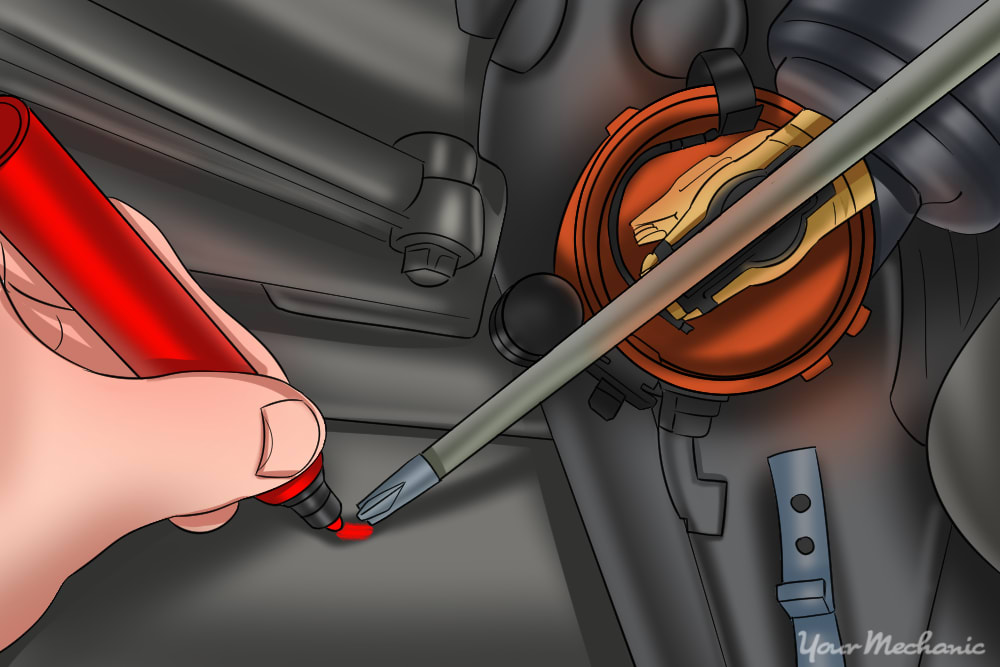
- Note: The following steps are very important for starting the engine later. Once the cap is removed, you will need to make a mark on the engine, fender shield, radiator or some other clean area directly in-line with the direction that the rotor points.
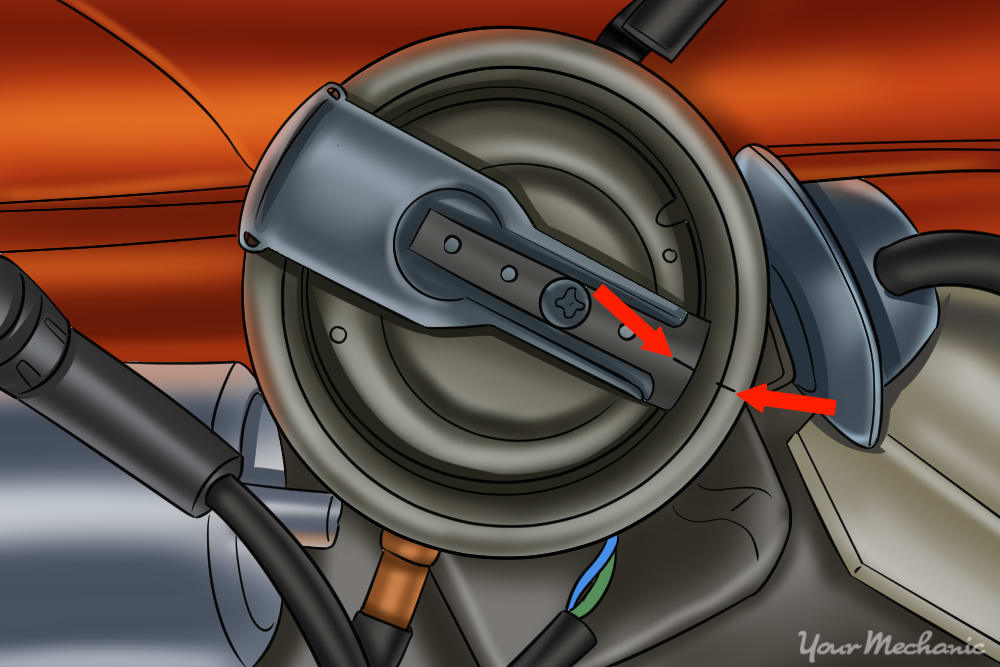
Step 5: Mark the housing. Make another mark on the distributor housing so you know where the rotor was pointing on the distributor.
Step 6: Disconnect wiring and/or vacuum lines. Disconnect any primary electrical wiring or vacuum lines the distributor may have.
On a points and condenser type, you may need to disconnect the primary electrical wire coming out of the distributor at the ignition coil. On an electronic ignition you may follow the small wire harness that comes out from the distributor and locate the connector.
Step 7: Disconnect the connector. Remove the connector from any brackets holding it in, and pull the locking tab to disconnect it.
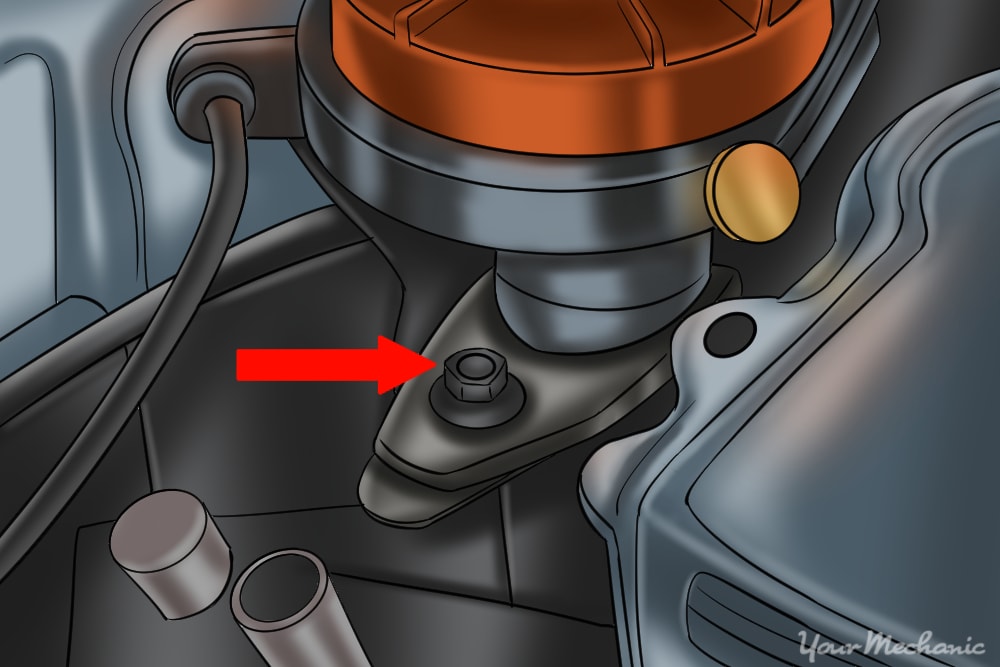
Step 8: Remove hold down bolt and clamp. The distributor is held in place by a bolt typically called the hold down bolt.
Remove the bolt and the clamp that is under the bolt. When you have removed the bolt and clamp, you can lift the distributor body out of the engine block.
Note: On older vehicles it may take some force to remove the distributor.
Tip: If it appears the distributor is corroded to the engine block, use penetrating oil and let the penetrant soak for 15 minutes to aid in removal. Do not attempt to hit the distributor with a hammer as most distributors are made of cast aluminum and will be damaged.
Part 2 of 4: Inspecting the distributor
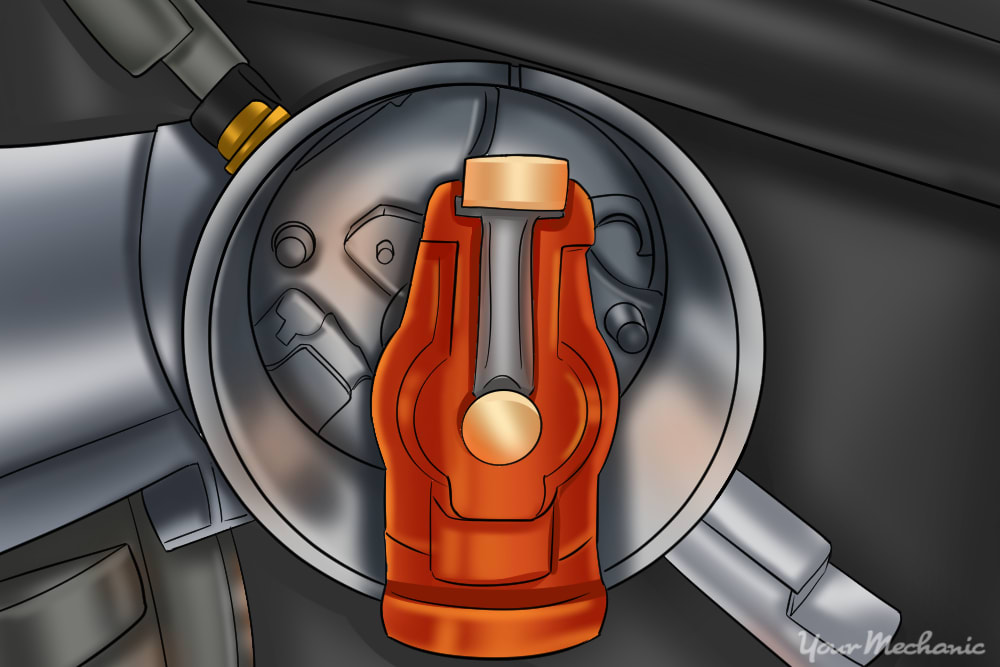
Step 1: Inspect the distributor. Once the distributor is removed, look at the drive gear on the bottom of the distributor shaft.
It should not be loose or appear to have any significant wear or chips missing in the gear. The distributor shaft should spin freely without significant play. If you find either of these problems when you inspect the distributor it should be replaced or possibly repaired by a YourMechanic technician.
Part 3 of 4: Installing the distributor
Materials needed
- Marker
- Owner’s manual or repair guide
- Replacement distributor
- Socket set and ratchet
- Starbit screwdrivers (if applicable)
- Screwdriver set
- Timing light
Step 1: Match rotor position to old distributor When you removed the old distributor, you will have marked the position where the distributor engages the engine. This will allow you to match the location on the new distributor and ease the alignment when installing. Match the rotor and alignment marks made on the old distributor to the new distributor.
Attempt to align the rotor with that mark as you lower the distributor into the engine block.
Due to the distributor and camshaft gears being helically cut (cut at an angle), you will need to position the rotor approximately 30 degrees one way or the other as the gears will cause the distributor shaft to turn slightly as you engage the gears together.
- Tip: You may need to insert and remove the distributor several times to get the correct alignment. Once you have achieved the correct alignment of the rotor to the mark you made previously, make sure the distributor is fully seated into the engine block. If the distributor is not seated fully, pull the distributor up slightly and reseat the distributor until it is fully seated.
Step 2: Mount new distributor With the marks on the engine aligned with the marks you have made on your distributor cap, screw down the mounting bolts and clamp (if applicable) on the distributor, leaving the screws slightly loose until a further step.
Step 3: Connect spark plug wires Reconnect the spark plug wires to their proper location. Each spark plug wire must be connected in the correct firing order with the cylinder they correspond to. They should have been labeled when removing the old distributor.
- Note If your distributor connects to a vacuum line, now is the time to connect the line to the new distributor.
Step 4: Connect battery cable Reconnect battery cable to restore power to the vehicle.
Step 5: Start engine Start the vehicle and allow it to idle for about a minute. The vehicle may not start the first time. If this is the case, make a very tiny(1/16”) adjustment to the rotor, and try again. If the vehicle is still not starting, try it in the opposite direction, or take it another increment in the same direction.
Step 6: Adjust timing Using a timing light on the first spark plug, slightly rotate the distributor cap until the vehicle manufacturer's specifications are met. These specifications may be located in your owner’s manual. You may need access to a repair manual to find these. It is very important you follow the manufacturer’s instructions on this part.
Step 7: Tighten down mounting screws With timing set, finish screwing down and tightening the mounting screws on the distributor.
Step 8: Test drive Drive the vehicle and check for any driveability issues. If any issues arise, the timing is going to be the first place to start further adjustments.
Part 4 of 4: Check ignition timing
Material Needed
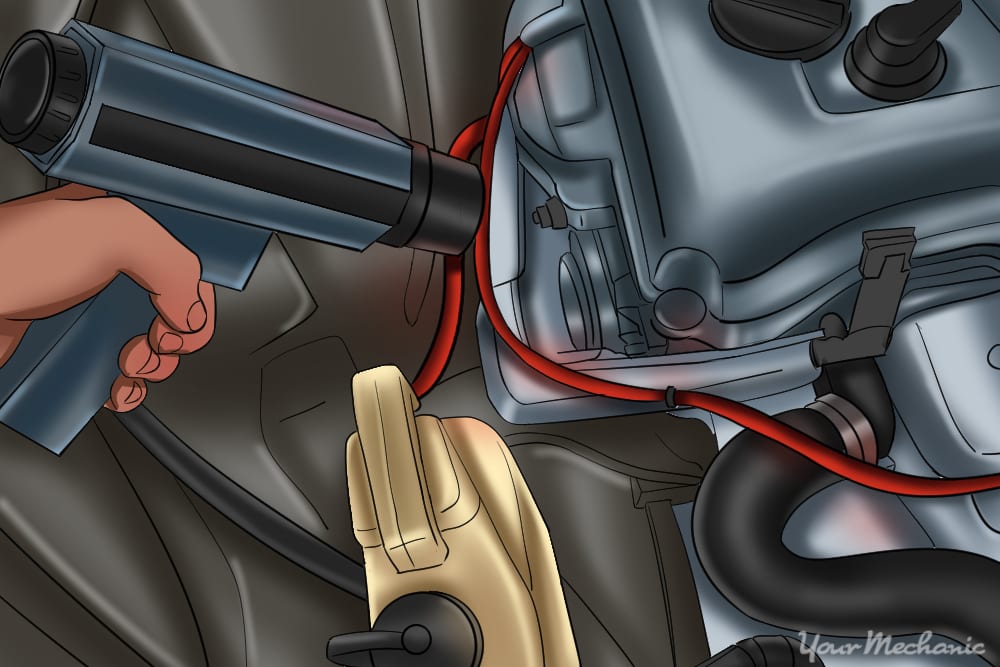
Step 1: Check the ignition timing. You will need an inductive timing light to complete the base timing check.
This tool uses an inductive clamp that is placed around the number one cylinder’s spark plug wire. There will also be two electrical connections (positive and negative) from the timing light that need to be connected to your vehicle’s battery for the light to work.
Step 2: Locate the electronic base timing procedure. If the vehicle uses an electronic distributor, you will need to locate the electronic base timing procedure for your vehicle.
Sometimes the procedure can be found labeled in the engine compartment of your vehicle. The procedure will outline how to get the vehicle’s engine computer into a base timing mode which will allow you to adjust the ignition timing correctly.
Step 3: Attempt to start the engine. If the engine does not start, you can move the distributor slightly with your hand either clockwise or counter clockwise and attempt to start the engine.
You may feel the engine try to start or not want to start at all. Continue to move the distributor slightly in the direction that feels as if the engine will want to start.
When the engine starts and runs you may begin the timing procedure after the car has warmed up to normal operating temperature.
Step 4: Check the operation of timing light. Make sure you have connected it to the vehicle and are squeezing the trigger while the engine is running.
You will notice the light flashes rapidly. This is normal operation and, if it does not flash, you should double check all of the connections for the timing light.
Step 5: Consult service information. You will need to consult service information to know what the timing adjustment should be for your vehicle.
Many times it can be found on the radiator support of underside of the hood. An example of a common base timing adjustment is 10 degrees BTDC (before top dead center).
Step 6: Find the timing marks on your vehicle. They are typically located just behind the crankshaft pulley on the front of the engine or on on the top of the transmission housing at the back of the engine.
There should be a line or a pointer attached or cast into the engine block or transmission.On the engine side of the crankshaft pulley or on the transmission torque converter/flywheel there will be numbers in a range of -15 to 5 with a zero in the middle. These numbers indicate timing in degrees of retard (negative numbers) or advance (positive numbers).
Step 7: Use the timing light. Point the timing light at the timing marks and pull the trigger, as the flashing light makes the numbers appear as if they are stationary.
Make sure that the engine is idle and warmed up and that you have plugged the vacuum line to the distributor (points system) or set the vehicle into base timing mode (electronic distributor).
Step 8: Adjust the timing. While holding the timing light on those marks, slowly move the distributor so that the line or pointer corresponds to the number you want your timing to be.
An example would be to have the pointer on the -10 if the specifications were 10 degrees BTDC (before top dead center). The “before” means the spark will happen before the piston gets to top dead center and that is indicated by the negative number on the vehicle timing marks.
If the specifications were 5 degrees ATDC (after top dead center) you would move the distributor by hand until the pointer or line indicated 5. This means the spark occurs 5 degrees after the piston has reached top dead center.
Step 9: Tighten the hold down bolt. When you have set the timing in the desired position, shut off the engine and tighten the hold down bolt so that the distributor will not move.
Step 10: Set the vehicle back to normal. Depending on application, either reinstall the vacuum line to the distributor or place the vehicle back into computer controlled timing.
Step 11: Double check and finish up. Double check the engine compartment for tools, close the hood and check to make sure it is latched properly.
You have just removed and replaced your distributor and also set your ignition timing!
Now that the distributor is operating as it should and is properly timed, now may be a good time to inspect the condition of your spark plugs to ensure your engine is running as efficiently as possible. To complete your tune-up, take a look at your air filter as well. A dirty air filter can have a severe effect on fuel mileage, engine performance and engine wear over time.
