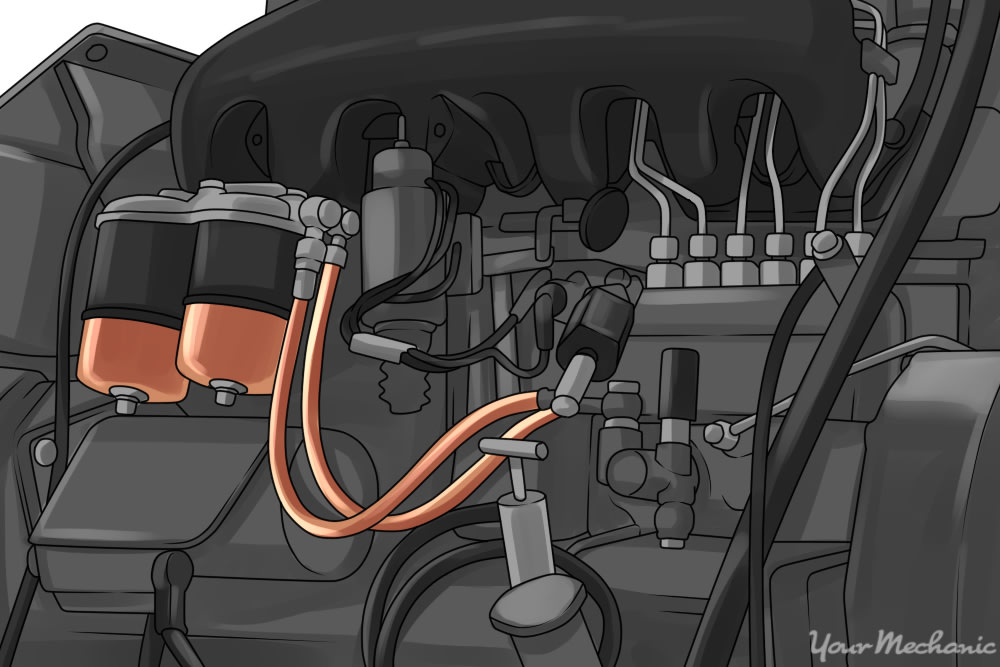

Diesel engines are known for their durability and efficiency. Because they rely on much higher compression ratios than gasoline engines, they tend to be built a bit sturdier. Diesel engines often run for hundreds of thousands of miles with routine maintenance. Later model diesel engines have more electronic controls to operate more efficiently and meet tougher emission standards.
One added control feature is the IC pressure sensor or injector control pressure sensor. The ECU (engine control unit) relies on fuel pressure readings from the IC pressure sensor to operate at peak efficiency. Symptoms of a failed IC pressure sensor include: hard starting, decreased power, and an illuminated check engine light.
Part 1 of 1: Replacing the IC pressure sensor
Materials Needed
- Code reader
- Shop rags
- Sockets/ratchet
Wrenches - open/box end
Note: Any fuel is combustible. Be sure to work on the vehicle in a well-ventilated area.
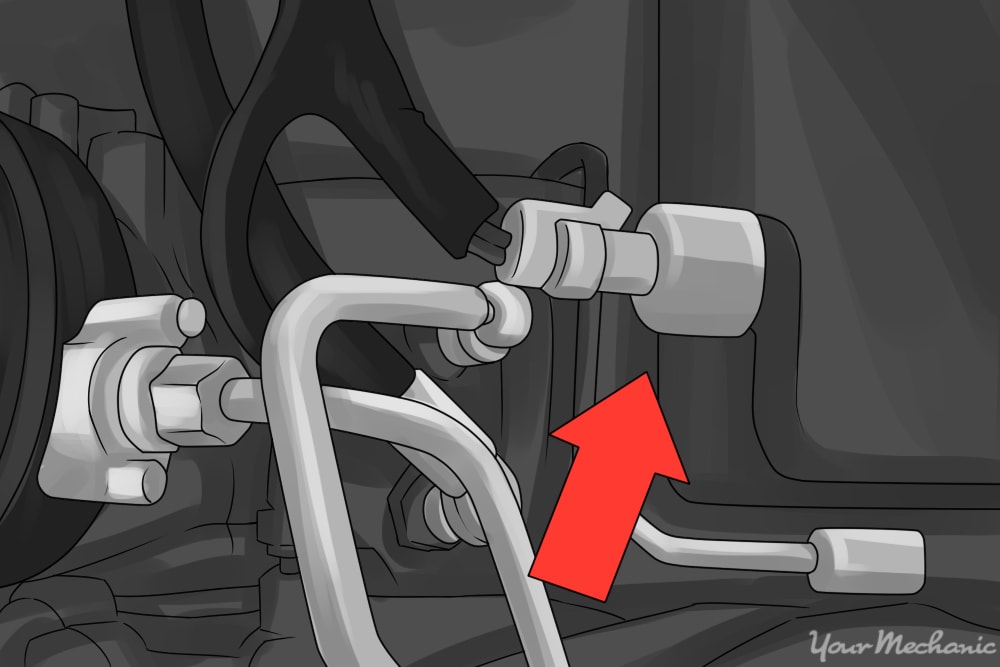
Step 1: Disconnect the fuel supply. Since the IC pressure sensor is typically located on the injector pump or fuel rail, you need to remove pressure from the fuel system before removing the sensor.
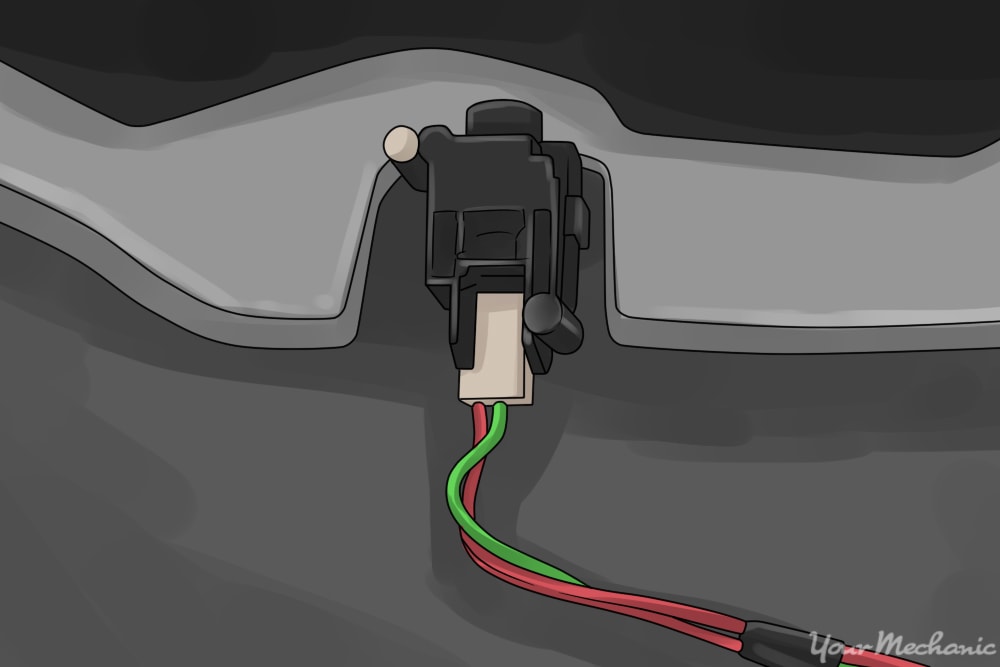
With some vehicles, removing the fuel pump fuse may work. With others, you can disconnect the fuel pump cutoff switch. The cut-off switch is commonly located inside the vehicle. It can be on the driver’s side near the brake and accelerator pedals or on the passenger side behind the kick panel.
Step 2: Remove pressure from the fuel system. Once the power supply is disconnected, crank the engine over.
It will run and sputter for a few seconds as it uses up any pressurized fuel in the system, then stall. Turn the ignition off.
Step 3: Gain access to the IC pressure sensor. The IC pressure sensor may be obstructed by things such as the air filter box or air duct.
Carefully remove any items to gain access to it.
Step 4: Remove the IC pressure sensor. Carefully unplug the electrical connector.
Place a rag or two under and surrounding the IC pressure sensor. Even though you’ve removed pressure from the system, some fuel may still leak out. Using a socket or wrench - whichever fits best - carefully remove the sensor.
Step 5: Install the new IC pressure sensor. Dab a little diesel fuel on the replacement sensor o-ring before screwing it into the injector pump or rail.
Carefully tighten it and reconnect the electrical connector. Be sure to remove any rags you used to catch spilled fuel. Make certain to wipe away any fuel that may have gotten past the rags with a clean rag also.
Step 6: Check for fuel leaks. Once the new sensor is installed, reconnect power to the fuel system.
- Tip: If you disconnected the fuel pump cutoff switch, the button on top may have “popped” due to the power interruption. When you reconnect the switch, push the button down just to be sure. The button can be round or square and can vary in color.
Step 7: Turn the ignition to the on position and wait 10 or 15 seconds. Start the vehicle and check the IC pressure sensor location for any leaks. Make sure there is no fuel leaking.
Step 8: Reinstall everything. Reinstall any components that you removed to gain access to the IC pressure sensor.
Make sure they are all properly secured.
Step 9: Clear fault codes if needed. If your IC pressure sensor caused the check engine light to come on, you may need to clear the fault code.
Some vehicles clear the code on it’s once the new sensor is installed. Others require a code reader to do so. If you do not have access to one, your local auto parts store may be able to clear the code for you.
Replacing your injector control pressure sensor is not a very difficult process, but if your vehicle has a bad IC pressure sensor and you don’t feel confident replacing it yourself, have one of YourMechanic’s certified technicians take a look and help you get your car back in fully working condition. Be sure to keep up will all of your car’s routine maintenance to maximize its life and prevent costly repairs down the road.


