
Air fuel ratio sensors, commonly known as a oxygen sensors, tend to fail within the driveability system of vehicles. When this sensor fails the engine will not perform optimally and can pollute the environment.
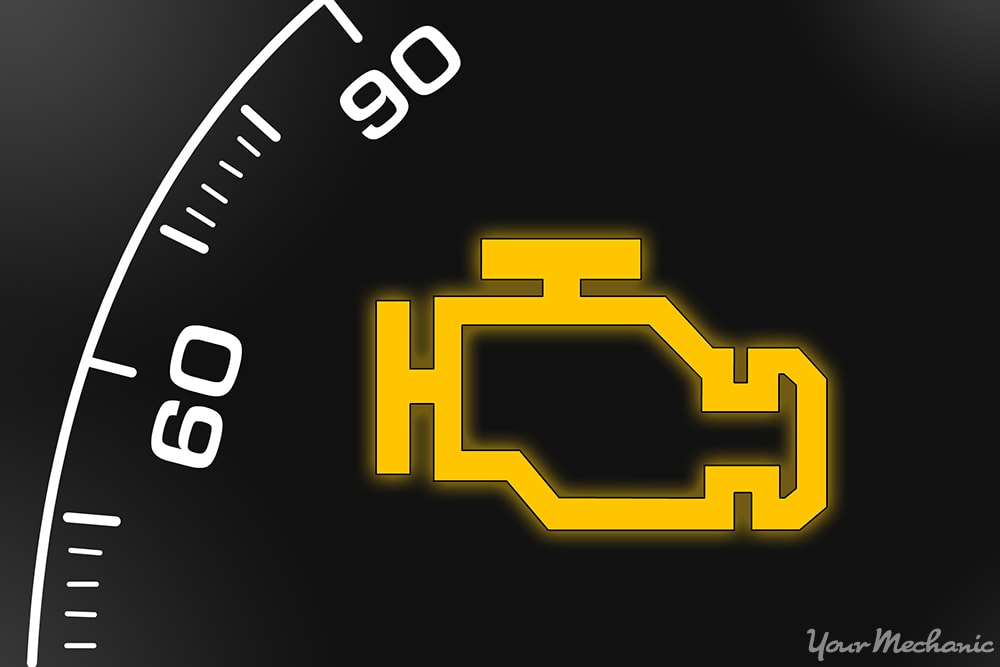
Usually an engine light will come on letting the operator know that something is not functioning properly. The indicator light that is associated with an air fuel ratio sensor will illuminate with an amber color.
Part 1 of 7: Identifying the malfunction indicator light
When an engine light comes on, the first thing to do is scan the vehicle's computer for codes. Different codes may come on during the scan process letting you know that something within the engine caused the air fuel ratio sensor to fail.
The following are codes associated with the air fuel ratio sensor:
P0030, P0031, P0032, P0036, P0037, P0038, P0042, P0043, P0044, P0051, P0052, P0053, P0054, P0055, P0056, P0057, P0058, P0059, P0060, P0061, P0062, P0063, P0064, P0131, P0132.
The codes P0030 through P0064 will display that the air fuel ratio sensor heater has shorted or is open. For the codes P0131 and P0132 the air fuel ratio sensor has either a failed heater or there has been catastrophic failure due to thermal shock.
If you have scanned the vehicle’s computer and found different codes than mentioned, perform diagnostics and troubleshooting before replacing an air fuel ratio sensor.
Part 2 of 7: Preparing to replace the air fuel ratio sensor
Having all of the necessary tools and materials prior to starting the work will allow you to get the job done more efficiently.
Materials Needed

Step 1: Park your vehicle on a flat, hard surface. Make sure that the transmission is in park (for automatics) or in 1st gear (for manuals).
- Note: This is only for vehicles with all wheel drive transmissions or rear wheel drive transmissions.
Step 2: Place wheel chocks around the rear tires. Engage the parking brake to the lock the rear tires from moving.
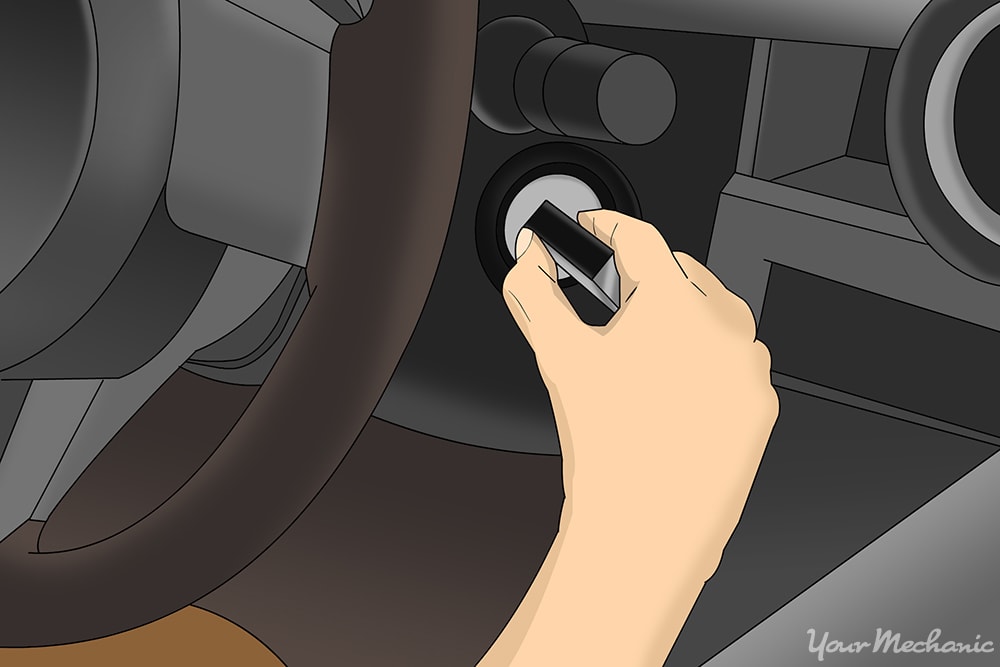
Step 3: Install a nine volt battery saver into your cigarette lighter. This will keep your computer live and keep your setting current in the vehicle.
If you do not have a nine volt battery saver, that is fine.
Step 4: Open the vehicle's hood to disconnect your battery. Take the ground cable off of the battery’s negative post disabling the power to the air fuel ratio sensor.
- Note: If you have a hybrid vehicle, use owner's manual for disconnecting the small battery only. Close the vehicle's hood.

Step 5: Raise the vehicle. Using a floor jack, lift under the vehicle at its specified jacking points until the wheels are completely off the ground.

Step 6: Place the jack stands. Put the jack stands under the jacking locations and then lower the vehicle onto the jack stands.
For most modern cars, the jacking points will be on the pinch weld just under the doors along the bottom of the car.
- Tip: It is best to follow the vehicle’s owner’s manual for proper jacking locations.
Part 3 of 7: Removing the air fuel ratio sensor
Materials Needed
- Air fuel ratio sensor (oxygen sensor) socket
- Boxed end wrenches
- Breaker bar
- Fastener remove
- Portable torch
- Ratchet with metric and standard sockets
- Thread pitch gauge
Torque wrench
Note: The portable torch is only for frozen struck sensors and the fastener is only for vehicles with an engine guard.
Step 1: Get your tools and creeper. Go under the vehicle and locate where the air fuel ratio sensor is.
When identifying the location, determine if you need to remove the exhaust or a component to access the sensor using a socket.
If you have to remove the exhaust down to reach the sensor, then locate the closest mounting bolts to the front of the sensor.
Remove the butt connectors to the upstream sensor and downstream sensor. Remove the bolts to the exhaust and lower the exhaust to have access to the sensor.
-
Note: Keep in mind that the bolts may break due to rust and being seized on hard.

If the exhaust pipe goes around a drive shaft (front drive shaft for four wheel drive vehicles or rear drive shaft on all wheel drive vehicles) you will need to remove the drive shaft before lowering the exhaust pipe.
Remove the mounting bolts to the drive shaft and push in that section of the drive shaft into its slip yoke. If the drive shaft of the vehicle has a center support bearing, you will need to remove the bearing as well to lower the drive shaft.
If the vehicle is equipped with a engine guard, you will need to remove the guard to get to the exhaust pipe. Use the fastener remover to take off the plastic fasteners that hold the engine guard up. Lower the engine guard and place some where out of the sun.
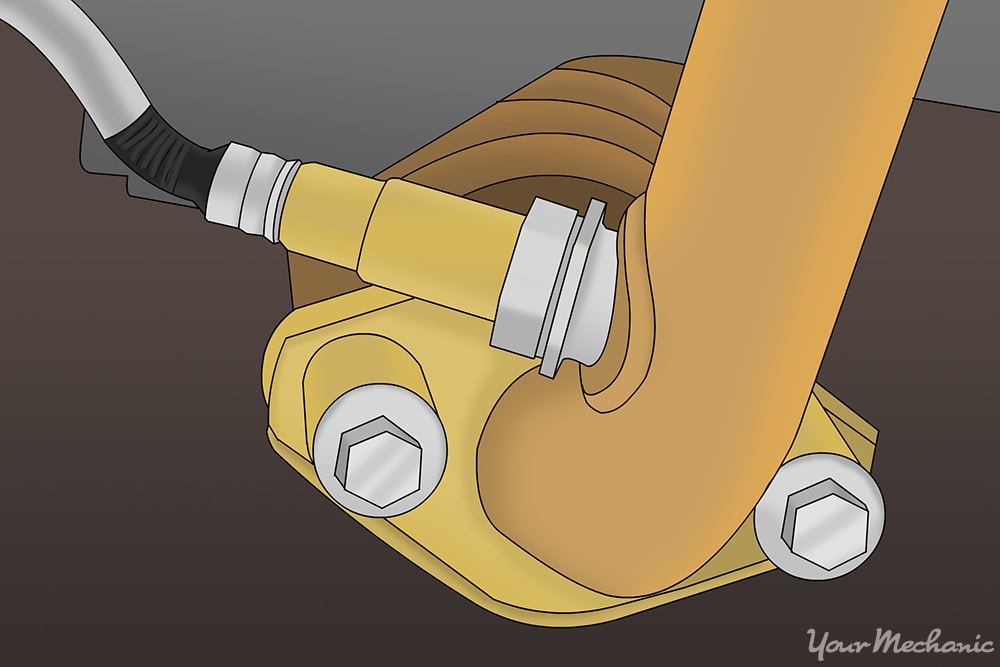
Step 2: Disconnect the harness from the air fuel ratio sensor. Use your breaker bar and the air fuel ratio sensor socket and remove the sensor from the exhaust pipe.
Some air fuel ratio sensors may get stuck onto the exhaust pipe and make it almost impossible to remove. At this time, you would need to have a small portable torch handy.
Once you use the torch, use your breaker bar and the air fuel ratio sensor socket to remove the sensor from the exhaust pipe.
Note: Make sure that there is no flammable substance or fuel line near the exhaust pipe with using a portable torch. Use the portable torch and heat up the area around the mounting surface of the sensor.
Warning: Be careful where you put your hands as the surface on the exhaust pipe will be glowing red and very hot.
Step 3: Clean the harness to the vehicle using an electrical contact cleaner. After spraying the contacts, use a lint free cloth to wipe off any remaining debris.
Get the new sensor out of its box and clean the contacts with electrical contact cleaner to make sure that there is no debris on the contacts.
Part 4 of 7: Install the new air fuel ratio sensor

Step 1: Thread the sensor into the exhaust pipe. Tighten the sensor up with your hands to finger tight.
Torque the sensor to the specifications that are provided on the slip in the bag or box that the sensor came with.
If for some reason there is no slip and you don’t know the specifications, you can tighten the sensor by 1/2 turn with metric 12 threads and 3/4 turn with metric 18 threads. If you do not know the thread size of your sensor, you can use a metric thread pitch gauge and measure the thread pitch.
Step 2: Connect the butt connector on air fuel ratio sensor to the vehicle harness. If there is a lock, make sure that the lock is in place.
If you had to reinstall the exhaust pipe, make sure that you use new exhaust bolts. Old bolts will be brittle and weak and cause them to break after some time.
Reconnect the exhaust up and torque the bolts to specifications. If you do not know the specifications, tighten the bolts to finger tight and 1/2 turn. You may need to tighten the bolts 1/4 turn more after the exhaust is hot.
If you had to reinstall the drive shaft, make sure that you tighten the bolts to factory settings. If the bolts are torque to yield, then you will need to replace them.
Reinstall the engine guard and use new plastic tabs to prevent the engine guard from falling off.
- Note: Grease up the slip yoke and u-joint after installation (if there are grease zerks).
Part 5 of 7: Lowering the vehicle
Step 1: Raise the vehicle. Using a floor jack lift under the vehicle at its specified jacking points until the wheels are completely off the ground.
Step 2: Remove the jack stands. Keep them far away from the vehicle.
Step 3: Lower the vehicle to where all four wheels are on the ground. Pull out the jack and put it aside.
Step 4: Remove the wheel chocks. Set these aside.
Part 6 of 7: Hooking up the battery
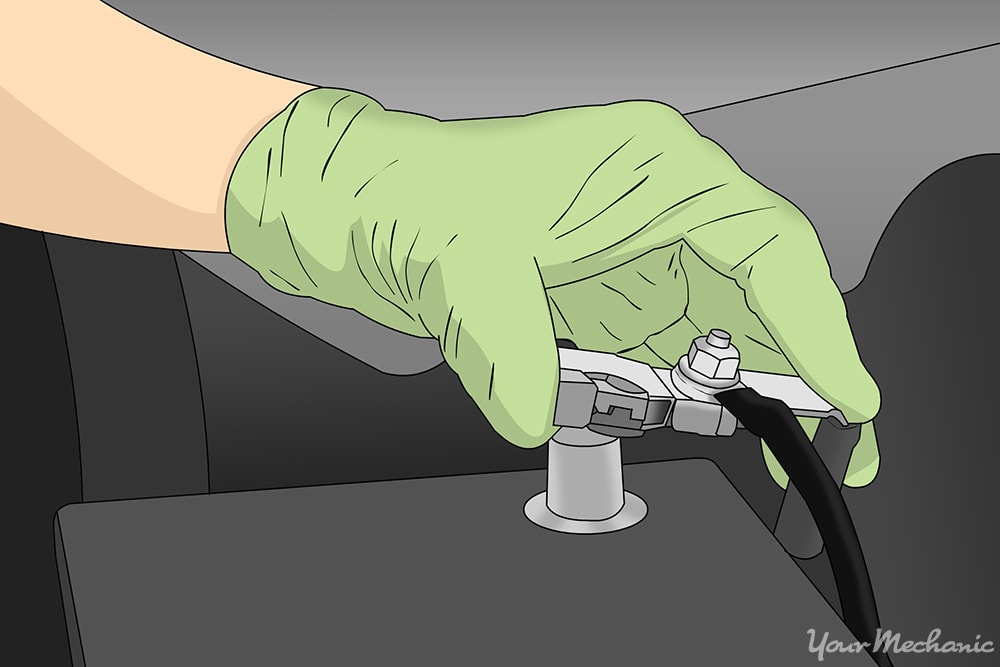
Step 1: Open the vehicle's hood. Reconnect the ground cable back onto the battery’s negative post.
Remove the nine volt battery saver from the cigarette lighter.
Step 2: Tighten the battery clamp. Ensure that the connection is good.
Part 7 of 7: Checking the engine
Step 1: Start and run engine. Remove the parking brake.
Move vehicle to a well-vented area and let the engine get to operating temperature.
Note: Keep in mind, the engine light may be still on.
Note: If you did not have a nine volt battery saver, your engine light will be off.
Step 2: Shut off engine. Let engine cool down for 10 minutes and restart.
You will need to perform this step nine more times if the engine light was off. This will reset your vehicle's computer in cycles.
Step 3: Test drive the vehicle. Drive the vehicle around the block about a mile or two to ensure that there are no leaks in your exhaust system.
It will take some time to make sure that the engine light will not come back on. You will have to drive your vehicle for 50 to 100 miles to verify if the engine light will come on again.
If the engine light comes back on after 50 to 100 miles, then there is another issue with vehicle. You will need to check the codes again and see if there is an indication of unforeseen problems.
The air fuel ratio sensor may need further inspection and diagnostics. There may be another underlying issue such as a fuel system issue or even a timing problem. If the problem persists, then you should seek out help from one of YourMechanic’s certified technicians to perform an inspection.