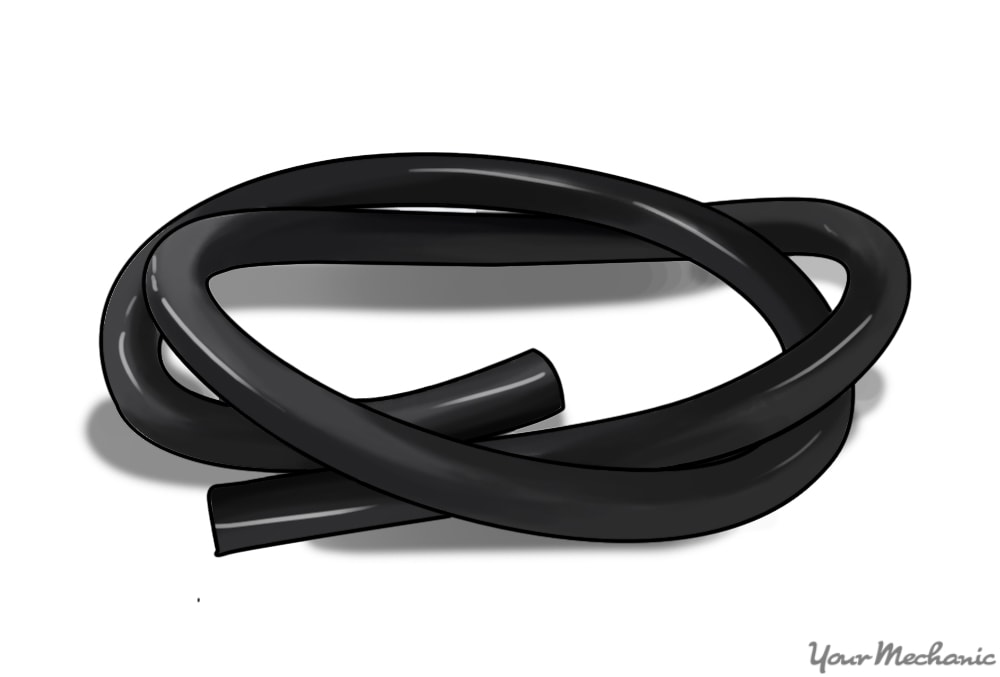
A wastegate hose is designed to relieve pressure in the intake manifold when the accelerator has resumed the rest position. The wastegate hose is made of a material that is resistant to heat, oil, and fuel. It directs air under the vehicle, sometimes into a canister for collection of carbon.
The wastegate hose has problems relieving pressure when it gets clogged. As the air is returned from the intake manifold to the turbo, the air brings oil, fuel, and contaminants with it that build up in the hose. This is more common when there is a lot of build up within the intake manifold.
When the pressure is returned to the turbo from the intake and there is a chattering noise, then the hose may be clogged. Also, if the hose is cracked or split, then the air escaping has a loud hissing noise. Plus, if the hose goes into a canister, then when the hose is split, it leaks out carbon, fuel, or oil and sprays this all over the engine compartment. You may also notice a decrease in fuel economy.
Often, the Check Engine Light comes on when there is a problem with the wastegate hose. Common engine codes are:
Part 1 of 3: Verify the condition of the wastegate
Material Needed
- Flashlight
Step 1: Get your key and turn on the engine. Throttle the engine quickly to spool up the turbo.
Let off the throttle to the rest position and see if the wastegate hose dissipates the pressure.
Step 2: Drive the vehicle around the block. Accelerate the engine then let off the throttle.
You should hear a normal escaping sound of waste discharge. If you hear a choppy noise or a whistle noise, then the hose may be plugged or cracked.
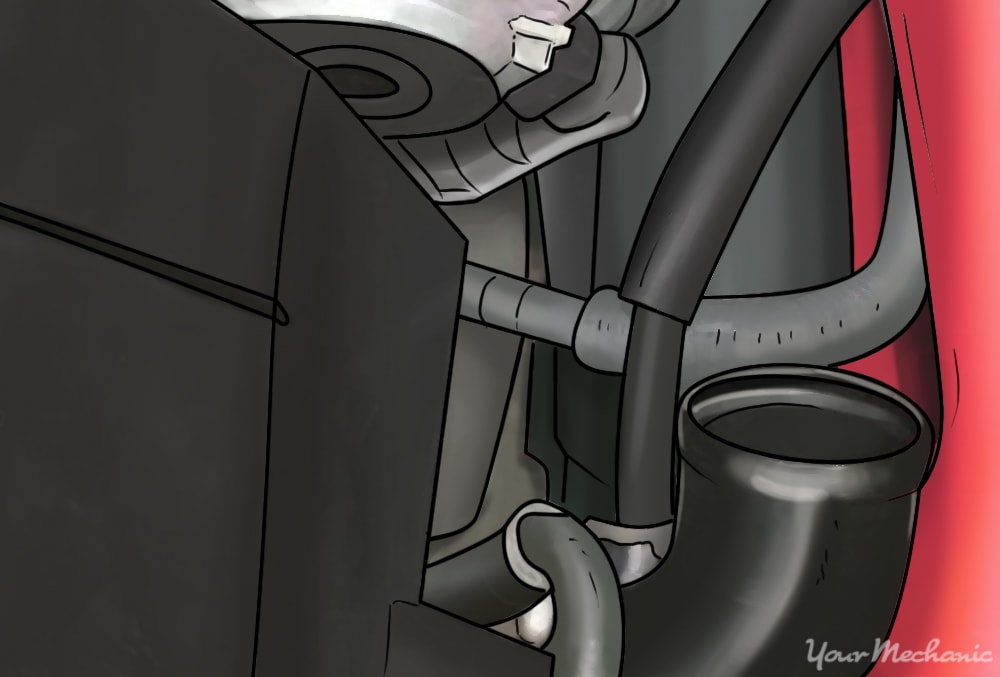
Step 3: Open the hood to the engine compartment. Grab a flashlight and look for the wastegate hose.
Check the condition of the hose. Check the clamp’s condition on the back of the turbo if there is such a clamp.
Part 2 of 3: Replacing the wastegate hose
Materials Needed
- Allen wrench set (SAE/metric)
- Band crimper tool
- Boxed end wrenches
- Flat tip screwdriver
- Needle nose pliers
- Phillips screwdriver
- Protective gloves
- Ratchet with metric and standard sockets
- Safety glasses
- Torque bit set
- Wheel chocks
Step 1: Park your vehicle on a flat, hard surface. Make sure that the transmission is in park (for automatics) or in 1st gear (for manuals).
Step 2: Place wheel chocks around the tires. In this case, the wheel chocks go around the front tires since the rear of the vehicle will be lifted up.
Engage the parking brake to the lock the rear tires from moving.
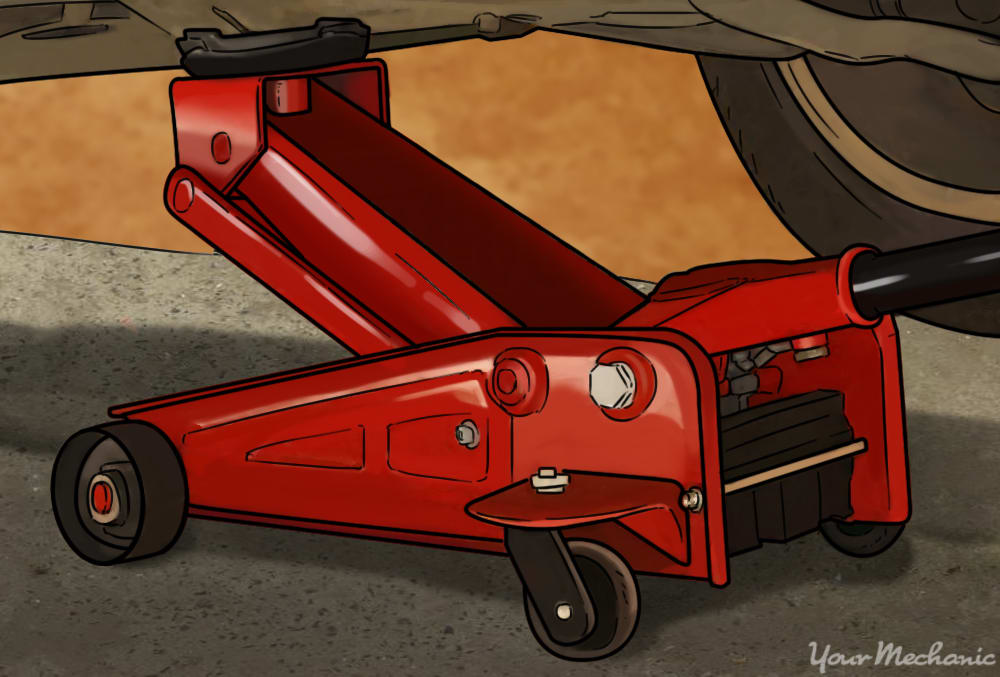
Step 3: Raise the vehicle. Using a floor jack, lift under the vehicle at its specified jacking points until the wheels are completely off the ground.
Raise up vehicle if the turbo is accessed from under the vehicle.
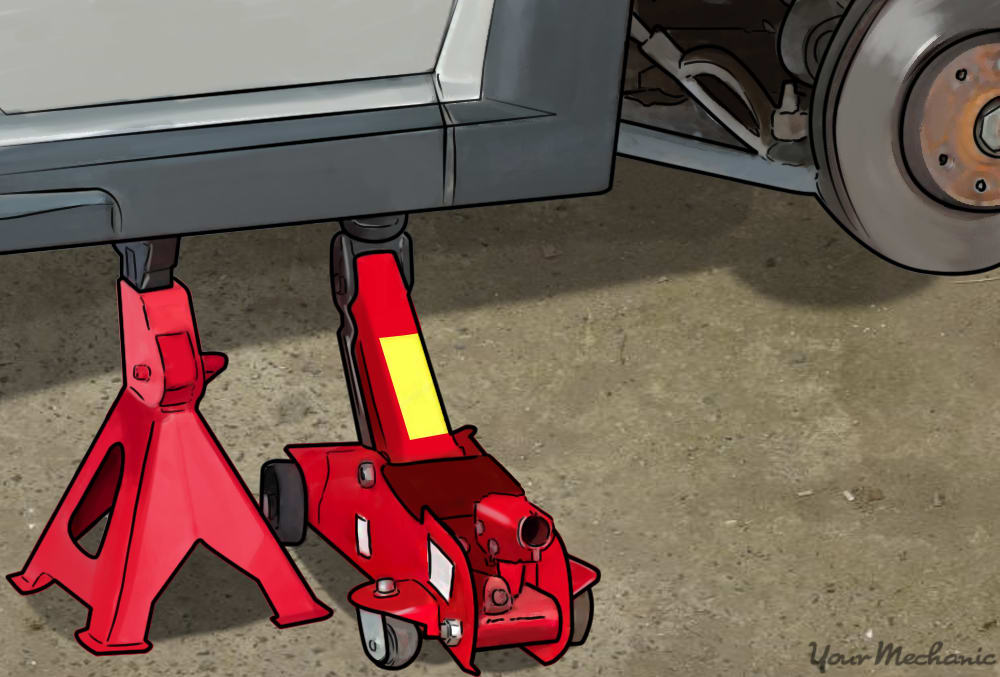
Step 4: Place the jack stands. The jack stands go under the jacking point locations; lower the vehicle onto the jack stands.
For most modern cars, the jacking points for jack stands are on the pinch weld just under the doors along the bottom of the car.
Step 5: Put on safety glasses. There may be a small amount of pressure in the turbo as you remove the hose.
This can cause debris to fly in the air.
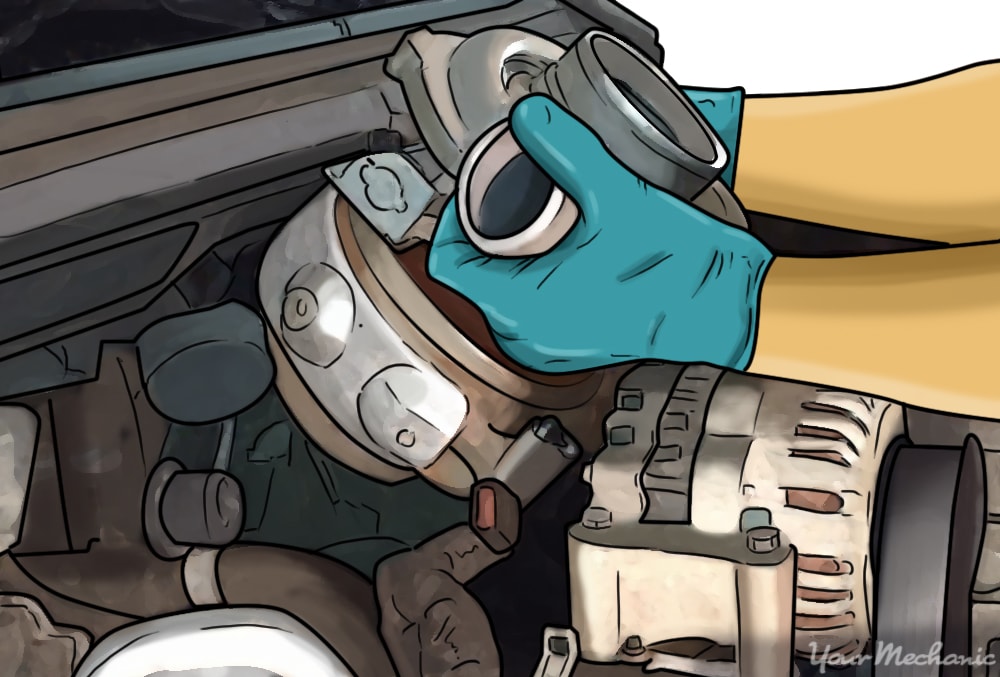
Step 6: Locate the turbo or turbos. Remove all of the mounting brackets to the wastegate hose.
Step 7: Remove the wastegate hose clamps from the turbo and controller. Some clamps may be attached by a pressed on band clamp.
Other clamps may be compression clamps removable by needle nose pliers.
Step 8: Remove the wastegate hose.
Note: You may have to remove the turbo to access the wastegate hose. If you do, remove the mounting nuts to the exhaust manifold. Once the turbo is off, discard the exhaust gasket. Most exhaust gaskets are compression gaskets and are used only once. Put on a new gasket and install the turbo after putting on a wastegate hose. Install the mounting nuts to the turbo and torque to 20 foot pounds and an additional 1/8 turn. Do not over torque the mounting nuts.
Warning: Do not remove the wastegate and leave it off permanently. This will cause an overboost condition and damage the engine.
Step 9: Put on the new wastegate hose. Fit the hose onto the turbo and controller.
Step 10: Install new hose clamps. If you had to use needle nose pliers to remove the hose clamp, be sure to reuse the needle nose pliers to install the new clamps.
If you had to cut off the band clamp, be sure to install the new band clamp and use a band crimper tool to secure the clamp.
Step 11: Install all brackets that you removed to get the hose off.
Step 12: Raise the vehicle. Using a floor jack, lift under the vehicle at its specified jacking points until the wheels are completely off the ground.
Step 13: Remove the jack stands. Keep them far away from the vehicle.
Step 14: Lower the vehicle to where all four wheels are on the ground. Pull out the jack and put it aside.
Step 15: Remove the wheel chocks.
Part 3 of 3: Test drive the vehicle
Material Needed
- Flashlight
Step 1: Drive the vehicle around the block. During the test, listen for the operation of the wastegate.
Make sure that the turbo is wasting the pressure and not over boosting.
Step 2: Monitor the dash for the fuel level and for any engine lights to appear.
Step 3: Verify the wastegate hose is still attached. When the road test is over, shut off the engine and open the hood.
Use your flashlight and verify that the wastegate hose is still attached.
If your engine light comes on after replacing the wastegate hose, then there may be further diagnosis of the wastegate system needed or a possible electrical issue within the wastegate system. If the problem persists, have one of YourMechanic’s certified mechanic inspect the wastegate system and diagnosis the problem.
