Driving a vehicle in the winter can be a harrowing experience regardless of whether you have a front-wheel drive, rear-wheel drive, all-wheel drive, or four-wheel drive vehicle. Slippery or snowy conditions on the roads can cause you more stress than normal, and your vehicle’s tires may not get sufficient traction on the road’s surface.
The solution for extreme winter driving conditions is using tire chains. Tire chains are designed to bite through the snowy crust or into an icy road surface to get a solid grip on the road underneath.
- Warning: Tire chains are meant only for the most extreme winter conditions and should not be used on dry surfaces or at speeds above 30 miles per hour. Damage to the tire chains, the road, or damage to your vehicle can result.
Tire chains are made of high-grade alloy steel or hardened steel in most cases though low-grade metals are used in less expensive varieties.
The various types of snow chains are:
- Link chains – normal tire chains or deep snow chains
- Diamond chains – diamond pattern chains for cars or trucks
- Traction cables/cable chains/snow cables – formed from cable wire instead of chain links
- Snow tires – tires with deep and wide slots and knobby treads to aid traction
- Studded tires – snow tires with metal studs used in icy conditions; only legal in certain conditions
- Spider shaped chain mounted onto the tires from the side
- Sock – fabric rather than chain or cable
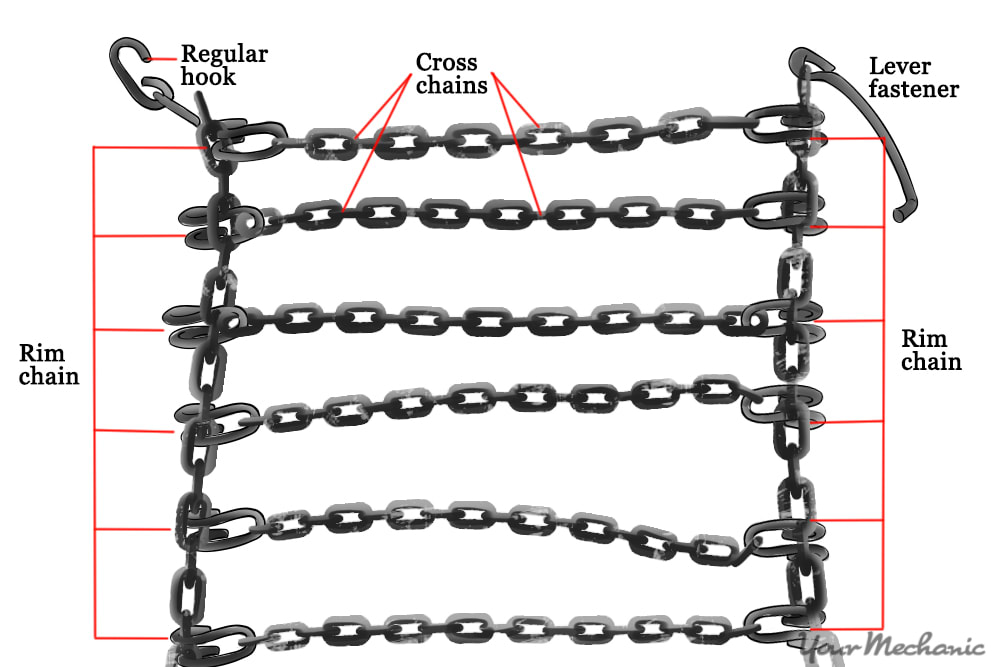
Tire chains consist of the following components:

An inner side chain with a C-hook that hooks to the other end of the inner chain to form a circle on the inner side of the tire.
An outer chain that is adjustable with a fastening lock (bow lever). It also forms a circle but on the outside of the tire.
Cross chains that are evenly spaced, crossing the tread of the tire. The cross chains are connected to the side chains with open hooks (swivel hook assembly). These hooks allow you to adjust the placement of cross chains on the side chains easily.
Installing snow chains can be time-consuming and confusing but you can use the following instructions to make the process a little easier.
Part 1 of 2: Prepare the tire chains
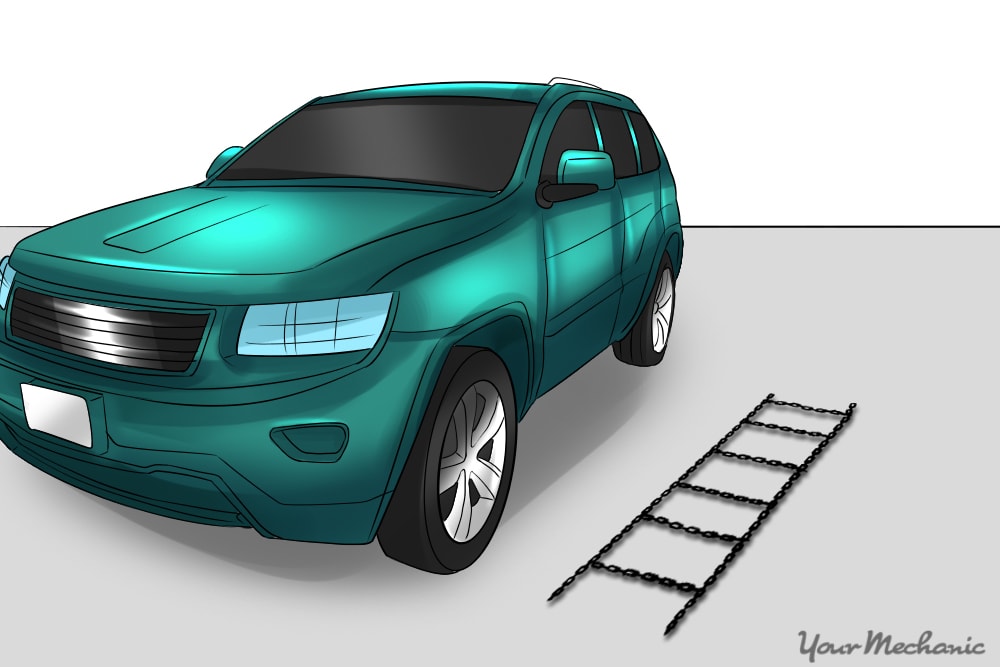
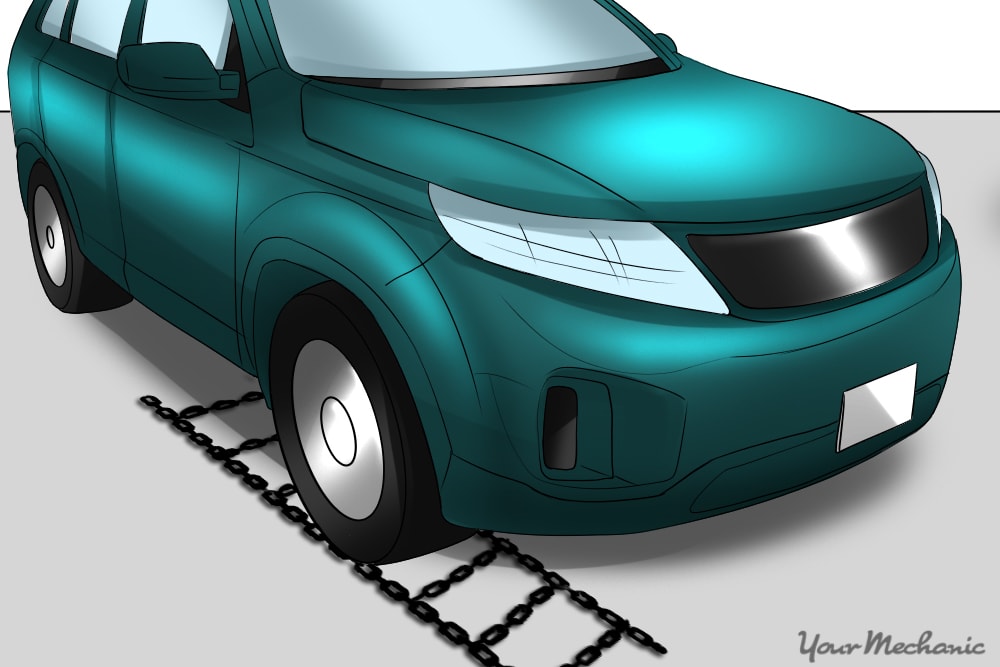
Step 1: Spread out the tire chains. Lay out the tire chains on the ground. You need one tire chain for each wheel. Separate the individual tire chains out and lay one beside each wheel.
- Warning: Never operate your vehicle with a partial set of tire chains. You can lose control of your vehicle due to uneven traction.
Step 2: Place the chain correctly.Untangle each tire chain and lay them out with the steel hooks on the cross chains facing downward.
Straighten each cross chain and confirm once again that the open hooks are facing downward. If the open hooks are turned inwards, the hooks may eventually wear into and puncture the tire when you begin driving.
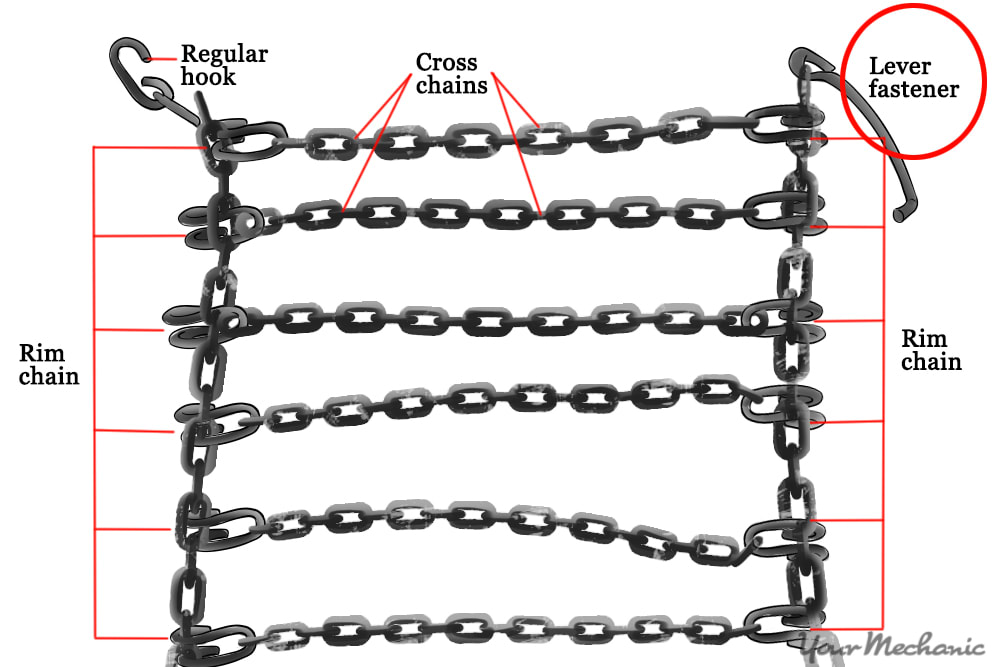
Step 3: Confirm the bow lever position. Locate the bow lever or fastening lock on one of the side chains.
Make sure the bow lever is on the side chain facing the outside of the wheel. If your bow lever is on the inner side chain, you won’t be able to adjust the tire chain properly and it may be loose when you finish installing the tire chains.
If your bow lever is on the inside, pick up the tire chain and turn it around, being careful not to turn the open hooks upwards. When you lay the chain down again, confirm that the bow lever is on the outer side chain, the C-hook is on the inner side chain, and the open hooks on the cross chains are pointing downwards.
Step 4: Put the chain in front of the wheel. Move one chain in front of the wheel to which you want to attach it.
Again, confirm the layout so you don’t have to remove and reposition the tire chain afterwards.
Step 5: Drive your vehicle forward onto the tire chain. Pull ahead until there is approximately one foot of the tire chain in front of the wheel on the ground.
- Tip: After your first try at installing tire chains, you may want to lay out all four tire chains at the same time to save a few minutes of install time.
Part 2 of 2: Fasten the tire chains onto your tires
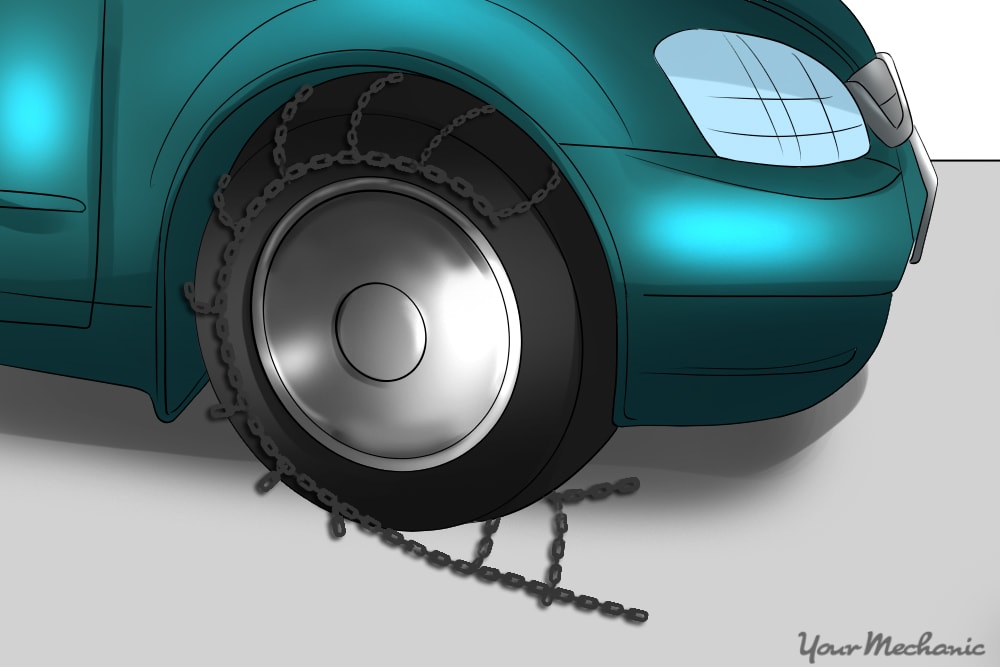
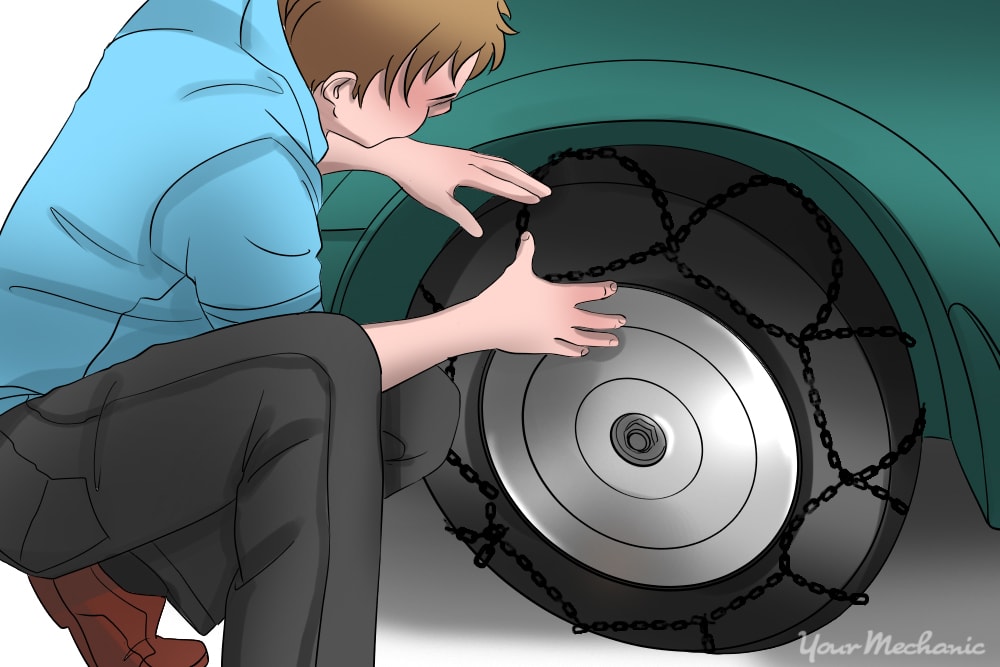
Step 1: Lift the chain onto the rear of the tire. Lift the tire chain to the rear of the tire and lay it onto the top of the tire tread.
It should come about three quarters of the way around the tire and stay in place when you let it go.
Step 2: Lift the chain onto the front of the tire. Lift the section of tire chain in front of the tire and meet it up with the chain you just laid on top of the tire.
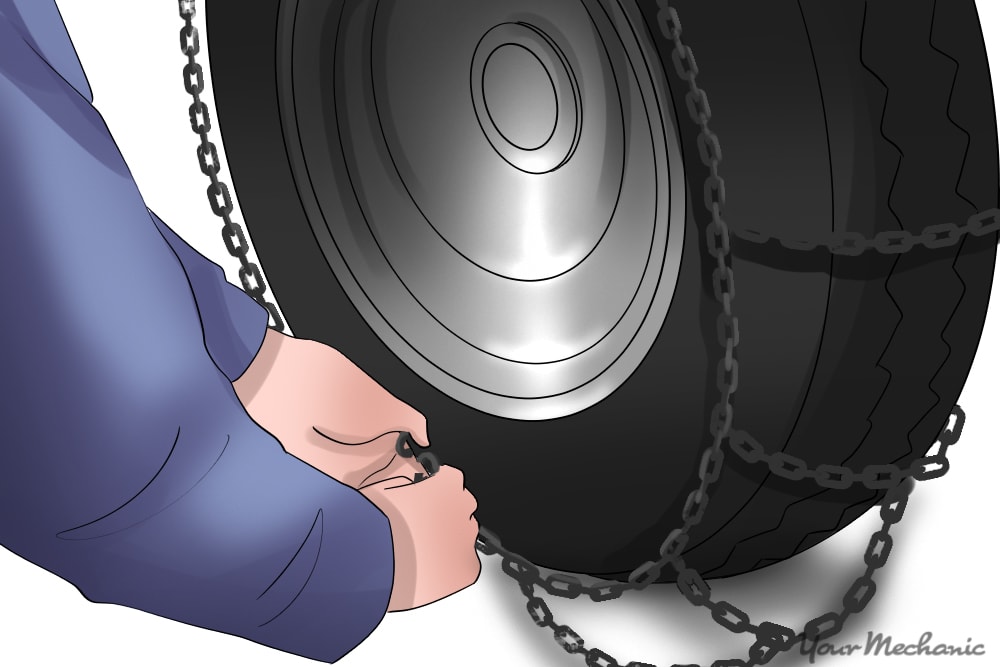
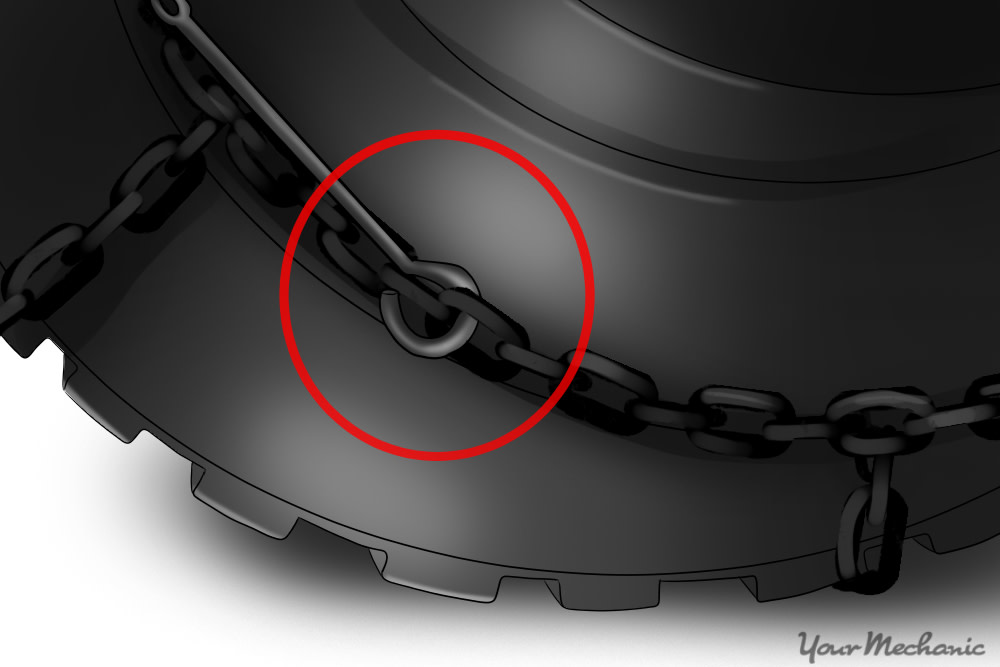
Step 3: Connect the chain ends. On the inner side chain, connect the two ends with the C-hook.
Connect the chain initially so that the cross chains are spread out equally across the tire tread. You can adjust this later if necessary. Count the number of loose links after the C-hook.
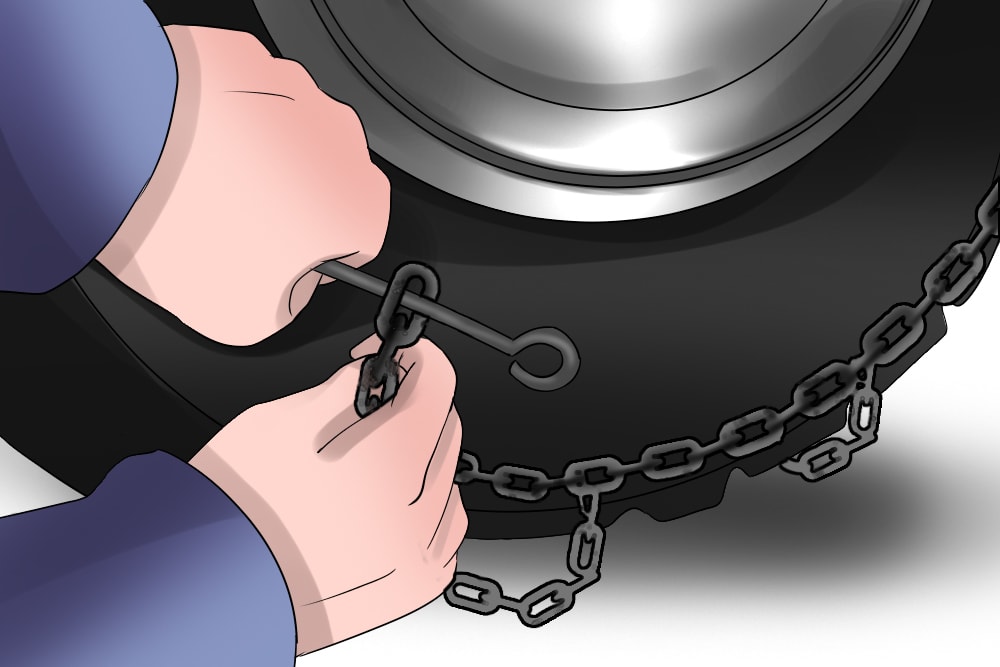
Step 4: Insert the end of the bow lever through the outer chain. Place it through the chain link the same distance from the end of the chain as the C-hook on the inner chain.

Step 5: Pull back the bow lever. Pull back on the bow lever until it doubles back onto the outer chain. The outer chain will pull tight against the tire.
Tip: If you can’t pull the bow lever all the way back, release it and move back one chain link at a time until it will pull tight.
Note: Don’t fasten the bow lever until the spacing is even.
Step 6: Check if the tire chain is centered on the tire. If the inner chain and outer chain are of different sizes, undo the tire chain and adjust your C-hook and bow lever placement until the two sides are even.
Step 7: Hook the outer chain bow lever. Hook the outer chain bow lever onto the outer chain when it is tight. You may need to adjust the chains after driving for a short distance.
Step 8: Repeat the steps. Repeat the procedure for the remaining three wheels.
Step 9: Test drive your car. Drive your vehicle about a quarter of a mile then come to a stop. When you have tire chains on your wheels, it is import to accelerate slowly and evenly. Try to keep your speed low at all times.
Step 10: Check that your tire chains are still tight. If the tire chains have come loose, adjust the outer chain bow lever one chain link tighter until the tire chains fit correctly.
Step 11: Use rubber tension adjusters. Some types of tire chains use rubber adjusters to maintain tension on the outer chain.
If your tire chains have rubber adjusters, hook them to the outer chain and space them evenly around the wheel to ensure that the outer chain has tension.
- Warning: If one of the cross chains fails, stop and repair it or remove it immediately. Driving with a broken cross chain will cause damage to your vehicle.
With trips to the mountains on the rise in the winter, knowing how to quickly and safely install tire chains is a vital skill. Even if you live in an area that rarely receives snow, it is always helpful to know the basics of using snow chains so that you can be prepared for all emergencies.
Once you master the process of putting snow chains on your vehicle, you can be comfortable knowing that your car will handle well and have good traction even in the worst winter weather.
If you find that your tires are having [uneven wear] or if they are losing contact with the road while driving in snowy conditions, get a certified mechanic, such as one from YourMechanic, to inspect your tires and perform a tire rotation if necessary.
