Most modern vehicles come equipped with a tachometer. It tends to be standard equipment, though many vehicles still do not have one. If your vehicle does not have a tachometer, in most cases you can easily install one. Whether you are installing one for performance reasons, for looks, or to monitor engine speed for fuel mileage reasons, knowing some simple instructions can enable you to install a tachometer on your own.
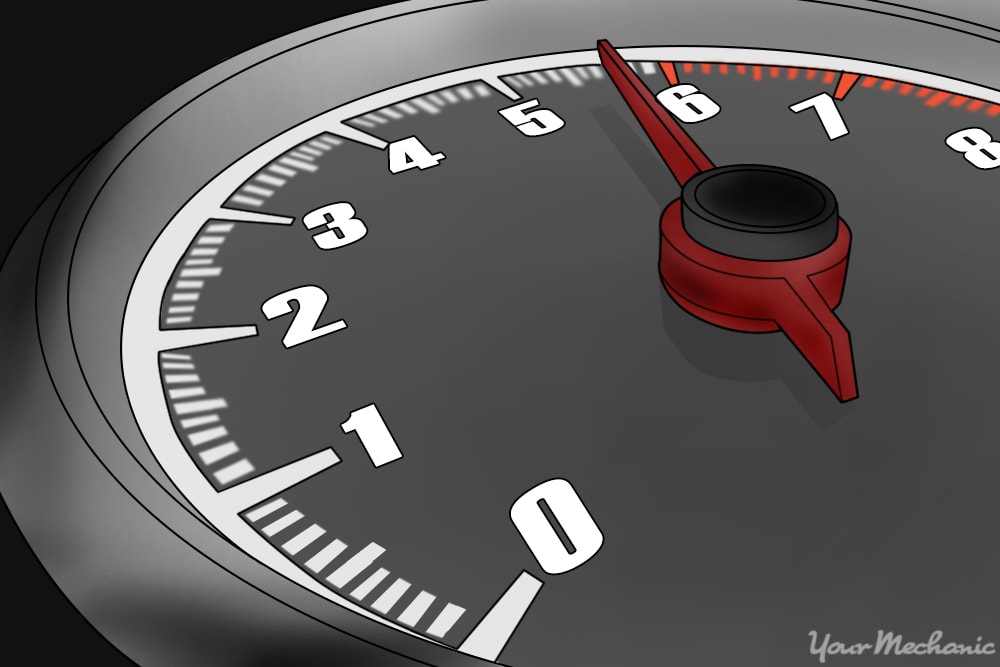
The purpose of a tachometer is to allow the driver to see the engine rpm, or revolutions per minute. This is how many times the engine's crankshaft makes one complete revolution in one minute. Some people also use a tachometer for performance applications as it allows them to monitor engine speed. This assists the driver in knowing when the engine is at the correct rpm to reach its optimal horsepower, and it also allows the driver to know if the engine speed is getting too high, which can cause engine failure.
Some people install tachometers to assist them in achieving the best possible fuel mileage by monitoring engine speed. You may be wanting to install a tachometer for any of these reasons, or it may be just for looks.
One thing to keep in mind when purchasing a new tachometer is that you will need different adapters depending on whether your car has a distributor or a distributorless (DIS or coil on plug) ignition system.
Part 1 of 1: Installing a new tachometer
Materials Needed
- Fused wire link that has the same amperage rating as the new tachometer
- Tachometer
- Tachometer adapter if the vehicle is equipped with DIS
- Memory saver
- Wire at least 20’ to match the size on the tachometer
- Wire cutters/strippers
- Wiring connectors, assorted with butt connectors and eyelets with a three-way connector
- Wiring schematic for your vehicle (use repair manual or online source)
- Wrenches in assorted metric sizes
Step 1: Position the vehicle. Park your vehicle on a flat, level surface and apply the parking brake.
Step 2: Install the memory saver per the manufacturer’s instructions. Using a memory saver will prevent your vehicle's computer from losing its adaptive memory. This will keep you from having driveability issues after disconnecting the battery.

Step 3: Disconnect the negative battery cable. Open the hood and locate the negative battery cable. Disconnect it and position it away from the battery so that it does not accidentally contact it while you are installing your tachometer.
Step 4: Determine the tachometer’s position. Decide where you are going to install your tachometer so that you will know where to run the wiring to.
- Tip: Before deciding where you are going to install your tachometer, you should read the manufacturer's mounting instructions. Your tachometer will either be mounted with screws, attachment tape, or a hose clamp, so be aware of this as it might limit its location options.
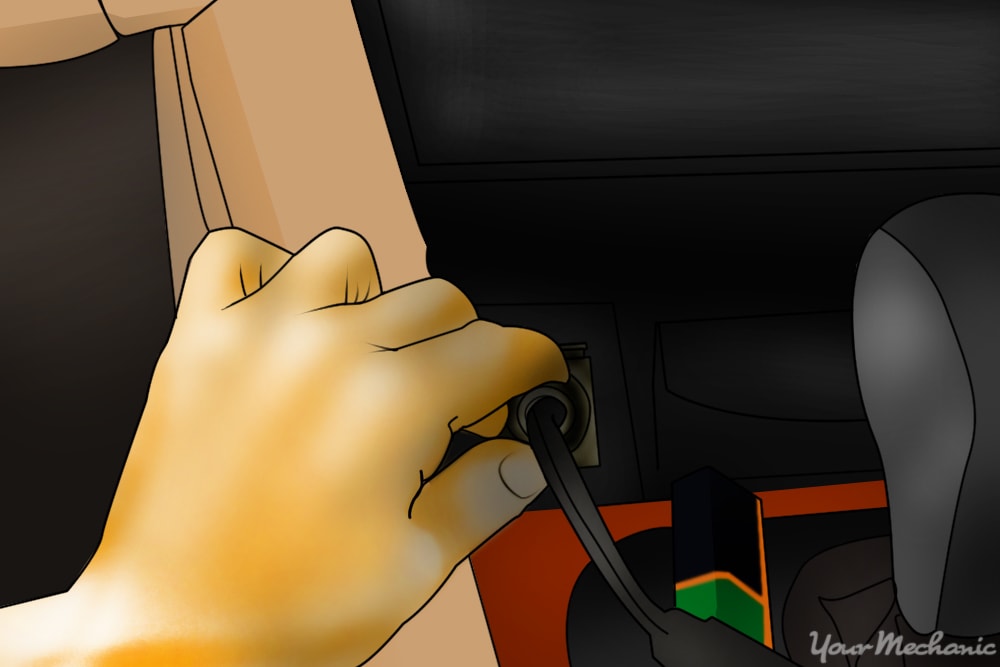
Step 5: Connect the tachometer mounting position to the engine compartment. Run two separate wires from the mounting location of the tachometer into the engine compartment. One will need to go to the battery and the other to the engine.
- Tip: To get the wire from the inside of the vehicle and into the engine compartment, you will need to run the wiring through one of the weather seals in the firewall. You can typically push the wire through one of these seals where other wires are already going through. Make sure that both wires are away from the exhaust and any moving parts of the engine.
Step 6: Use wire strippers to strip the wire. Strip 1/4 in. of insulation from the battery end of the wire going to the battery and from both ends of the fusible link.
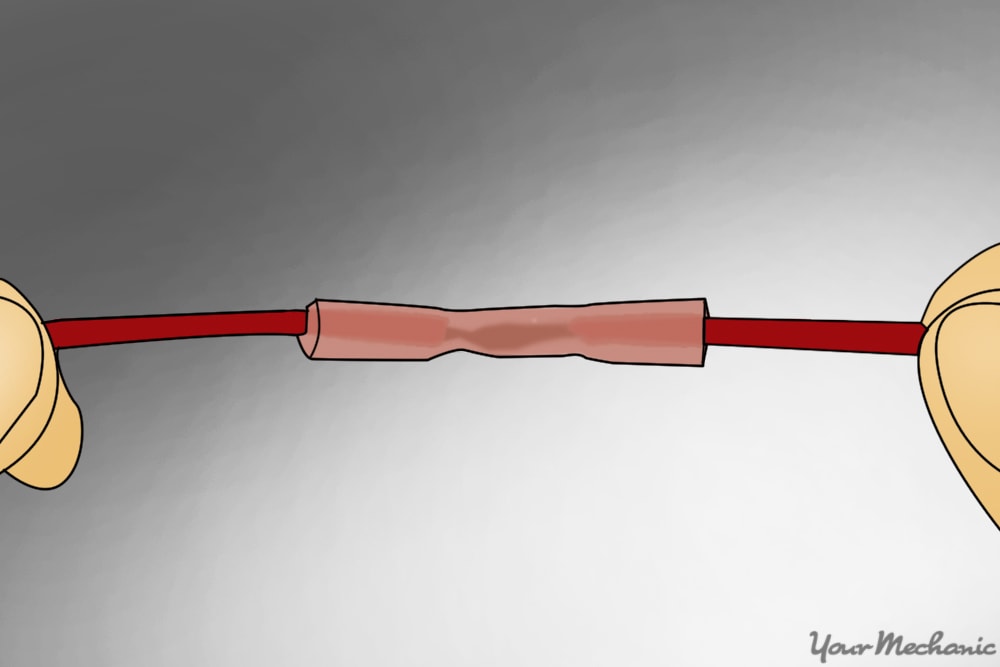
Step 7: Install the wire into a butt connector. Install the wire that goes to the tachometer into one end of an appropriately sized butt connector and crimp the butt connector. Install the other end of the butt connector to one end of the fusible link and crimp that into place as well.
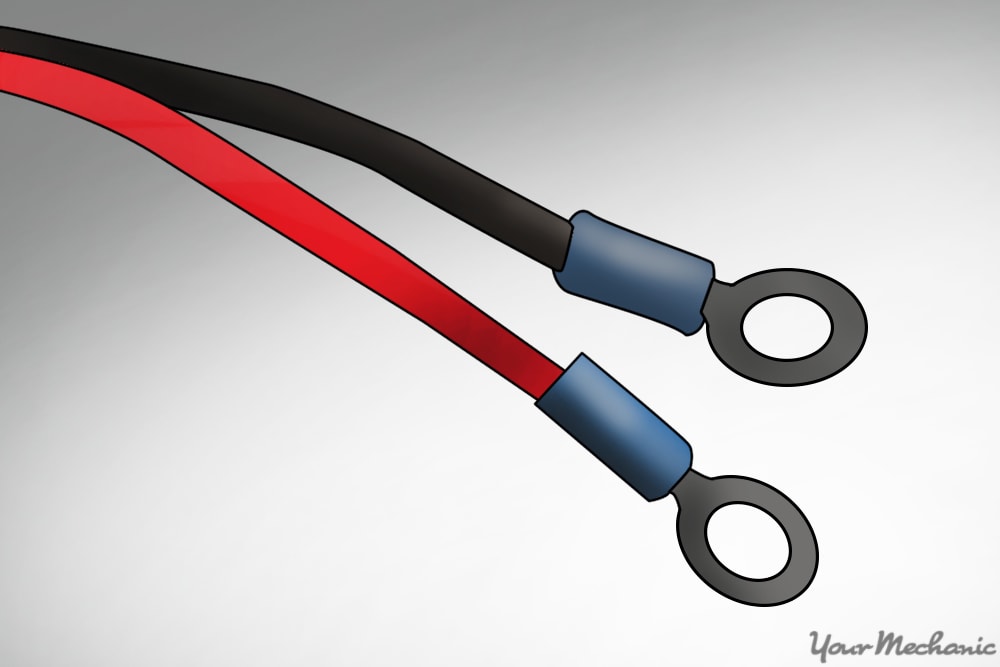
Step 8: Install an eyelet onto the fusible link. Install the appropriate size eyelet onto the other end of the fusible link and crimp it into place.
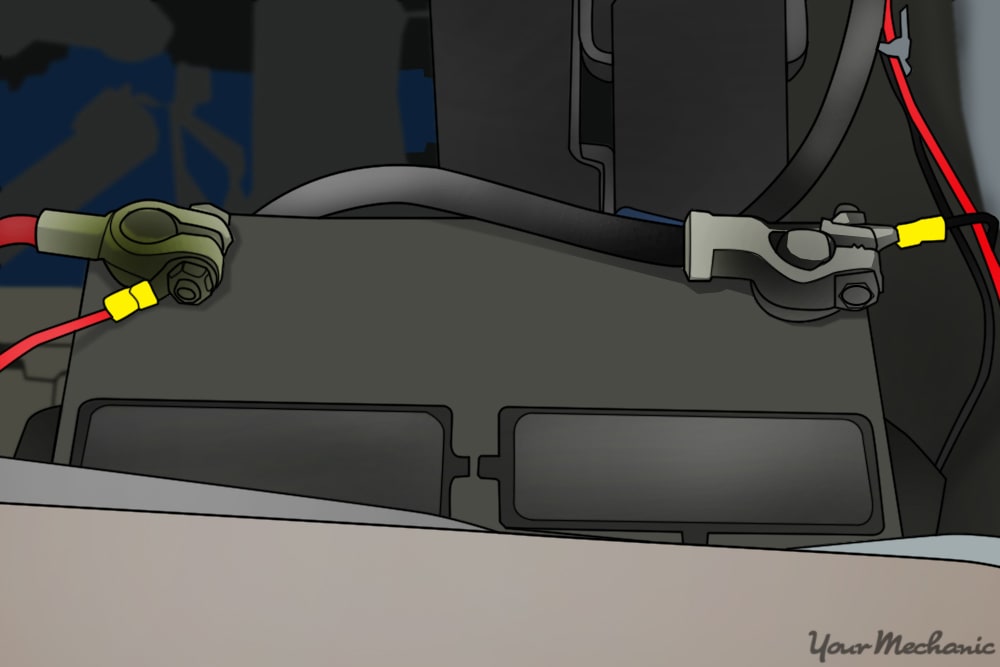
Step 9: Connect the eyelet to the battery. Loosen the crimp nut on the positive battery cable and place the eyelet on the bolt. Reinstall the nut and tighten it until it is snug.
Step 10: Use wire strippers to strip the wire. Strip 1/4 in. of insulation from the engine end of the wire that is going to the engine.
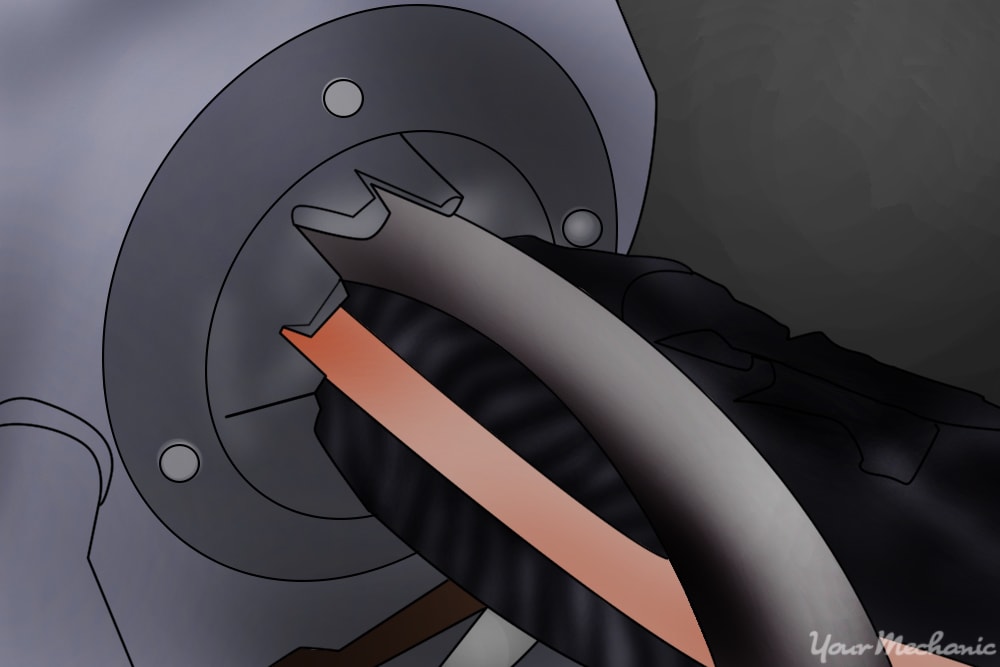
Step 11: Find the rpm signal wire. If the engine has a distributor, using your wiring schematic, locate the rpm signal wire on the distributor connector.
This wire will vary by application. If the vehicle is equipped with DIS (distributorless ignition system) you will need to install the distributorless adapter per the manufacturer’s instructions.
Step 12: Use the wire strippers to strip the wire. Strip 1/4 in. of insulation from the distributor signal wire.
Step 13: Connect the wires with a butt connector. Using the appropriate butt connector, install the distributor signal wire and the wire going to the engine into the connector and crimp it into place.
Step 14: Connect the tachometer mounting spot to a good body ground. Run a new wire from the tachometer mounting spot to a good body ground located under the dash.
A good body ground will typically have multiple wires being held to the body with a single bolt.
Step 15: Install an eyelet on one end of the wire. Strip 1/4 in. of insulation from the end of the wire near the grounding point and install an eyelet.

Step 16: Install the eyelet on the good body ground. Remove the body ground mounting bolt and install the eyelet into place with the other wires. Then tighten the bolt until it is snug.
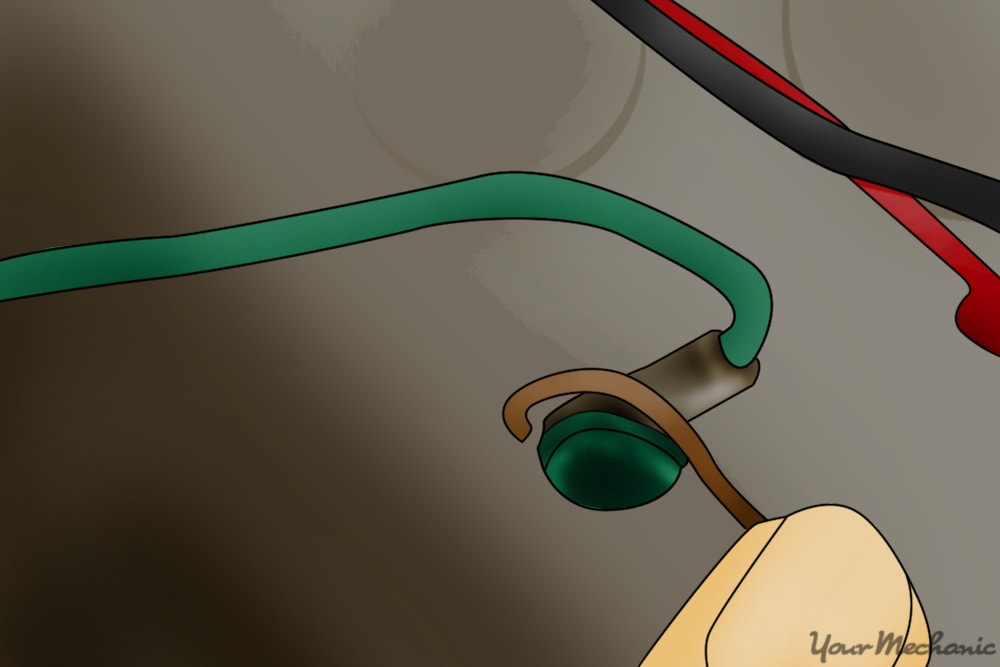
Step 17: Connect the tachometer mounting spot to the lighting wire. Locate the positive interior lighting power wire using the wiring schematic for your vehicle.
Run a new wire from the tachometer mounting spot to the lighting wire.
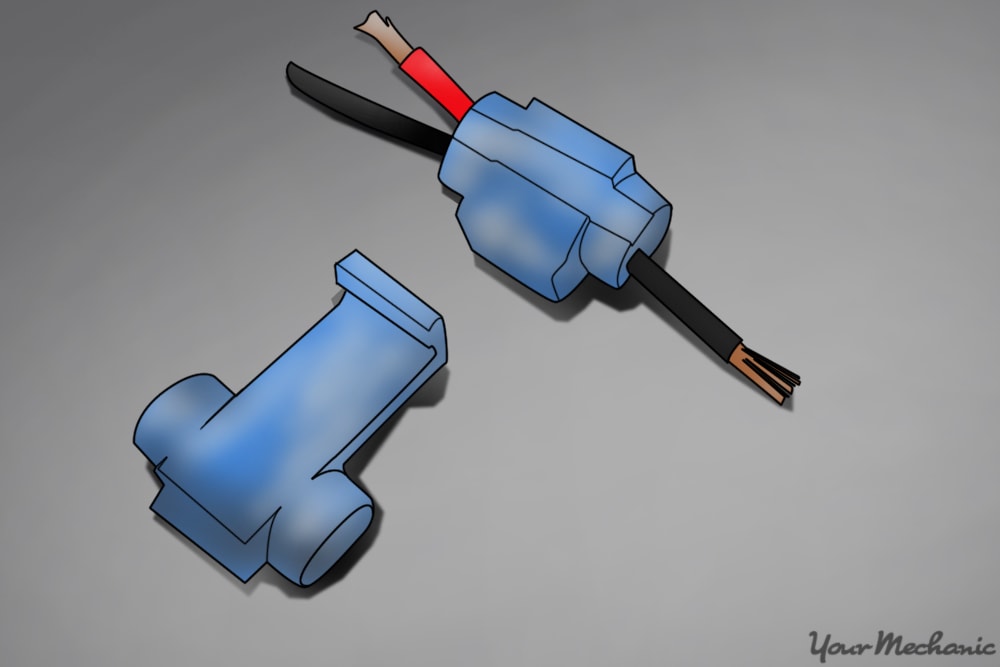
Step 18: Install a three-way connector. Place the three-way connector around the lighting wire. Then place your new wire in the connector and crimp it into place.
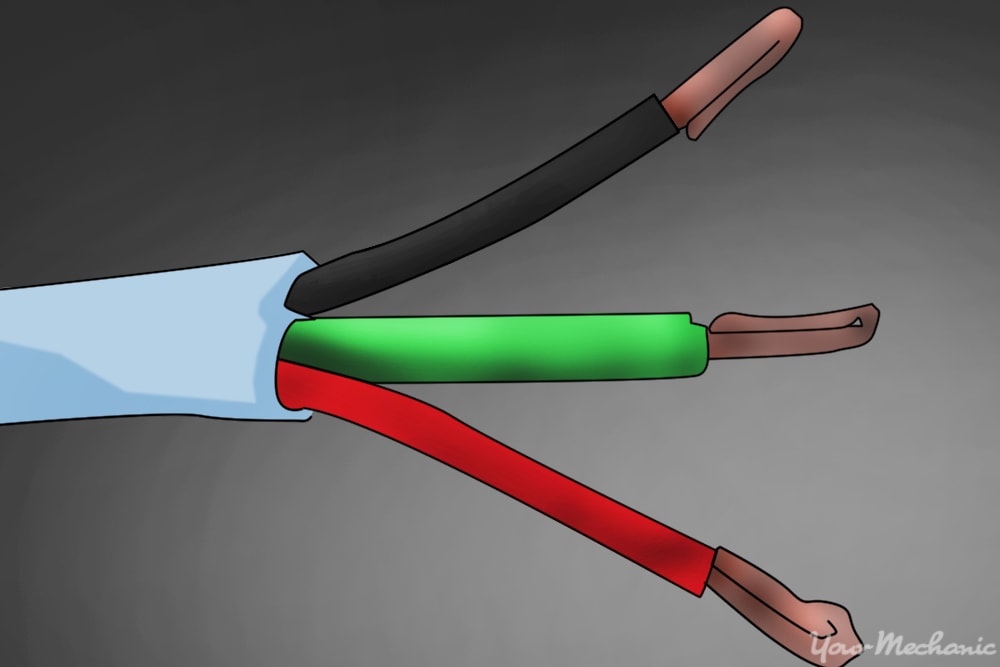
Step 19: Use the wire strippers to strip the tachometer wires. Strip 1/4 in. of insulation from each of the four wires located at the tachometer.
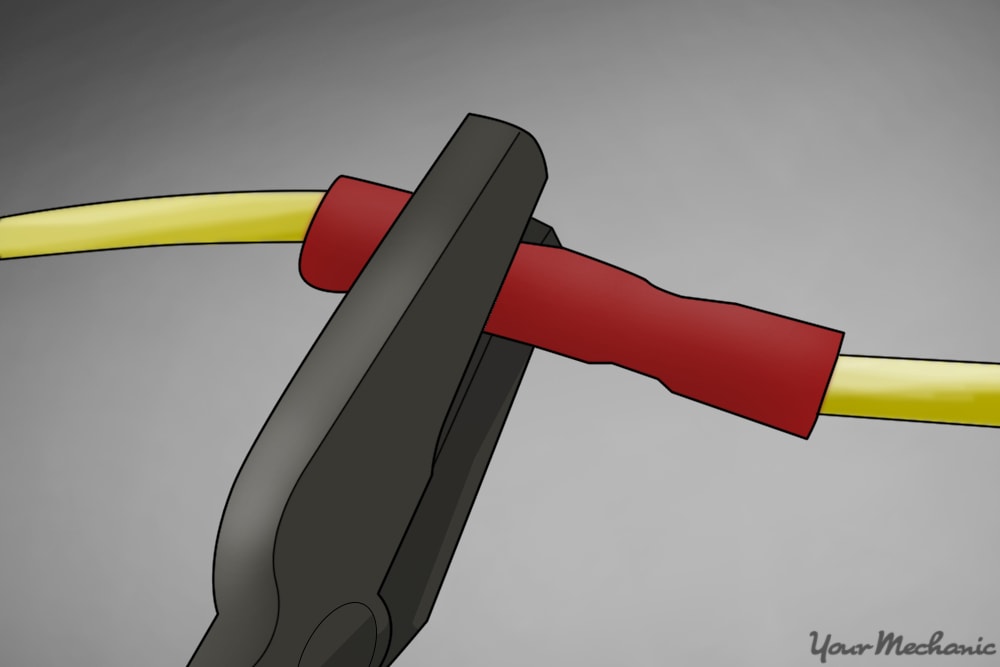
Step 20: Install butt connectors onto each wire. Install the appropriate butt connector onto each of the wires and crimp them into place.
Step 21: Connect each butt connector to a wire on the tachometer. Install each of the wire butt connectors onto one of the wires on the tachometer and crimp them into place.

Step 22: Secure the tachometer in position. Mount the tachometer per the manufacturer’s instructions.
Step 23: Replace the negative battery cable. Reinstall the negative battery cable and tighten the crimp nut until it is snug.
Step 24: Uninstall the memory saver. Remove the memory saver per the manufacturer’s instructions.
Step 25: Test the tachometer. Start the engine and verify that the tachometer works and that the light turns on with the vehicle lights.
Following these steps can allow you to quickly and easily install a tachometer into your vehicle. If you are not comfortable doing this yourself, you can get some assistance from a certified mechanic, like one from YourMechanic, who can come to you.
